I hope you are enjoying the products in the amazing Share What You Love Suite preorder! For more information about the opportunity we all have to get our hands on these products, please click here. Remember, the preorder bundles are only available in May.
A few years ago, I saw a really fun technique called triple layering. It is one of those kinds of techniques that ensures the person who receives the card literally pauses and thinks “how in the world did she make that?”. Don’t you just love those types of cards? Especially when they are really not hard to make?
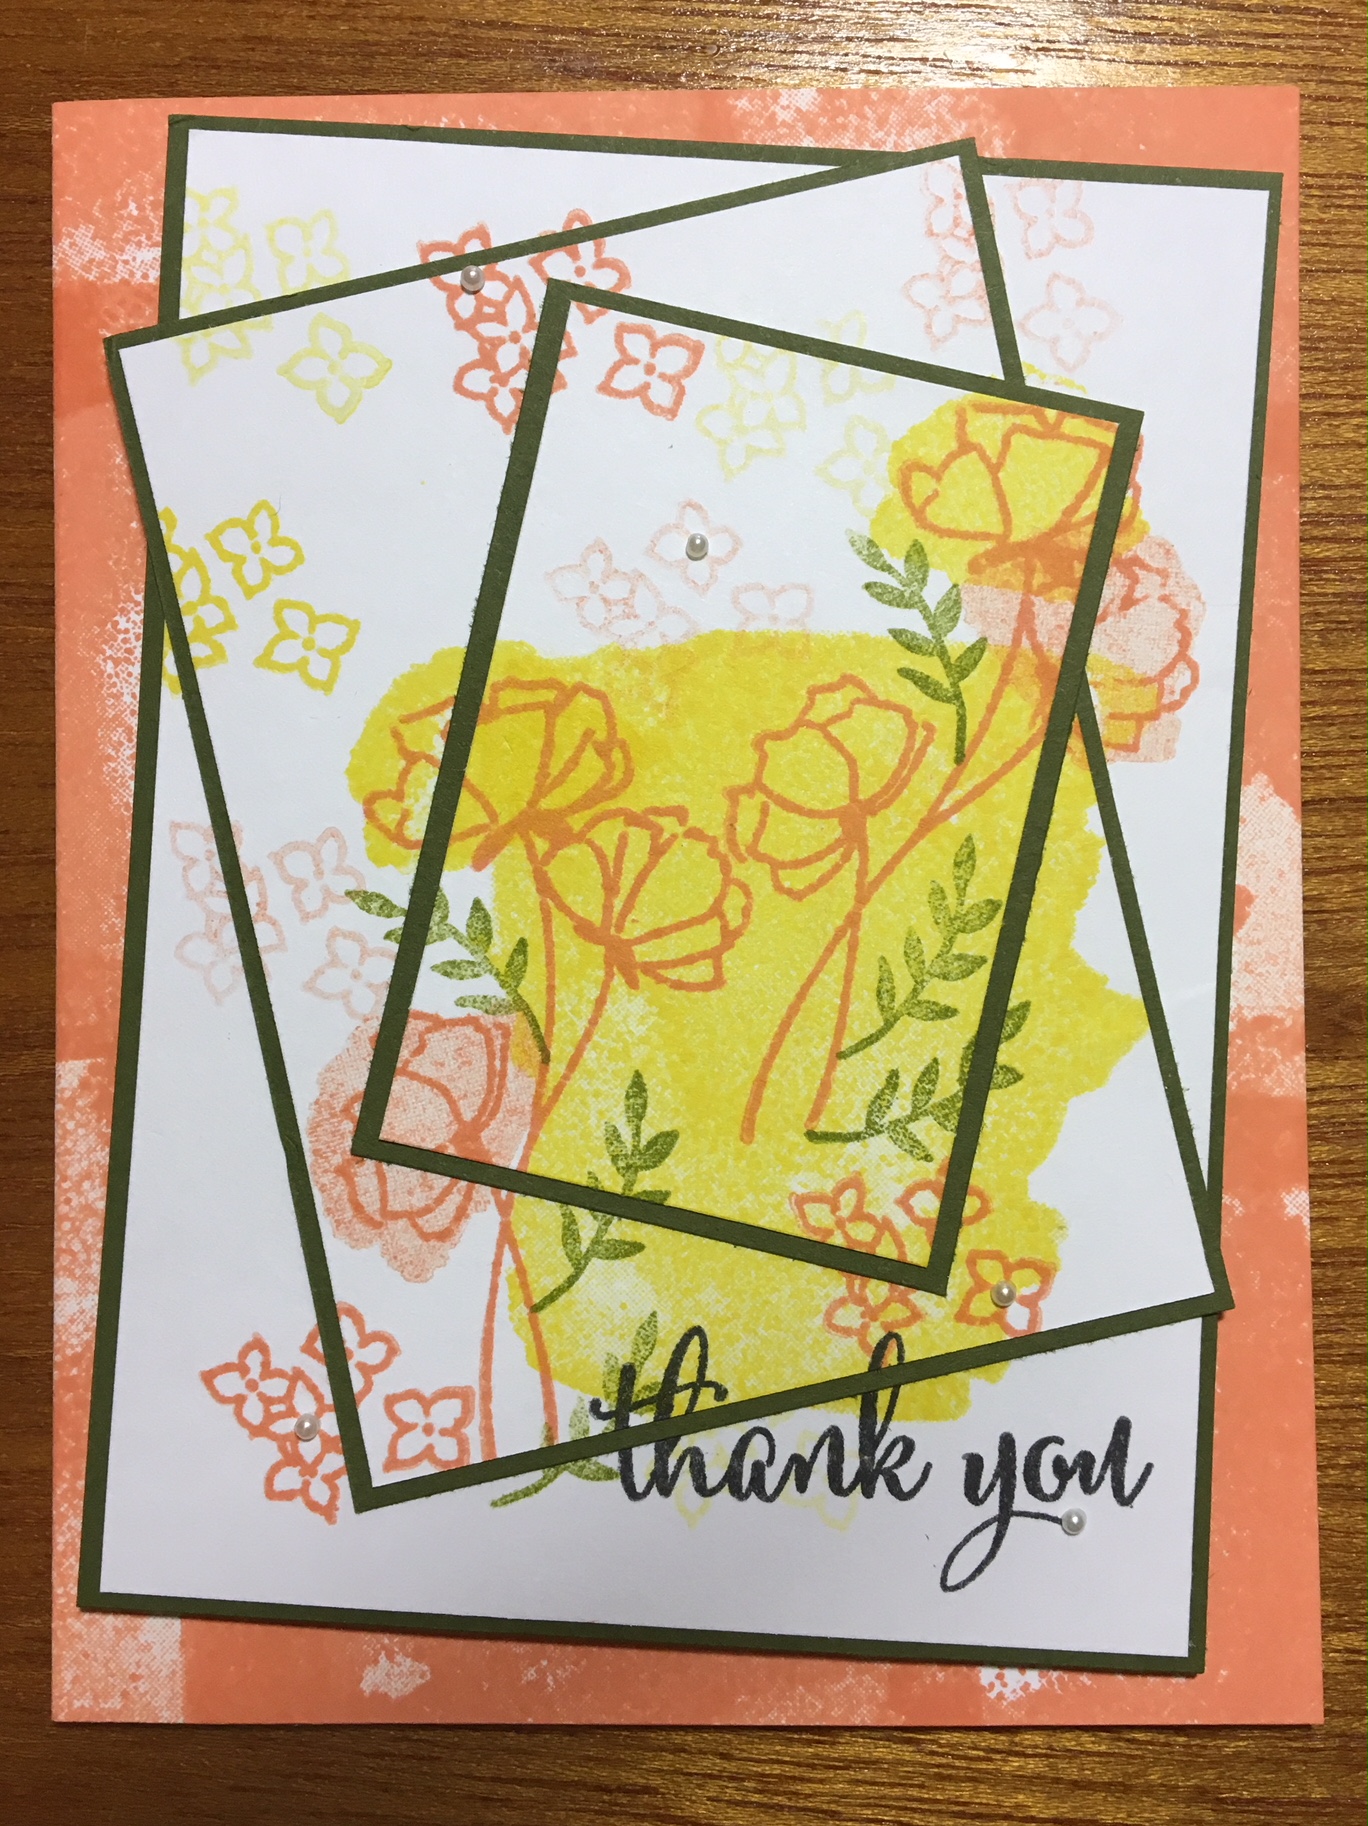
The “wonky” triple layer card is one step up and is very straight forward to put together. Below is a picture of the card that everyone made at a recent Stamp Club.
Okay – Have you figured out how to make the card?? Once you know the simple tips and tricks, you are going to love to add this technique to your portfolio. Instructions are given below –
- Start with your choice of a card base cut to 5 1/2″ x 8 1/2″, scored at 4 1/4″ on the 8 1/2″ side. The card base for the pictured card is made from Whisper White card stock. The large background stamp from the “Love What You Do” stamp set was used to add a border around the edges of the front of the card. The ink is one of the new In-Colors, Grapefruit Grove. The stamped image adds just the right amount of color and grunge to the edges.
- Each of the three layers is made with two pieces – a piece of Whisper White card stock framed by a piece of Old Olive card stock. The dimensions for the Whisper White card stock pieces are: 3 5/8″ x 4 7/8″; 2 7/8″ x 3 7/8″; and 1 7/8″ x 2 7/8″. Each of the pieces of Old Olive is 1/8″ wider and longer. That means that the pieces of Old Olive are: 3 3/4″ x 5″; 3″ x 4″; and 2″ x 3″. The 1/8″ adds the perfect amount of a frame for this type of stamping.
- The first step to design the card is to layout the pieces before adhering any of the pieces together. Put the card base on your work surface. Take the largest piece of Old Olive and put it on the card base in a way that is not straight vertically or horizontally. Lay the largest piece of Whisper White on top, allowing the Old Olive to be seen as a frame. Continue this process with the remaining pieces of Old Olive and Whisper White. Make sure that you overlap the framed pieces, and make sure the framed pieces are not all oriented in the same way. This will help the design look more random.
- When you like the pattern, you are going to layer together only the Whisper White pieces and attach them with washi tape. Gently lift the top piece of Whisper White card stock (the smallest piece) and take out the piece of Old Olive card stock just underneath. Try to keep the Whisper White piece in place, and use a piece of rolled up washi tape (with the adhesive on the outside) on the back of the smallest piece of Whisper White to the middle piece of Whisper White.
- Next, gently lift the middle piece of Whisper White card stock and take out the piece of Old Olive card stock just underneath. Again, try to keep the Whisper White piece in place. Use another piece of rolled washi tape to adhere the middle piece of Whisper White card stock to the largest Whisper White piece.
- You now have your three pieces of Whisper White card stock lightly adhered with washi tape. Stamp your images onto the layered pieces of Whisper White card stock. Make sure you allow images to be stamped over multiple layers of the card stock.
- When you’re happy with your stamping, gently take the pieces of Whisper White card stock apart. You’ll notice that I used the “Love What You Do” stamp set for my images.
- Adhere the corresponding frame pieces of the Old Olive card stock to each of the three stamped pieces of Whisper White card stock. Now, the fun part!! Realign your stamped images (that are now framed with the Old Olive pieces) to reform the stamped images. Adhere the pieces together.
- Adhere the final three pieced stamped image to the front of your card. Remember to adhere the image as you planned.
You will find many stamps that you can use with this technique. Each card you make will be unique.
Happy stamping!
Laurie

