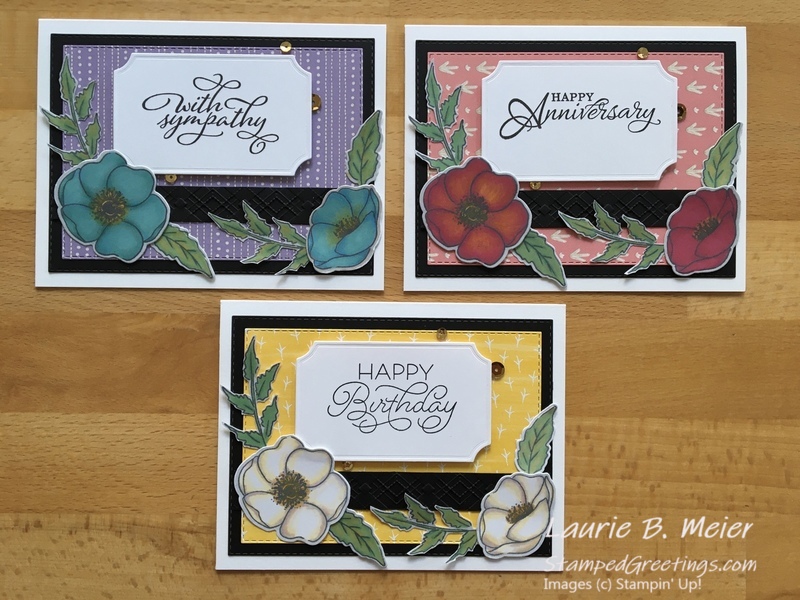
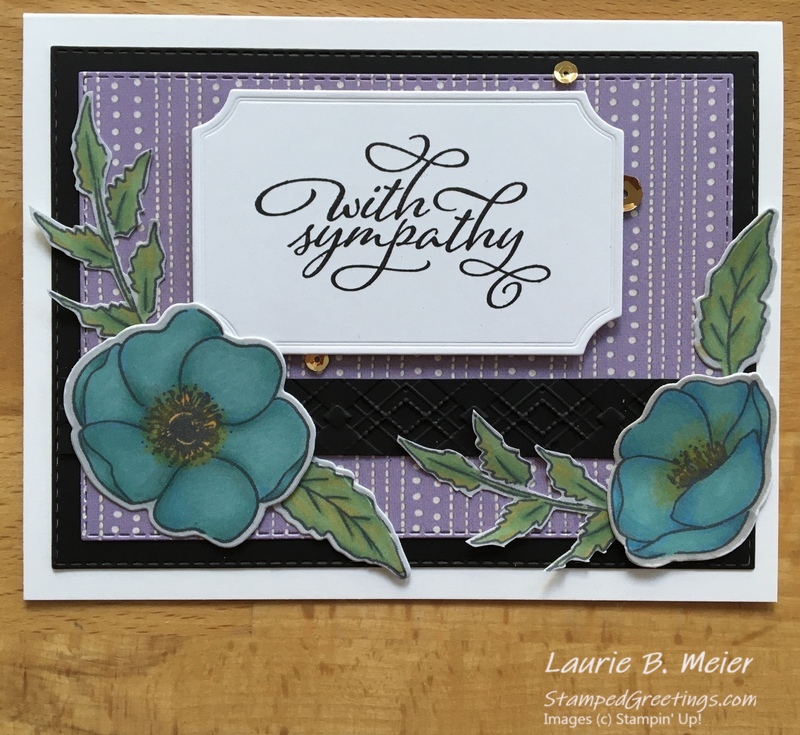
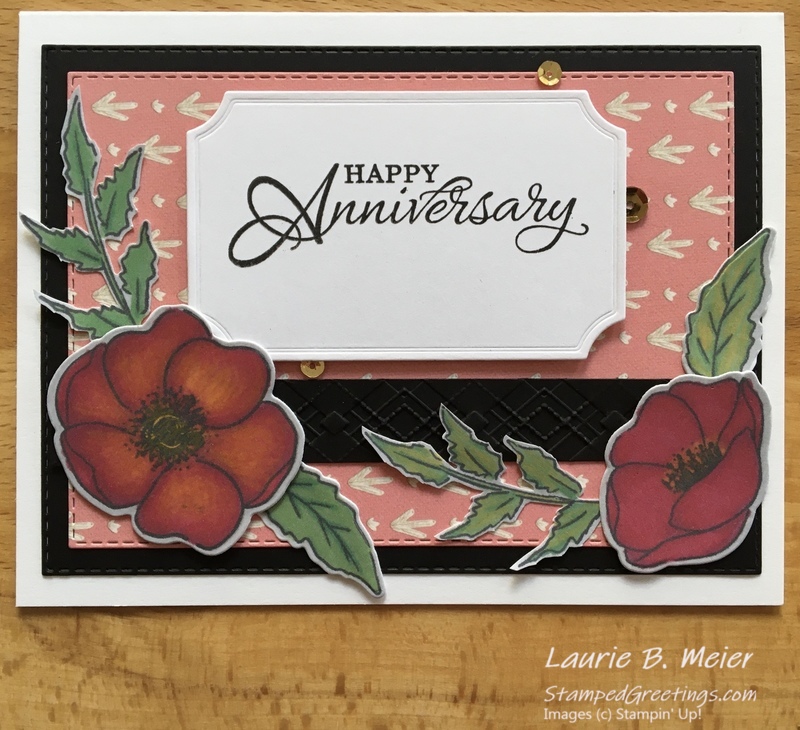
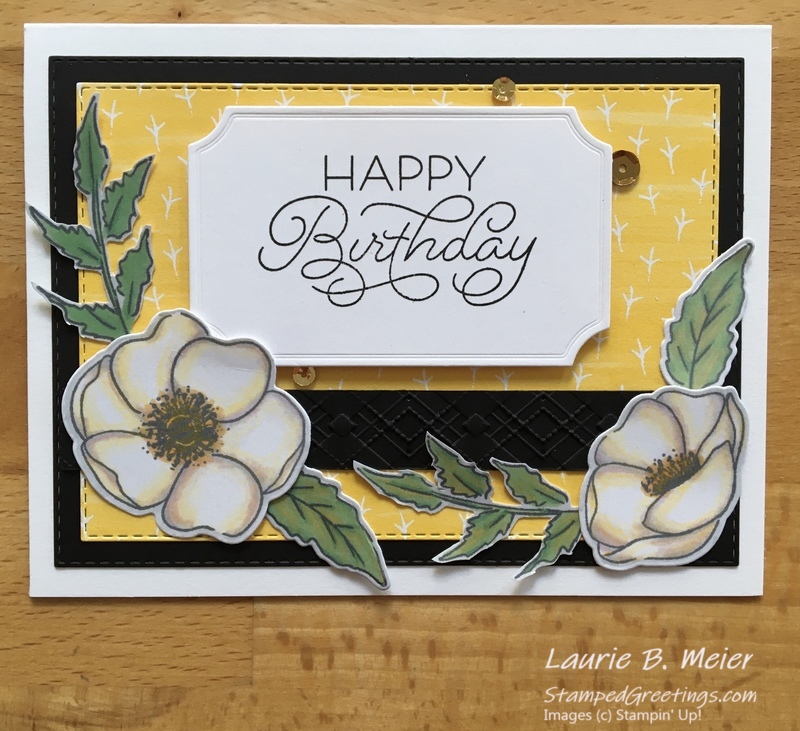
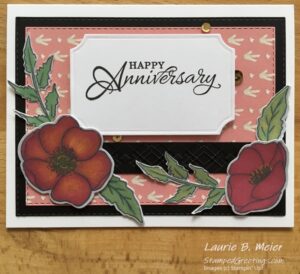
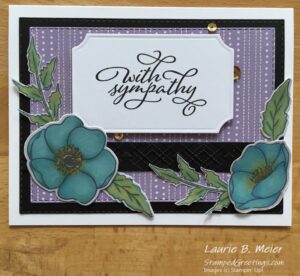
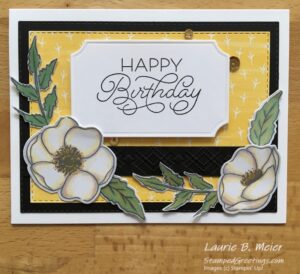
As I’m sure you know, the Painted Poppies bundle from the January to June Mini Catalog has been incredibly popular! The stamp images and dies are really amazing and fun to use to create gorgeous cards. I’ve added a few alcohol markers (not SU!) and retired Designer Series Paper (DSP) to the cards shown below.
Please use these cards as a sample layout for your own designs. Change the colors, sentiments, and bling to make cards for every occasion!
Here are the basic instructions for making these cards –
- Start with a card base made using a piece of Thick Whisper White card stock cut to 5 1/2″ x 8 1/2″, scored and folded at 4 1/4″ on the 8 1/2″ side. Thick Whisper White card stock is the perfect card base. It adds a nice weight to your card and really holds up well to multiple layers.
- Use the largest rectangle in the you-really-need-to-have-these-in-your-stash Stitched Rectangles Dies collection to die cut a piece of Basic Black card stock.
- Grab the second largest die in the Stitched Rectangles Dies collection to cut out a piece of DSP of your choice. Let’s be honest here – We all have far too much DSP in our stashes! Okay – Maybe I’m just confessing to you 🙂 Don’t be afraid to use it!
- Stamp your choice for a sentiment onto a piece of Whisper White card stock. Use the larger frame die from the Painted Labels dies collection to die cut your sentiment. I used a non-SU! stamp set for my cards. The large sentiments and gorgeous scripts added just what I wanted.
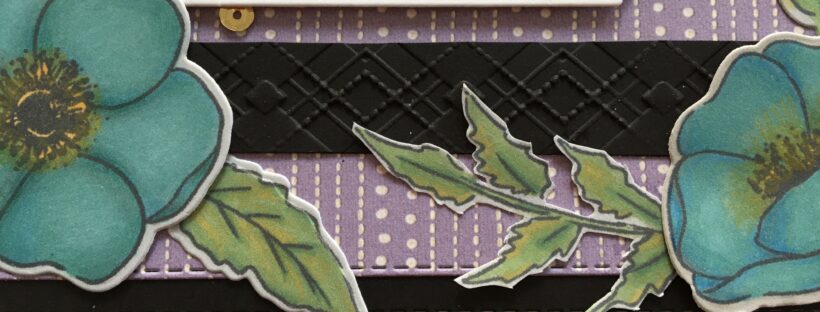
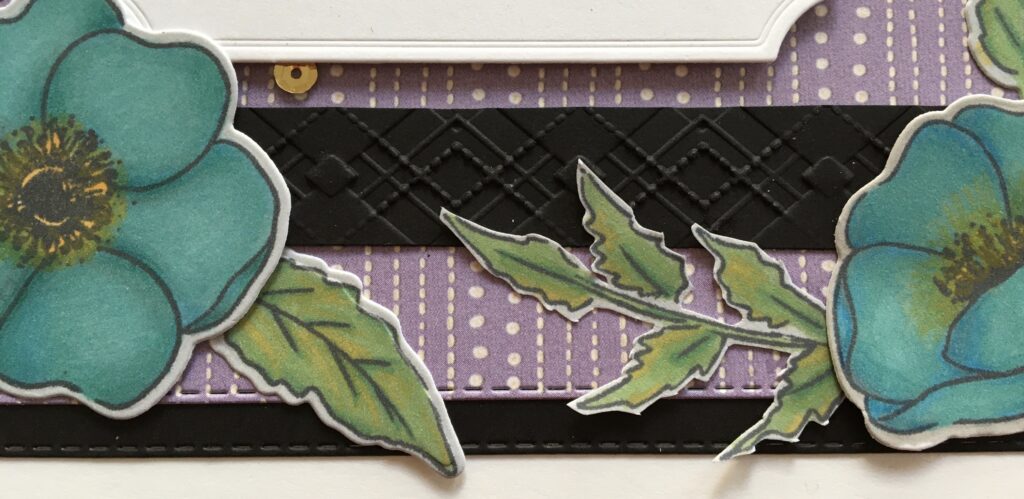
- Create the paper “ribbon” for your card using Basic Black card stock and the amazing Absolutely Argyle 3D Embossing Folder (EF). I LOVE this EF!!! The detail that is added to card stock is really incredible. Emboss your Basic Black card stock and trim to the size that you want to use for your “ribbon”.
- Use Memento ink to stamp the single flower images, two single leaf images, and two grouped leaves images from the Painted Poppies stamp set onto a piece of Whisper White card stock. You are going to use alcohol markers to color your images.
- Use the corresponding dies from the Painted Labels dies collection to die cut the flower images and the single leaf images. You will need to fussy cut the grouped leaves images.
- Assemble the card by adhering the Basic Black die cut rectangle piece to the card base. Next, adhere the die cut DSP piece. Then, grab your paper “ribbon” and adhere that piece, making sure you have enough space in the top part of your card for the sentiment piece. Use dimensionals to add the sentiment piece. Use Multipurpose Liquid Glue to add the flowers and leaves to the card. You’ll only need to put a little glue onto these pieces. Add some bling to finish your card. I used some extra pieces from a recent Paper Pumpkin kit for my bling!
This is a great design to have in your back pocket in case you need a quick, beautiful card for just about any occasion. And, it’s a great way to use some of the DSP that you’ve been saving 🙂
Many of the products that I used to create these cards are shown below. If you click on any picture, you’ll go to my on-line store.
Happy stamping!
Laurie
|
|
|
|
|
|
|
|
|
|
|
|
|
|


Beautiful cards. I love the font in the Happy Birthday card. Do you mind telling me who it is by. Thanks so much.
JoAnn
Hi, JoAnn – Sorry for the delay. I had to find the stamp set 🙂 The set is called Sincere Sentiments. I received it as a freebie with my Cardmaking and Papercraft subscription a while back. Unfortunately, that magazine is no longer published. You may want to check S C Design by Simonne Clay. That is the artist referenced on the back of the set. Hope this helps!