Welcome to the May NC Demos Blog Hop! I hope you have just come from Jenn’s post, and I know you loved her project just as much as I did. She is a very talented artist. Thank you so much for stopping by to see what I am sharing this month.
The current Stampin’ Up! annual catalog will retire in just a few days. It will be replaced on June 3rd with an amazing new catalog. We are all very excited to share new products and projects, but there are definitely products that we are going to miss from the current catalog. In this month’s NC Demos Blog Hop, each of us is showcasing some of our favorite retiring products.
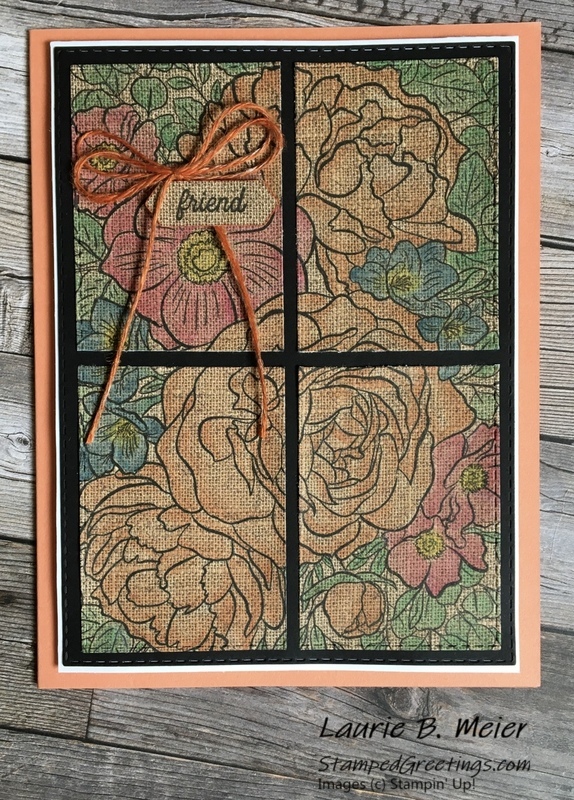
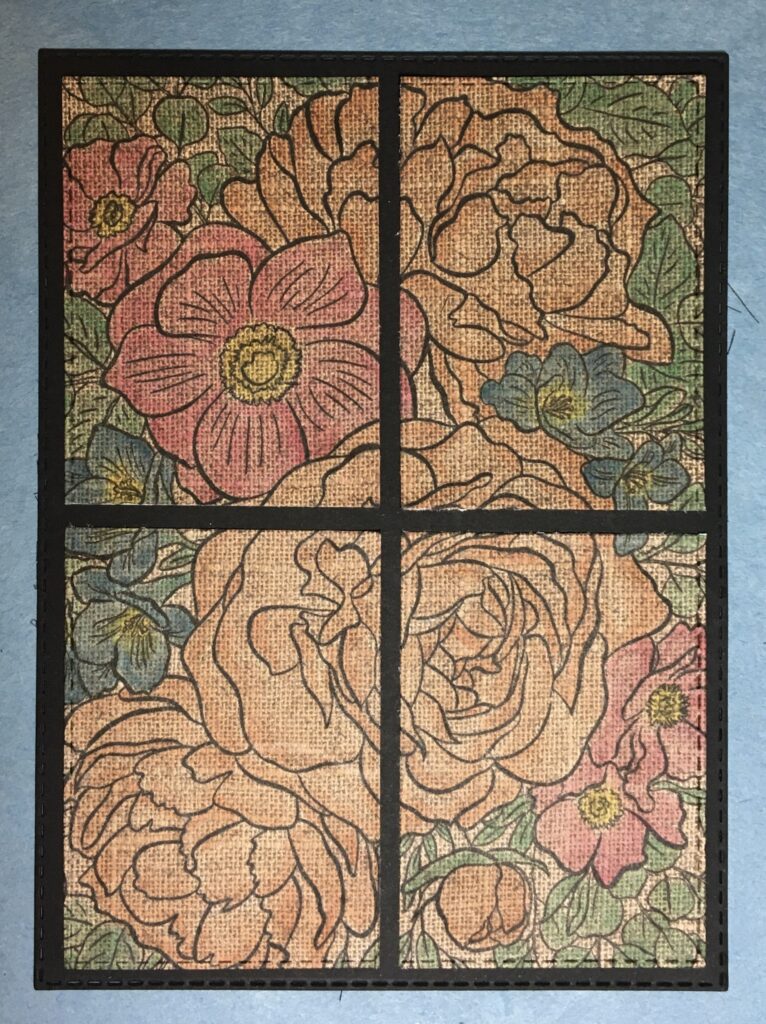
My project this month is focused around a window pane designed card. It is a great, simple way to add a little interest to just about any kind of stamped image. You’ll find step-by-step instructions and pictures below that you can follow to create your take on this design! Here is a picture of my card –
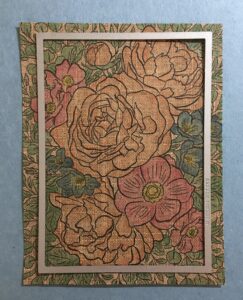
- Start with the focal point by cutting a piece of the burlap paper that is included in the amazing (and retiring) Pressed Petals Designer Series Paper (DSP). This paper is absolutely gorgeous! Cut the piece to about 6″ x 6″. You don’t need to be too precise since this piece will be die cut later.
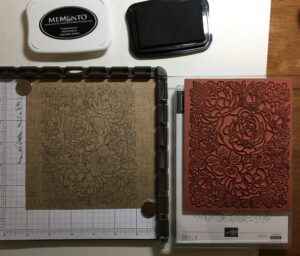
- Use your Stamparatus to stamp the beautiful Breathtaking Bouquet Cling Stamp onto the DSP piece. Use Memento black ink for your stamping. By the way – this background stamp is also retiring.
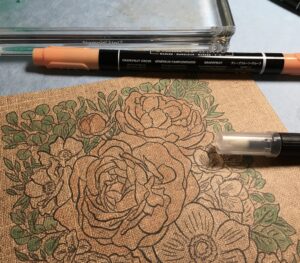
- After you have stamped your image, grab your soon-to-be-retired In-Color 2018-2020 Stampin’ Write Markers, your Clear Block I (or any size clear block), and your blender pens. The next step is to color the image using all the retiring colors – Pineapple Punch, Grapefruit Grove, Lovely Lipstick, Blueberry Bushel, and Call Me Clover! Simply “scribble” some color onto your clear block, and pick up the ink with your blender pen. Use the blender pen to color the image. You’ll find that the blender pen doesn’t over saturate the DSP with ink. The colors are a little muted and allow the gorgeous burlap design to show through!
- After you have finished coloring the image, grab your Rectangle Stitched Framelits Dies. These are an absolute must have in your stash! Use the second largest die to cut out the colored image.
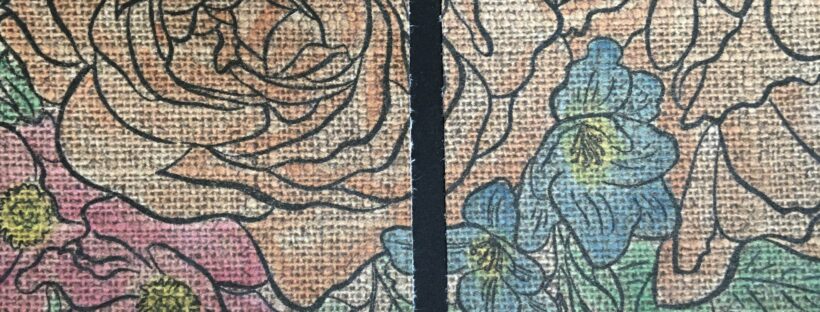
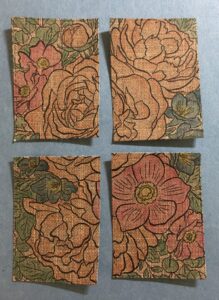
- Hold your breath because you’re going to cut the image into quarters. It will be okay. Trust me!
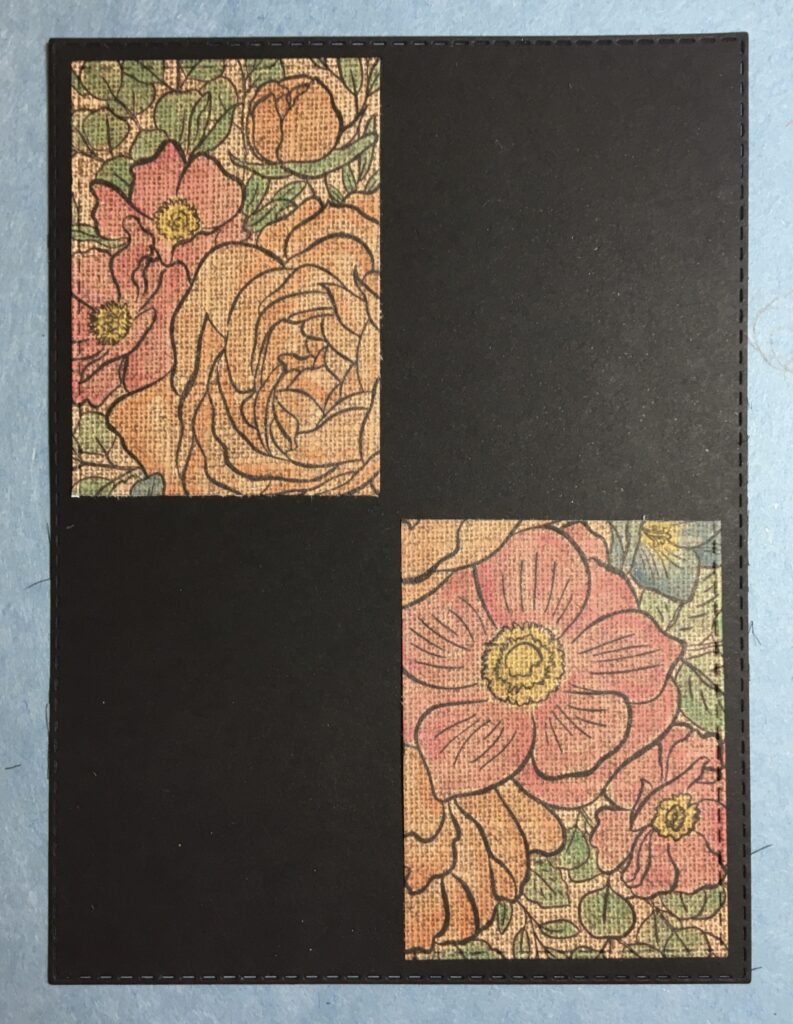
- Use the largest die in the Rectangle Stitched Framelits Dies to cut a piece from Basic Black cardstock. This is going to be your frame for your focal point. It will make your image look like it is inside a window pane. Attach the colored pieces to the frame. The best way to line up the pieces is to attach two opposite corners first. Then, you’ll have visual guides that will allow you to line up the remaining pieces.
- Cut a piece of Whisper White cardstock just a little larger than the die cut piece of Basic Black cardstock. Attach your framed piece to the Whisper White piece.
- The card base is made from Grapefruit Grove cardstock, cut to 5 1/2″ x 8 1/2″ and scored at 4 1/4″ on the 8 1/2″ side. Grapefruit Grove is a retiring color that I will truly miss!
- Add the focal piece to the card front with dimensionals.
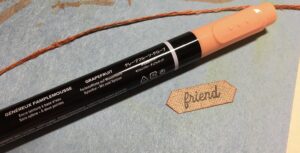
- The final touches of embellishment include the sentiment and the linen thread bow. The sentiment is from the retiring Birthday Jubilee stamp set. The friend sentiment is stamped onto a small piece of the burlap DSP using Memento black ink, punched out with the Classic Label Punch, and then highlighted on the edges with the Grapefruit Grove Stampin’ Write Marker. The linen thread was colored with the Grapefruit Grove Stampin’ Write Marker before tying into a double bow. A few mini dimensionals were added to the back of the sentiment.
There are literally an infinite number of ways to make window pane cards. In my next few posts, I will show you a few more. Please check back to see the ideas. I think you’ll have fun making cards with this technique.
Now, be sure to hop on over to see Libby’s post! I know she has an amazing project to share with all of us. And, please make sure that visit the blogs of everyone who is participating in this month’s NC Demos Blog Hop. Check out the full list shown below.
May NC Demos Blog Hoppers
Amy Kinler
Toni Campana
Tina Lesson
Ariel Matera
Tracy Marie Lewis
Jo Anne Hewins
Jenn Hutt
Laurie Meier <– YOU ARE HERE
Libby Foreman
Tracie Evans Langley
Sue Stapp
Sue Root
Martinette Horner
Nedine Dupree
Erin T Cook
The main products that I used in my card are pictured below. Click on any picture and you’ll go directly to my on-line store.
Happy stamping!
Laurie
|
|
||
|
|
|
|
|
|
|
|
|
|
|
|
|
|



This is just a stunning card, Laurie! I actually ran across a windowpane card I made years ago at a craft show and had saved it because I wanted to remember how to do it. Your card definitely makes me want to go back and give it a try. The coloring is just beautiful!
Toni – Thanks so much! I’m finding that coloring is great therapy for just clearing my mind. This technique is so quick and easy and gives a fun result.
I love what you did great card
Thanks so much, Tina!
Such a great project! I appreciate the step-by step instructions!
Thank you, Nedine! Confession – I write the directions as much for myself as for others to remember how I made the card 🙂
Great project Laurie. We will miss those outgoing In Colors. I love the stamping on the Pressed Petals paper. It’s so pretty! Great directions, too!
Thank you so much, Jo Anne! I am going to miss the outgoing In-Colors so much! But, the good news is that we have five new ones to use and love 🙂
Your card is gorgeous! I love that burlap and it looks great how you colored on it.
Thanks, Sue! The burlap DSP makes the perfect background for coloring!
So pretty! I love that you stamp on the DSP to make your elements.
Thank you, Ariel! It was fun to color on the DSP and have the burlap design show through 🙂
Laurie, this one is fabulous. I would have never thought of stamping this one on the DSP. I love the way it came out. Reminded me of the potato sacks that they used to have down in the French Quarter. Yours is much prettier though.
Amy – Thank you so much! I really like stamping and coloring on DSP. There are some really great results that you can get working with DSP in that way!
Great multi-purposing of products! Thanks so much for sharing.
Thanks, Tracy! It was a fun card to make 🙂