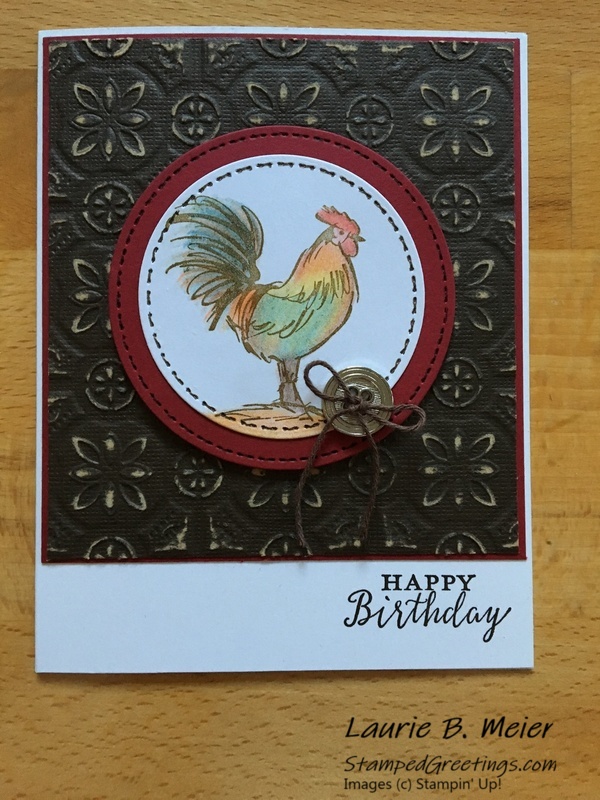
Do you have challenges with masculine cards? Well – I certainly do. It’s much easier for me to get creative with flowery stamps 🙂 But, I have a great solution for you and masculine cards. The stamp set is called Home to Roost, and it’s available as a FREE SAB gift. Take a look at the great, masculine birthday card that I made with the set.
Here are the instructions for the card:
- Start with a card base made with Thick Whisper White card stock, cut to 5 1/2″ x 8 1/2, scored at 4 1/4″ on the 8 1/2″ side. Thick Whisper White card stock adds a special feel and finish to your card. You’ll love using it.
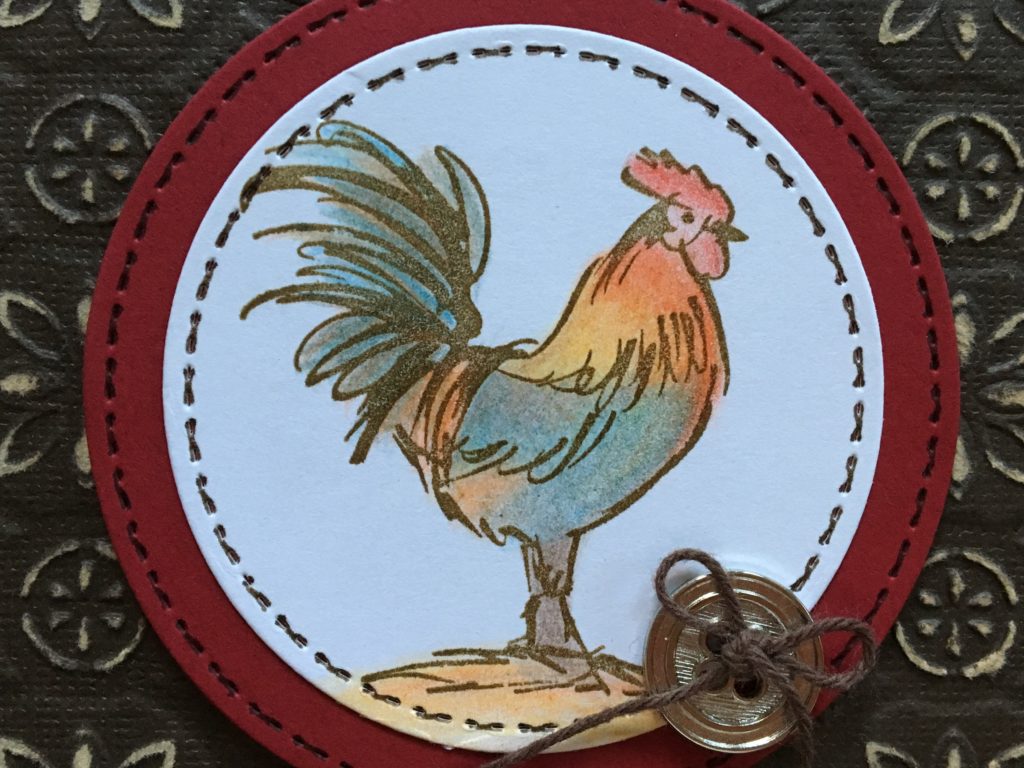
- Use Soft Suede ink to stamp the rooster stamp from the Home to Roost stamp set onto a piece of scrap Whisper White card stock.
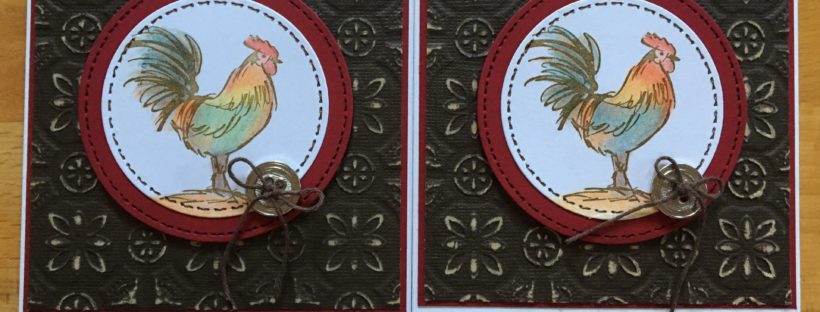
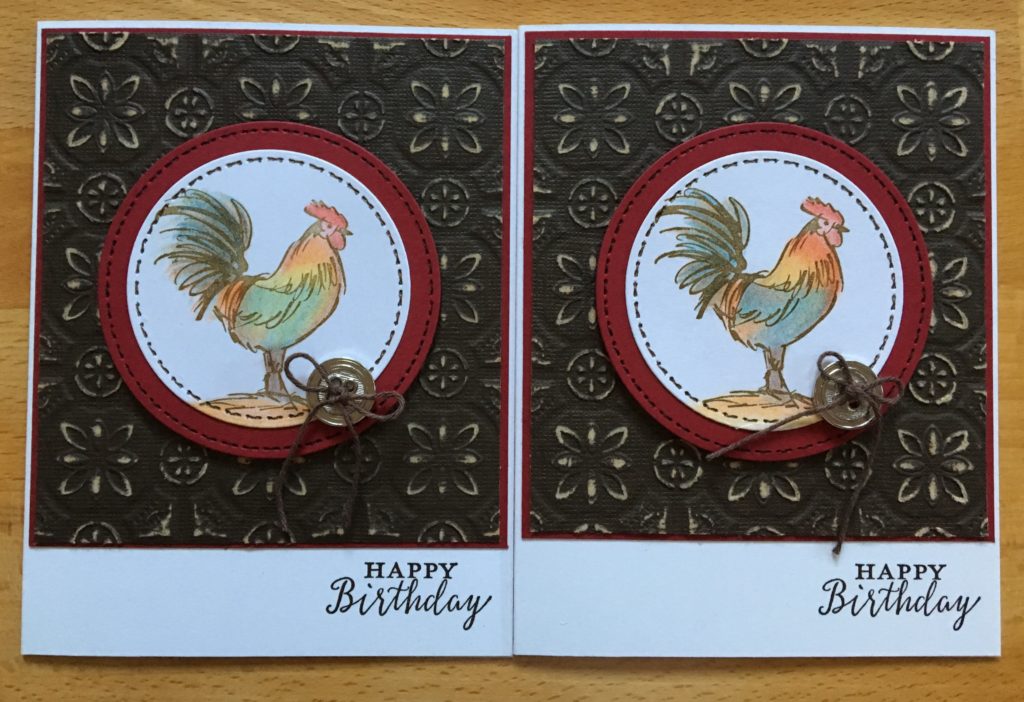
- Color the rooster image with the amazing Watercolor Pencils. You’ll see from the picture below that each rooster you color will have its own personality since the coloring on separate images will always be a little different. I have a great time using the Watercolor Pencils and really enjoy blending and layering the colors.
- Use the second largest circle die from the Stitched Shapes Framelits Dies set to die cut the colored rooster image. Use the largest circle die from the same set to die cut a piece of Cherry Cobbler card stock to use as the frame piece around the rooster die cut.
- Cut a piece of Early Espresso card stock to 4″ x 4″. Emboss this piece with the Tin Tile
- Dynamic Embossing Folder. This EF folder carried over from the Holiday catalog! It is amazing. Confession – I used a piece of retired Early Espresso card stock that has a white core. When I sanded the embossed piece, the effect is a wonderful weathered look. You can get the same look by sponging some white ink onto random parts of the embossed piece.
- Use Early Espresso ink to add the Happy Birthday sentiment from the Detailed with Love stamp set onto the bottom right of the card front, at pictured.
- Adhere the embossed Early Espresso piece to the top of the card front.
- If you would like, add faux stitching to the die cut circles with an Early Espresso Stampin’ Write marker. You can also add a a button and Early Espresso baker’s twine to embellish the die cut circle pieces.
- Adhere the two die cut circles together. Use dimensionals to put the die cut circles in the middle of the embossed Early Espresso card piece.
I think you’ll find this design to be very useful as a masculine birthday card. You can easily change the sentiment to make the card appropriate for many additional occasions.
Happy stamping!
Laurie
|
|
|
|
|
|
||
|
|
|


