Welcome to the November NC Demos Blog Hop! This month our theme is “I’ll Have a Pink Christmas”. If you just came from Jo Anne’s post, I know you’ll agree that her project was amazing and really reflected the theme! Thanks for stopping by to see my project for this month.
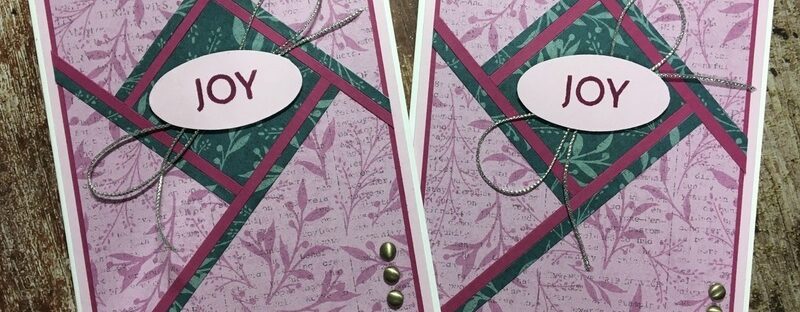
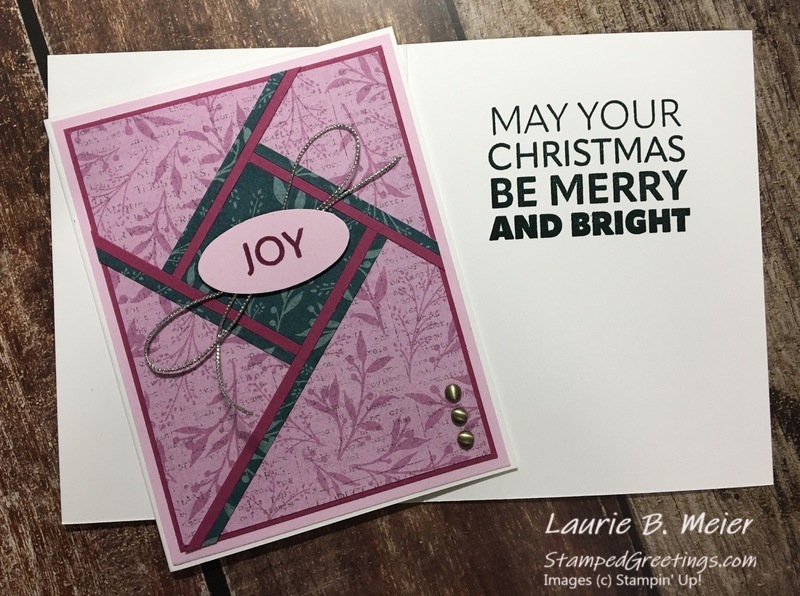
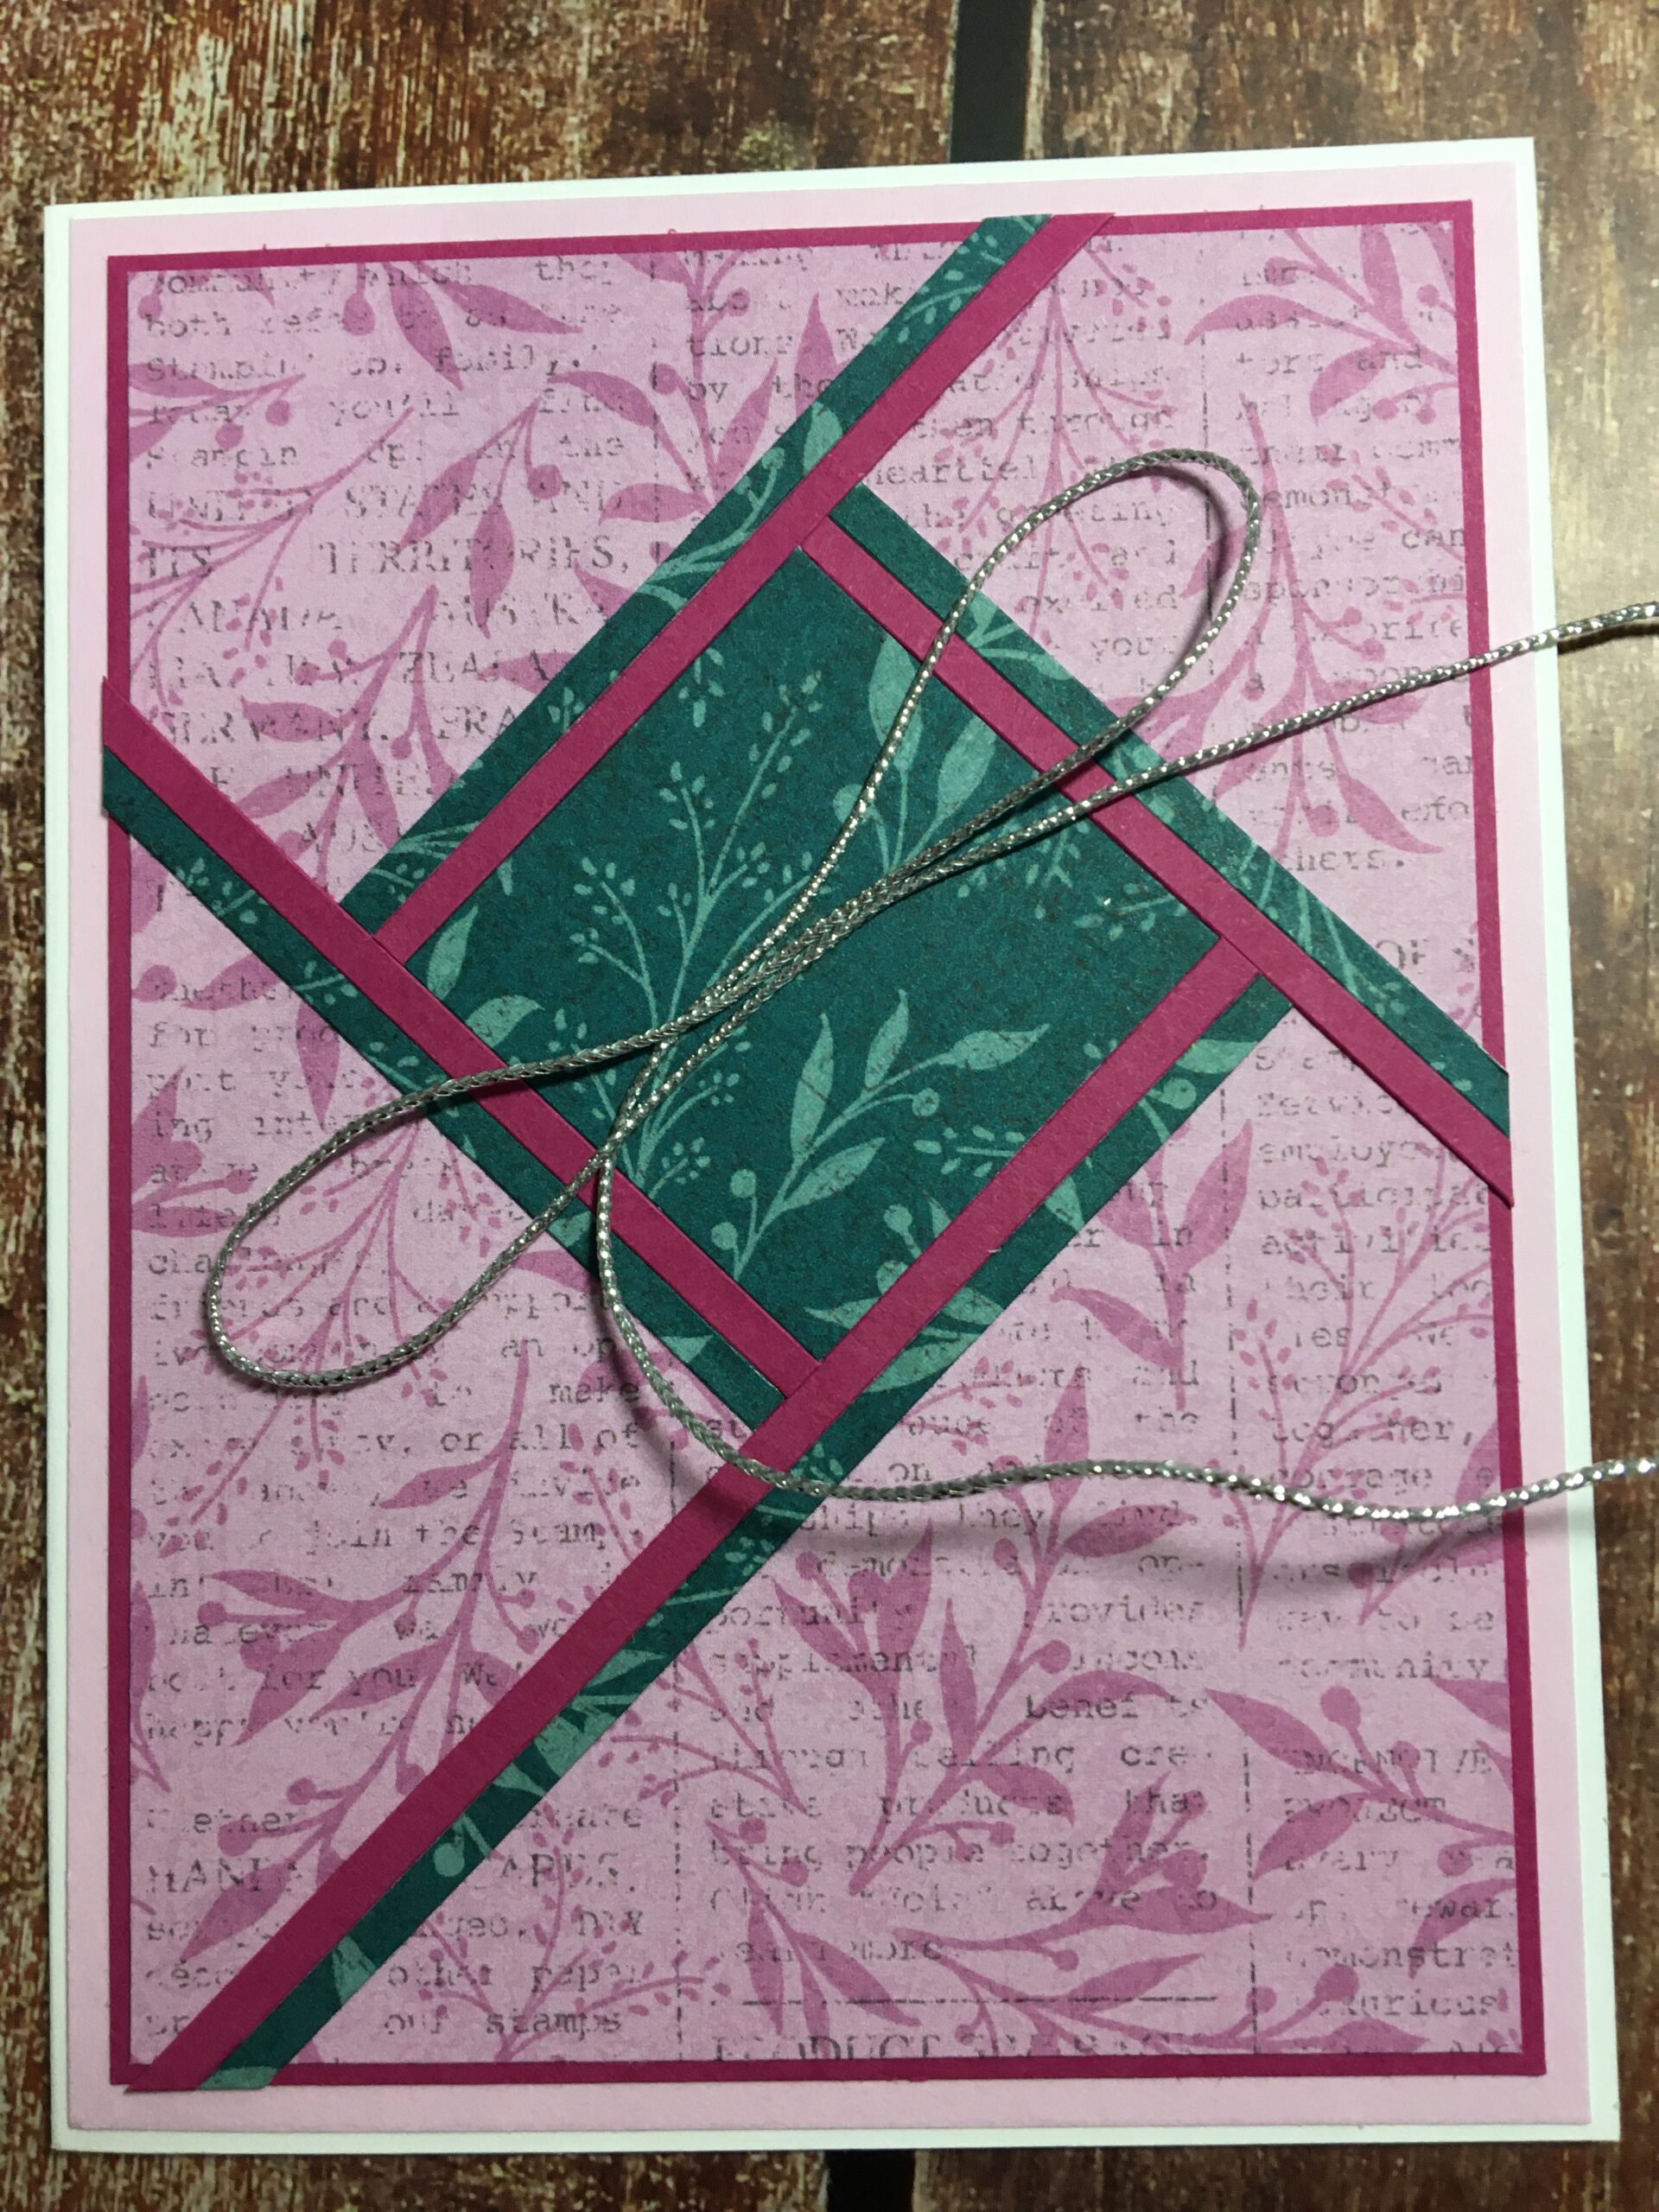
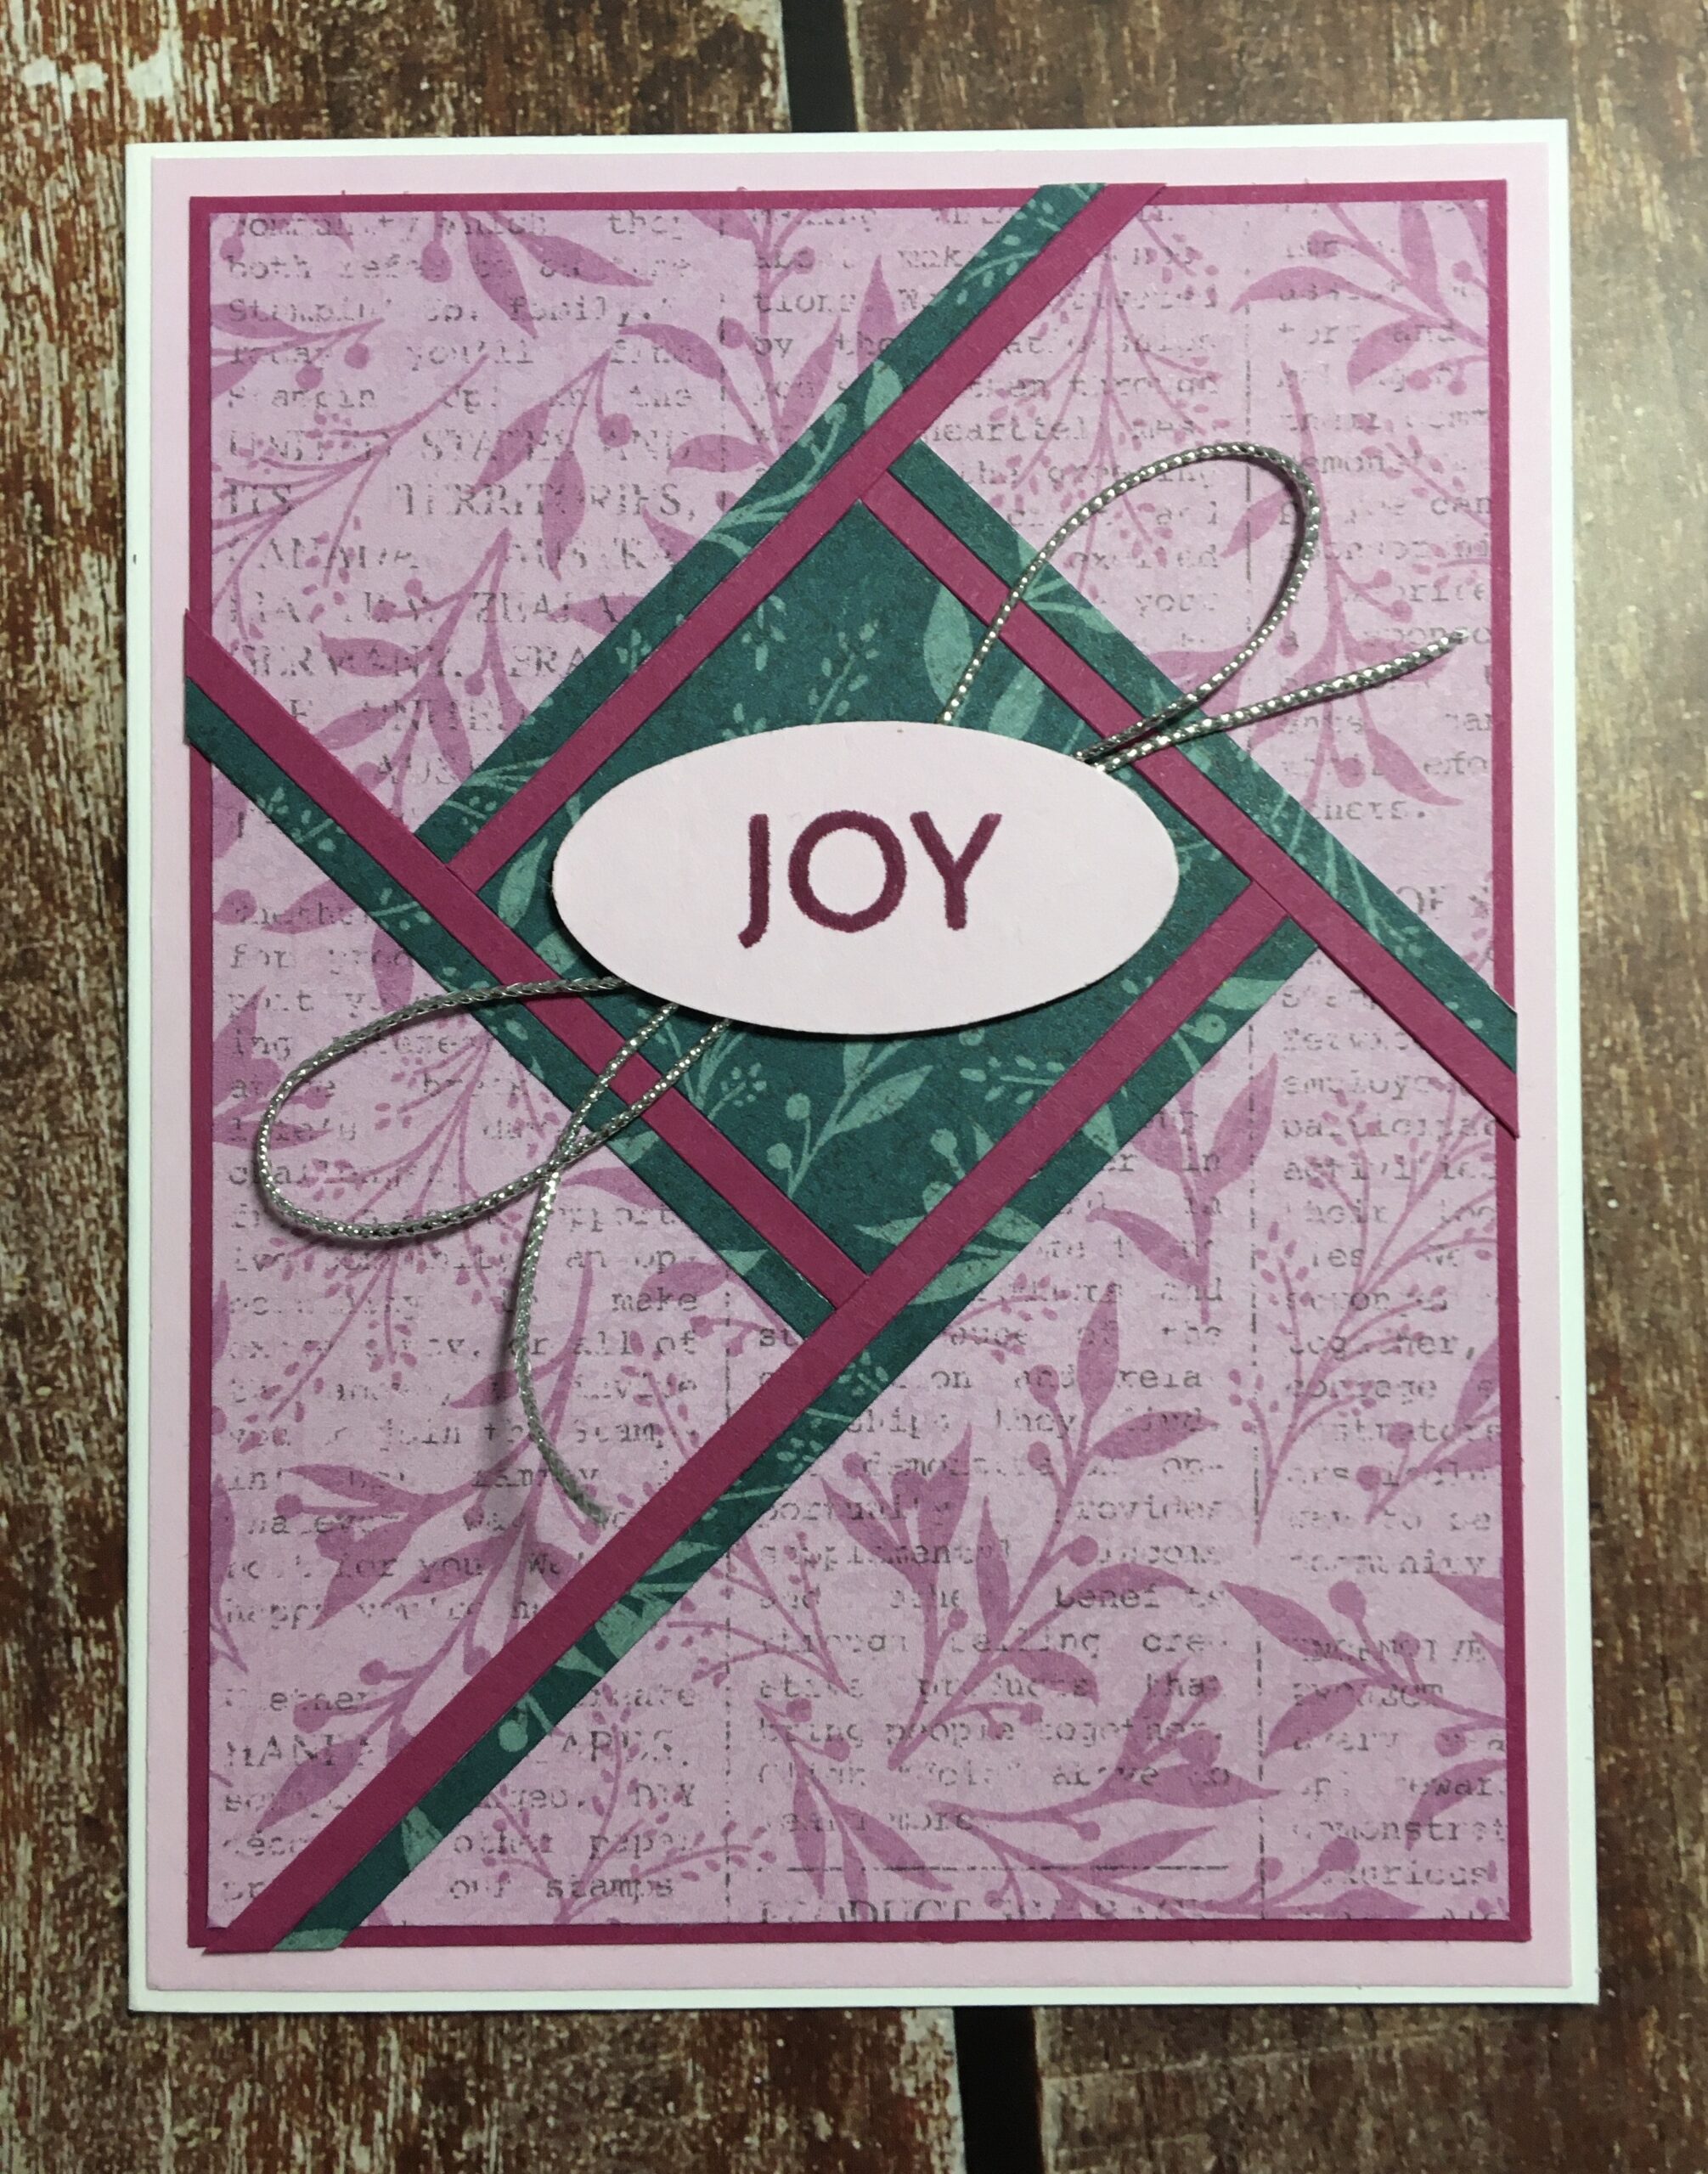
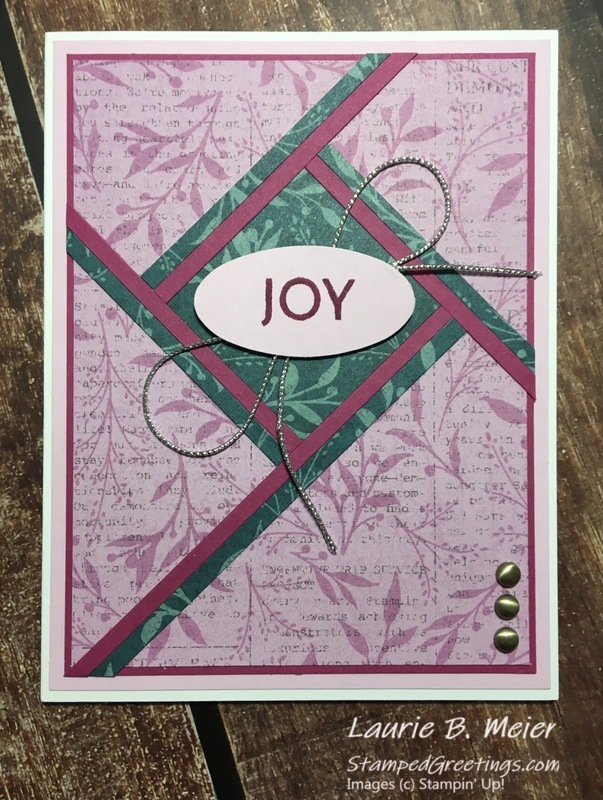
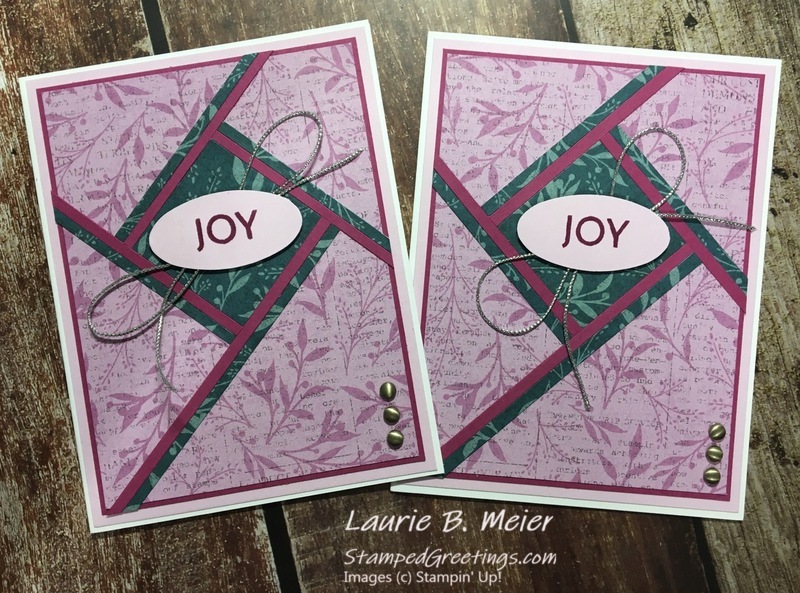
It was definitely a challenge to make a Christmas card in non-traditional colors! Typically, I end up using a blue and silver combination or a very traditional red and green combination in our Christmas cards. I really enjoyed focusing on a design with pink in mind and thinking outside my comfort zone! I decided to use a fractured card design for my project. Check out the picture below. Yes, I snuck in a little Pretty Peacock into the colors! It is definitely one of my favorite returning colors 🙂
Fractured cards are very fun to make and incredibly versatile. Honestly, I don’t know if the fractured design is making a comeback or if it’s a rather new design. I guess it really doesn’t matter since the design is awesome to make! Below are descriptions and associated pictures of how to make the card!
Paper for the card includes –
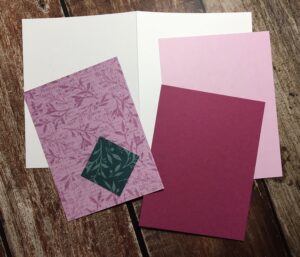
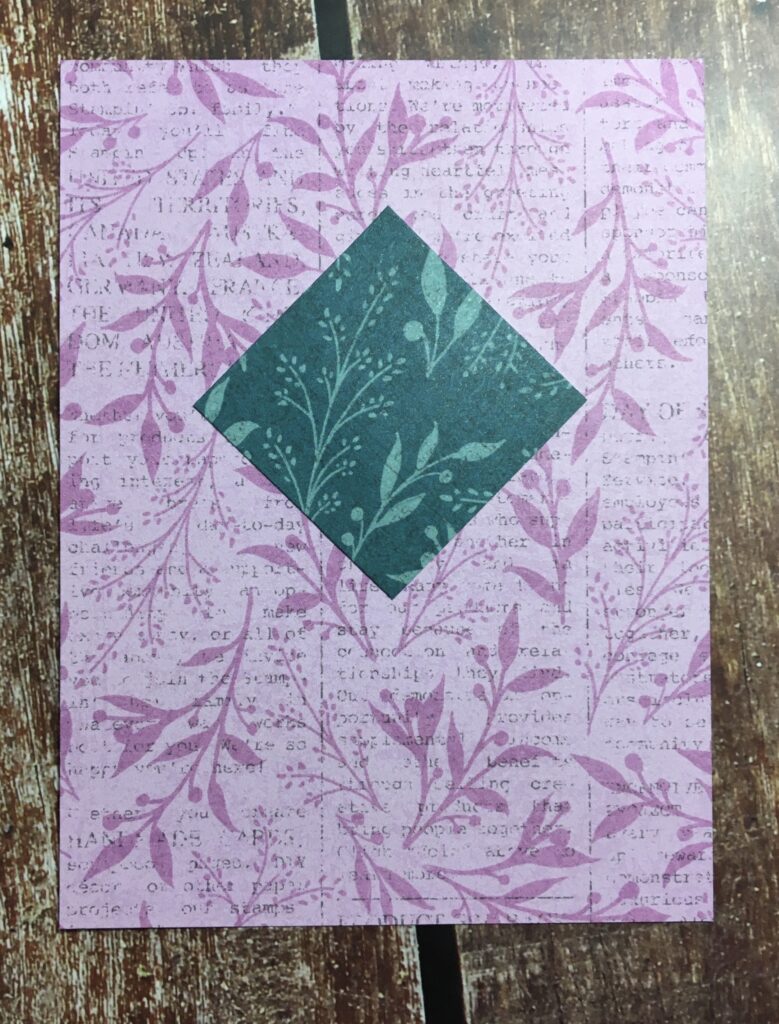
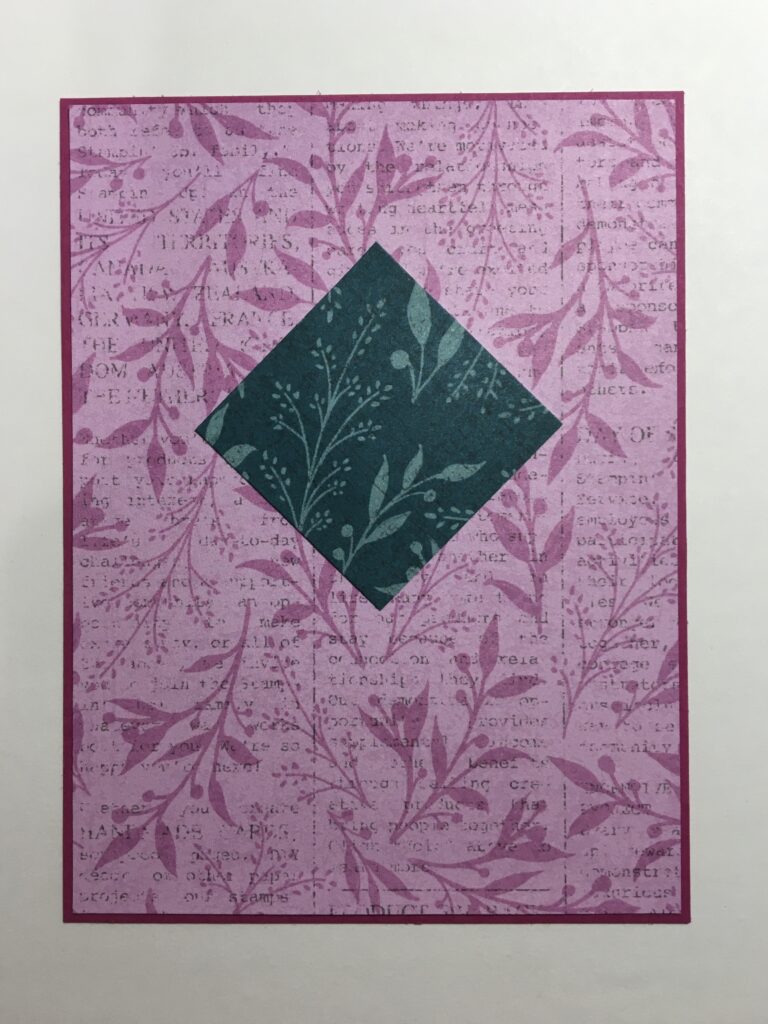
- Left picture below:
- Thick Basic White cardstock card base – 8 1/2″ x 5 1/2″, scored at 4 1/4″ on the 8 1/2″ side
- Bubble Bath cardstock back frame – 5 3/8″ x 4 1/8″
- Berry Burst cardstock front frame – 5 1/8″ x 3 7/8″
- Masterfully Made Designer Series Paper (DSP) pink piece – 5″ x 3 3/4″
- Masterfully Made DSP Pretty Peacock piece – 1 5/8″ square
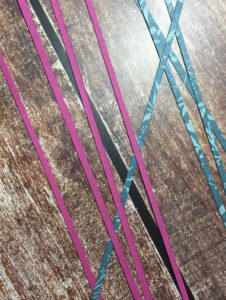
- Right picture below:
- Berry Burst cardstock strips – 1/8″ wide
- Masterfully Made Pretty Peacock DSP strips – 1/8″ wide
- Adhere the smaller piece of DSP on the larger piece of DSP, as pictured below.
- Then, adhere the DSP pieces to the Berry Burst cardstock frame.
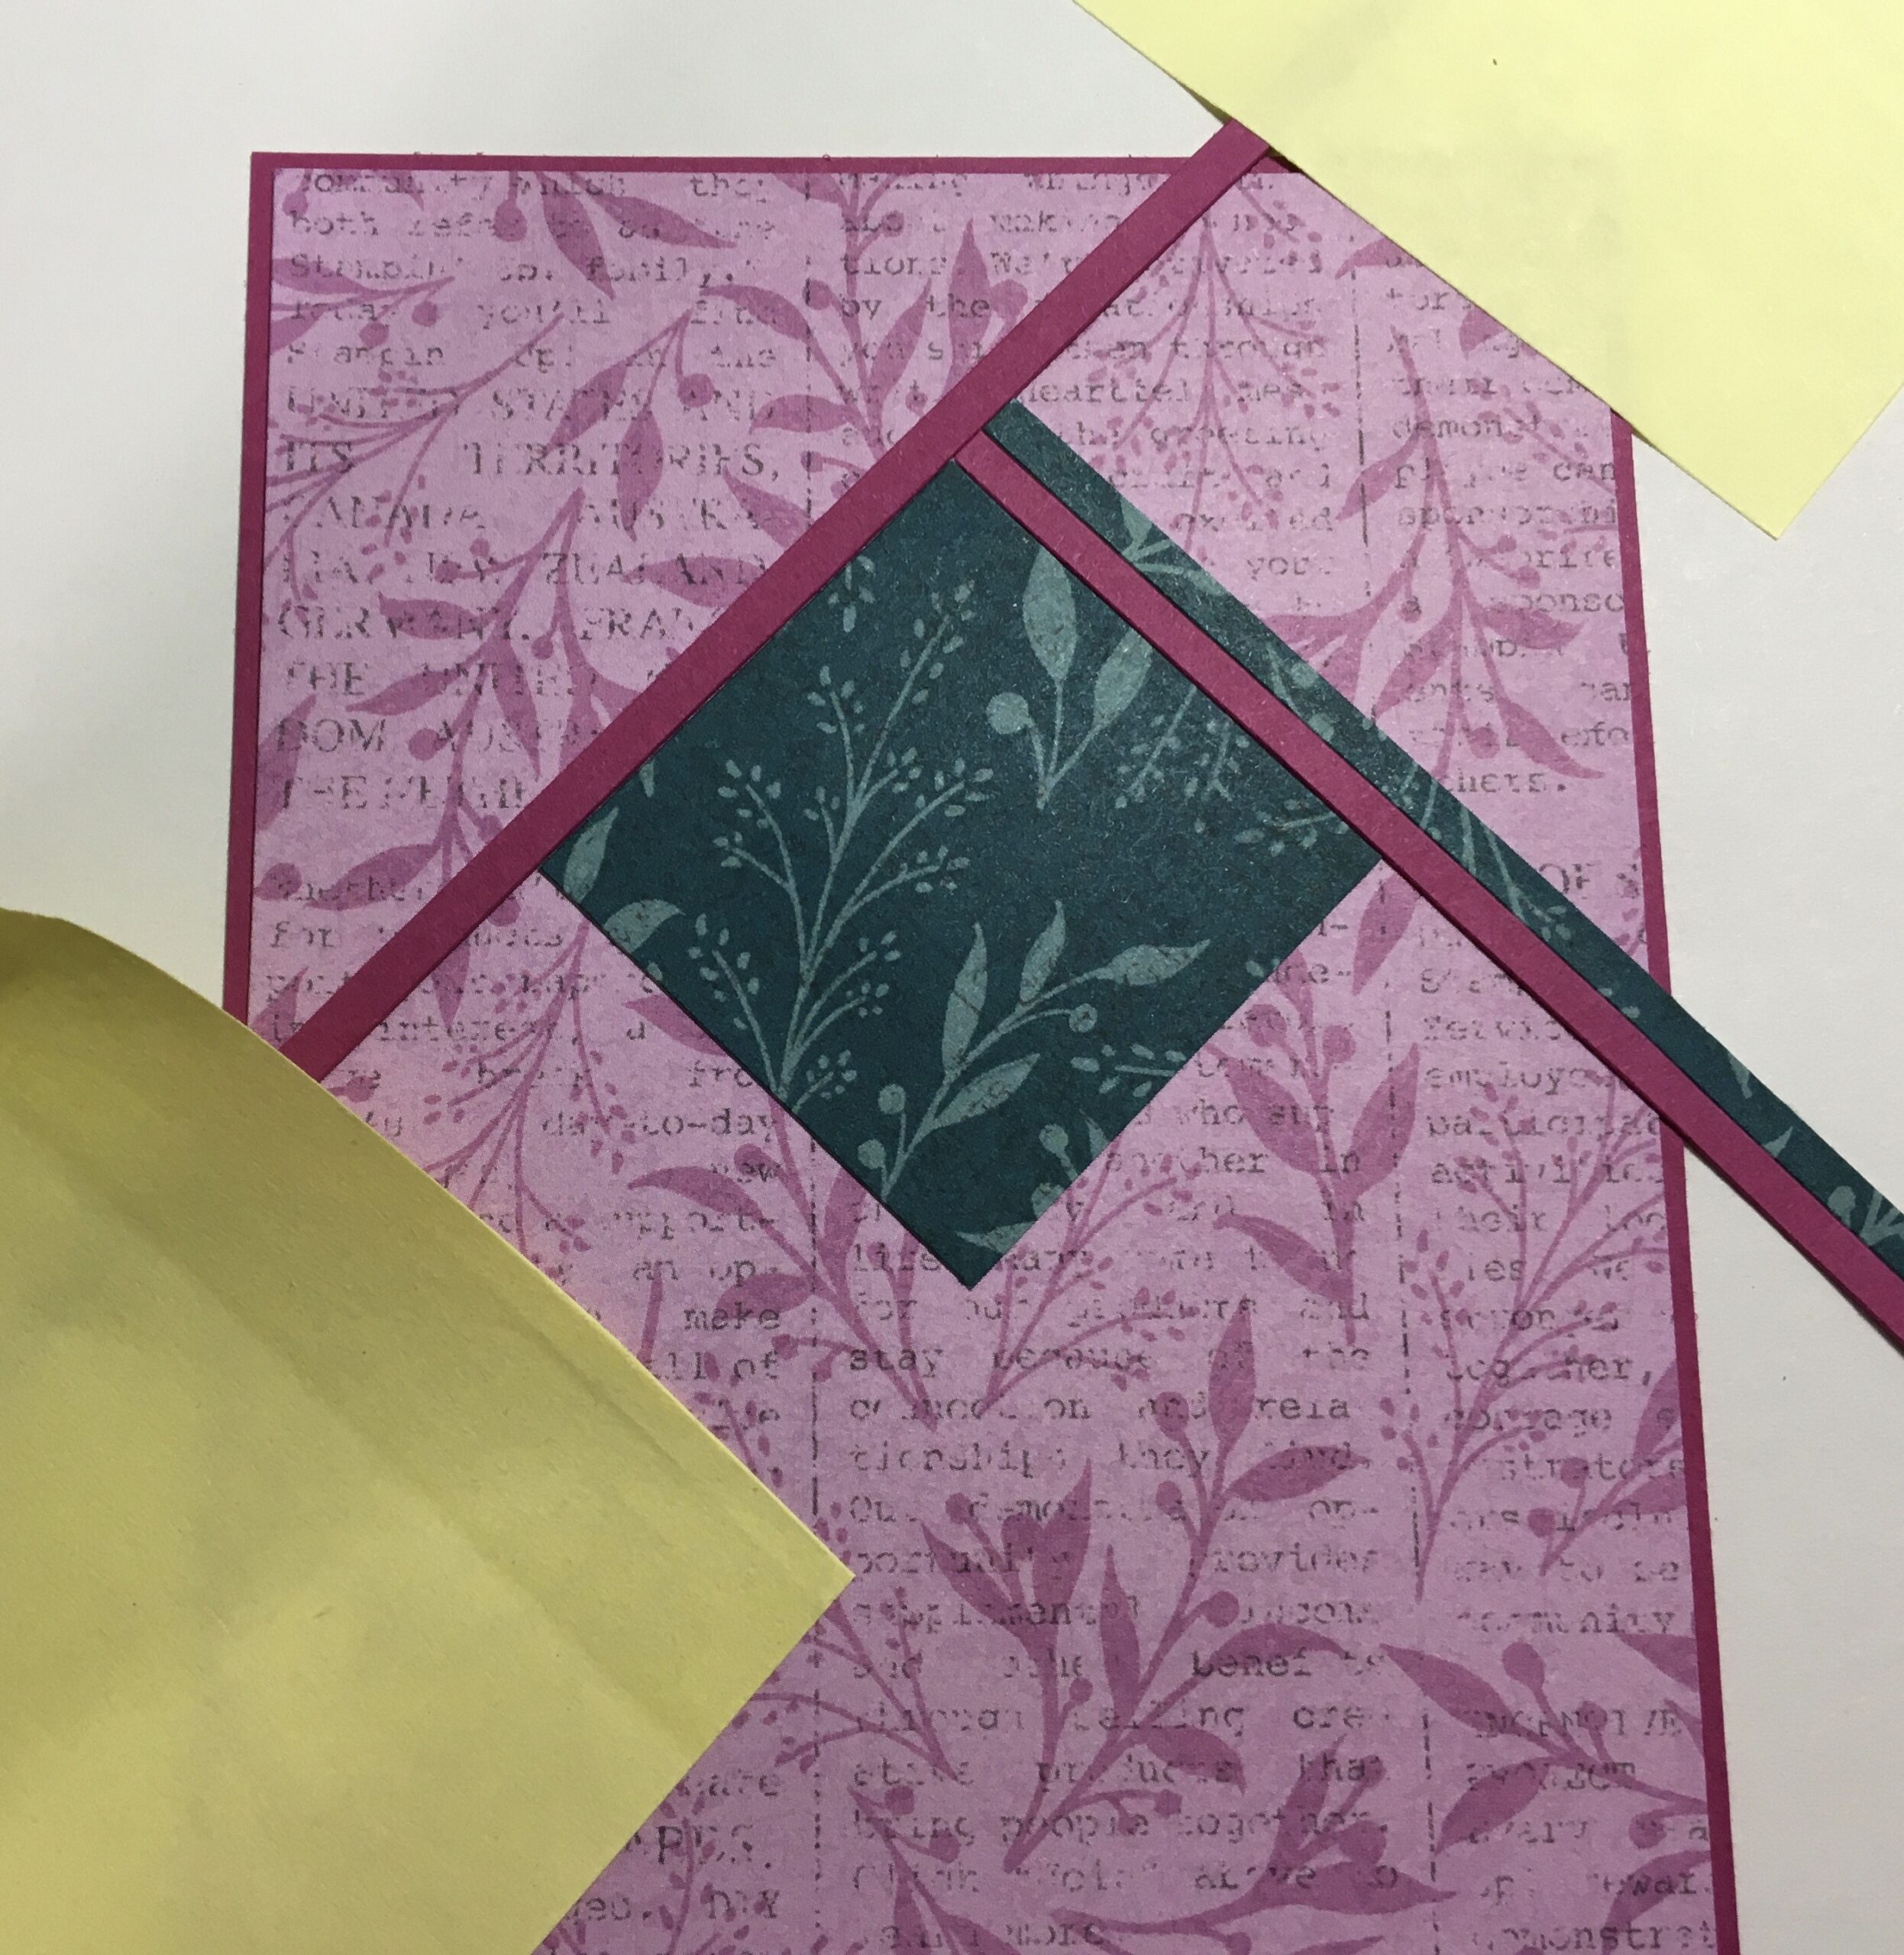
- Start the fractured design by using two of the Berry Burst cardstock 1/8″ strips.
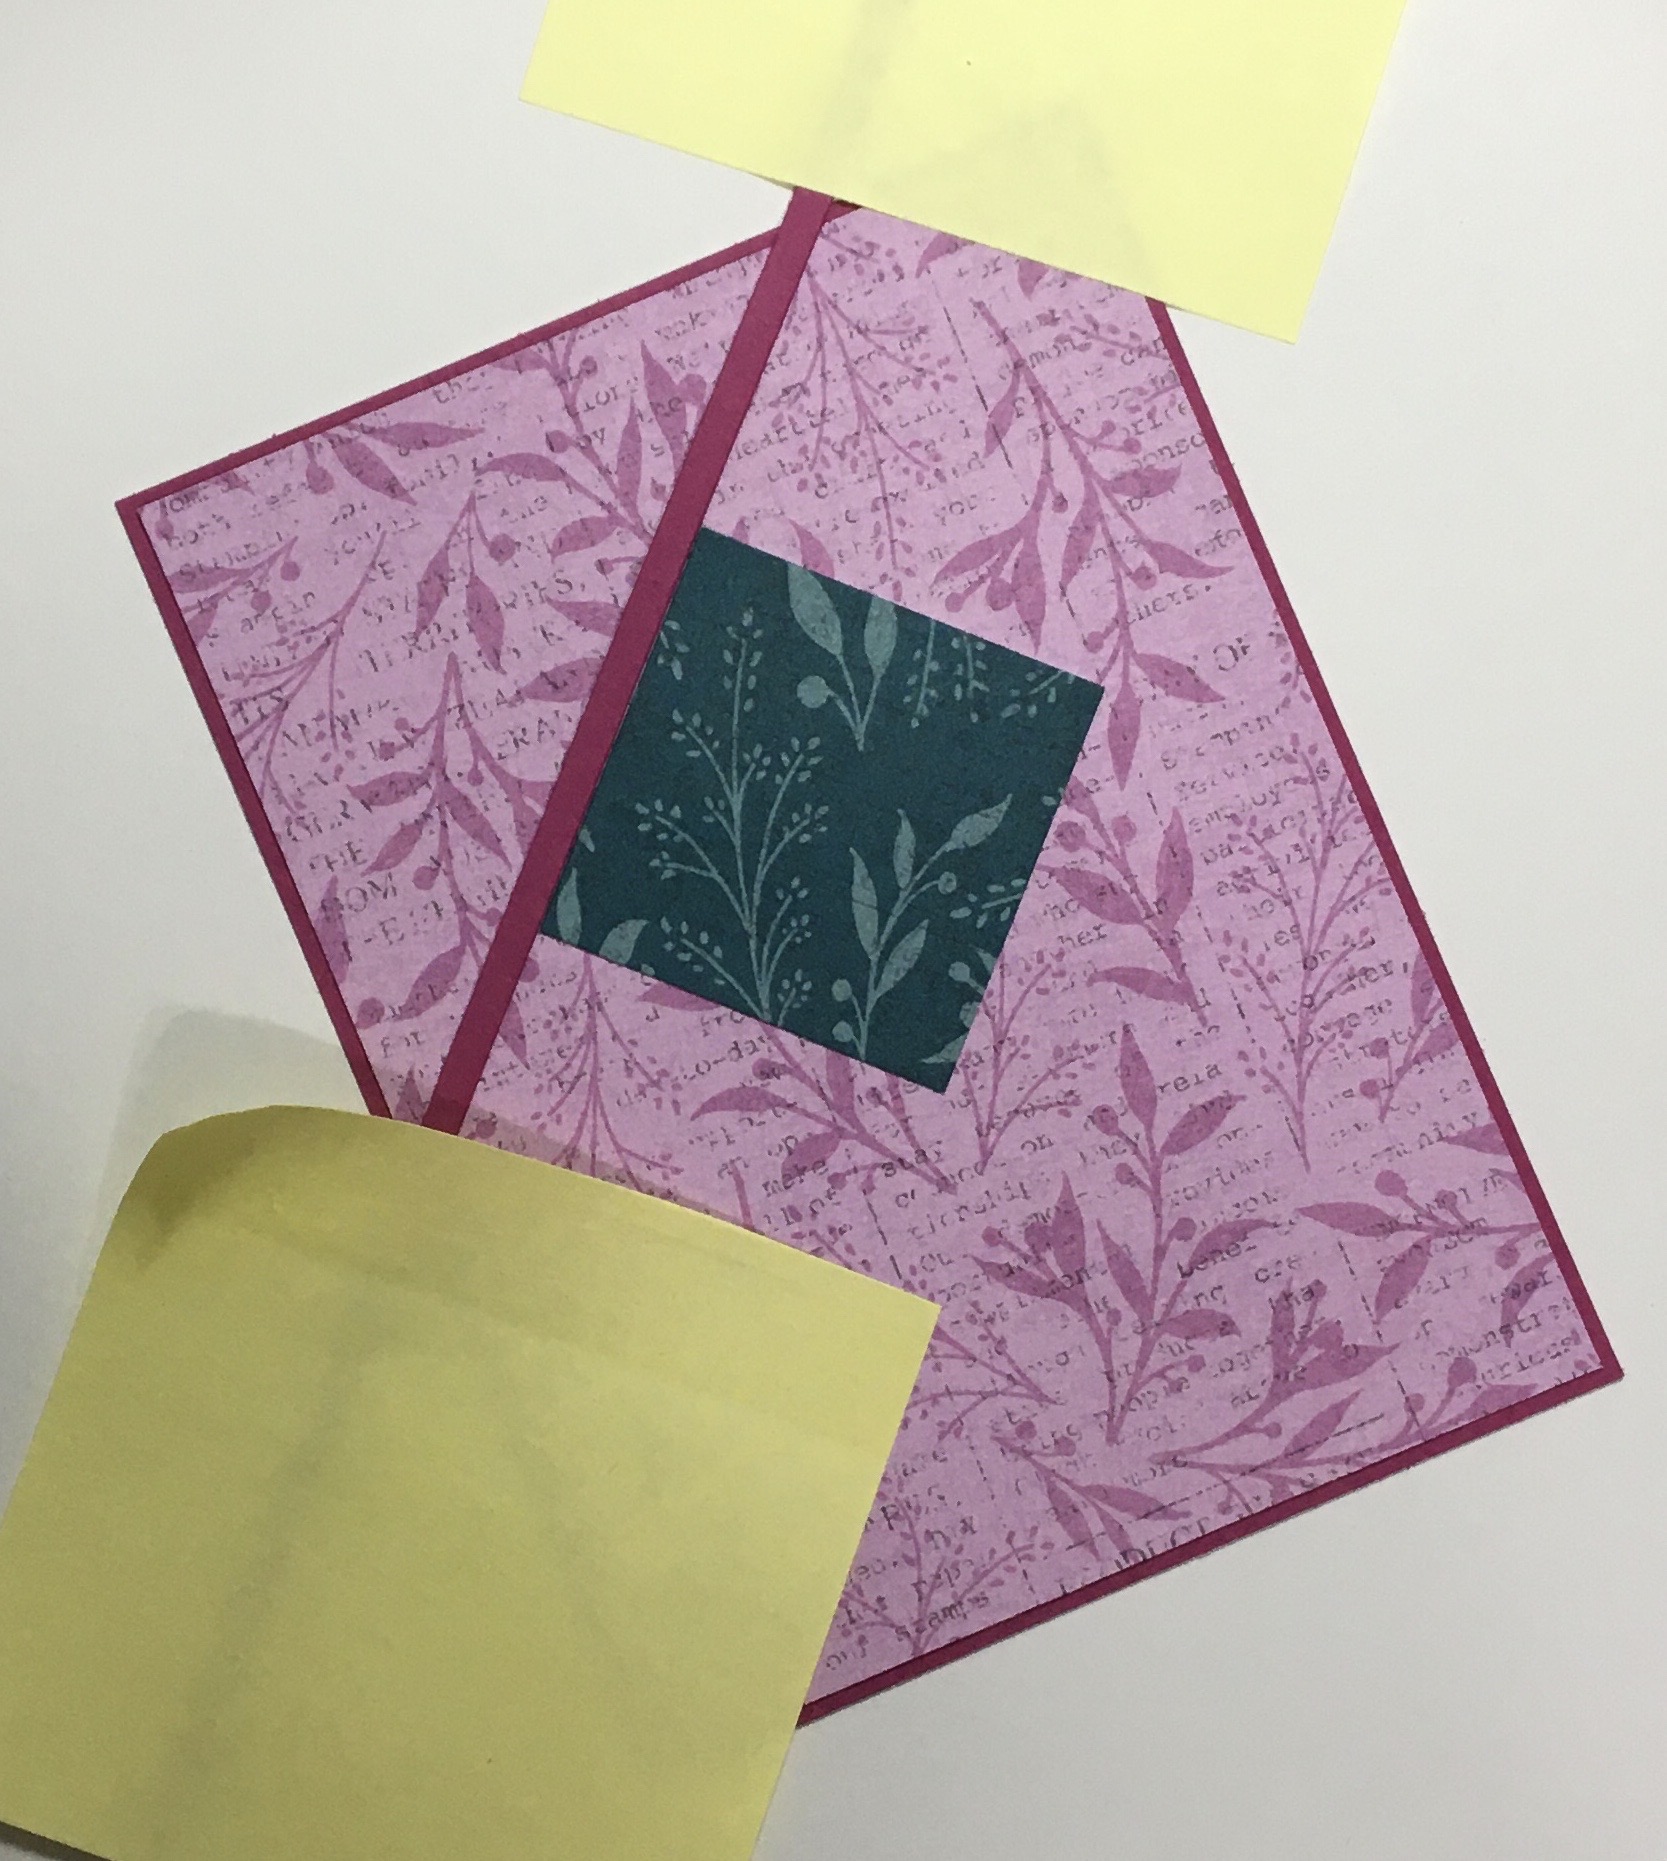
- The first step is to use a strip to figure out how to align the pattern around the center DSP piece. From left to right (pictured below) –
- Use one of the Berry Burst strips and a few Post-It notes or pieces of washi tape to put the strip flush against the side of the center DSP piece.
- Next, take a another strip and adhere it against the first strip and flush against the center DSP piece. Leave the initial strip in place.
- Then, add the Pretty Peacock DSP 1/8″ strip next to the adhered Berry Burst strip. You can then take away the initial strip.
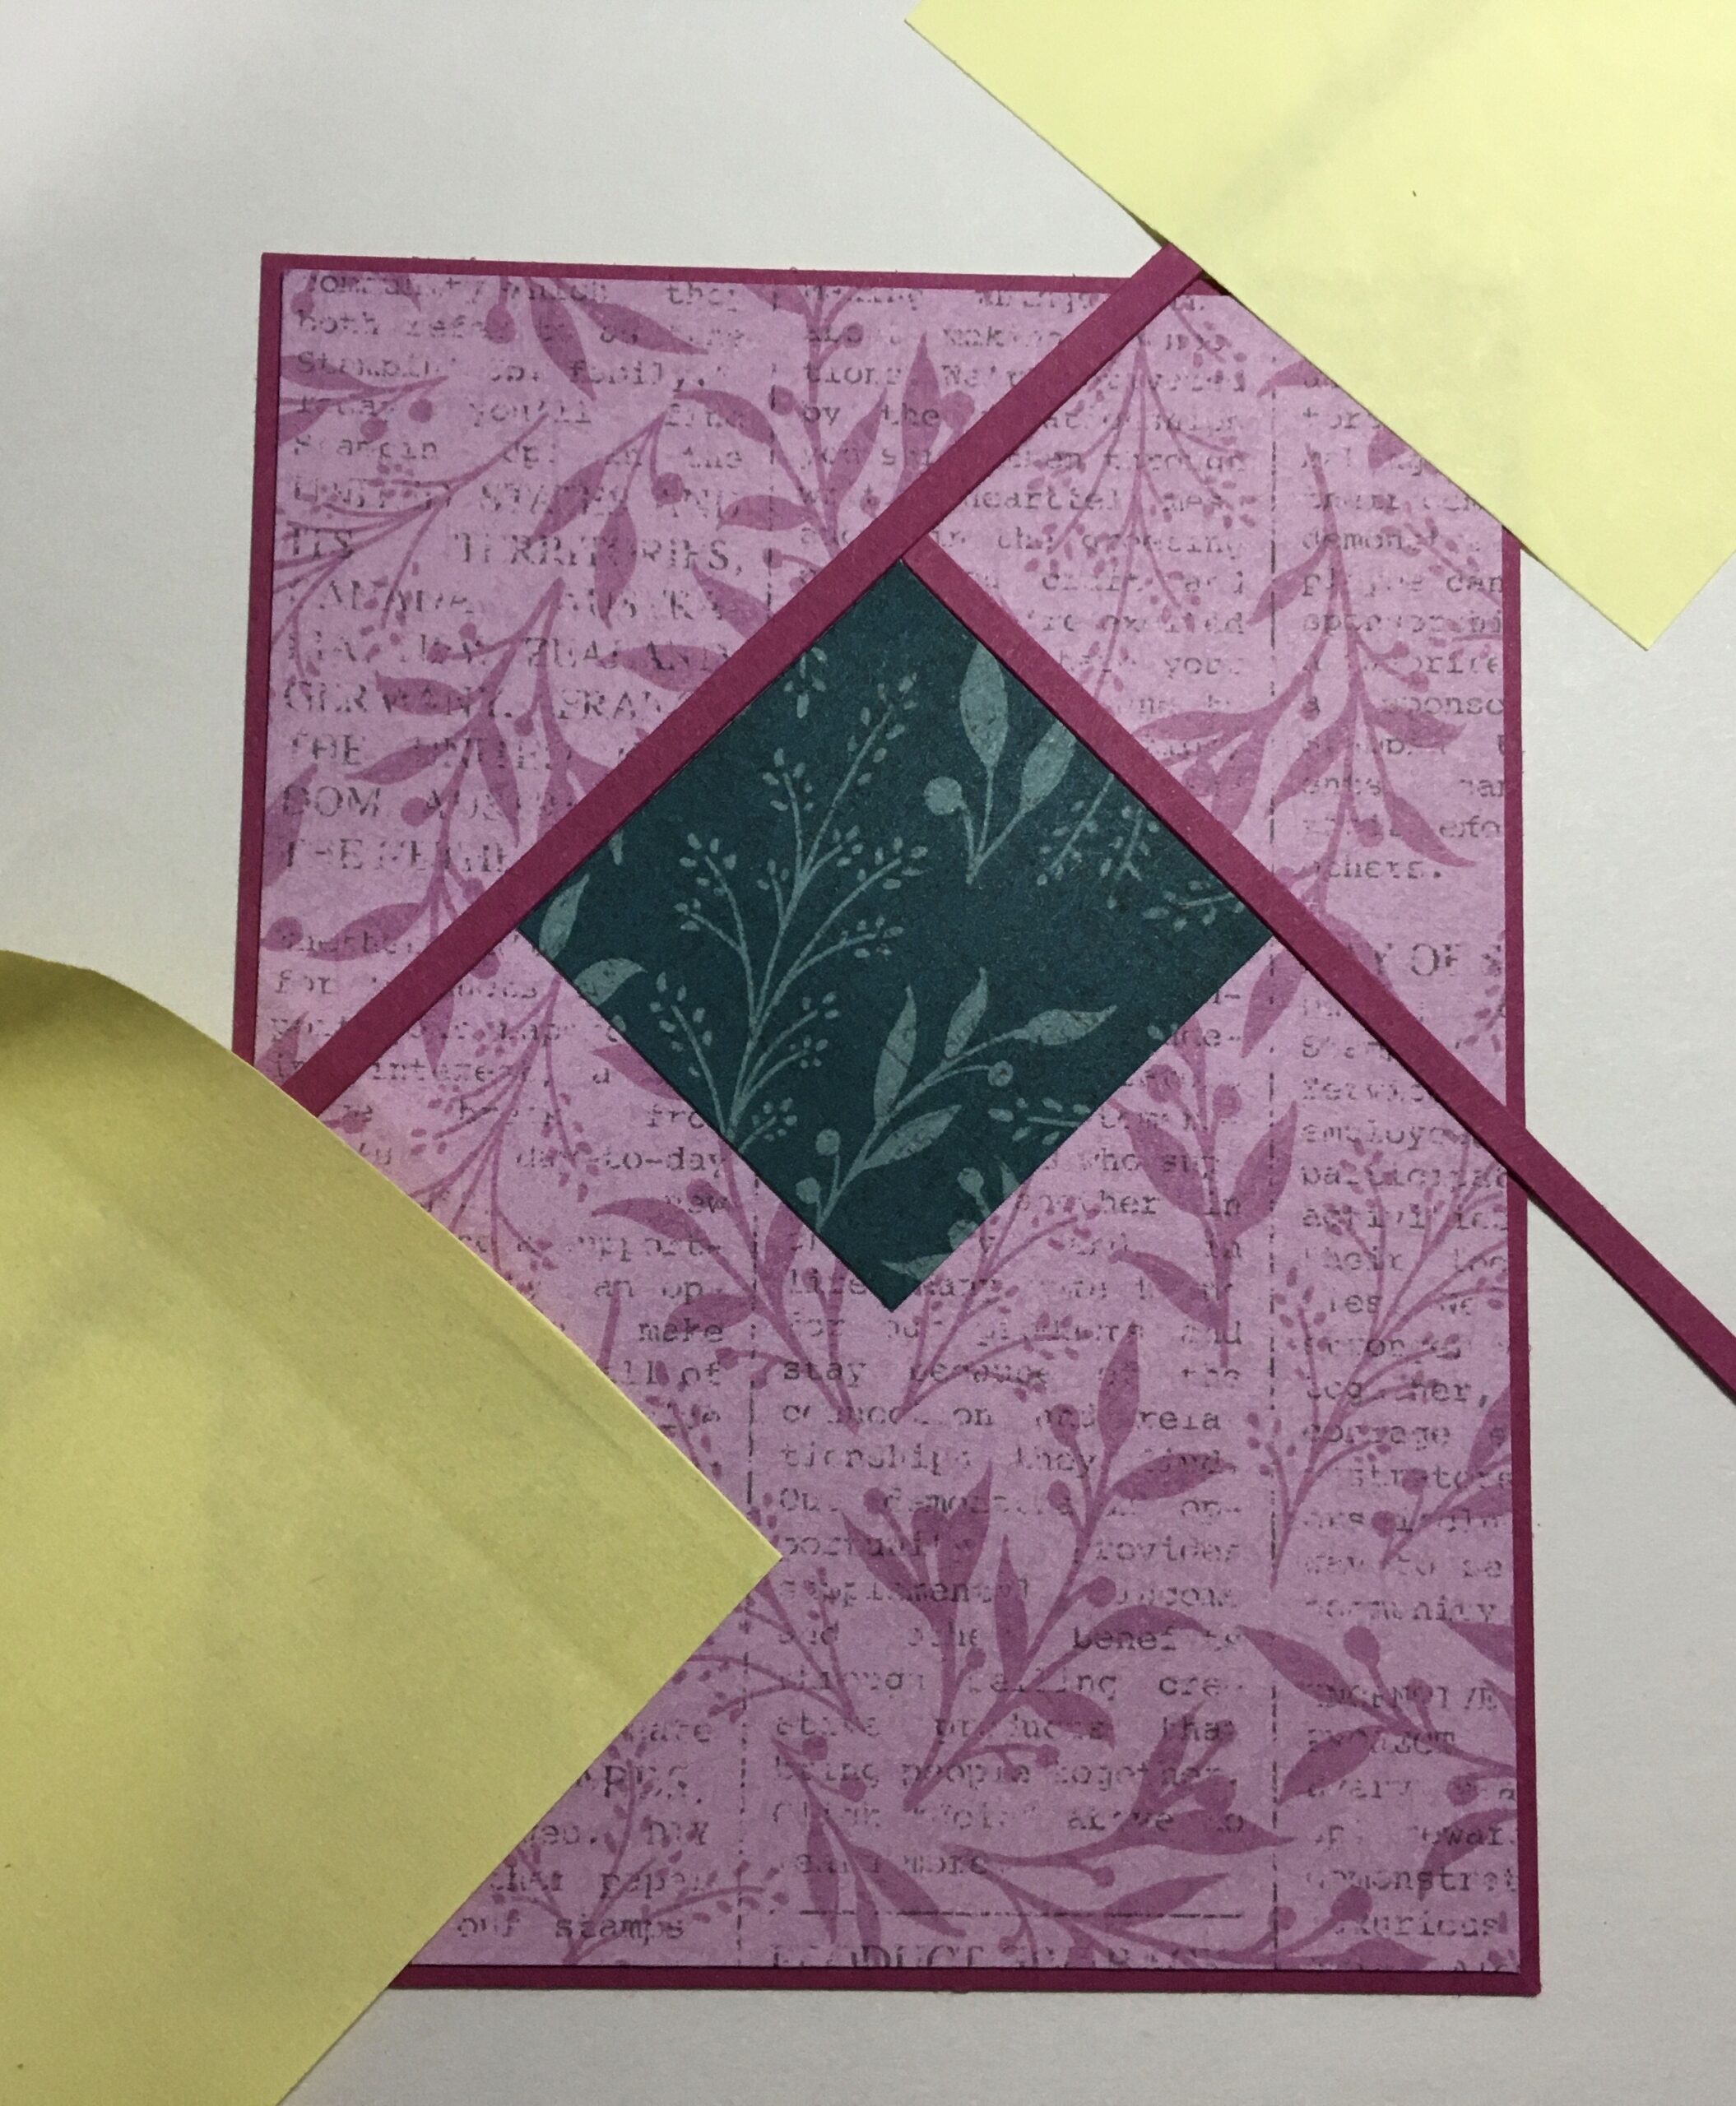
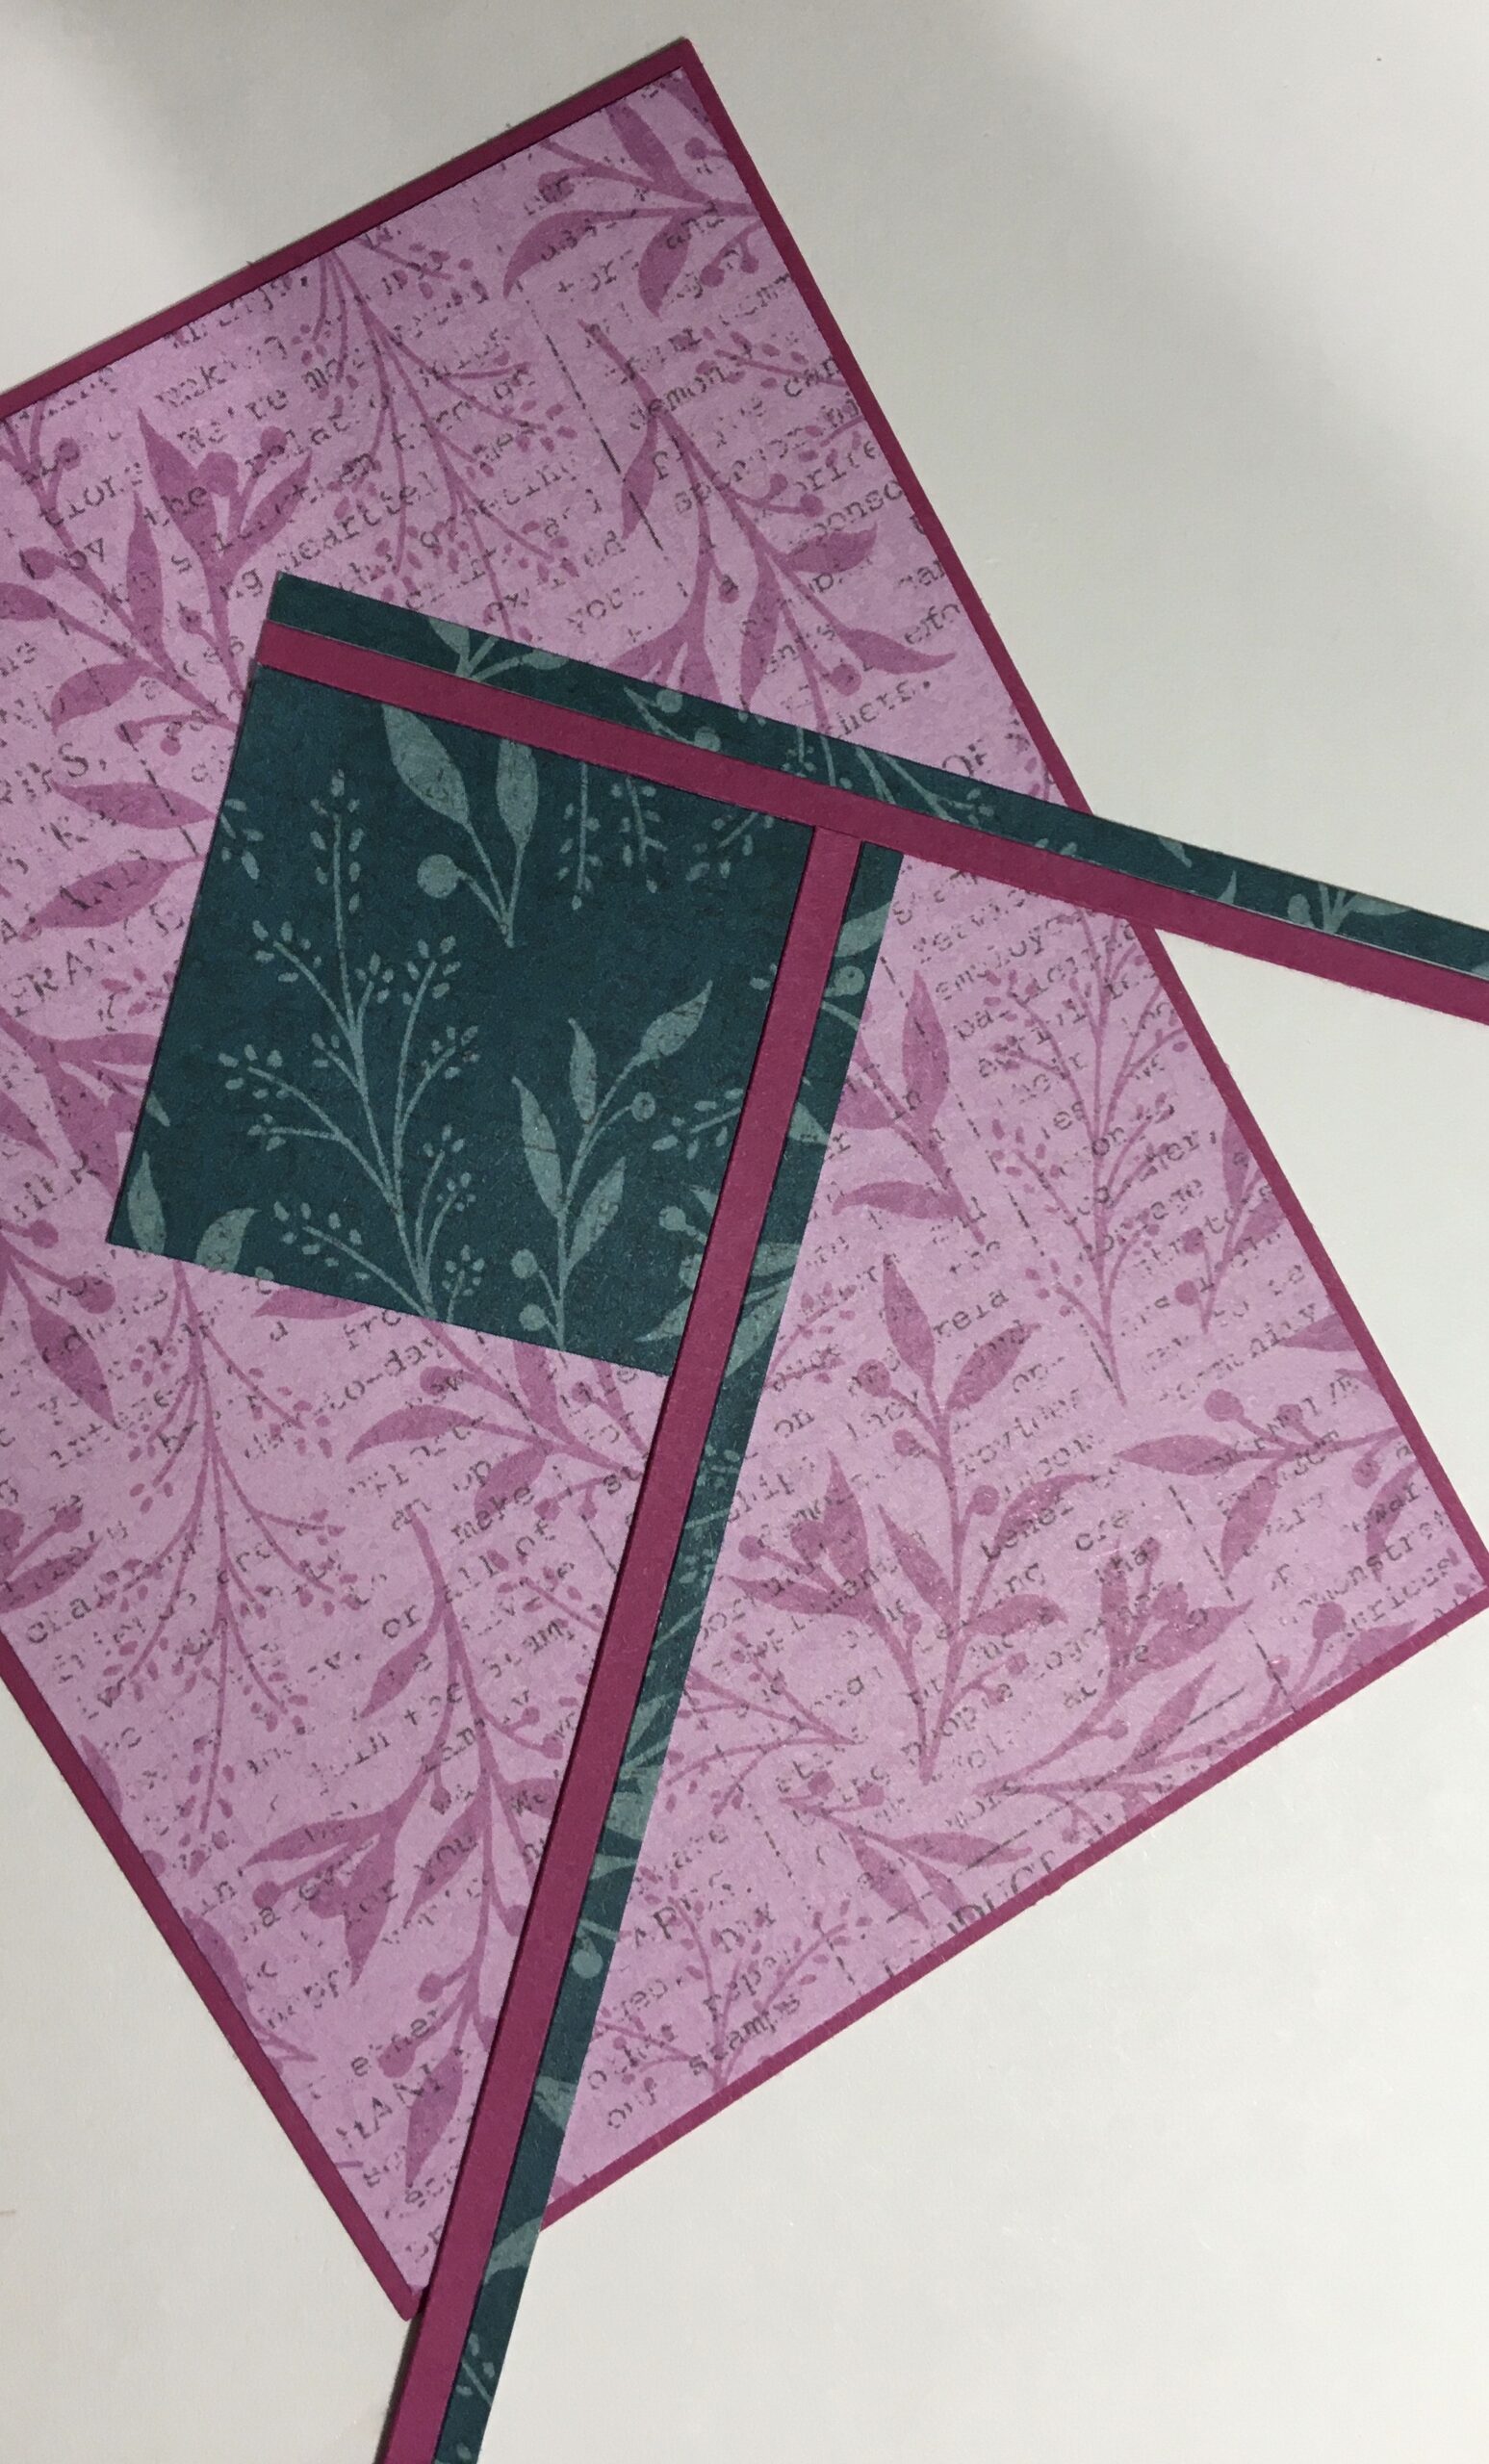
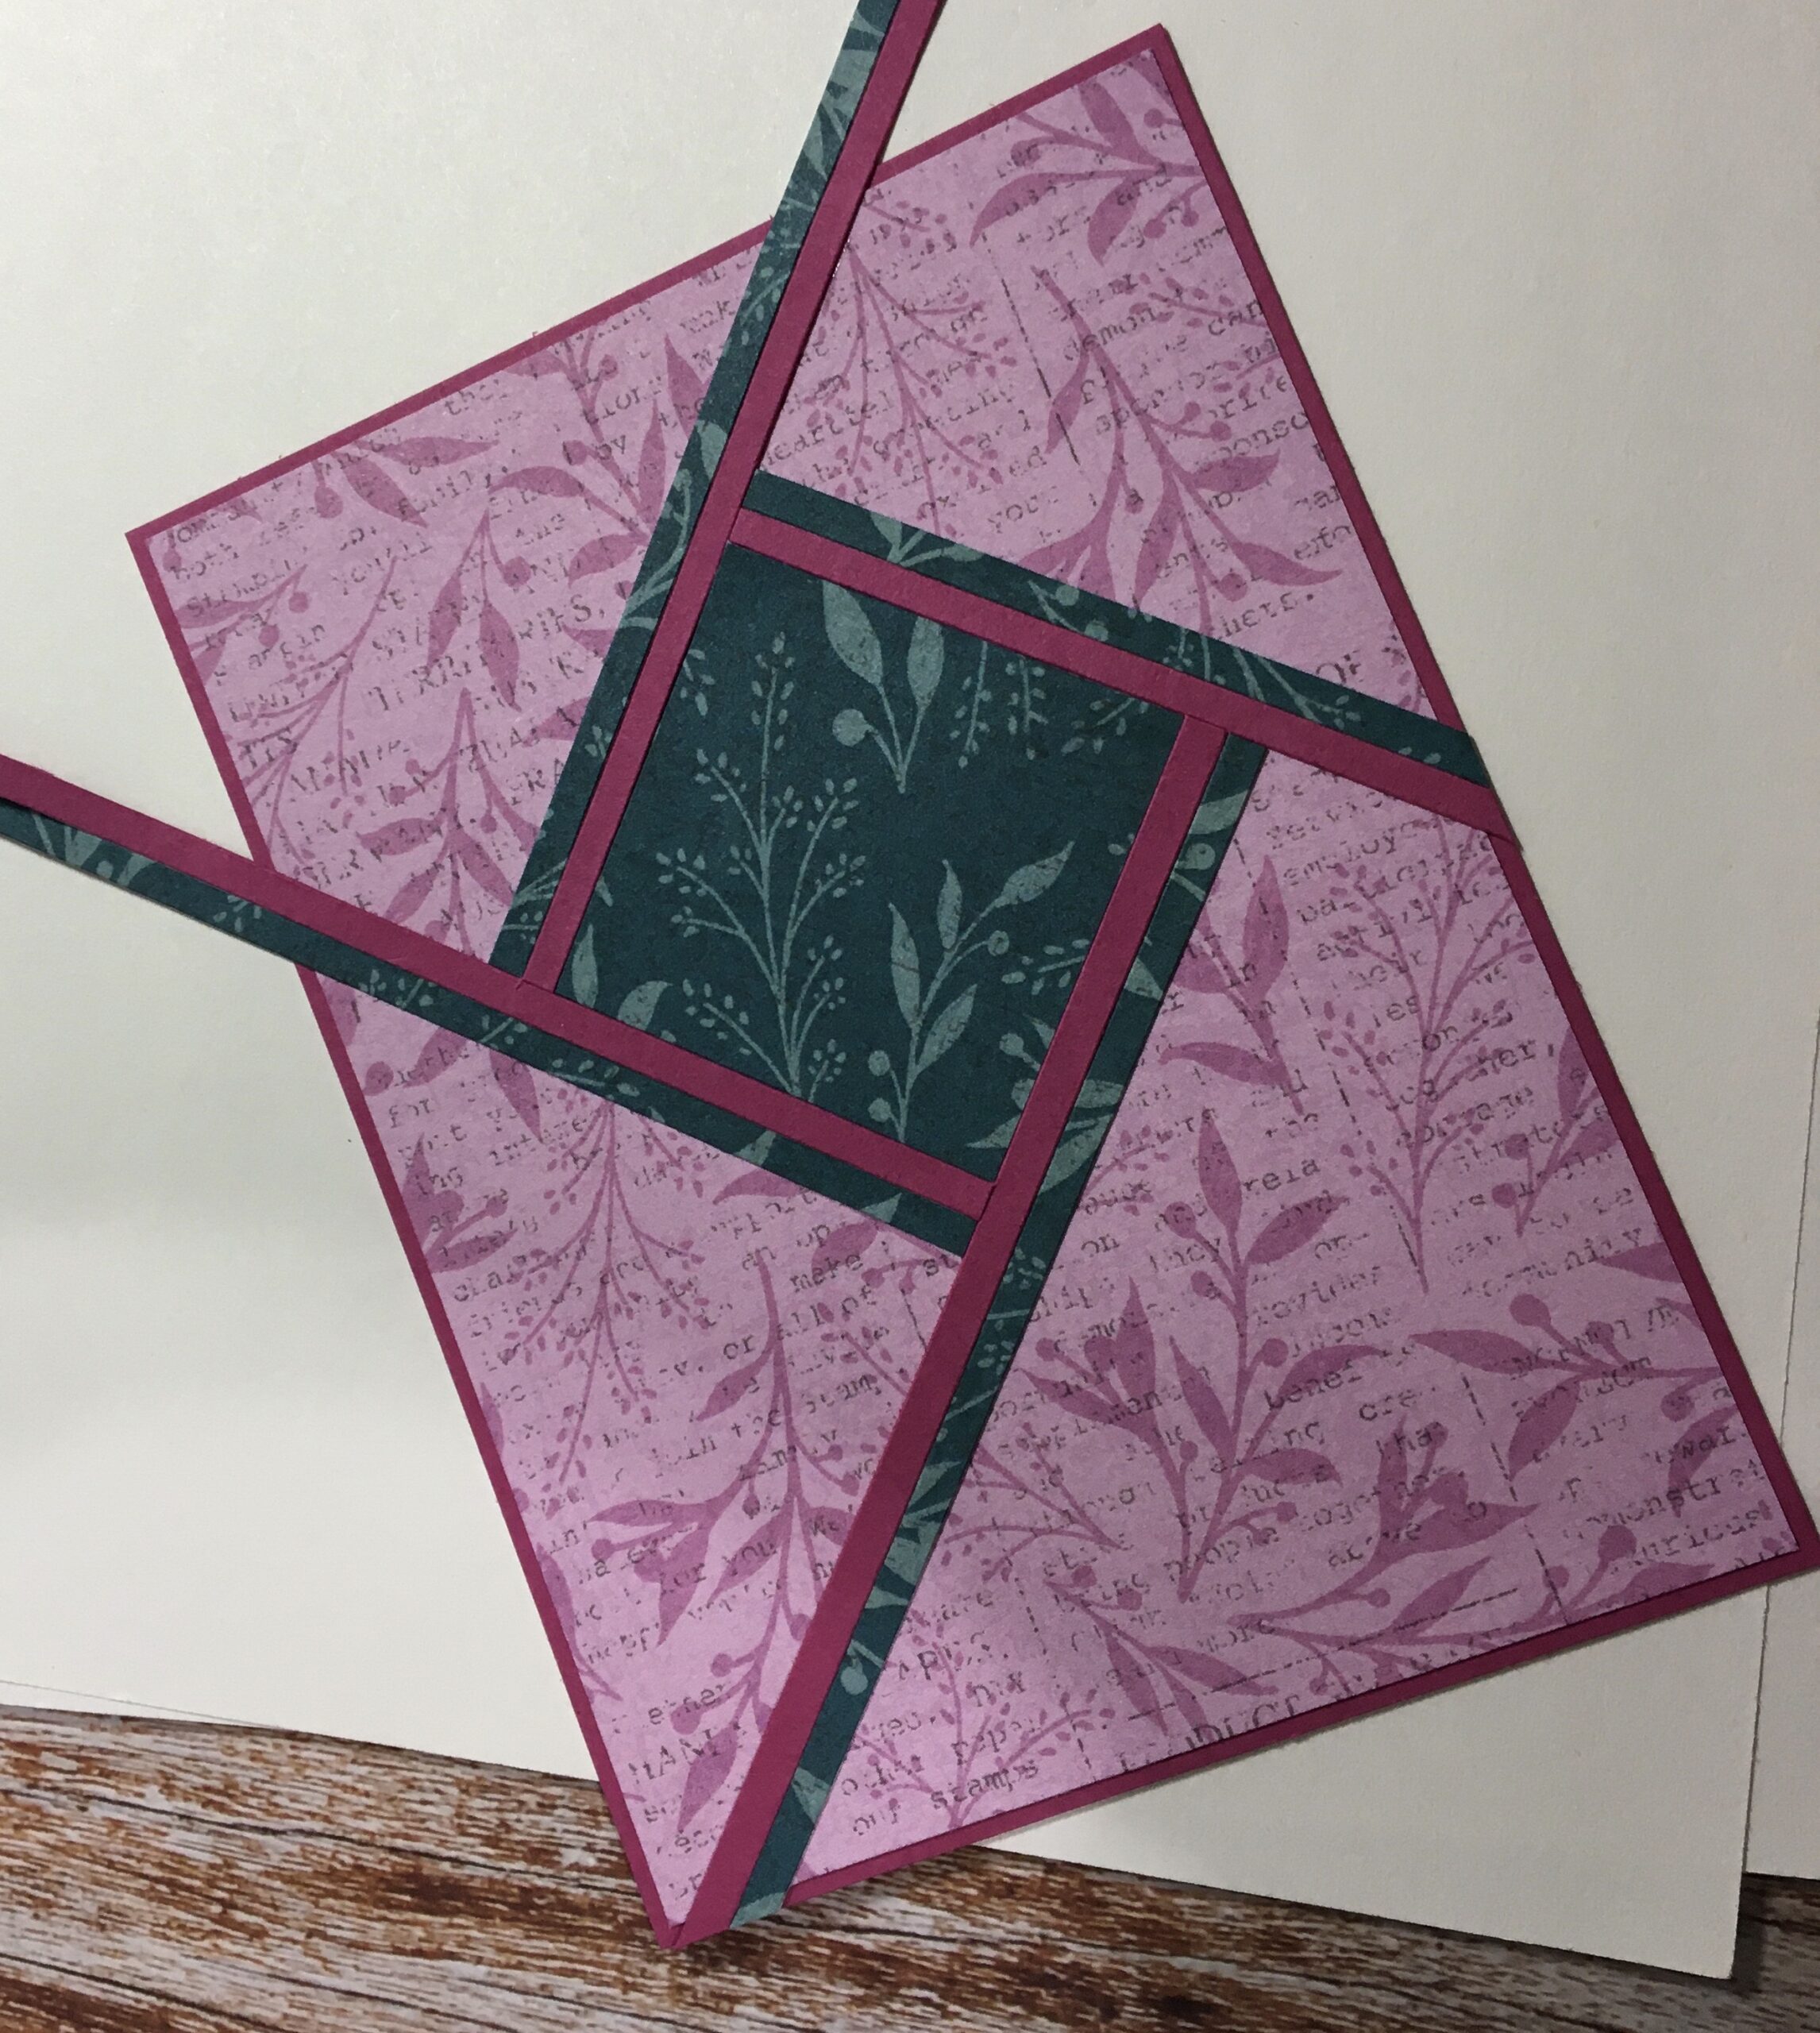
- Use this process to add another set of strips on the next side of the center DSP piece.
- Trim off the strips at the edge of the Berry Burst frame.
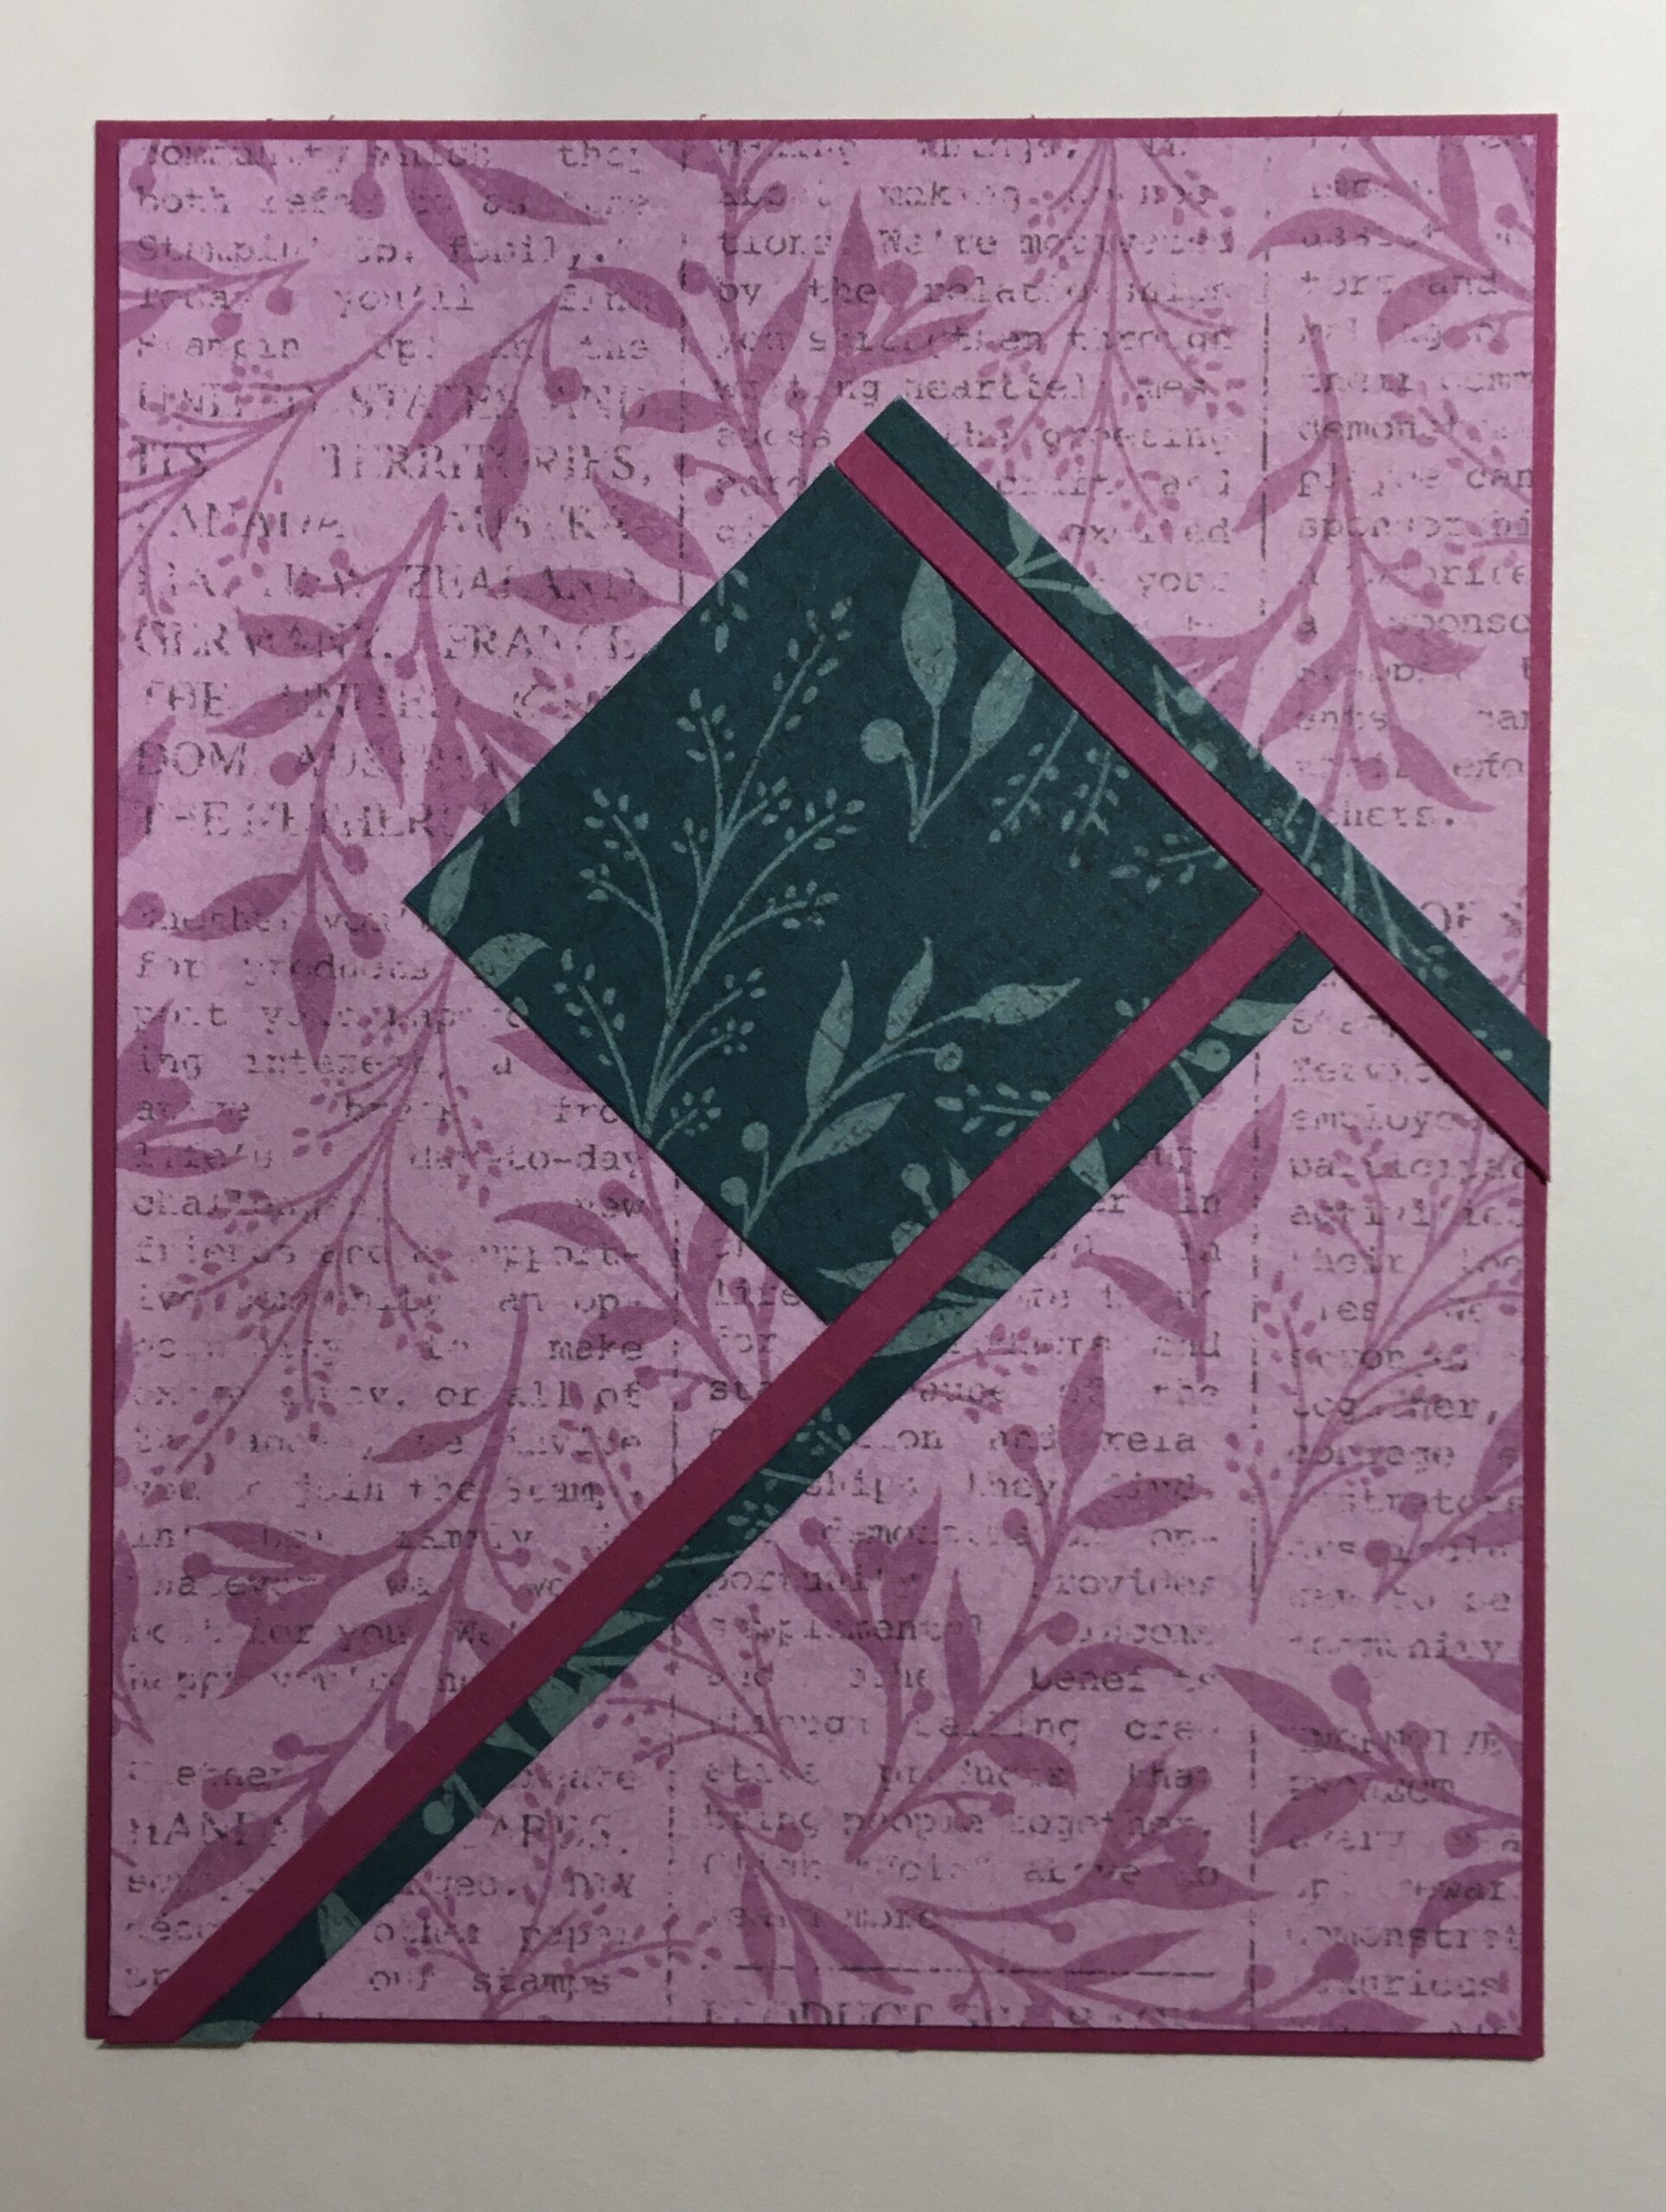
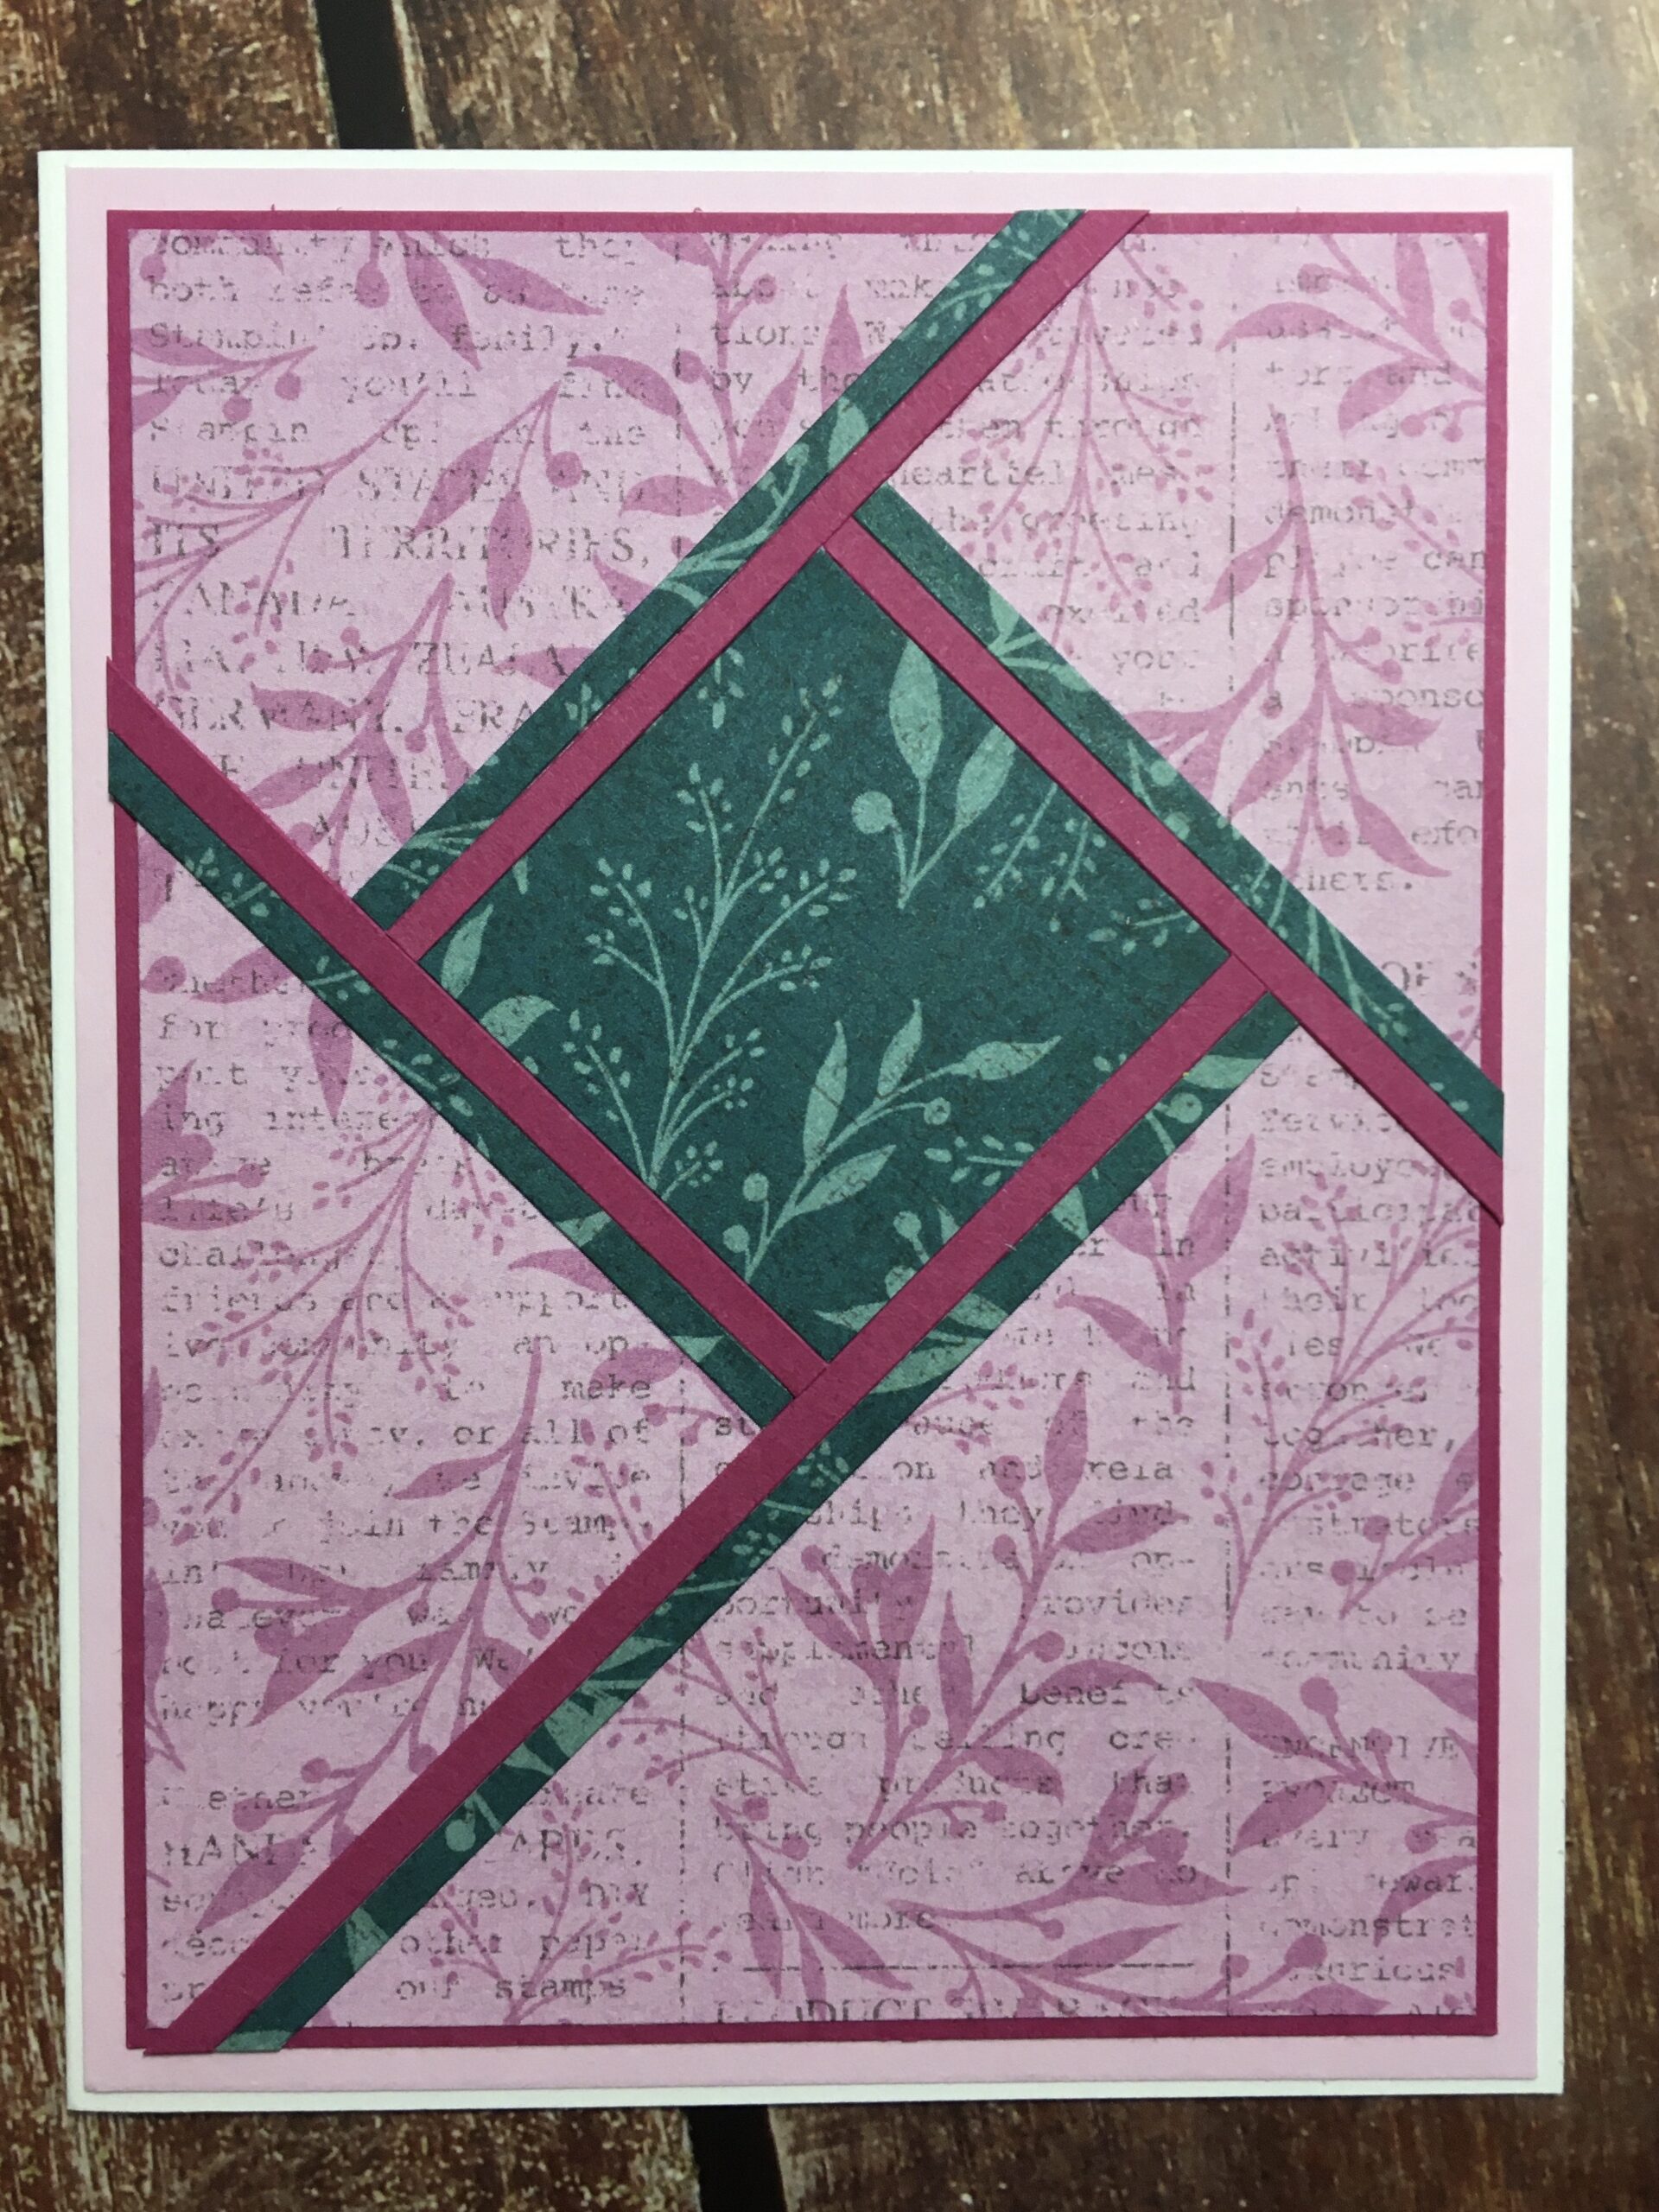
- Continue to add the 1/8″ strips until the fractured design is finished, as pictured on the right below.
- Trim off the excess strips at the edge of the Berry Burst frame.
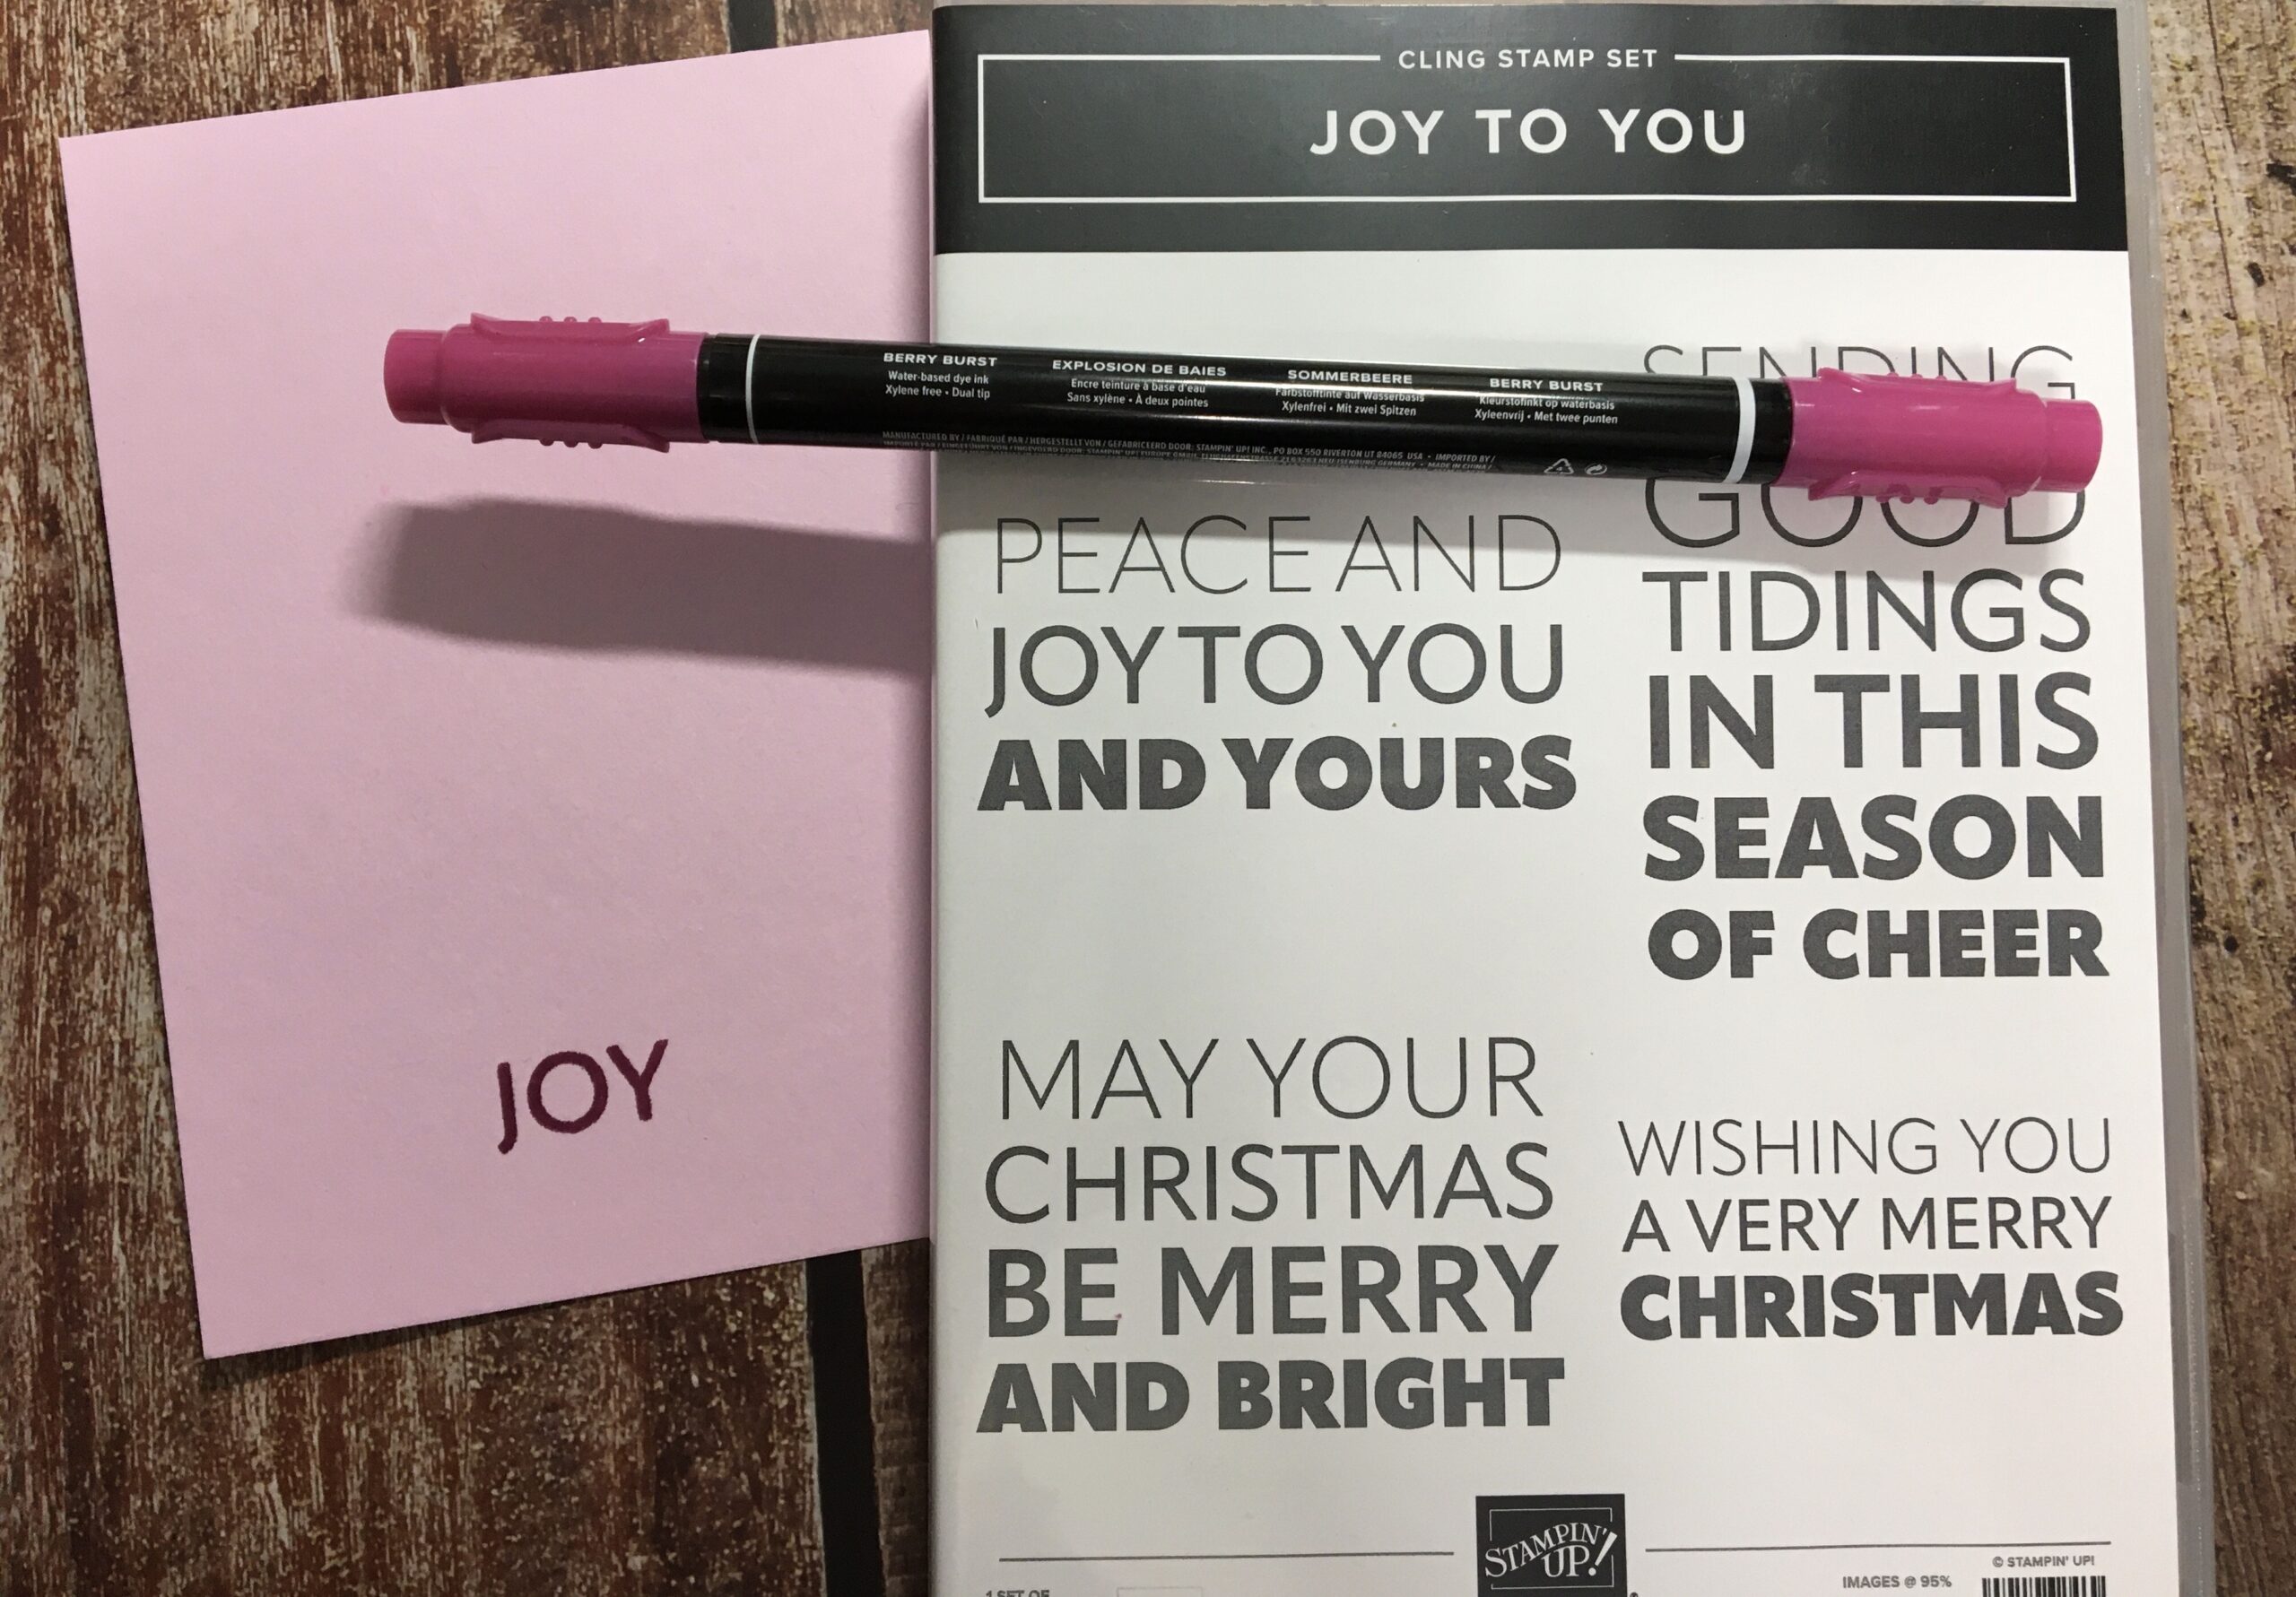
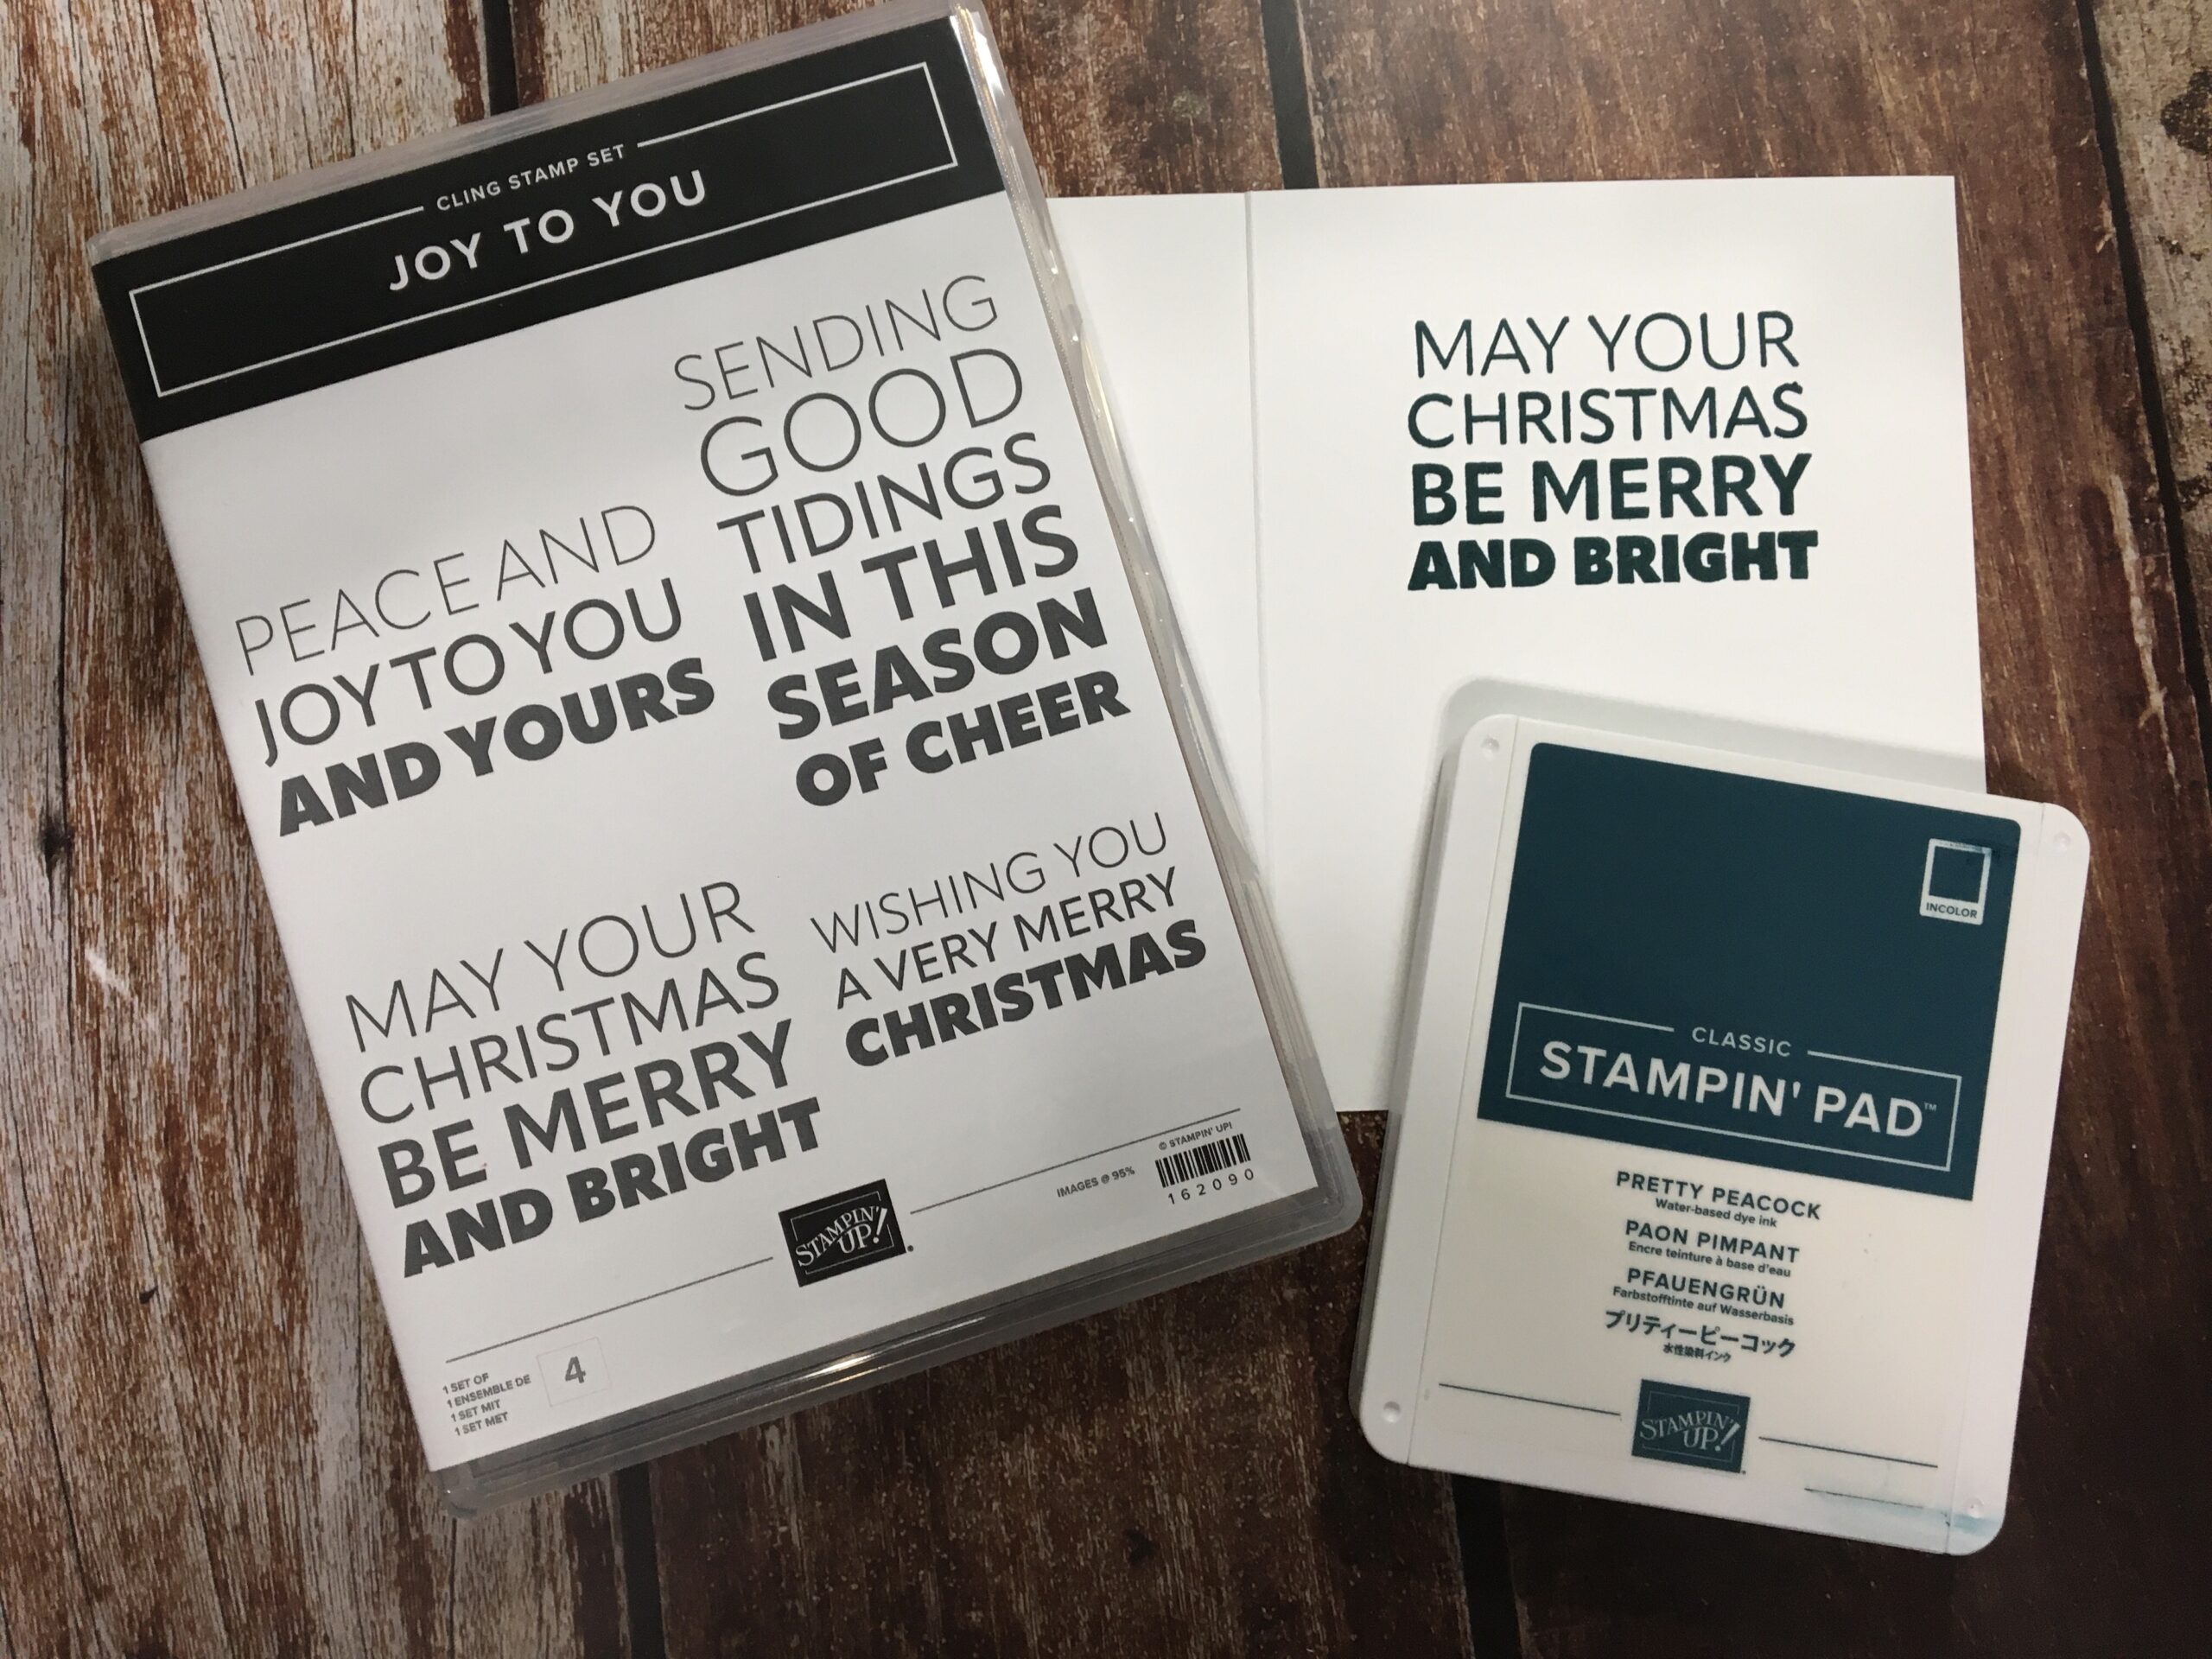
- To create the sentiment piece, use your Berry Burst Stampin’ Write Marker to add ink only to the “JOY” in the “Peace and joy to you and yours” stamp from the Joy to You stamp set. Stamp “Joy” onto the Bubble Bath cardstock frame piece.
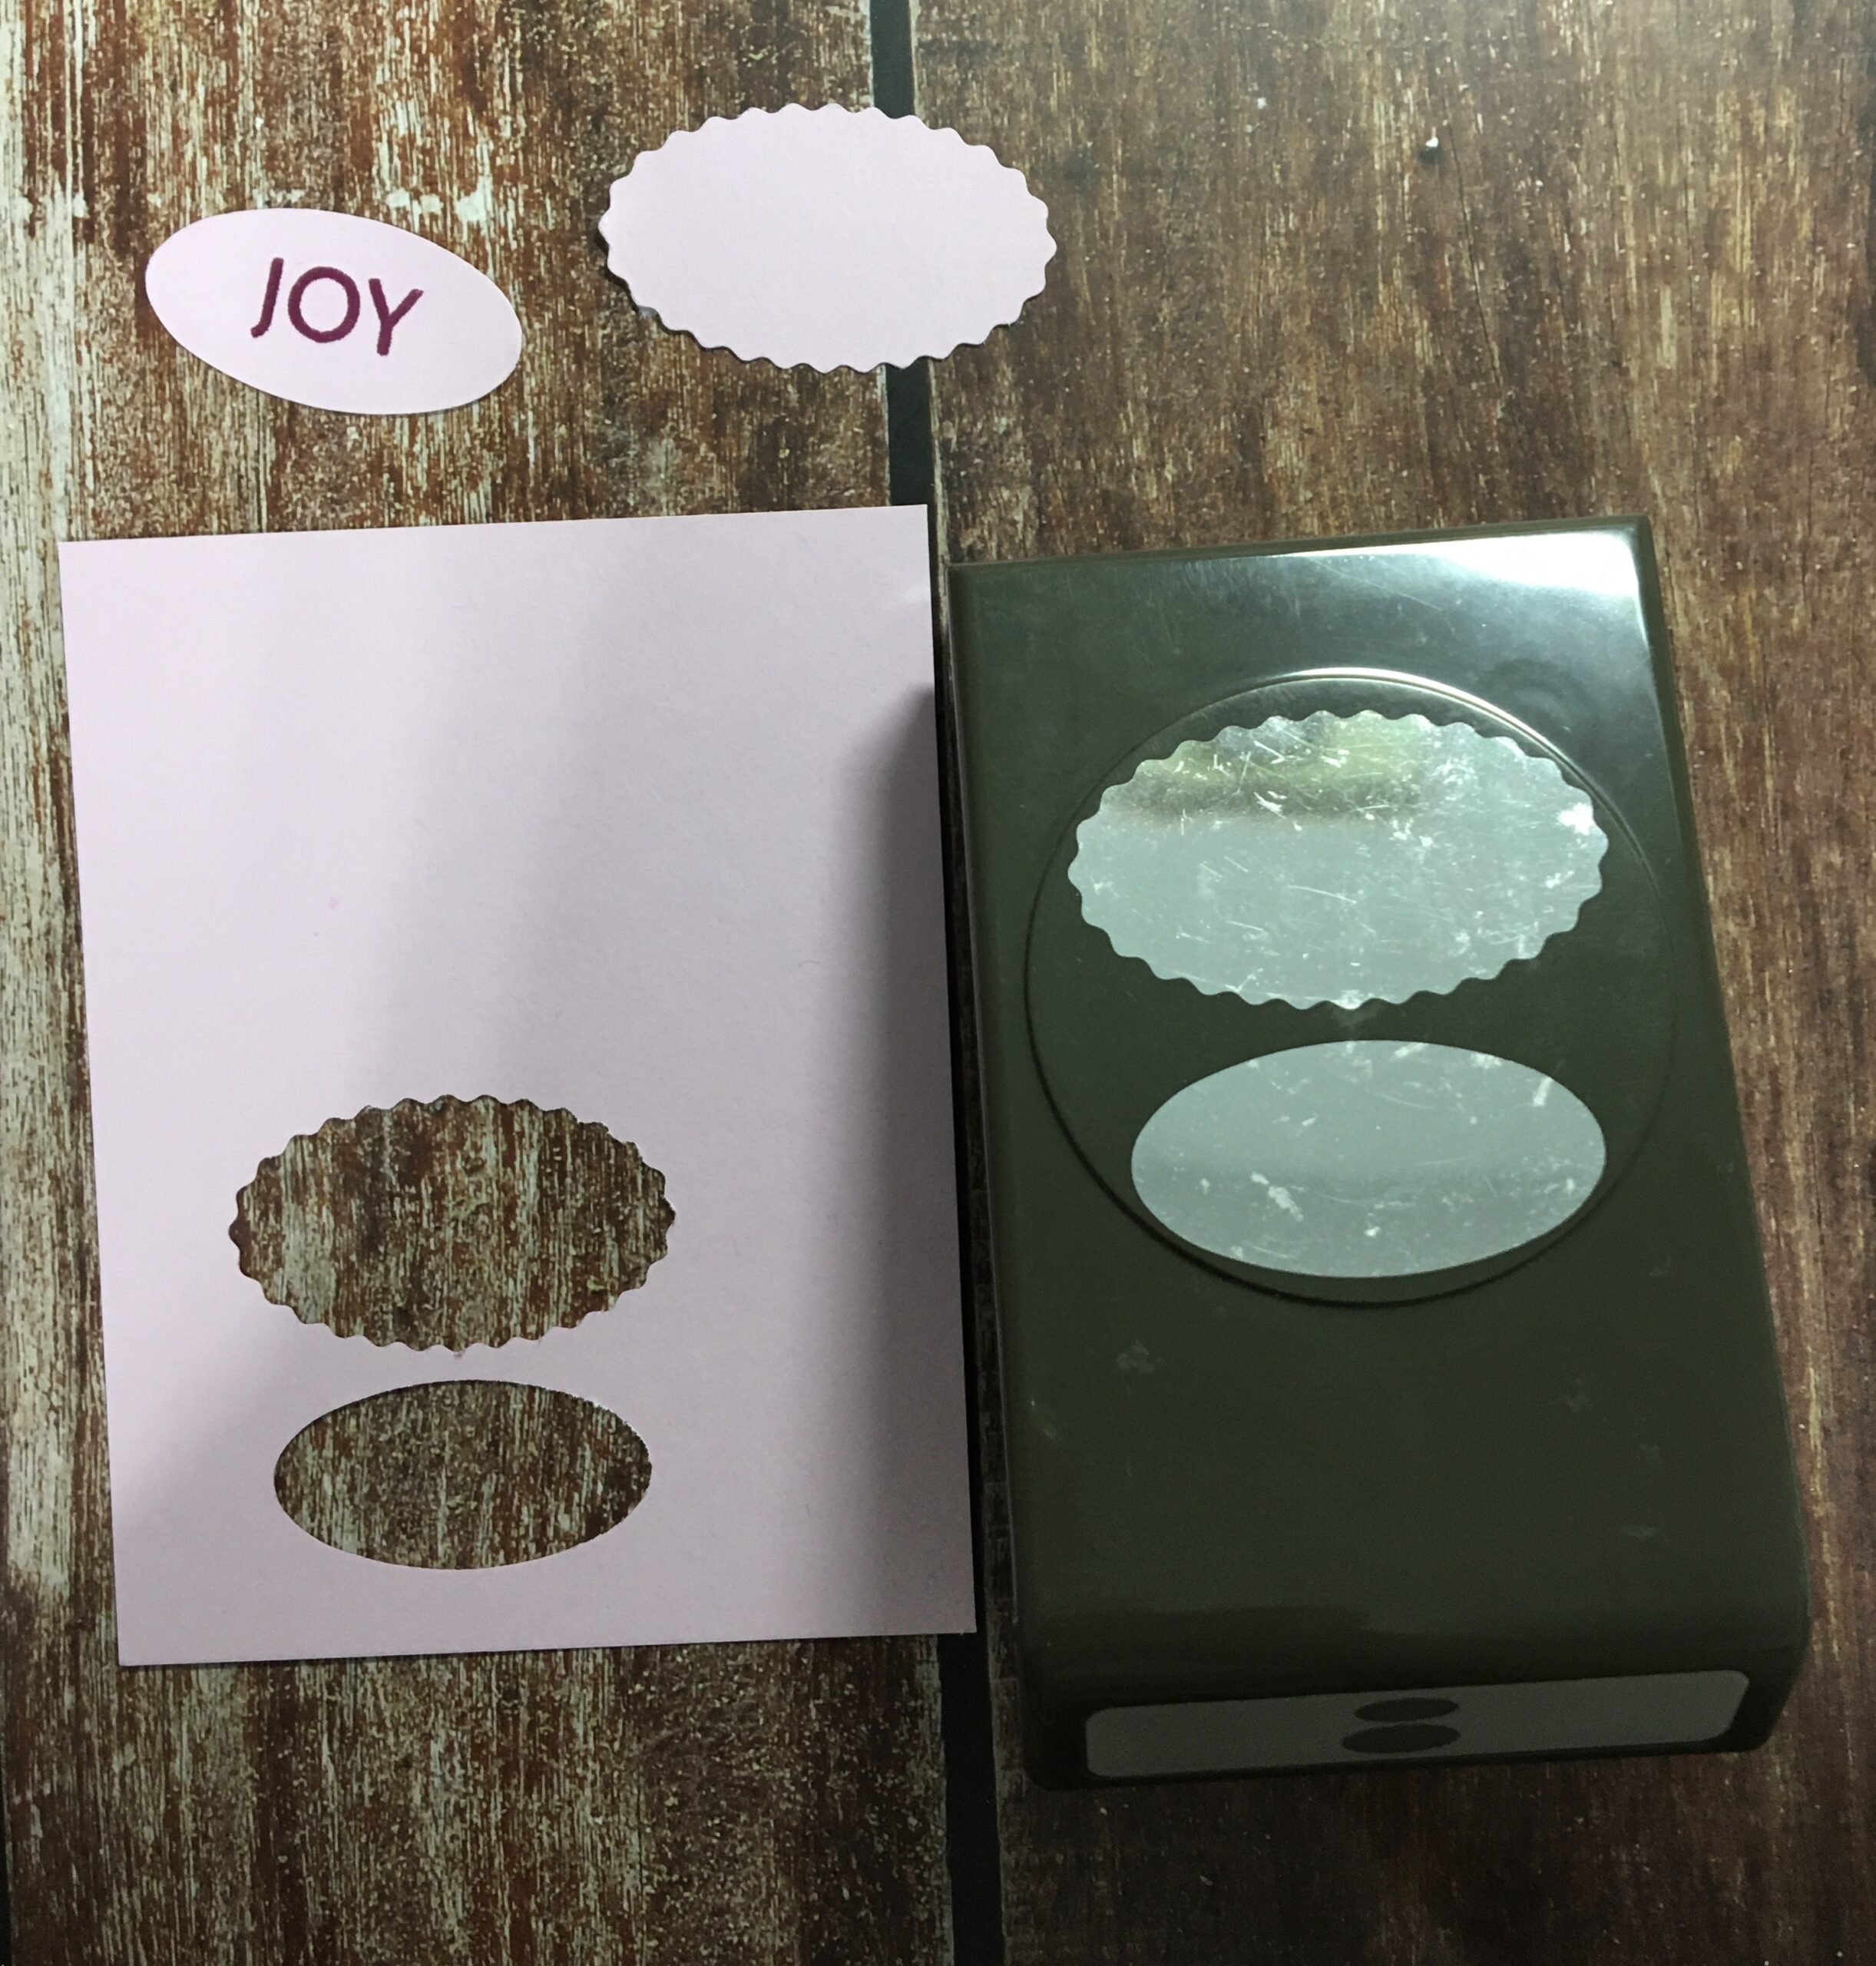
- Use the Double Oval punch to punch out the sentiment. You will have an extra scalloped punched piece for another project.
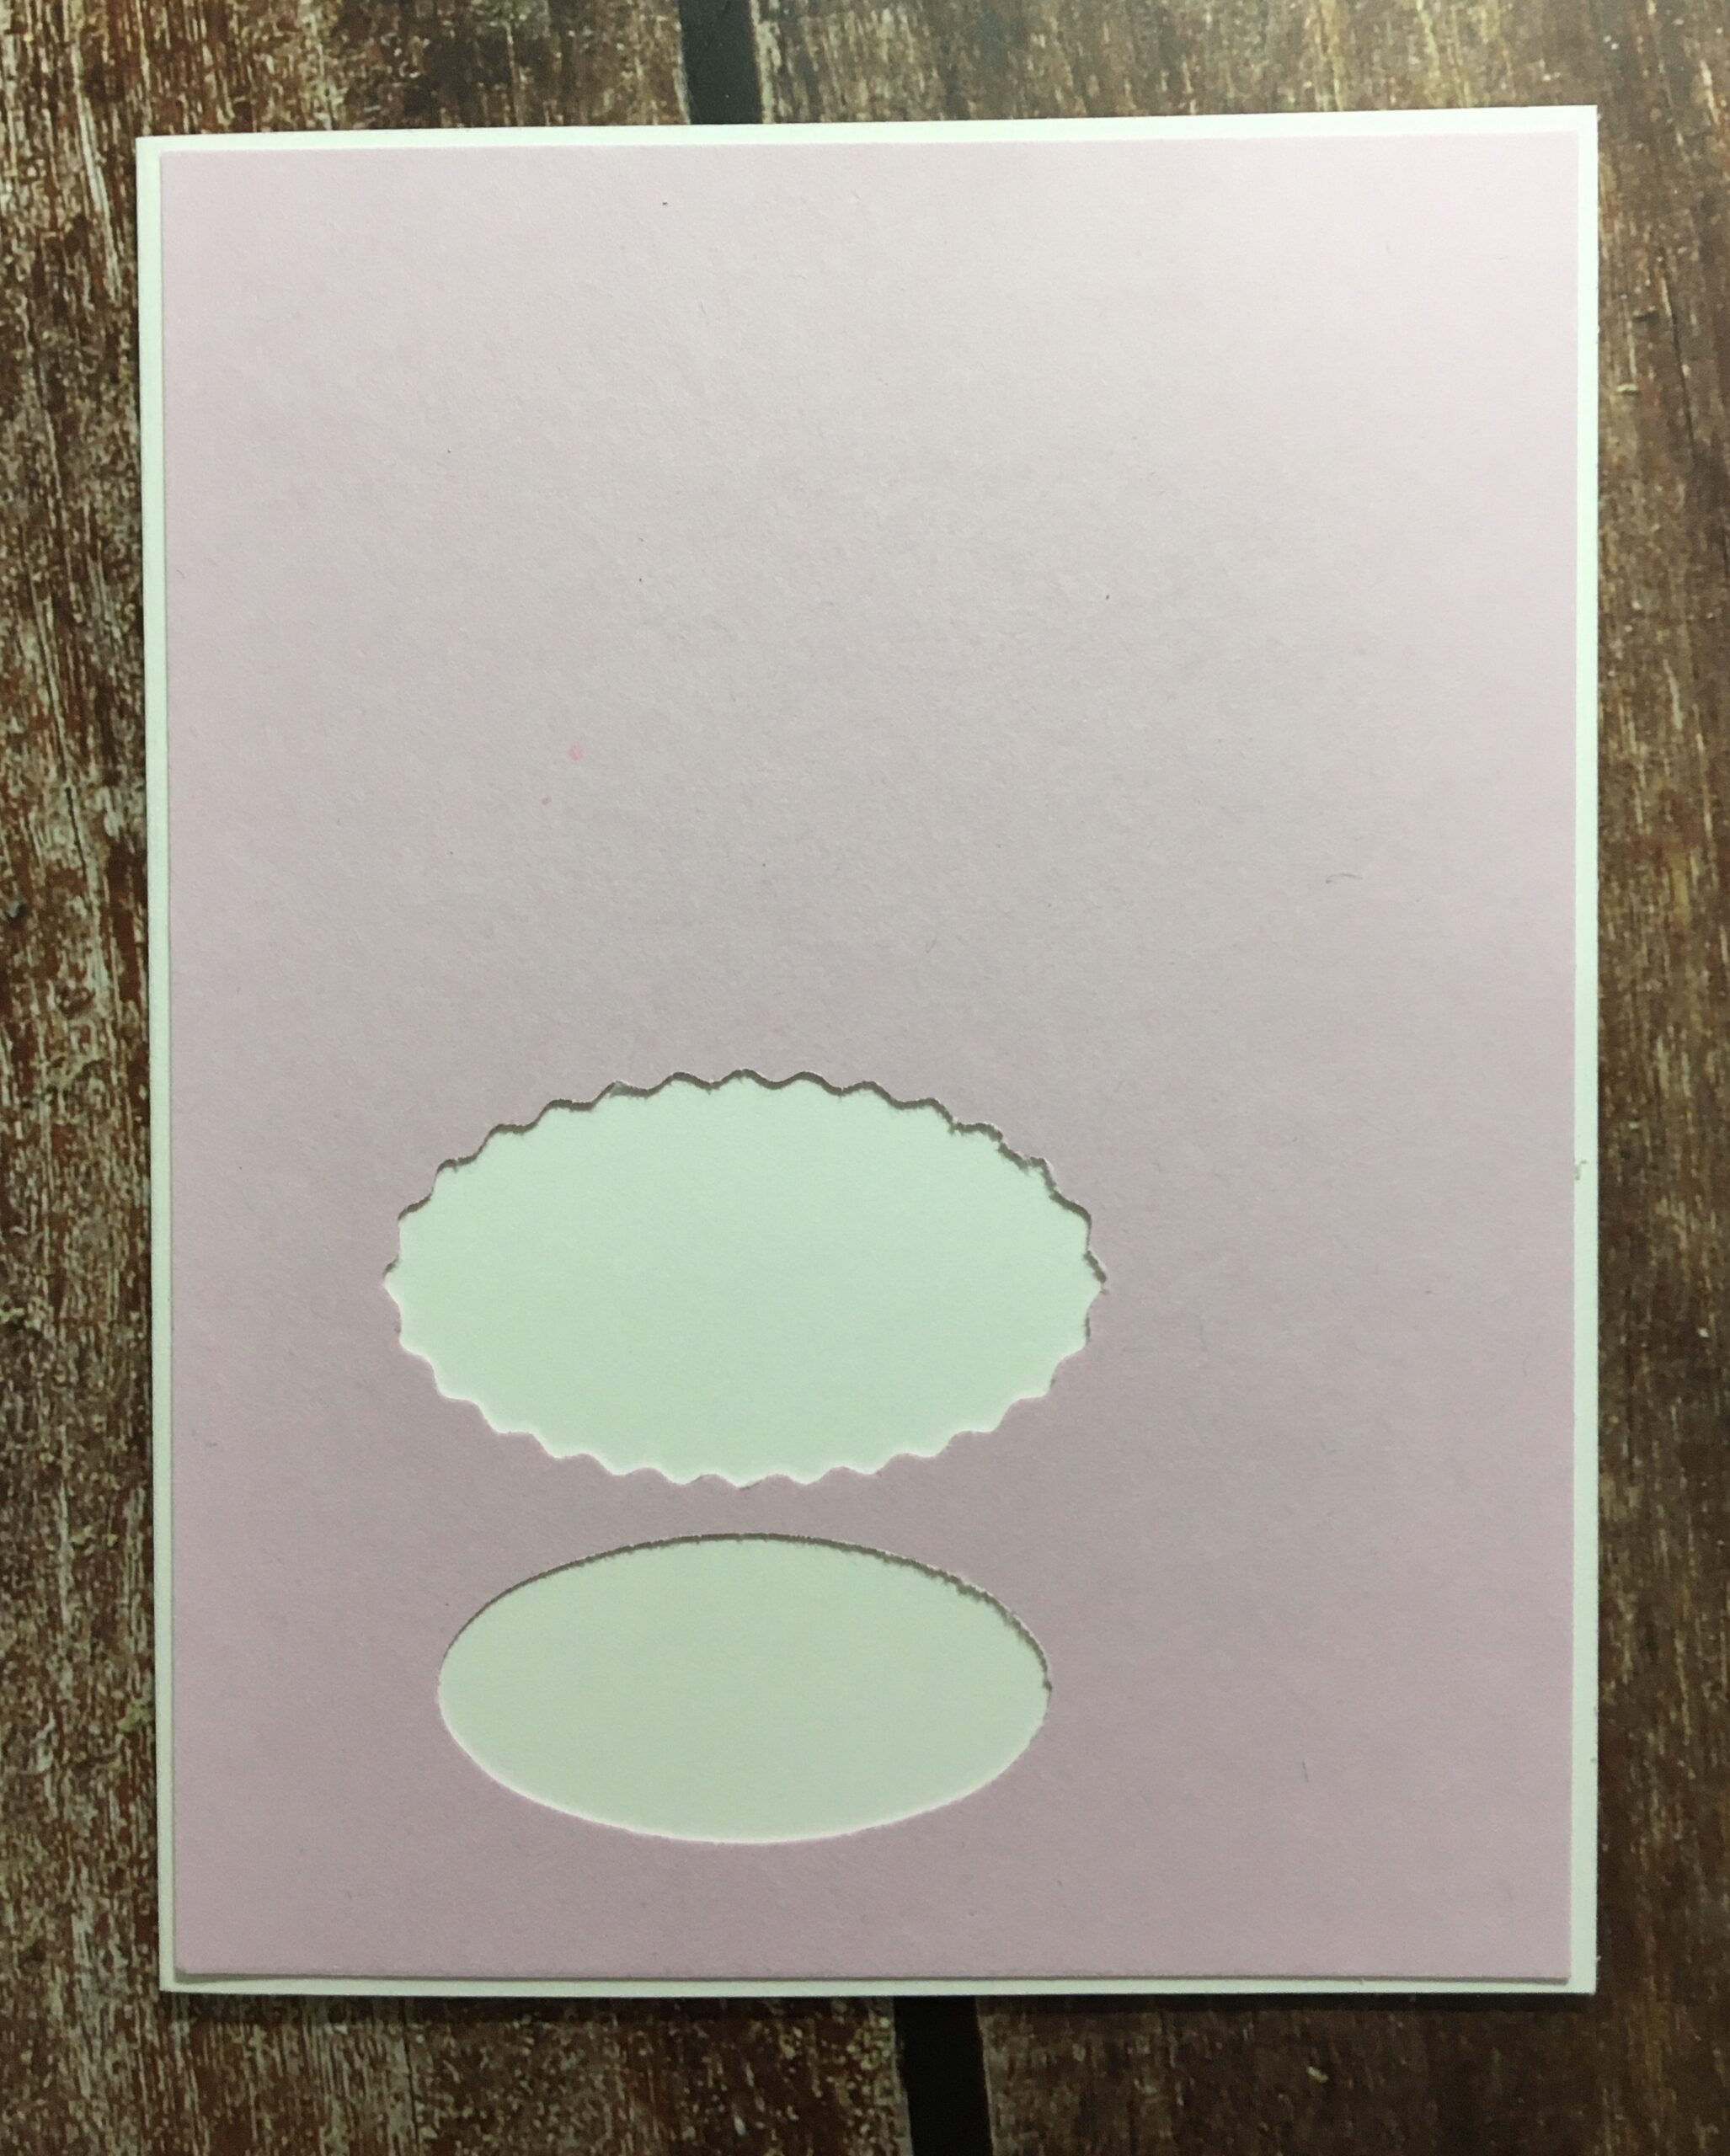
- Adhere the Bubble Bath cardstock frame piece to the front of your card base.
- Adhere the fractured design piece on top of the Bubble Bath cardstock.
- Put a glue dot in the middle of the center DSP piece. Use the glue dot to hold down a piece of silver Simply Elegant trim and arrange it into a bow design.
- Add your “JOY” punched sentiment with dimensionals.
- Add a greeting to the inside of your card with another stamp from the Joy to You stamp set using Pretty Peacock ink.
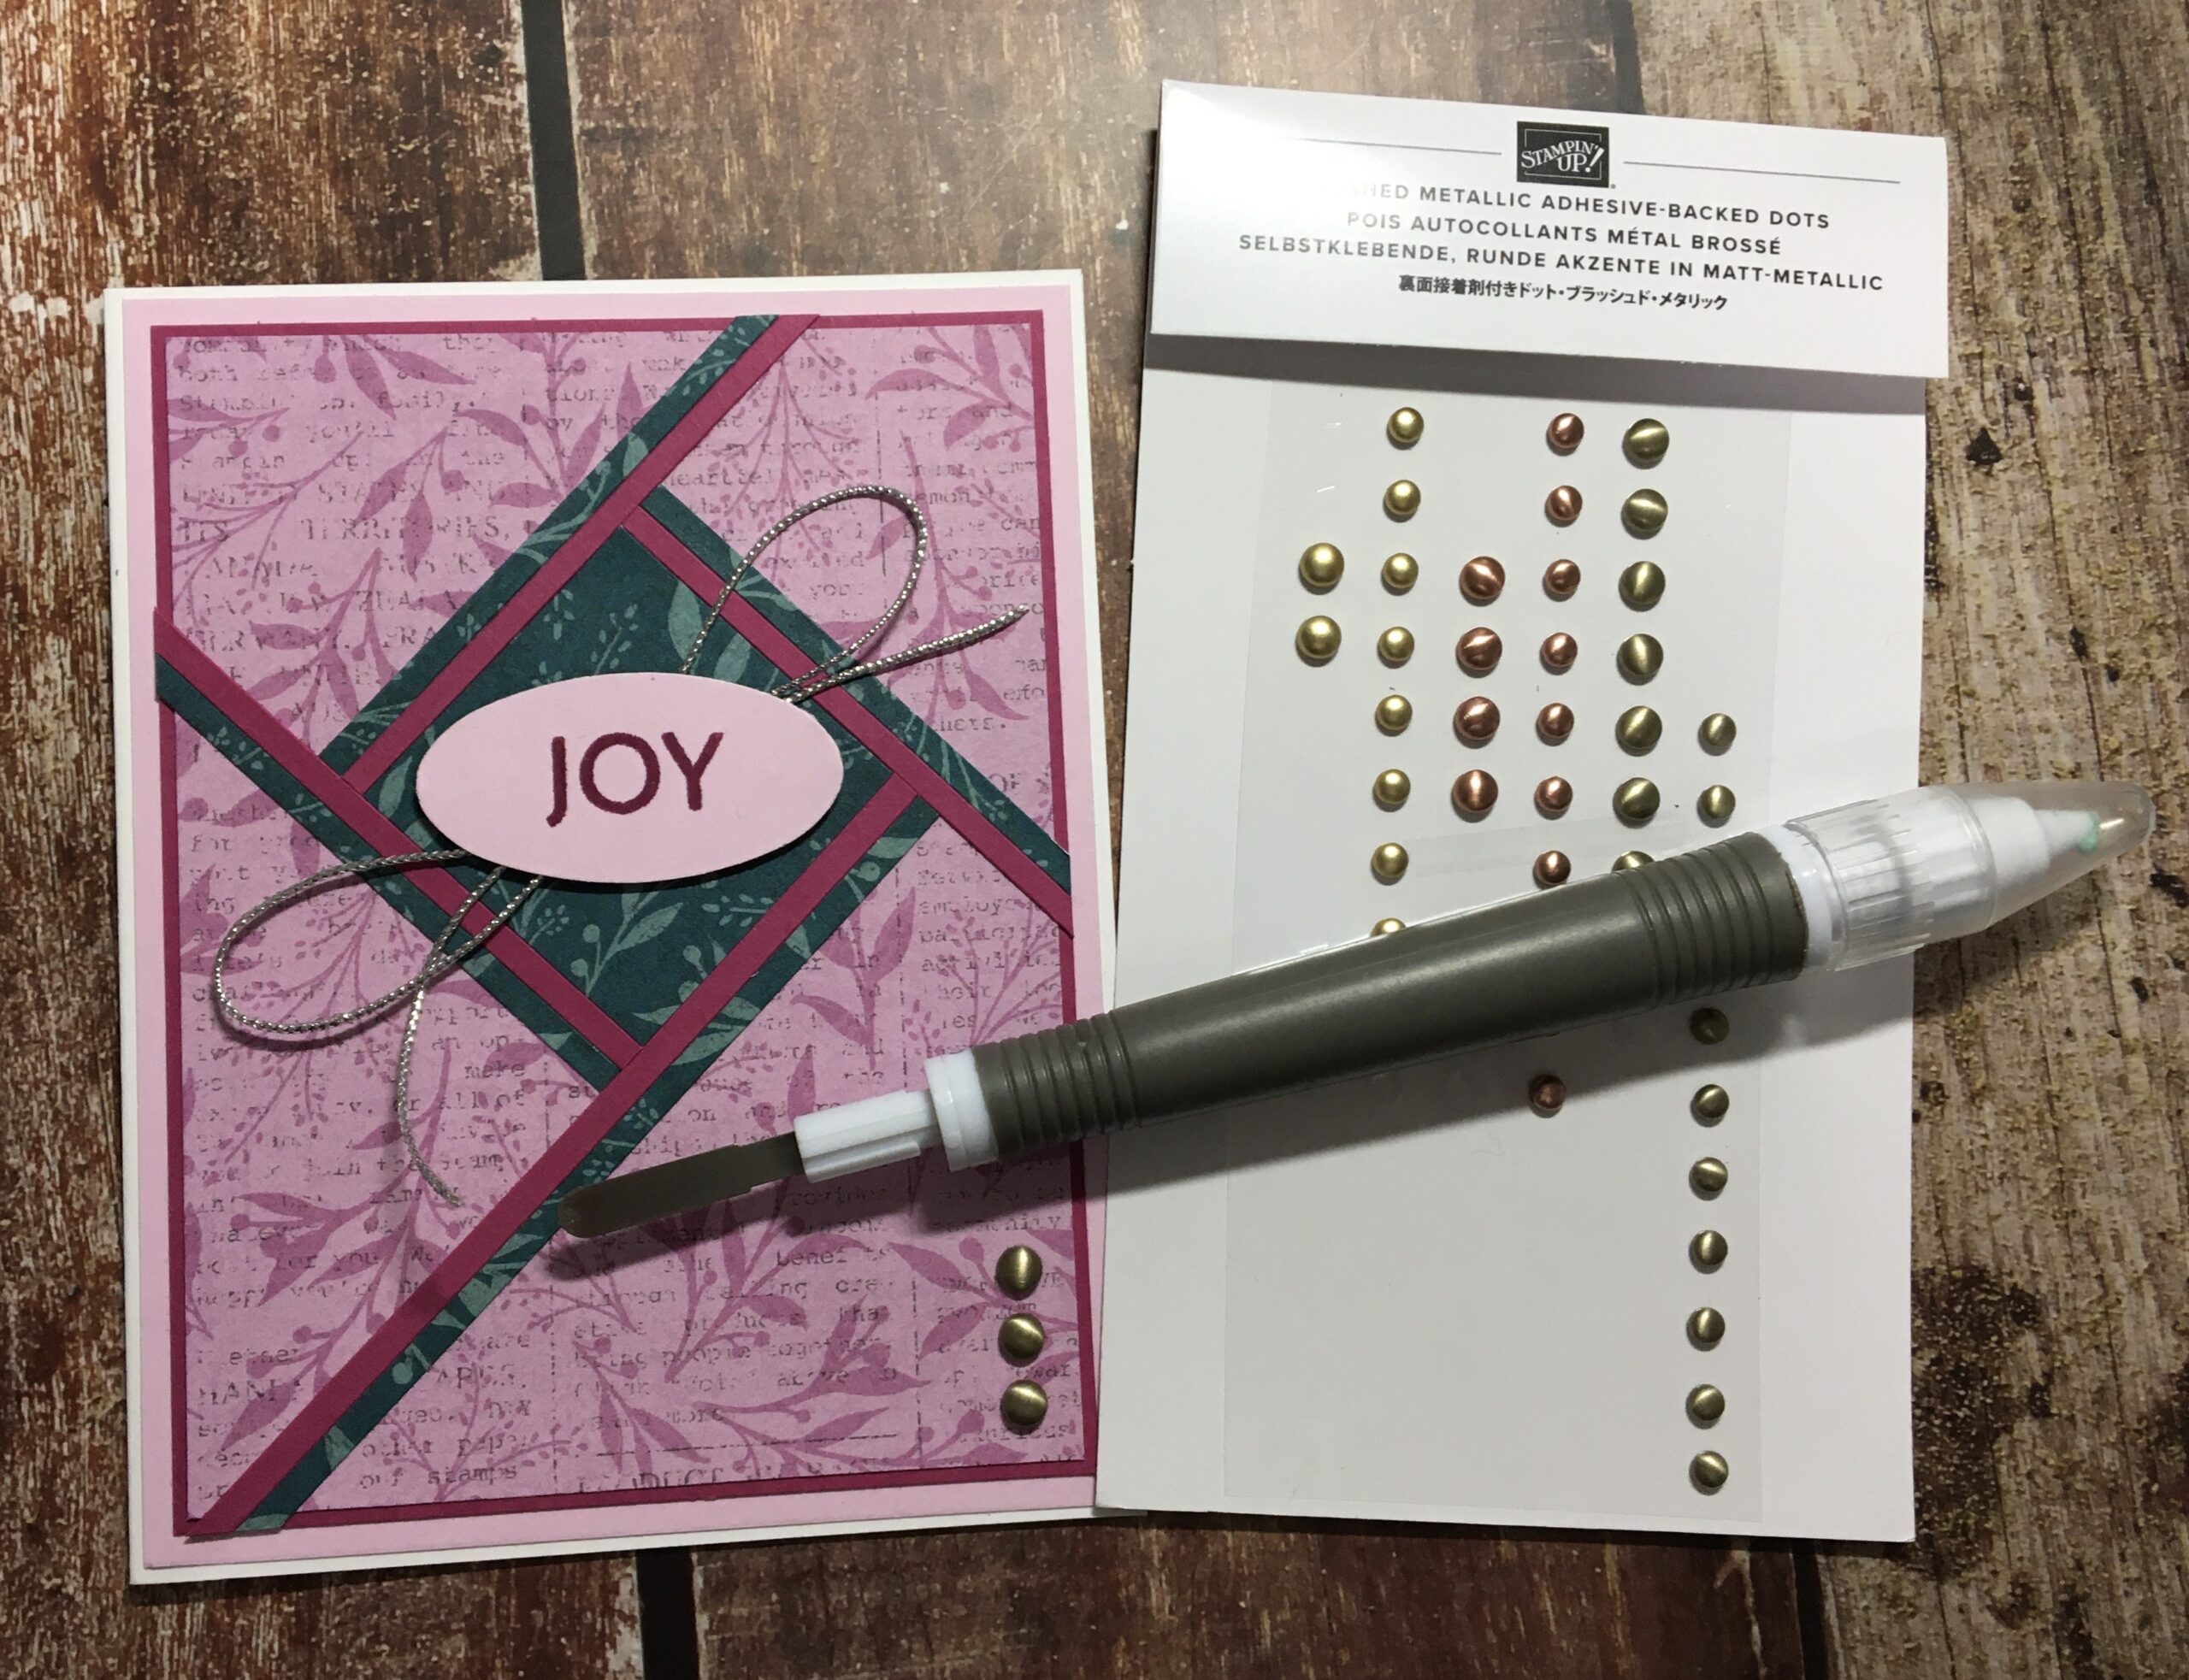
- To finish the card, use your Take Your Pick Tool to add three Brushed Metallic Adhesive Backed Dots in the bottom right corner of the card, as pictured.
I hope you enjoy making fractured design cards. This design is truly endless and is a great way to use some of the DSP that you have in your stash!
Now, be sure to check out Toni’s project. I know her project is awesome, as usual! Everyone who is participating in this month’s blog hop is listed below. Please take time to look at everyone’s posts.
Below, you’ll find the main products that I used to make the pink Christmas themed fractured card. Simply click on any picture, and you’ll go directly to my online store.
Inky hugs,
Laurie
November Blog Hoppers
Tina Lesson
Jo Anne Hewins
Laurie Meier <—– YOU ARE HERE
Toni Campana
Kelly Taranto
Tracie Evans Langley
|
|
||
|
|
|
|
|
|
||
|
|
|
|
|
|
|
|
|
|



Love it.
Thank you, Tina!
Laurie, I love your card. I agree that it was nice to think outside the box. You have a great picture tutorial and a very pretty card.
Jo Anne – Thanks so much! Yes, it was a challenge since pink isn’t a color that I use too much. I really had fun making the fractured card.
I really do need to try one of these fracture cards, Laurie. Thanks so much for the detailed instructions. I also like the addition of Pretty Peacock to your card, it’s a great combo of colors.
Thanks, Toni! I hadn’t make one of these types of cards until recently. They are a lot of fun! I hope you give it a try.
Great card Laurie, I love fractured cards and this one is awesome!
Ronnie – Thank you so much! I just “discovered” fractured cards and am really having fun making them!