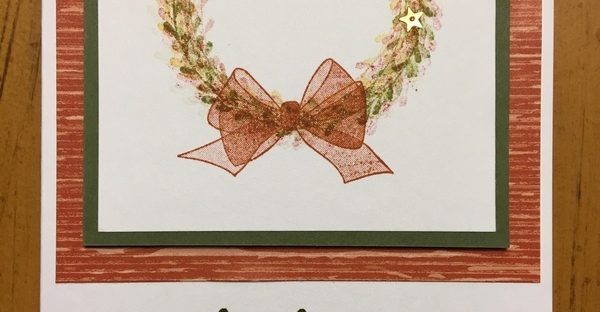
I certainly hope that you and your family have escaped the truly nasty colds and viruses that have been going around. My absence on my blog has been due to a nasty “plague” capturing both my husband and me. We are finally on the mend (yeah!), and I’m happy to be back to share another gorgeous card using the Wishing You Well stamp set.
This is the third card that our group made in a recent Stamp Club. By the way – If you live near the Carrboro/Chapel Hill area in North Carolina, you are always welcome to join our Stamp Club. We meet every second Sunday of the month, beginning at 2:00 in the afternoon. Just leave me a note if you’d like more information.
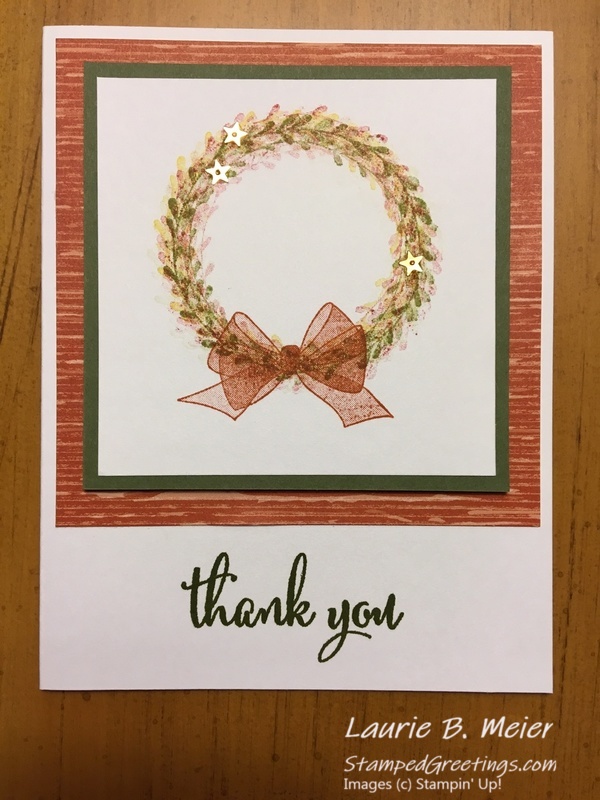
Pictured below is the card that I would like to share with you in this post. I wanted to try to put a few layers of different inks onto the wreath and to make the colors look very fall-ish. Below the picture, you’ll find the steps that were used to make the card.
I know I’ve said this before, but it’s worth repeating. If you don’t yet have the Wishing You Well stamp set in your collection, you should really think about getting it. I think you’ll find the beautiful designs and sentiments incredibly versatile.
Here are the basic steps to follow to make the holiday wreath card:
- The card base is made from Whisper White card stock cut to 5 1/2″ x 8 1/2″, scored at 4 1/4″ on the 8 1/2″ side.
- The focal point is a piece of Whisper White card stock cut to 3 1/4″ x 3 1/4″.
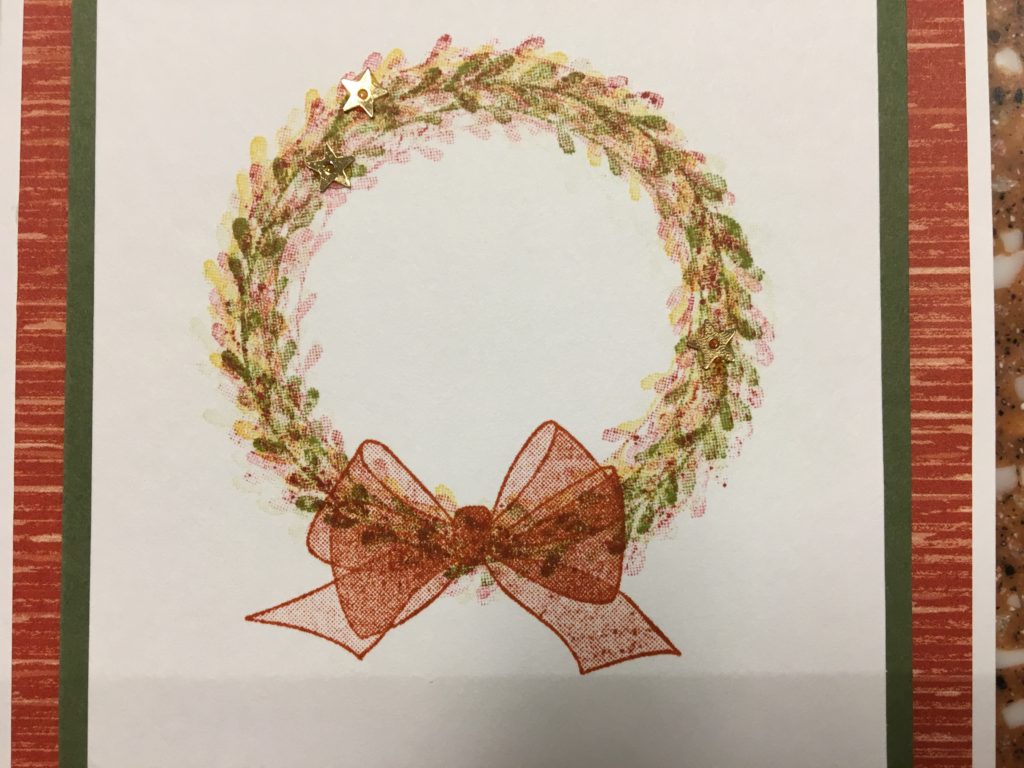
- Use the wreath stamp from the Wishing You Well stamp set to create the main image. You will use four colors to layer stamp the wreath.
- First, use Crushed Curry ink (and stamp off before stamping onto the focal piece) to stamp one image of the wreath. This will be your guide as you continue to stamp.
- Next, ink the wreath stamp with Cajun Craze ink. Stamp off before stamping on to the focal piece. And, when you stamp try to stamp a little off center from the original Crushed Curry stamped image. Before you change colors, stamp another image with the remaining Cajun Craze ink to get a lighter shade of this gorgeous color. And, again, move the stamp to slightly offset the first layer of Cajun Craze ink.
- Follow the same steps using Old Olive ink for the third layer of color.
- Also, follow the same steps using Cherry Cobbler ink. I recommend stamping off at least twice before stamping the wreath with Cherry Cobbler. This is a very strong red ink, and you don’t want to over power the other colors.
- Finish the focal piece with the bow stamp from the Wishing You Well stamp set. Use Cajun Craze to stamp the bow.
- Adhere the focal piece to a piece of Mossy Meadow card stock cut to 3 1/2″ x 3 1/2″.
- Stamp “thank you” from the Love What You Do stamp set at the bottom of the card front, as pictured.
- Adhere a piece of your favorite complementing pieces of DSP, cut to 4″ x 4″ to the top of the card front, as pictured. I used a piece from the Nature’s Poem DSP collection. I chose a piece with Cajun Craze to complement the overall design.
- Adhere the Mossy Meadow card stock to the DSP with dimensionals.
- To finish the card, you can add some “bling” to the wreath. I used a few star shaped sequins from a Paper Pumpkin kit. [I have quite a few extra Paper Pumpkin pieces that I keep on hand to use with many projects!]
This design can easily be changed to have Christmas colors and a Christmas sentiment. There truly are endless possibilities…
Shown below are the main products that I used to create this card. If you click on any picture, you’ll go directly to my on-line store.
Happy stamping!
Laurie
|
|
||
|
|


