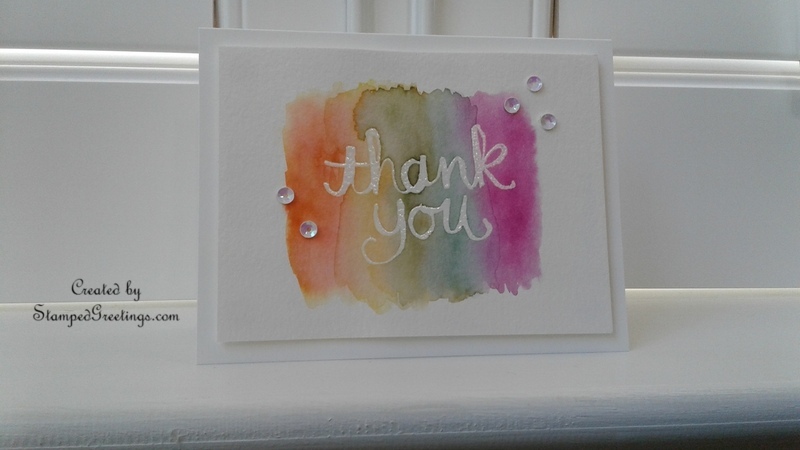
Each month, a wonderful group of ladies gathers at our house for a stamp club. A few weeks ago, we celebrated a “Retirement Party” for the stamps and colors that will no longer be available after May. One of the cards we made was a watercolor rainbow thank you card. It is pictured below.
The base of the card is white cardstock (8 1/2″ x 11″, scored at 4 1/4″ on the 8 1/2″ side), and the front of the card is made using watercolor paper. The watercolor paper is cut to 5 1/4″ x 4″.
The technique used to make the card is emboss resist. Prep the watercolor paper for embossing using your embossing buddy. Then, use Versamark and the Watercolor Thank You stamp to stamp “thank you” on the watercolor paper. Sprinkle Clear Stampin’ Emboss Powder over the stamped image. Heat set the powder with your heat gun.
Use painter’s tape to attach the watercolor paper to a sturdy piece of cardboard or wood. I save the heavy cardboard that comes in the Paper Pumpkin kits for this purpose. Try to get some of the tackiness off the tape before you adhere the watercolor paper. I put the tape on the back of my hand and pull it off to minimize the tackiness. This will help prevent the tape tearing the watercolor paper later in the process.
Now – the really fun part – watercoloring! Aqua painters are the best tools for this. They are so easy to use and make you feel like a real artist. The colors that are used for the card are the five that are retiring this month. There is a trick to determine the order of colors to use. Do you remember Roy G. Biv from school? The colors of the rainbow – (R)ed, (O)range, (Y)ellow, (G)reen, (B)lue, (I)ndigo, (V)iolet. Here is how this translates into the colors on the card:
(R)ed – None of the five retiring colors
(O)range – Tangelo Twist
(Y)ellow – Hello Honey
(G)reen – Mossy Meadow
(B)lue – Lost Lagoon
(I)ndigo – None of the five retiring colors
(V)iolet – Blackberry Bliss
When you want to create a rainbow effect with any inks, be sure to align them as best as you can to the Roy G. Biv order to get the best results. Why is this important? Think back again to your school days. Red and yellow make orange – look at the color between red and yellow. Yellow and blue make green – look at the color between yellow and blue. You will have areas where colors will bleed into each other when you watercolor. If you use the Roy G. Biv order, the overlapping areas will look more natural and not muddy.
Grab your aqua painters and put a modest layer of water over the embossed “thank you”. Start with you Tangelo Twist and add some color to the left of the “thank you”. Let the water move the ink. Continue with the remaining colors to finish your rainbow. You can go back to areas that you have already completed to add color. When you’re happy with the coloring, set the watercolored piece aside to dry. Be patient! It may take a while to dry completely.
Finish the card by using dimensionals to adhere the watercolor piece to the card base. Be sure to put some dimensionals in the middle of the watercolor piece to make sure it doesn’t droop in the middle. Embellish as you would like. I though a few sequins added just enough bling.
Now – let’s think about a few alternatives for this card. You could reverse the colors in the watercoloring by starting with Blackberry Bliss and ending with Tangelo Twist. You could paint the stripes horizontally rather than vertically. And, obviously, you could use many other stamps to make this card. One that comes to mind is the Watercolor Words stamp set. Endless possibilities!
I hope this post has inspired you to try this technique. Below are a few of the items that I used to create this card. If you click on any item, you’ll go to my on-line store.
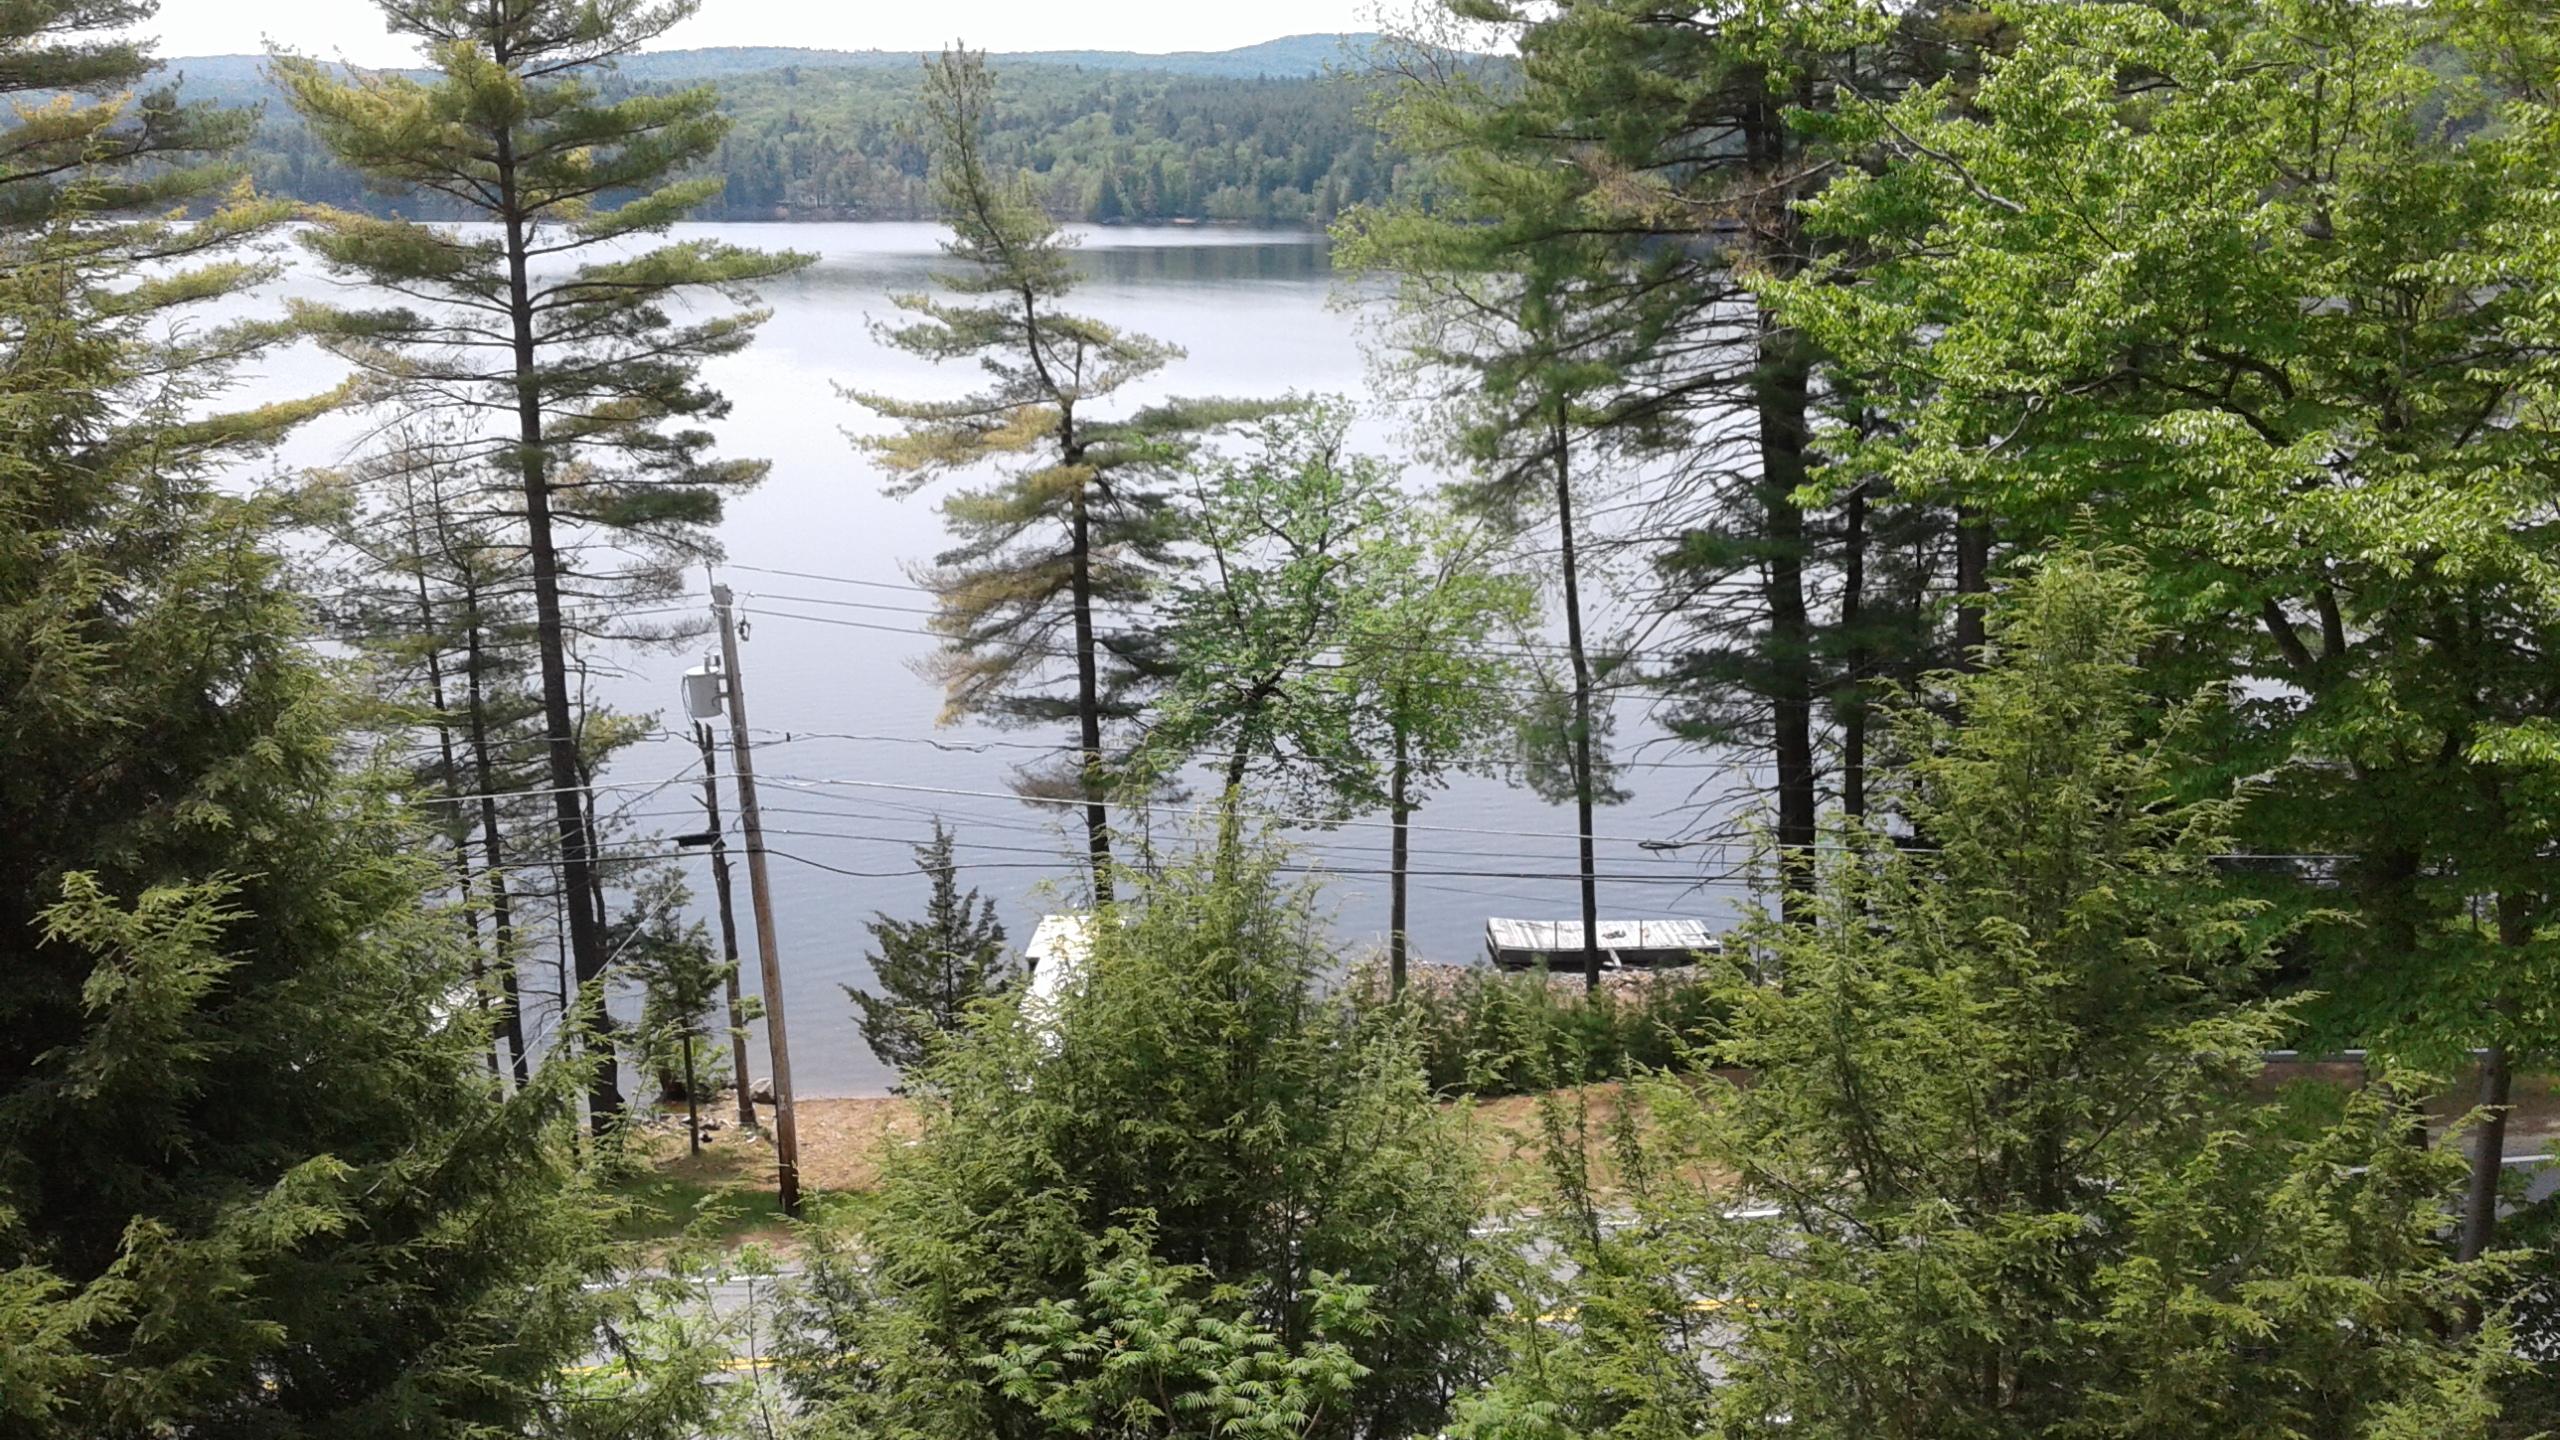
One final piece of inspiration from nature – this is a picture from our camp in Upstate New York. I never get tired of this view!

Products used to make the card:
|
|
|
|
|
|
|
|
|
|
|


