I hope you’re enjoying the October NC Demos blog hop! You have probably just come from Tracie Evans Langley’s post. She is a very talented artist!
Thanks for stopping by my post. I hope I can inspire you to make a wonderful, simple project for the holidays.
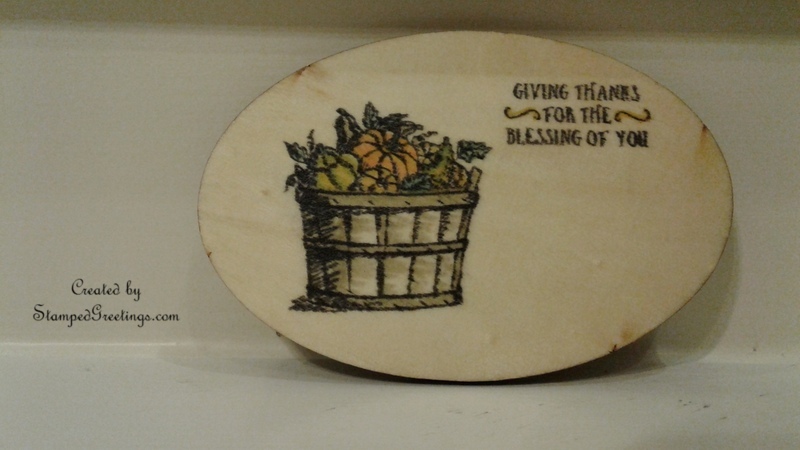
Have you ever had an idea for a card or non-card project that ends up being even better than your original plan? Well, that is the case for the project I’m sharing in this month’s blog hop. I was planning an upcoming card club meeting and stopped by a “big box” store to just walk around for inspiration. Usually, my inspiring walks take me through the stamp and scrapbook sections. Not this particular time – I decided to take in more of the store and came across cute, pre-cut pieces of wood. The plan for the stamp club project was set. Below is a picture of the finished design.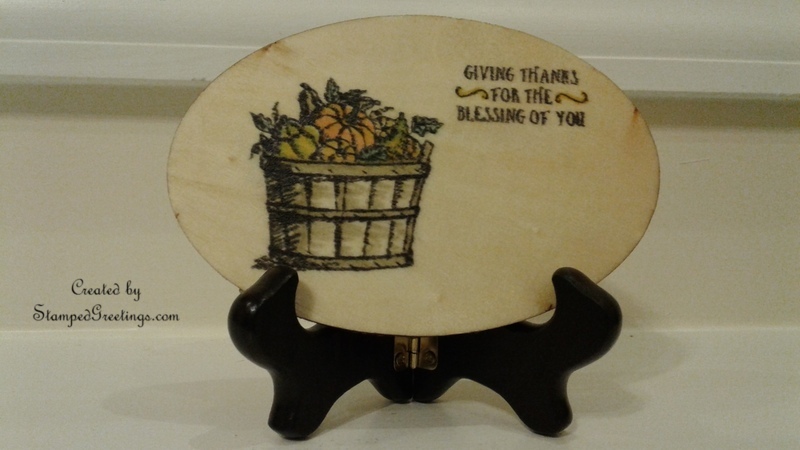
The picture just does not do the finished project justice. You’re going to just have to trust me on that, or (better yet) make your own wooden masterpiece by following the steps outlined below.
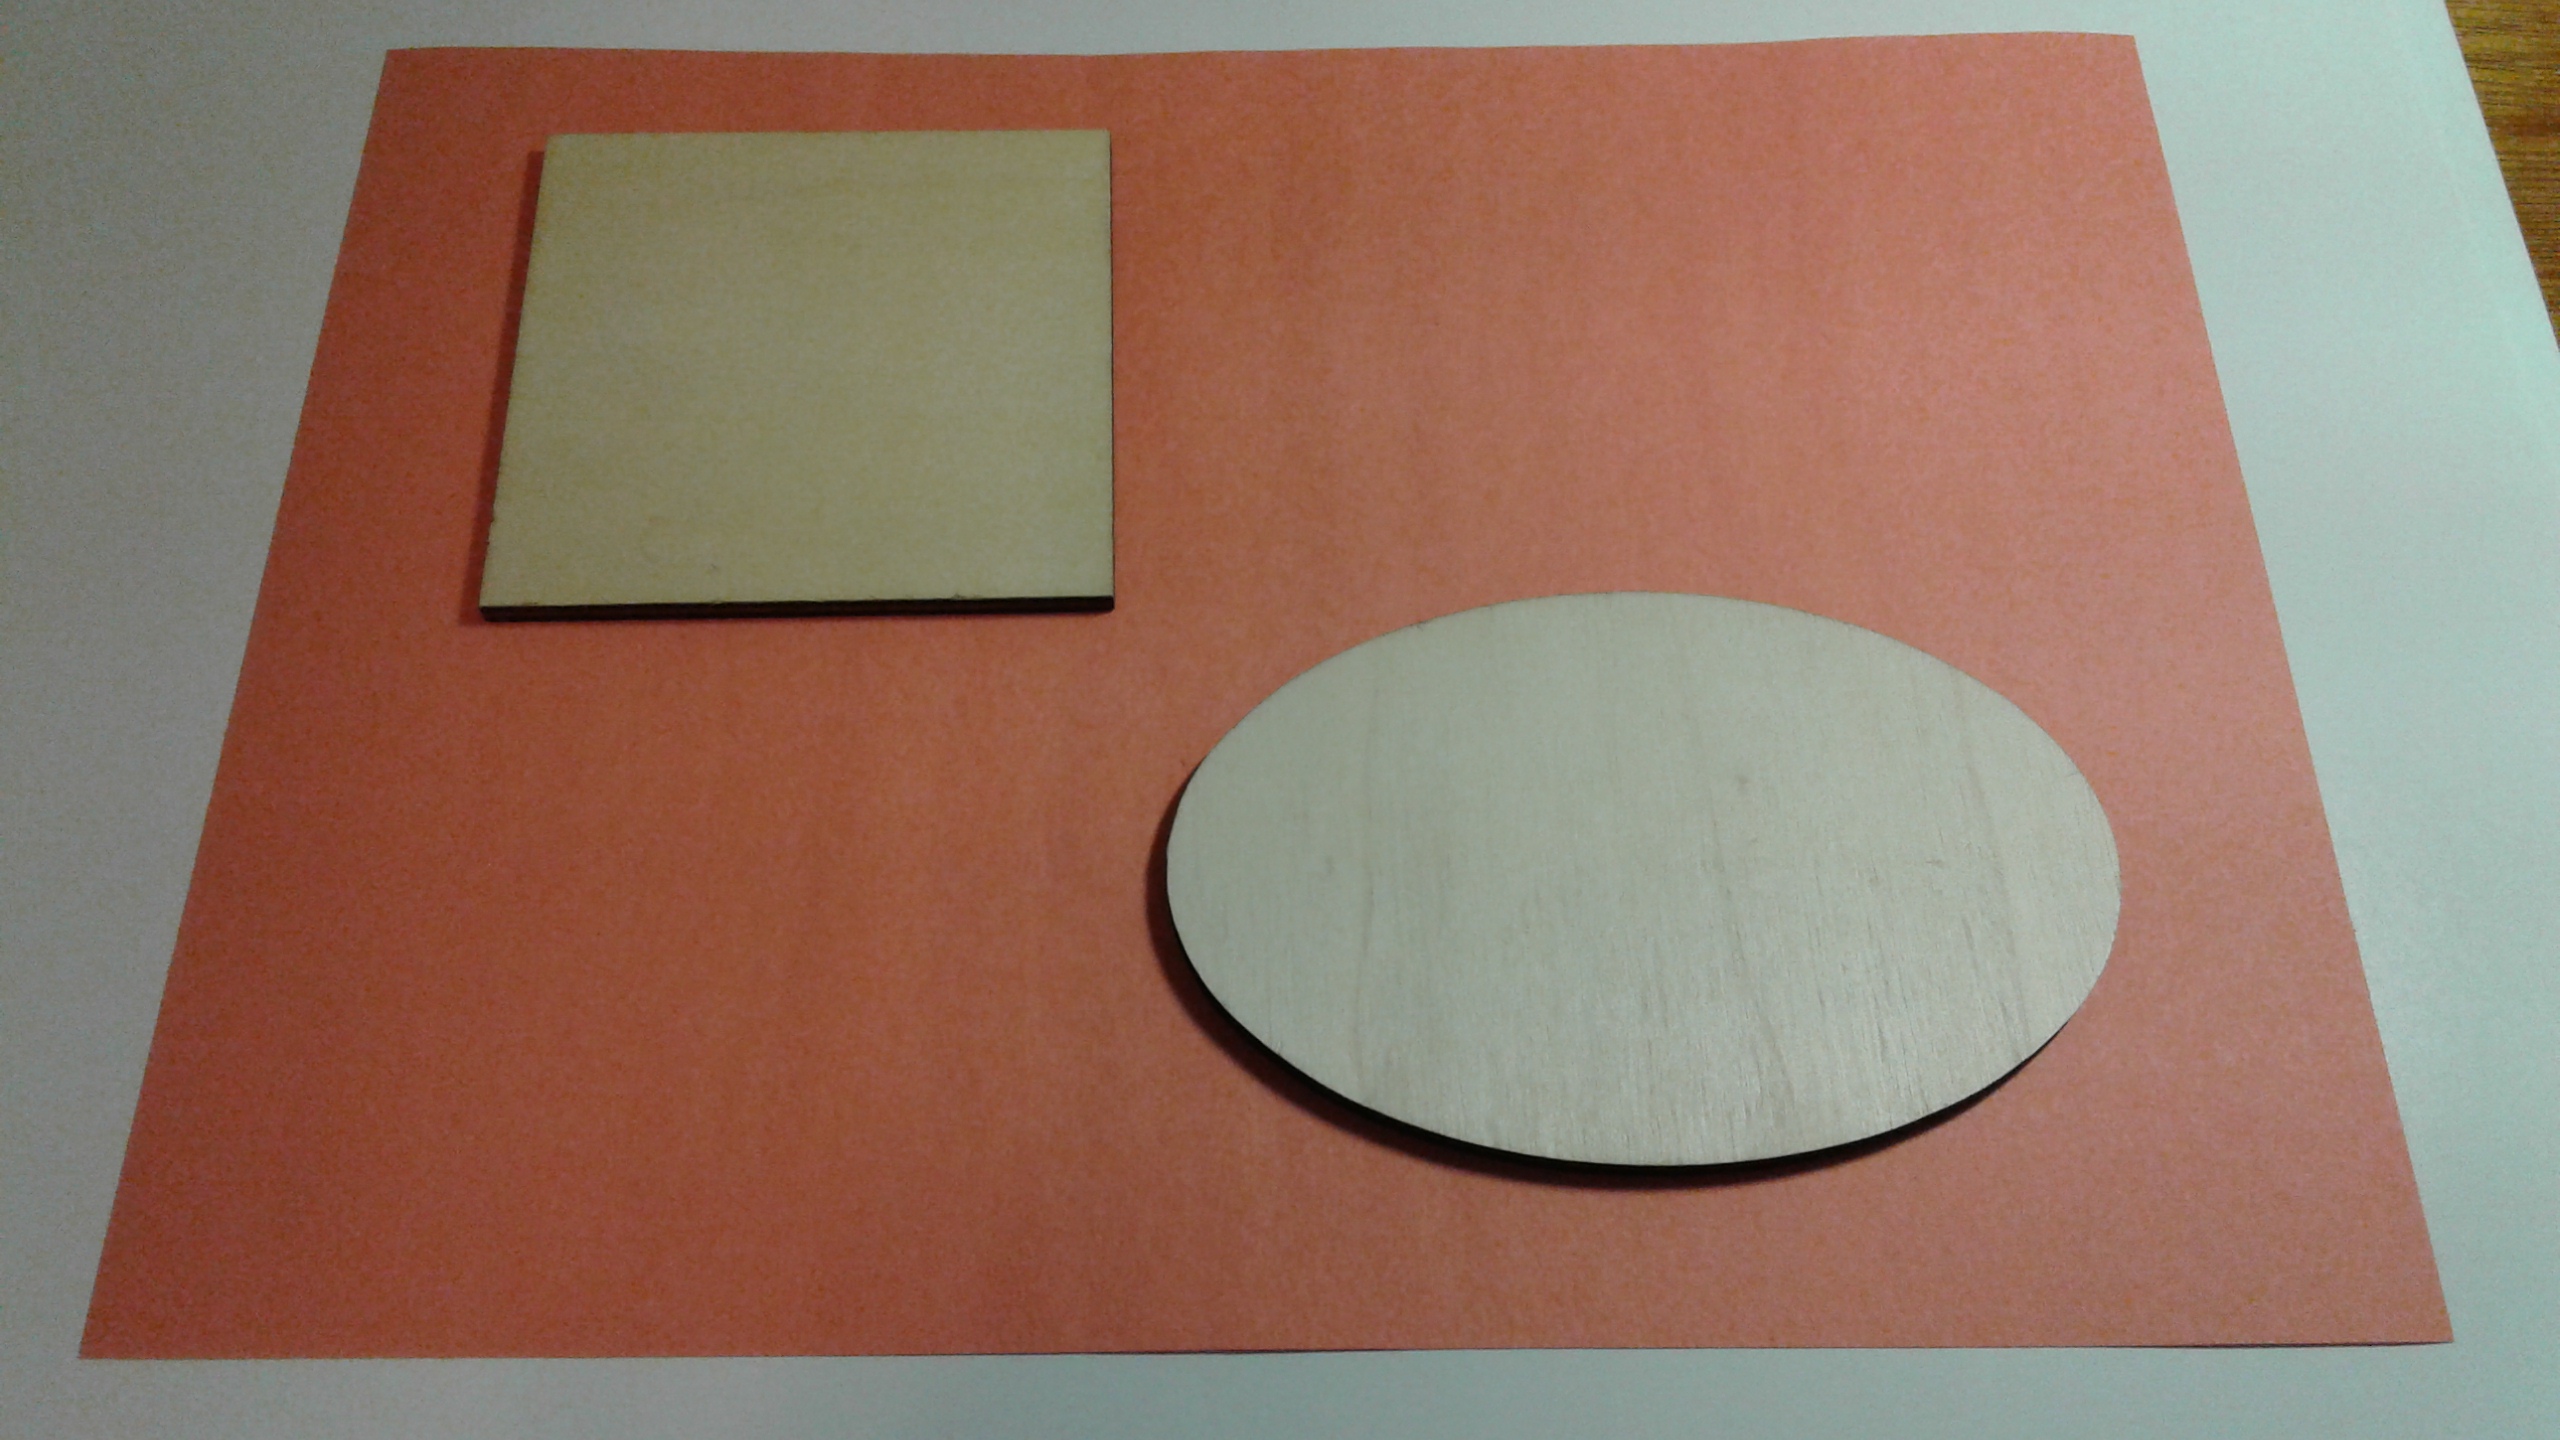
Here is a picture of two finished, pre-cut pieces of wood. There are many shapes and sizes to choose from, and the pieces are very inexpensive
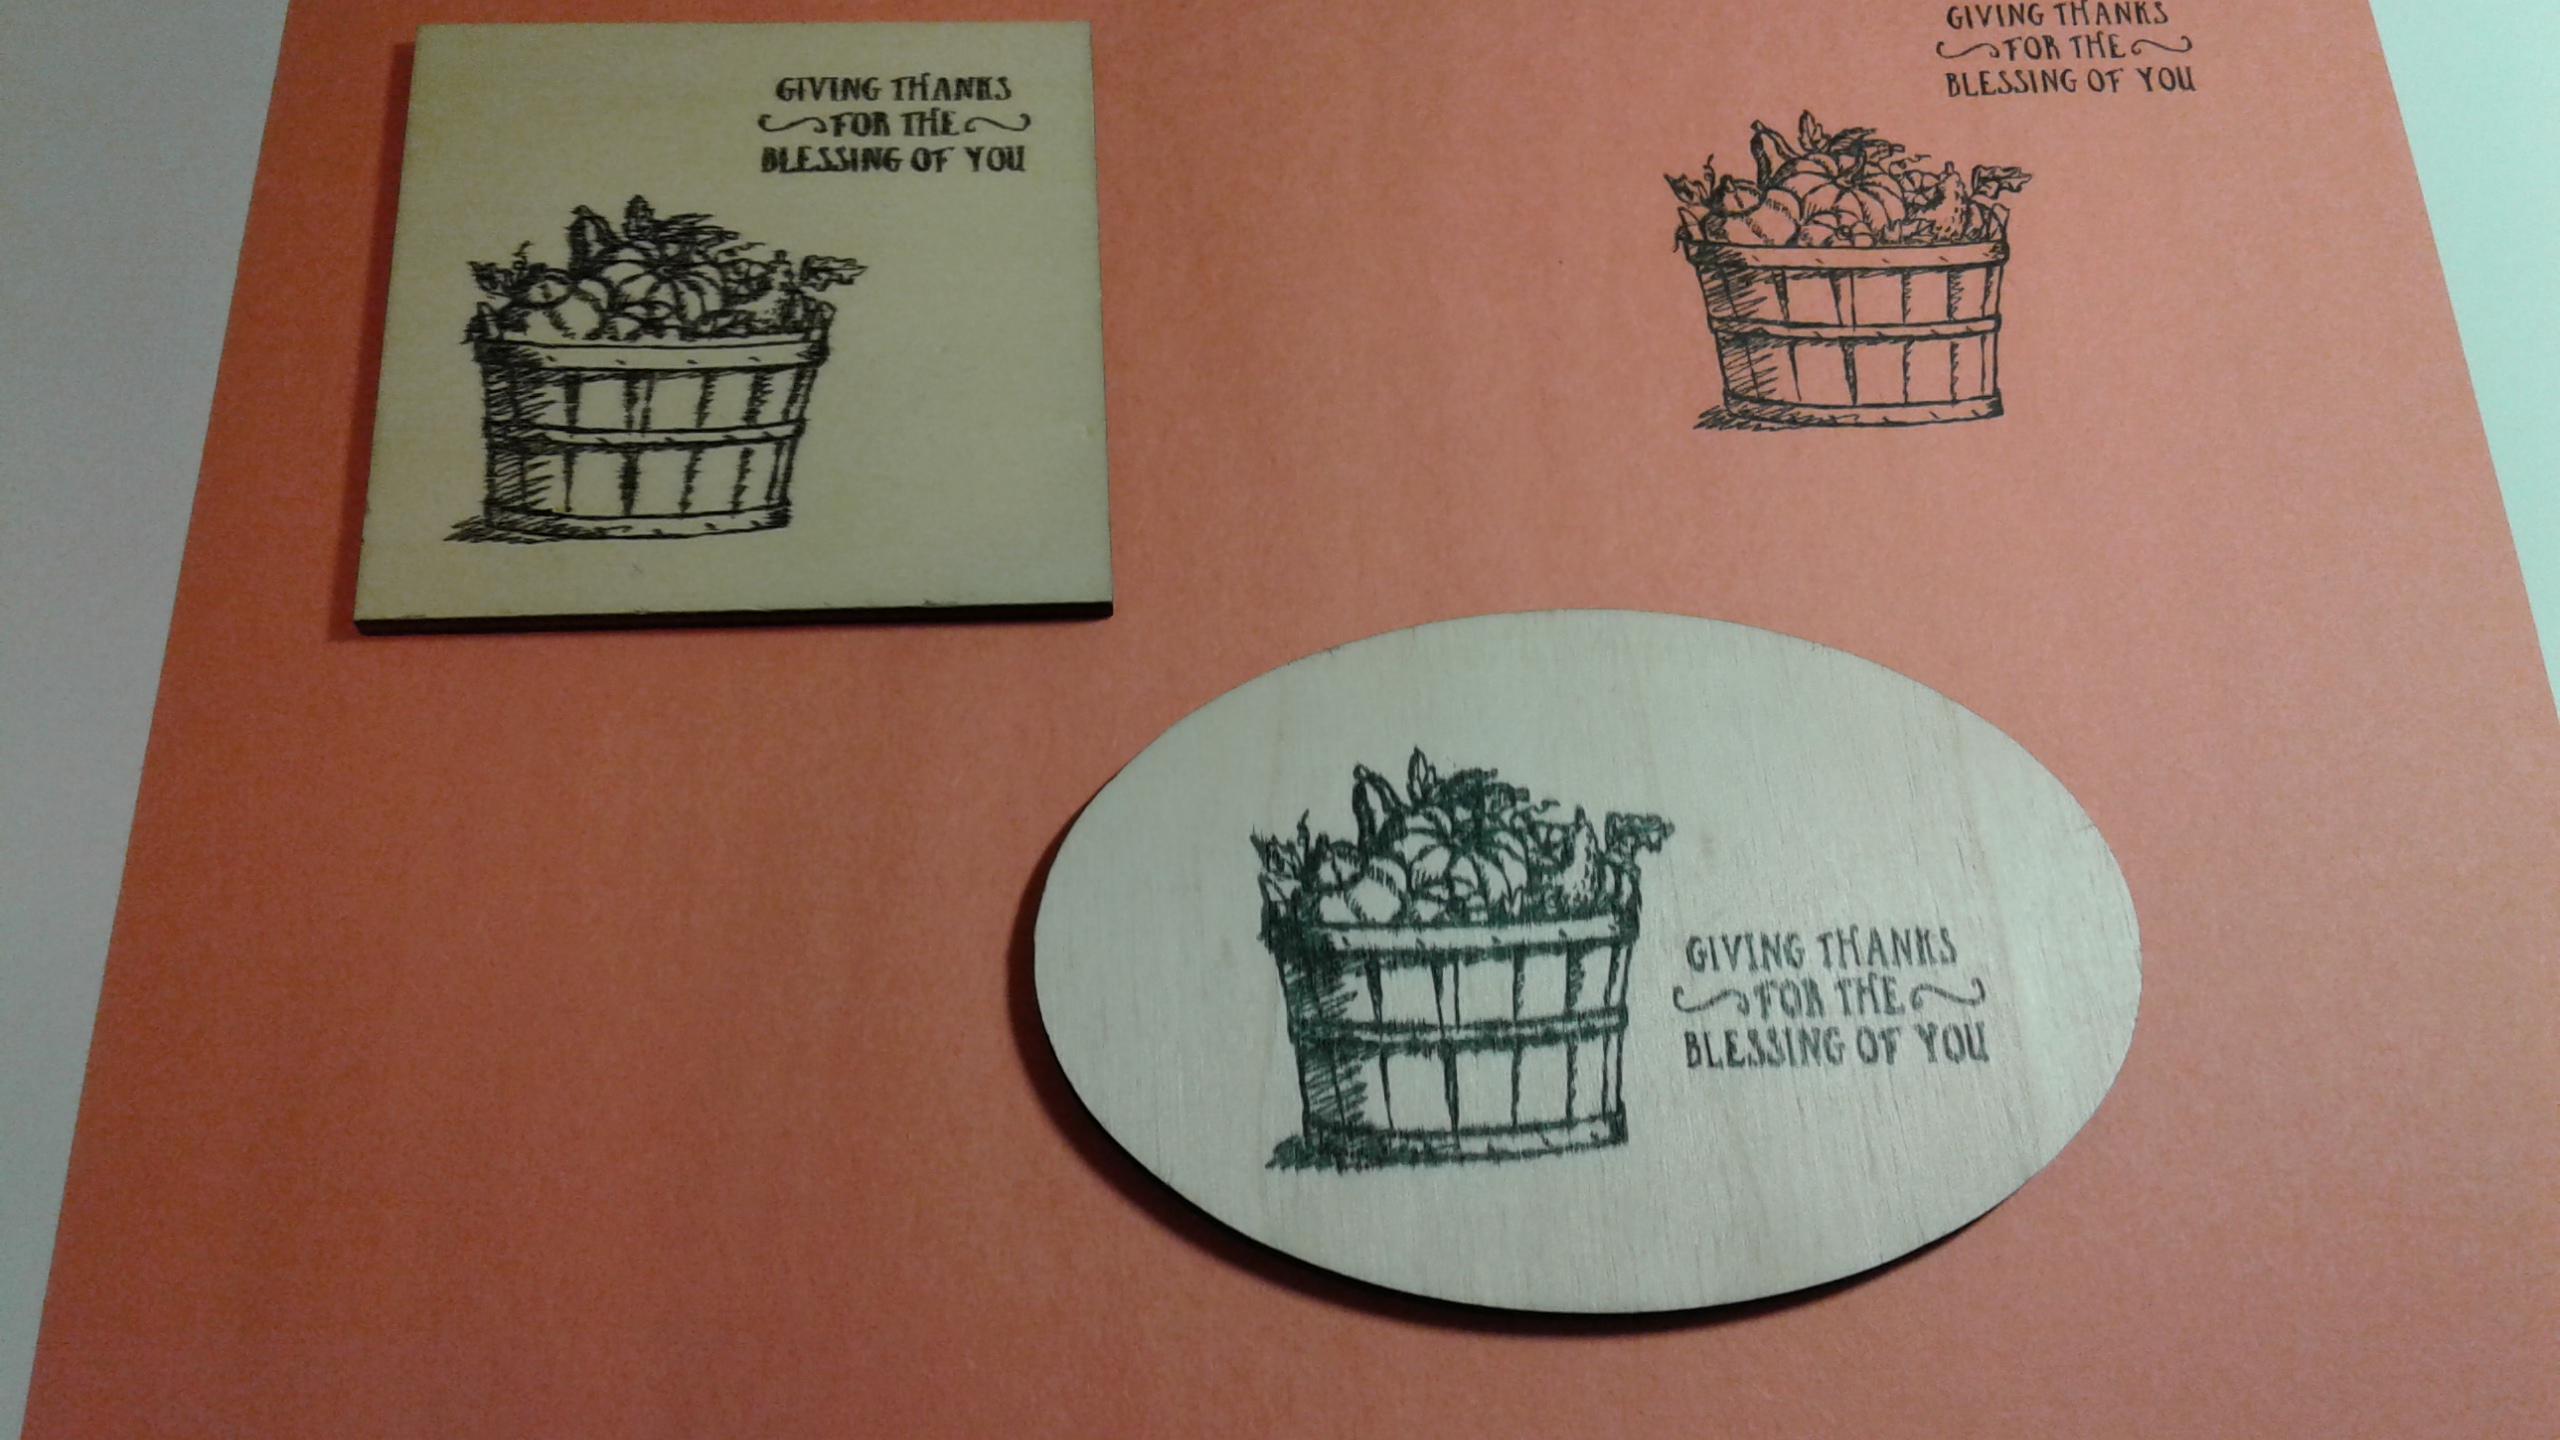
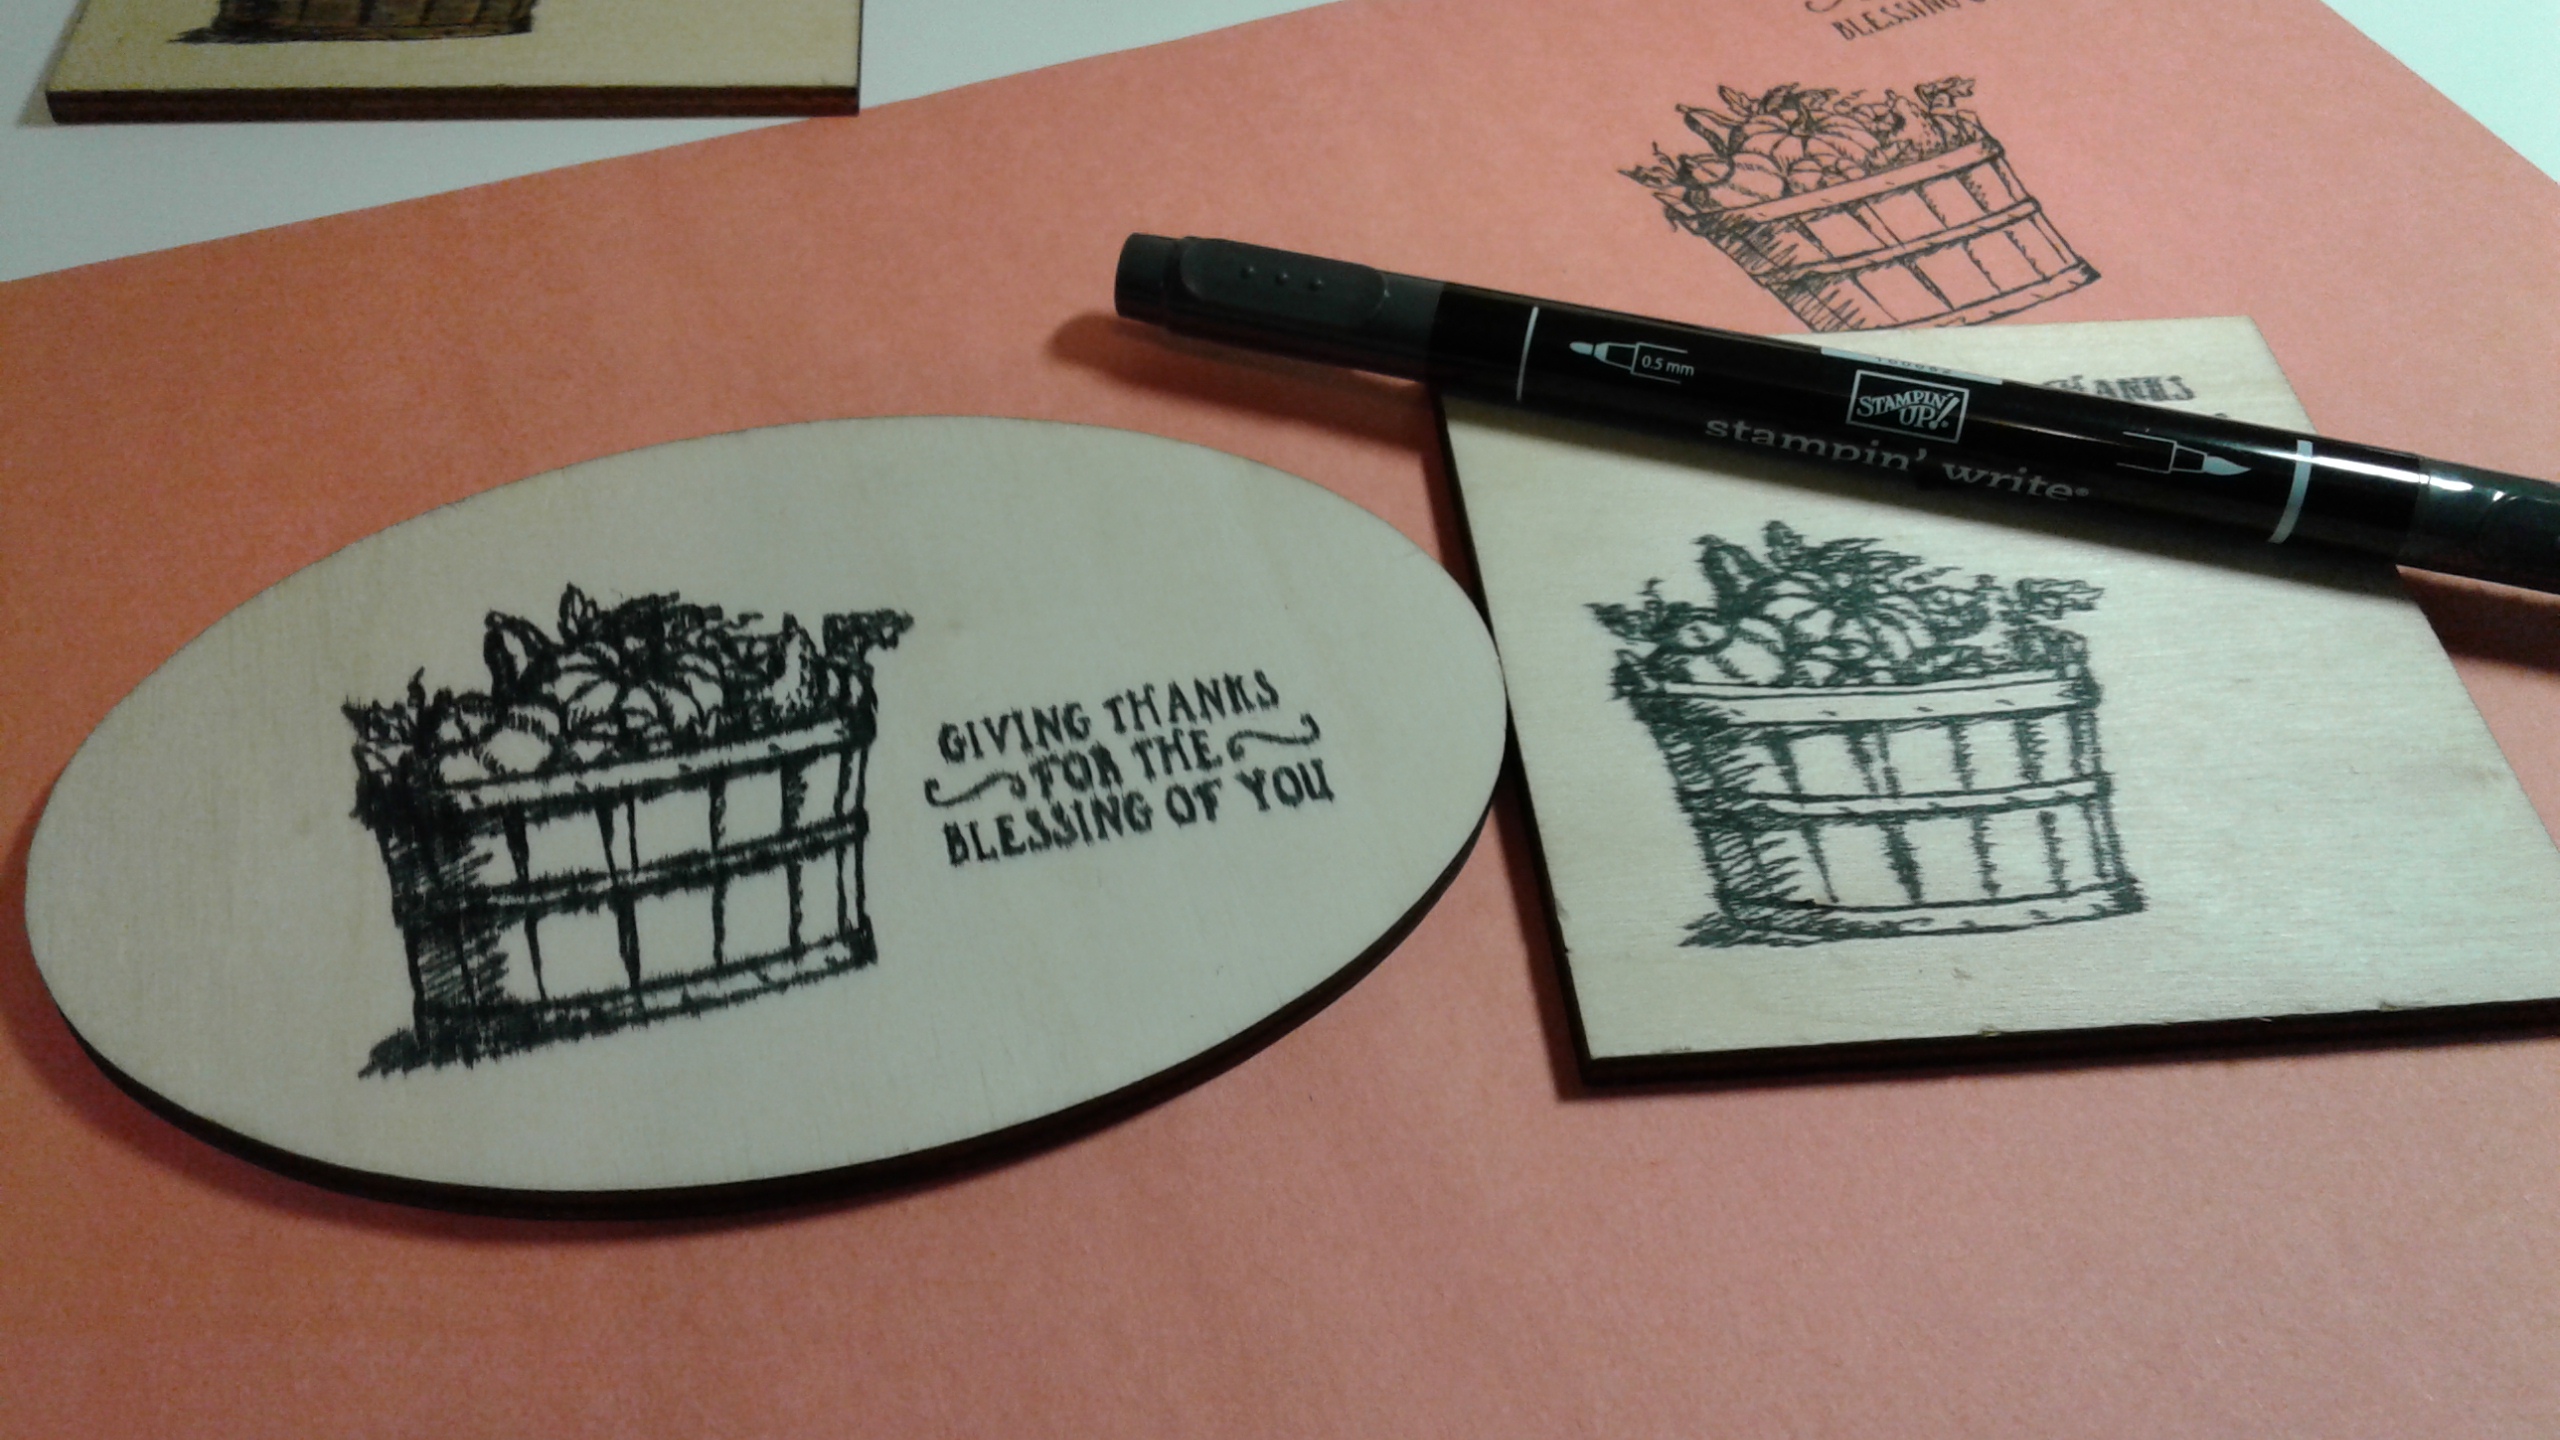
I used the new Basket of Wishes stamp set to create the main focal point. Since this stamp set is a two-step set, I practiced stamping the basket and fruit on my scrap paper before stamping on the wood. Memento black ink works very well for this project.
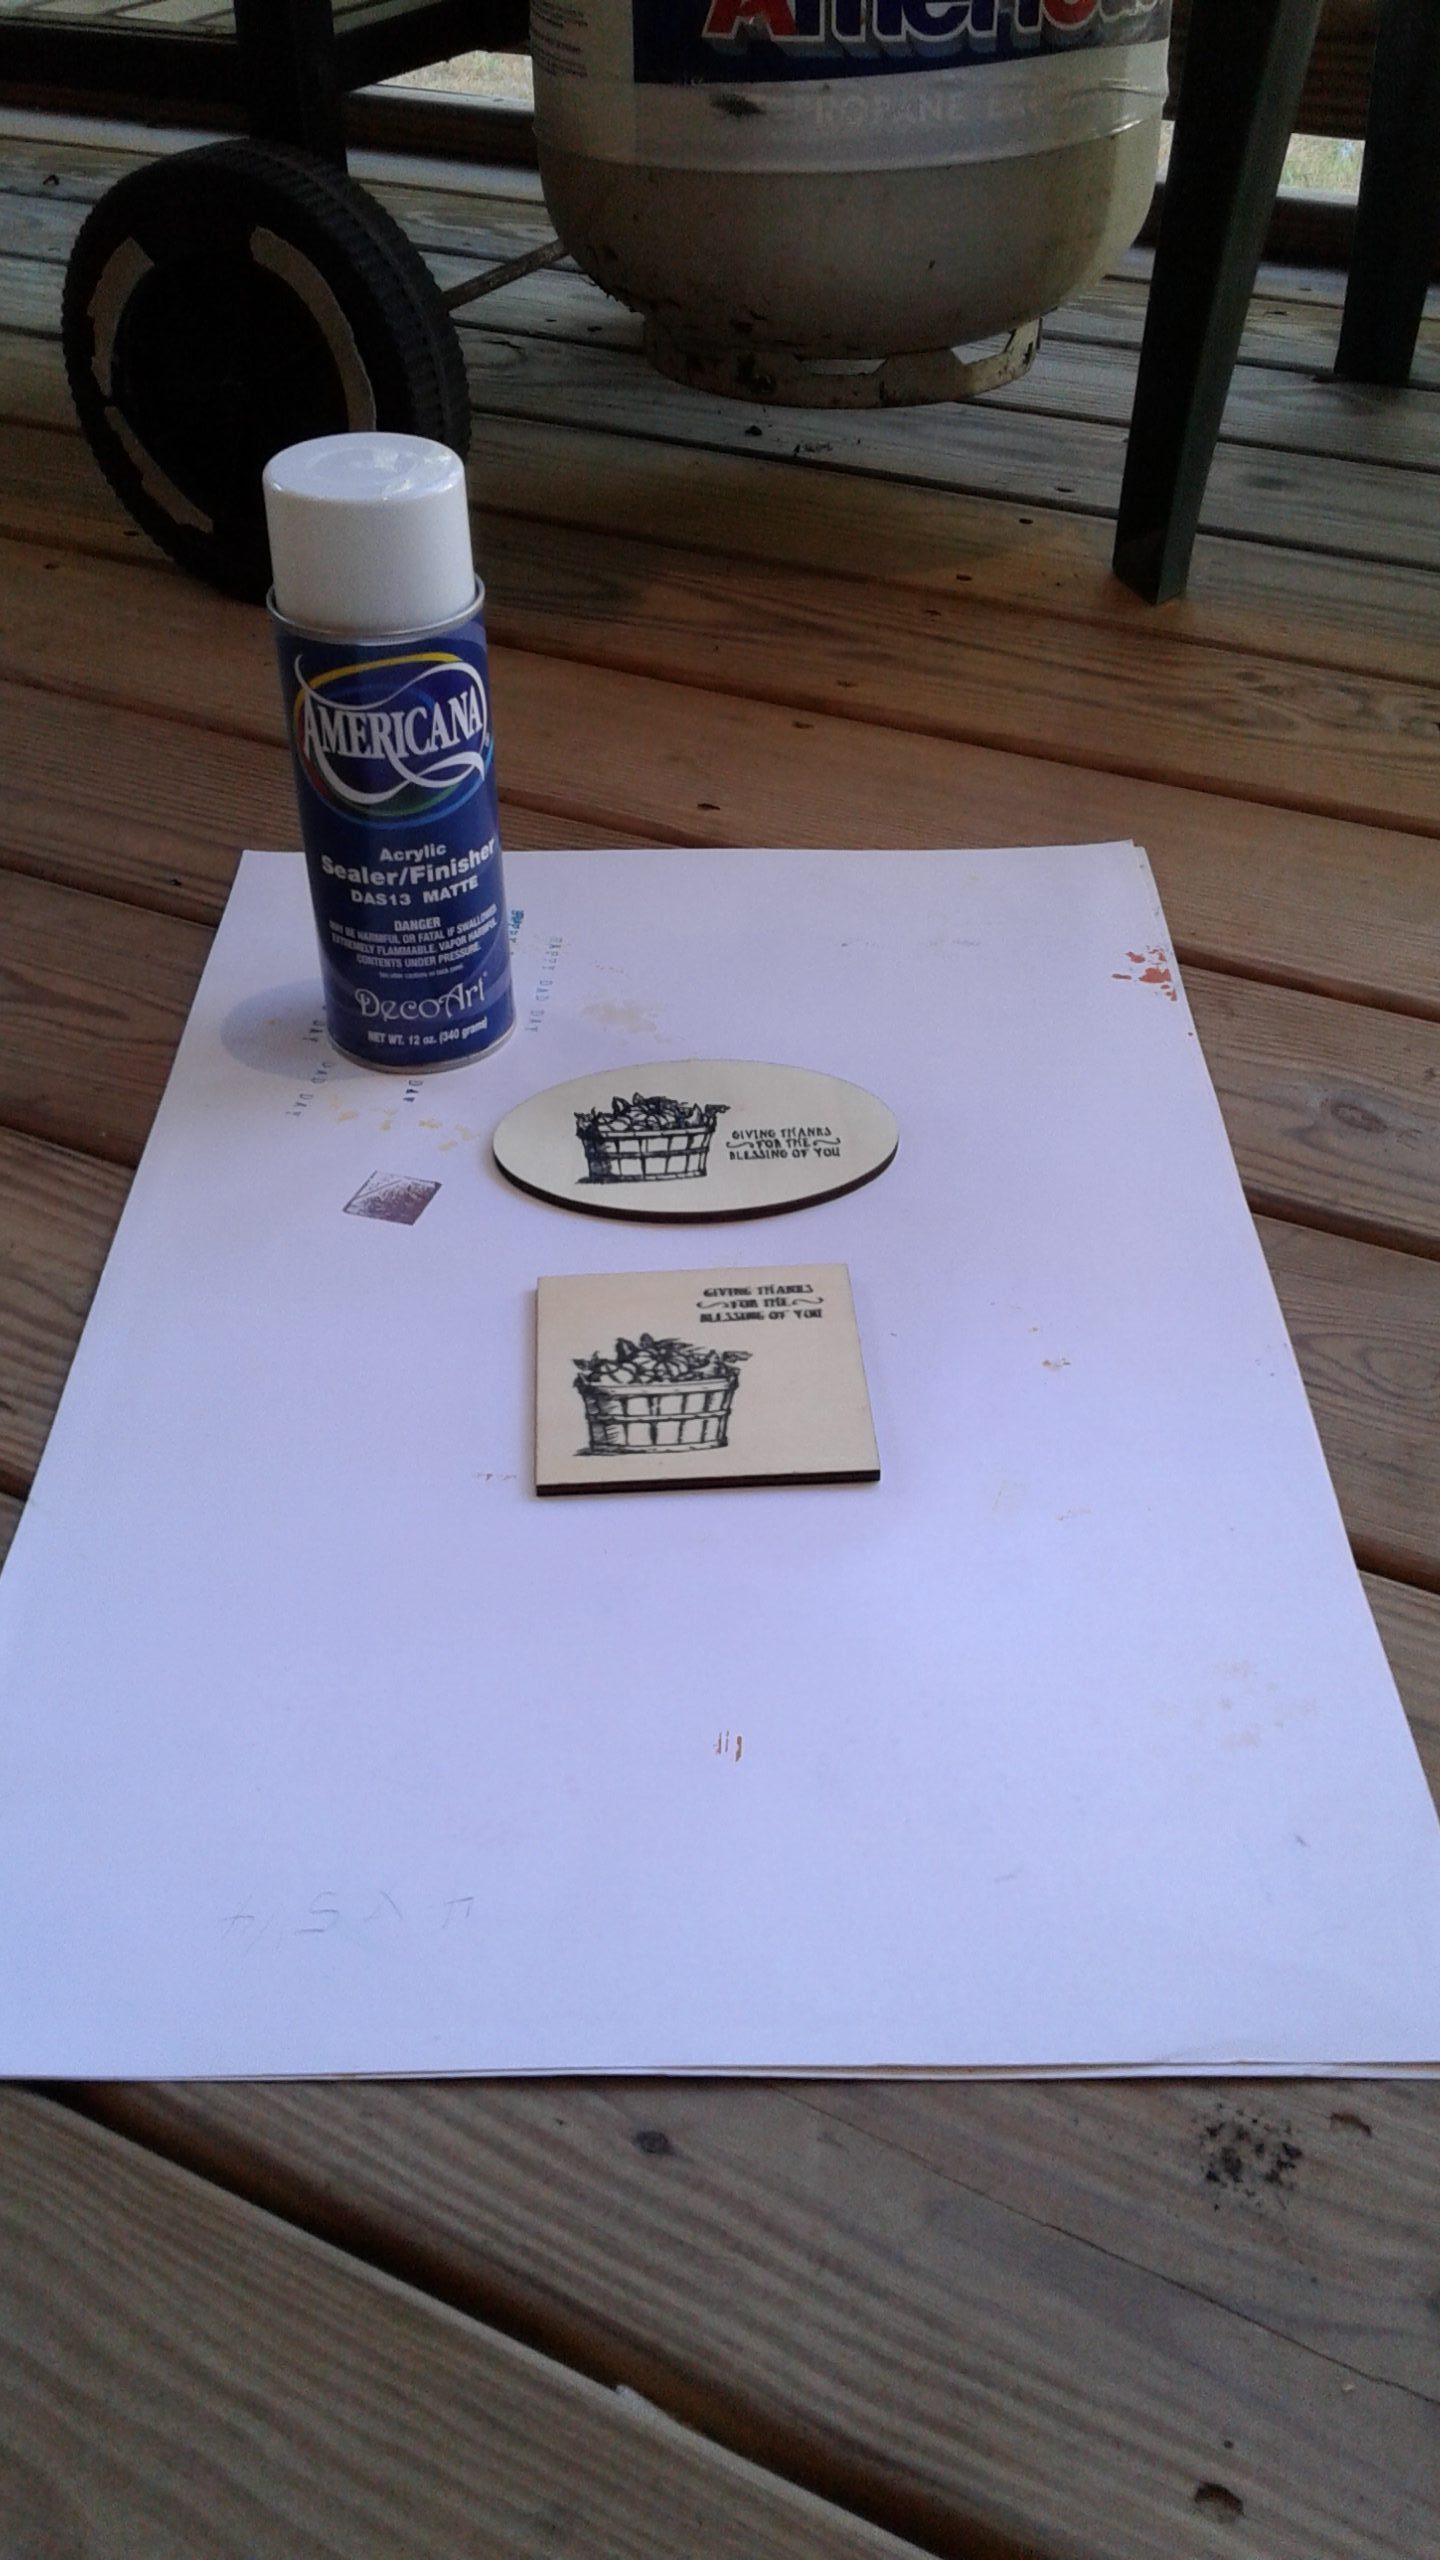
Before coloring the basket and fruit, I sprayed the wood with a sealant. When you do this, PLEASE make sure that you spray outside in a well ventilated area. Spraying the wood helps set the ink. It also provides a sealed surface for your coloring. If you start coloring the images without spraying the wood, the ink will soak into the wood and bleed. Here is a picture of this step and the sealant that I used.
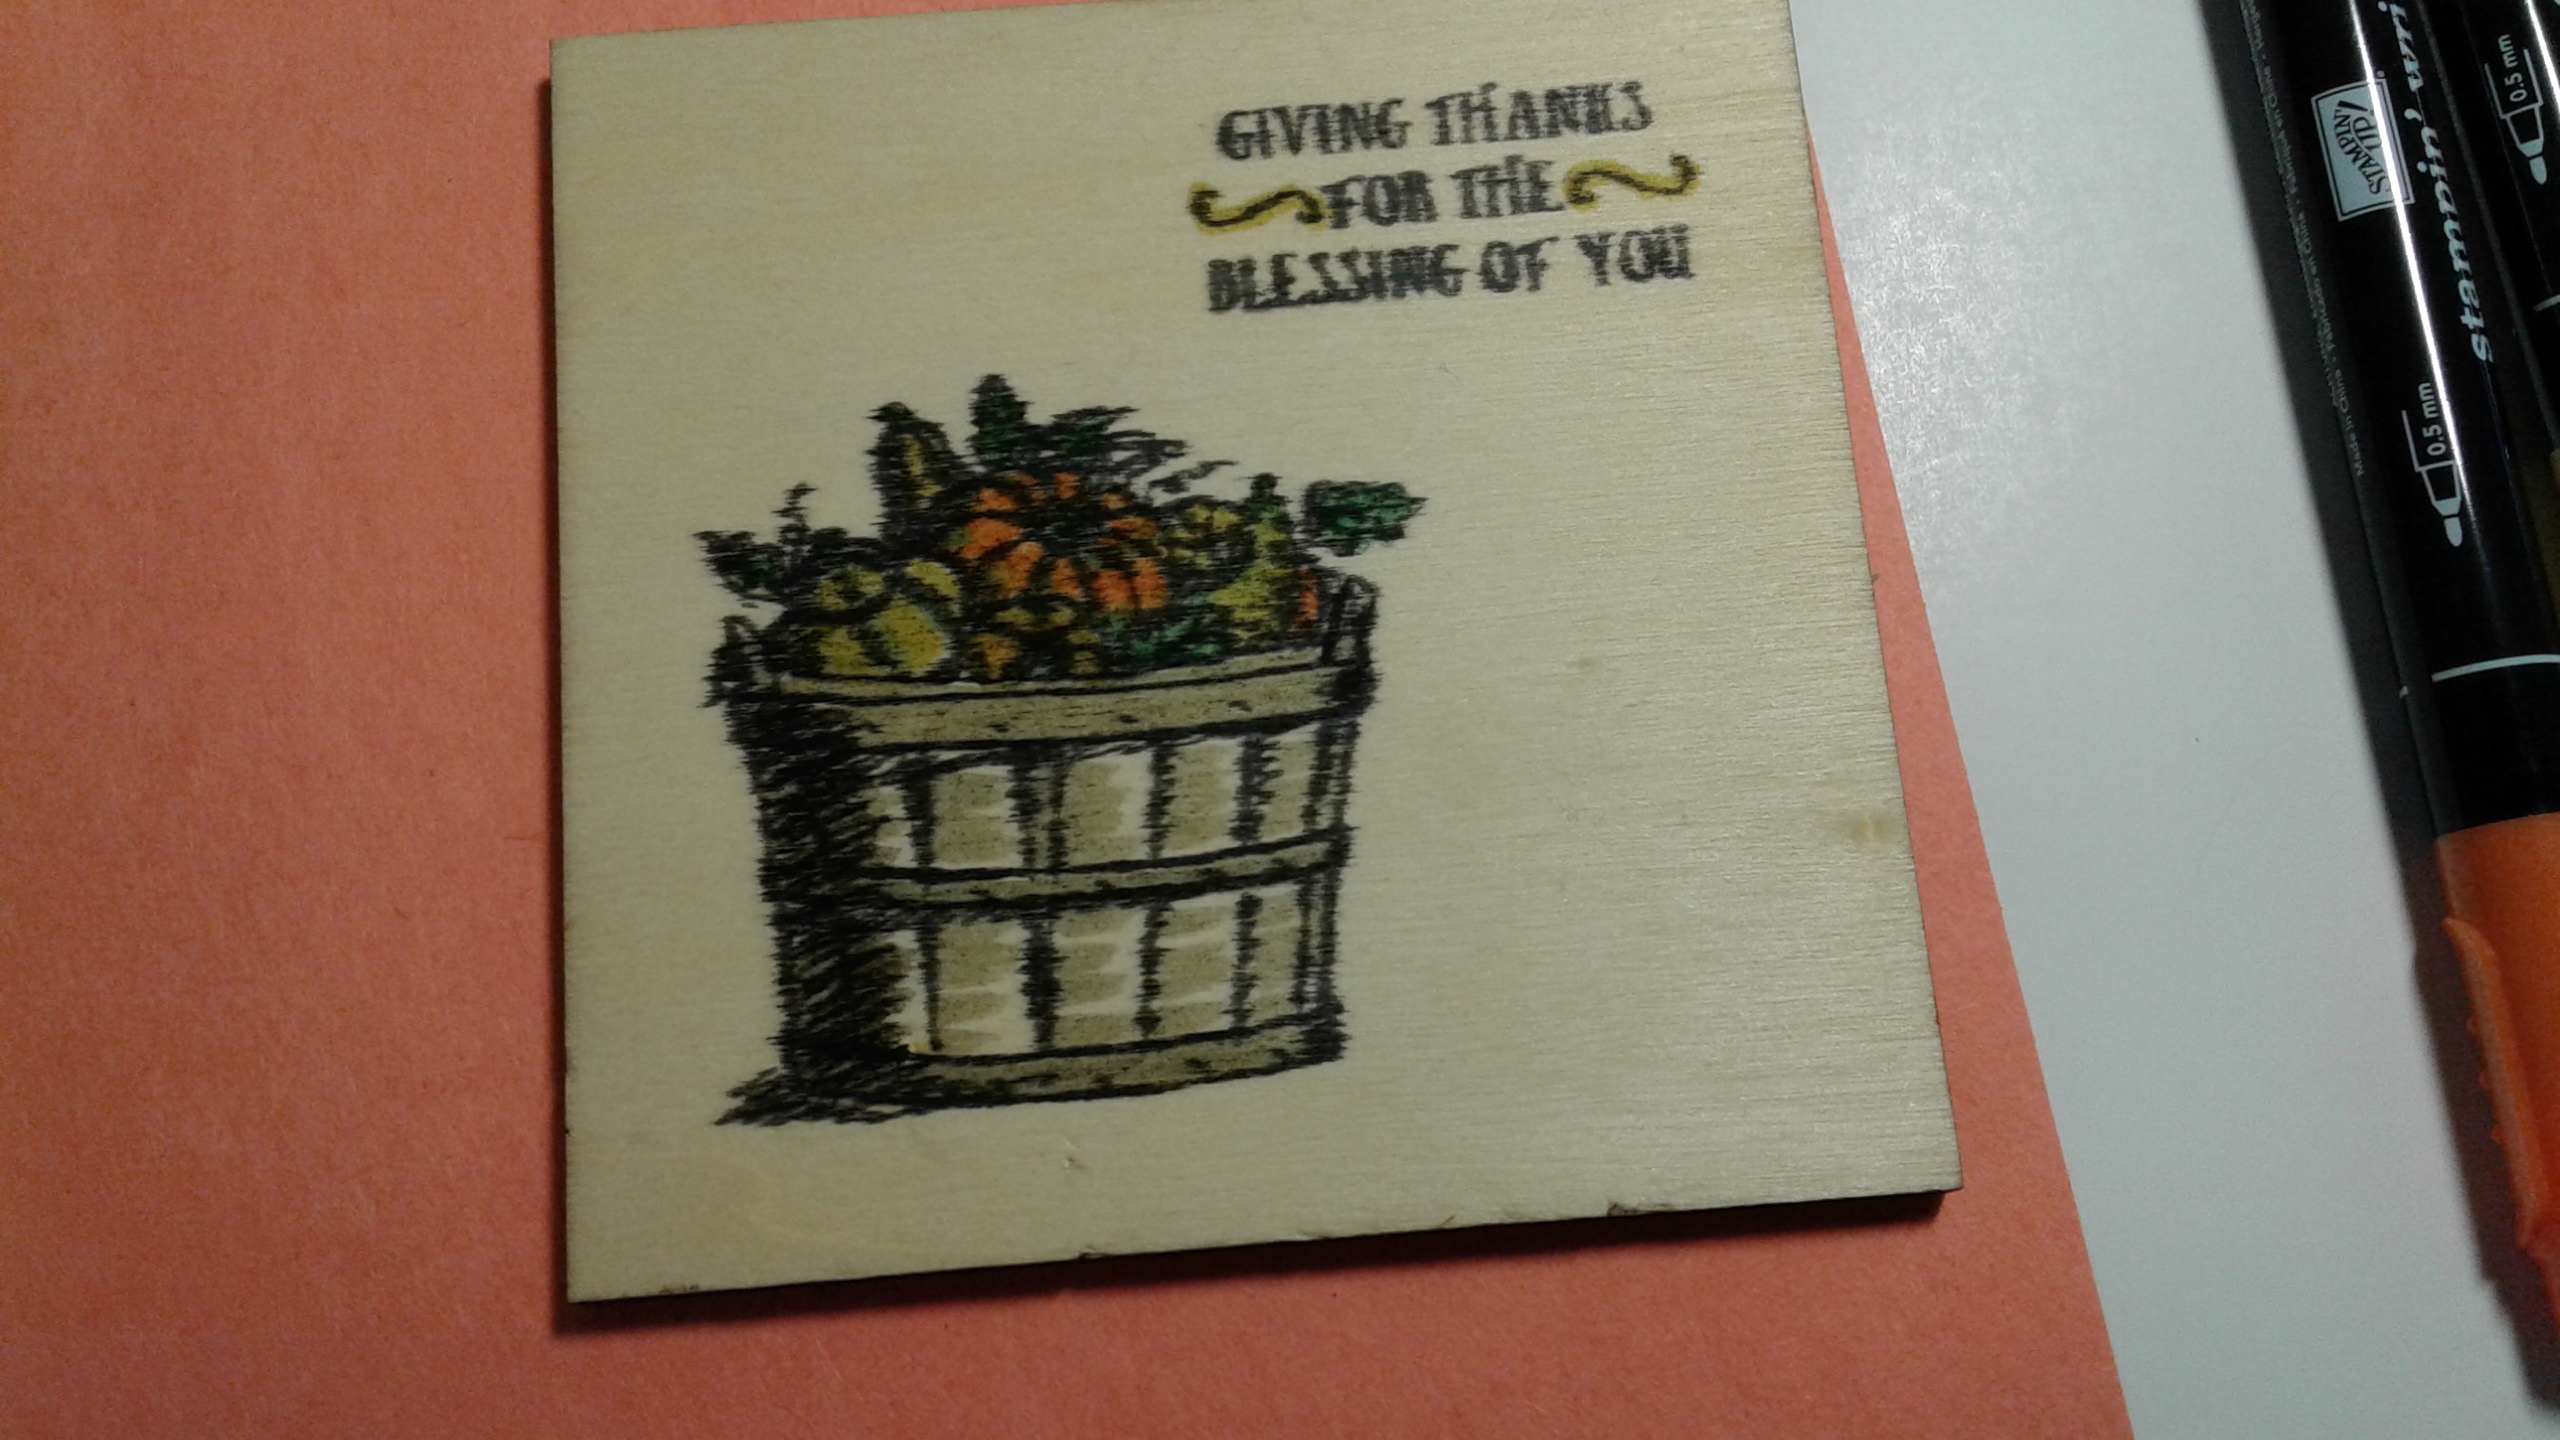
If you happen to stamp the fruit a little higher than the rim of the basket, no worries! Get your markers out, and draw a fine line at the bottom of the fruit. Problem solved. Look at the square piece of wood to see where I did this to fix my stamping.
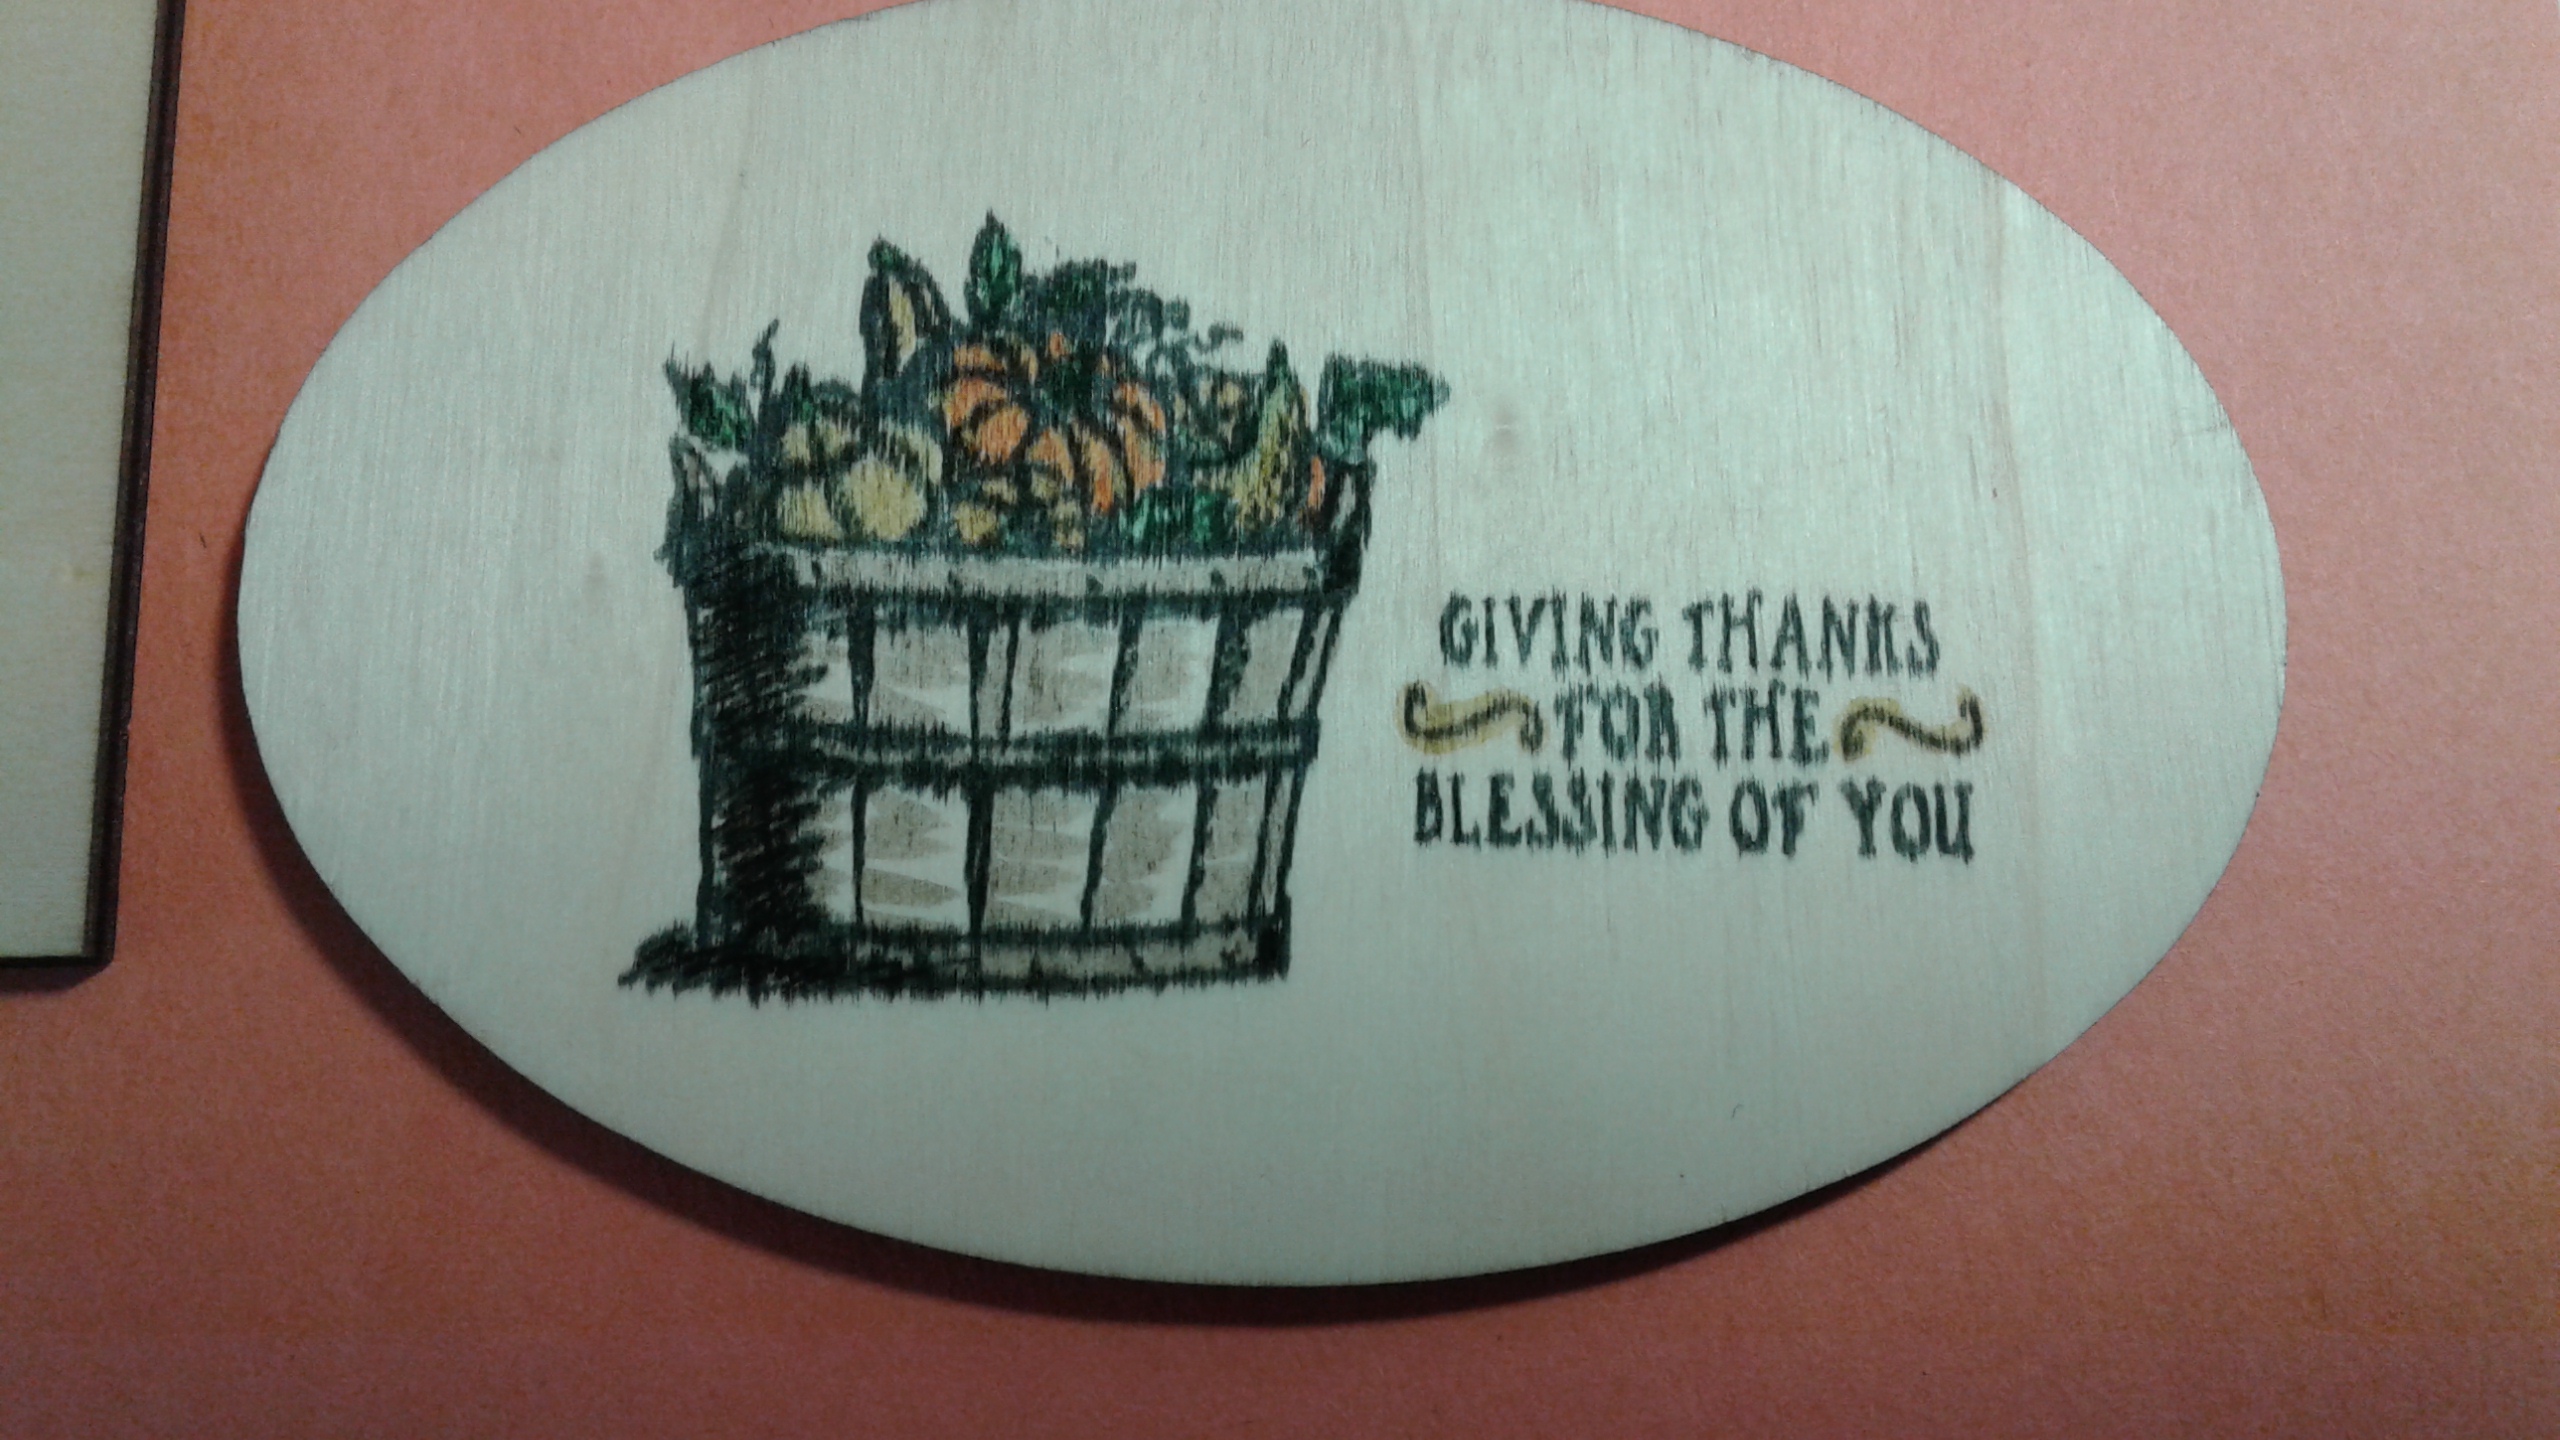
Now, on to the coloring! If you want to see what a specific color will look like on the wood, flip the wood over and test on the back. The back of the wood will end up being covered. I used a few markers on my project and tried to add different colors to each individual piece of fruit. Don’t over color. You can always add some color where you need it. Notice that I also added a little color on the swirls on either side of “for the” in the sentiment.
The project is just about finished. There are two more steps. The first is to spray the wood with sealant again. I recommend that you spray your project. Allow the sealant to dry. Then, spray one more time to add a final layer. You can also use spray gloss or varnish if you want to turn your plaque into a coaster. Now, wouldn’t a set of four coasters make a wonderful Christmas or birthday present?
The final step is to add adhesive felt to the bottom of the project. I picked up the felt at the “big box” store. You could also glue regular felt or any other backing that you like. Trim the edges of your backing to fit the sides of the wood.
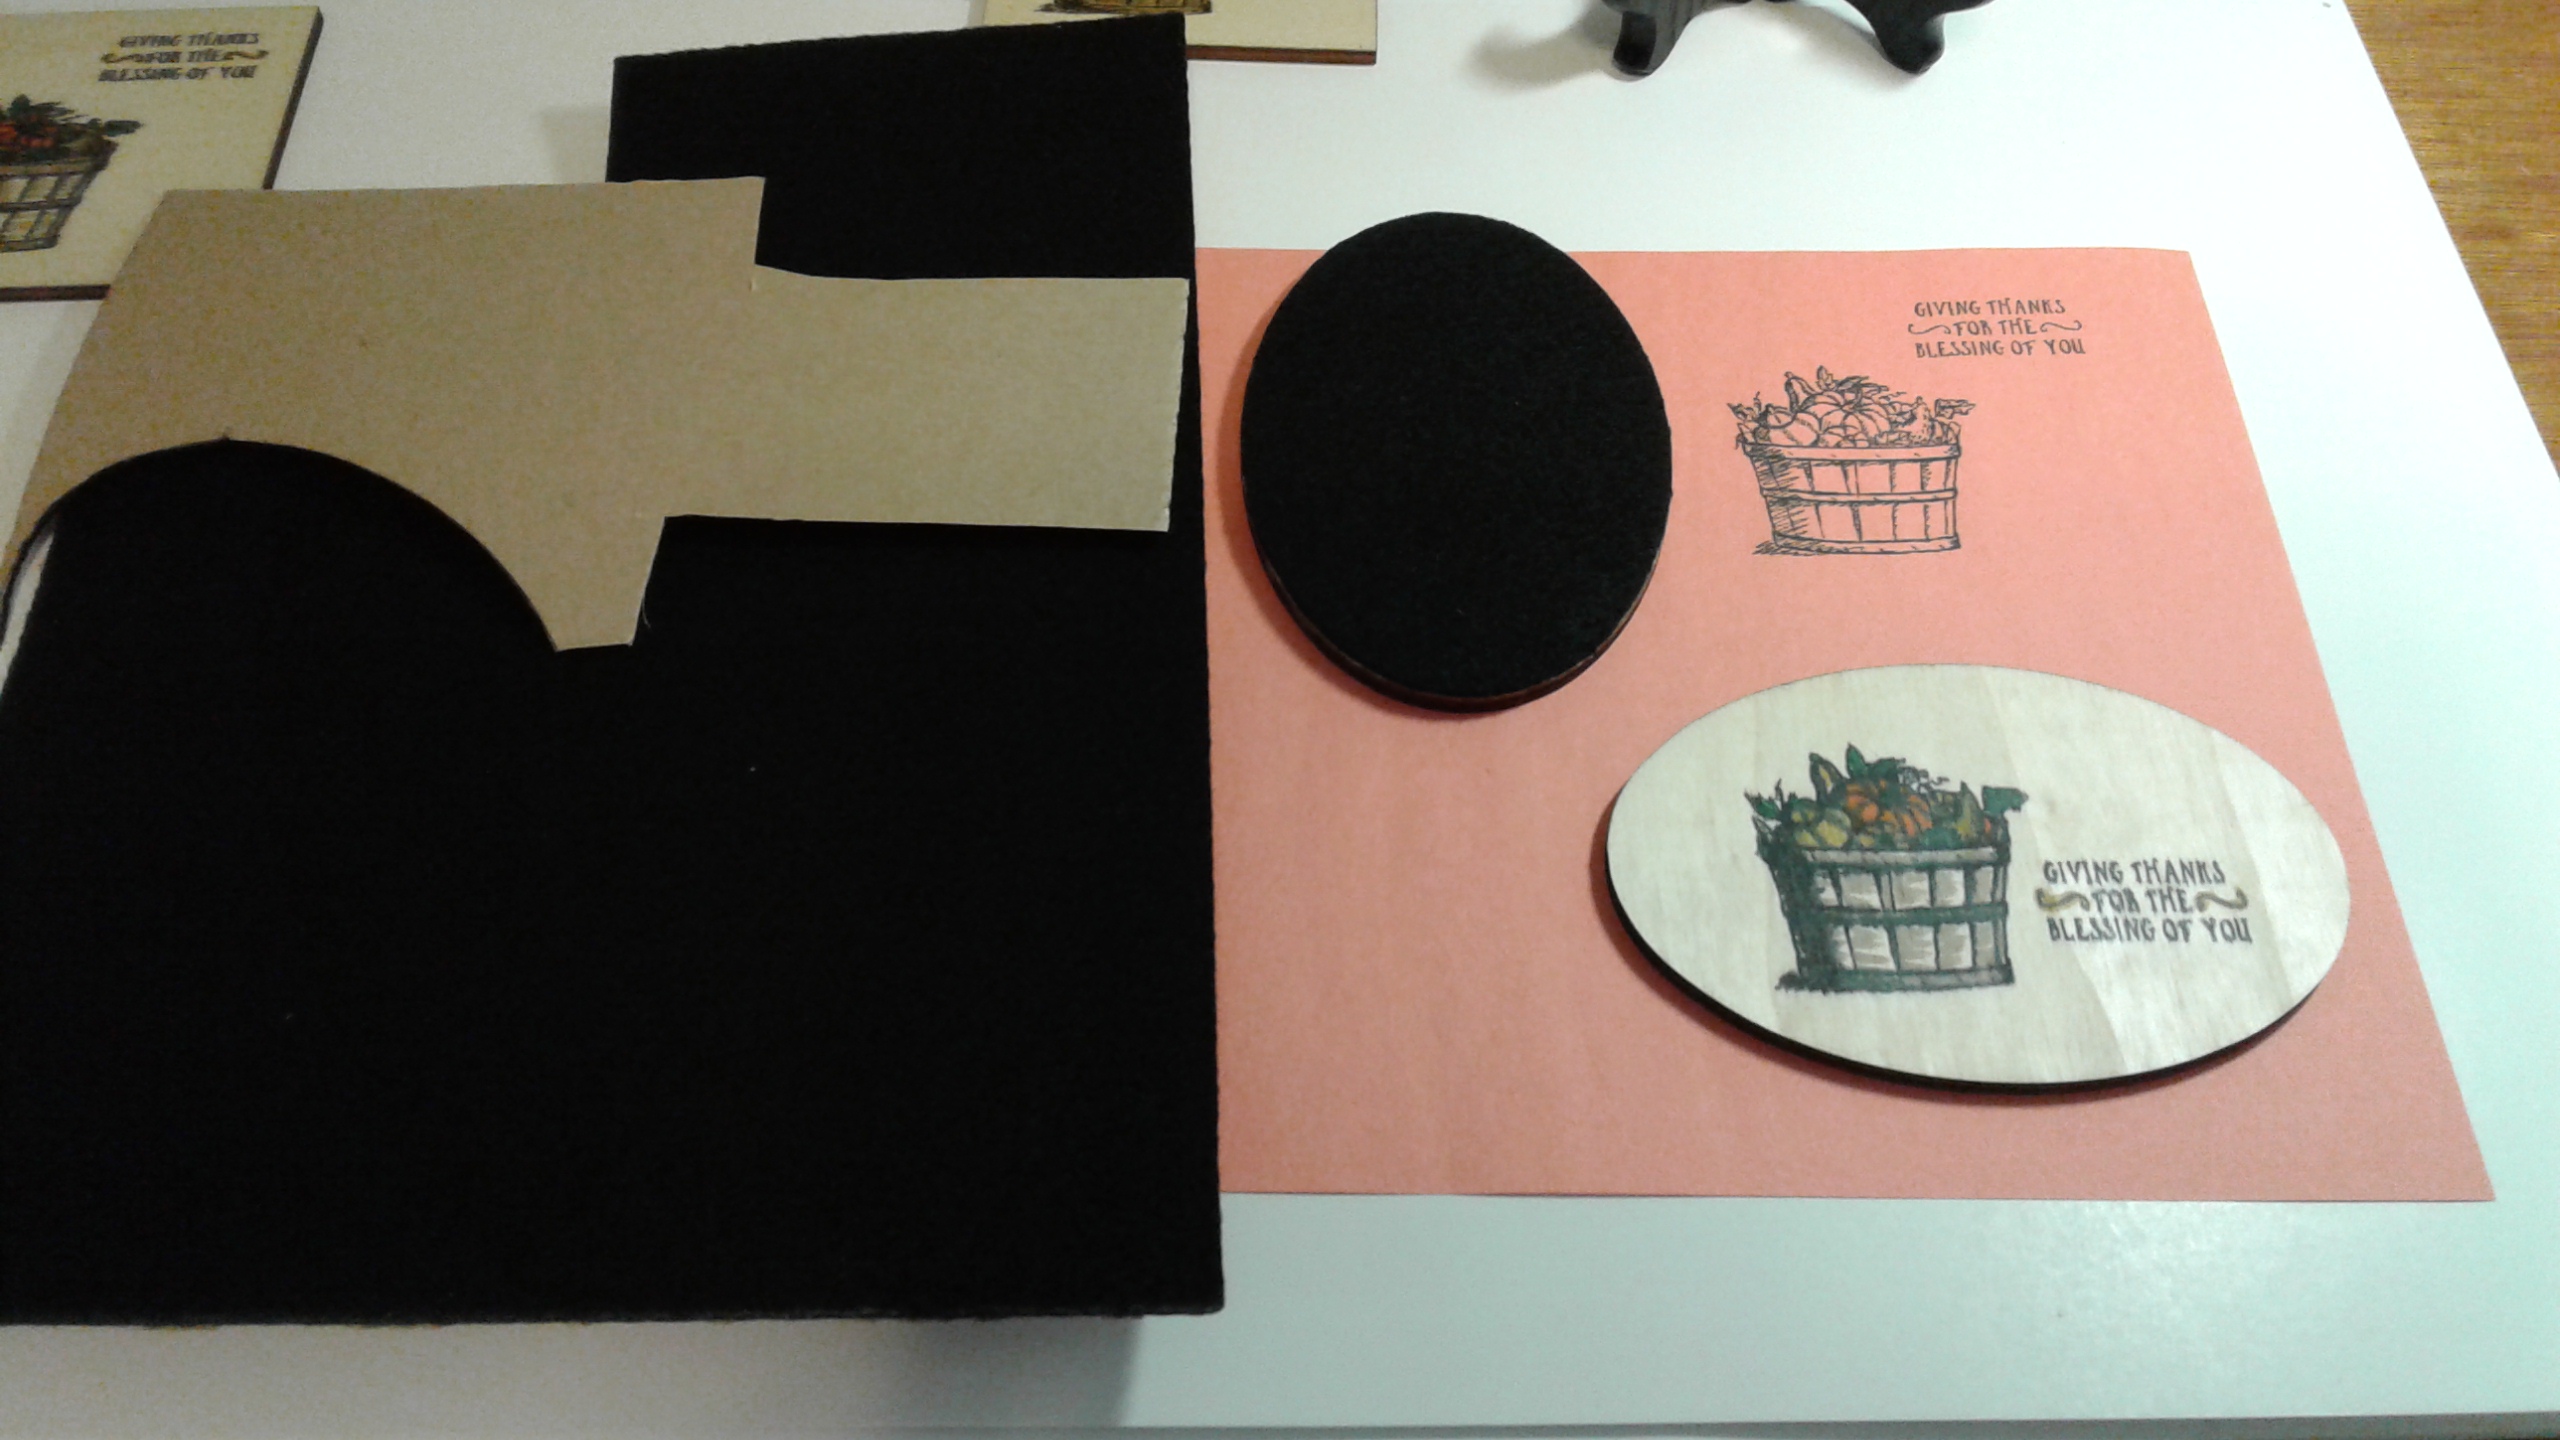
And, you’re done! I really hope that you try this technique. There are infinite possibilities of the wonderful gifts that you can make. Don’t be afraid to just get a piece of wood and experiment. Here is one final picture of the finished project without the stand.
Shown below are the products that I used for this project.
|
|
||
Be sure to continue your blog hop!
Happy stamping!
Laurie
NC Demos October Blog Hop Participants:
Jo Anne Hewins –
http://luv2create.typepad.com/my_blog/2016/10/a-thankful-nc-blog-hop.html
Michelle Irinyl –
http://makingmemorieswithmichelle.weebly.com/home/nc-demos-blog-hop-thankful
Melissa Kerman –
http://www.stampinup.net/esuite/home/thecraftingtreehouse/blog?directBlogUrl=/blog/60800/entry/masking_with_leaflets_timeless_textures
Tracie Evans Langley –
http://www.stampinup.net/esuite/home/traciesallaboutstamping/blog?directBlogUrl=/blog/86481/entry/nc_demos_october_blog_hop
Laurie Meier – YOU ARE HERE
https://stampedgreetings.com/thankful-for-you-nc-demos-blog-hop/
Lisa Tedder –
http://tedderbearstamping.com/nc-demo-blog-hop-stuck-santa/
Frances Wagner –
http://wagstamps.blogspot.com/2016/10/giving-thanks-nc-october-blog-hop.html


Wonderful project, Laurie! Thanks for sharing and being a part of this month’s Blog Hop!
Tracie – Thank you so much! I really had fun putting this project together and got a little out of my normal comfort zone. Thanks again for all you do for the monthly blog hop.
I love your project. Great directions, too. Thanks.
Thank you, Jo Anne! I had fun putting the directions together. Appreciate your feedback!
Laurie, I have not tried stamping on wood so I may have to try it now. Great projects. Thanks for sharing.
Frances – I was a little concerned about stamping on wood but was really pleasantly surprised at how easy it was. Thanks so much for your feedback!
What a neat idea! A pretty fall project that would make a great gift for someone special.
Thank you, Michelle! I have already started thinking about the really cute Christmas coaster that could be made as gifts. I’m even thinking about named place settings for our Thanksgiving dinner. Thanks so much for your comments!
Fun alternative to stamping on paper! Thanks for the idea and detailed instructions. I also love that image and stamp set. I may need to buy that set!
Melissa – Thanks so much for your comments! I really love the stamp set.