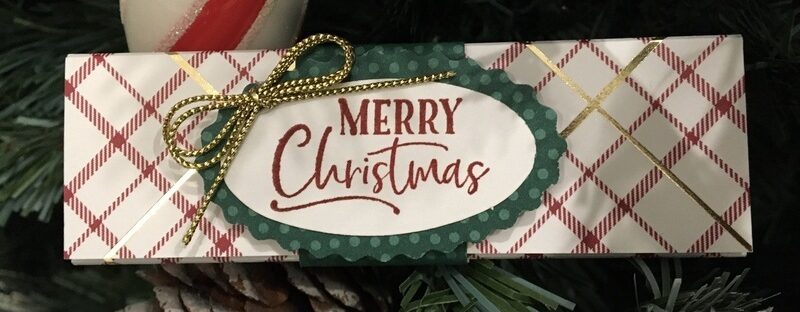
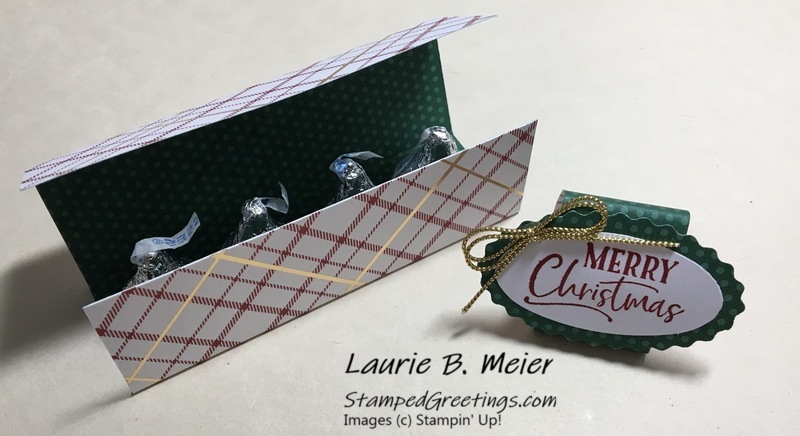
I know it’s only a few days before Christmas! If you need a quick candy wrapper for a little treat or perhaps to use as a gift tag, take a look below for the instructions. It is that absolutely perfect size for four Hershey’s kisses!!
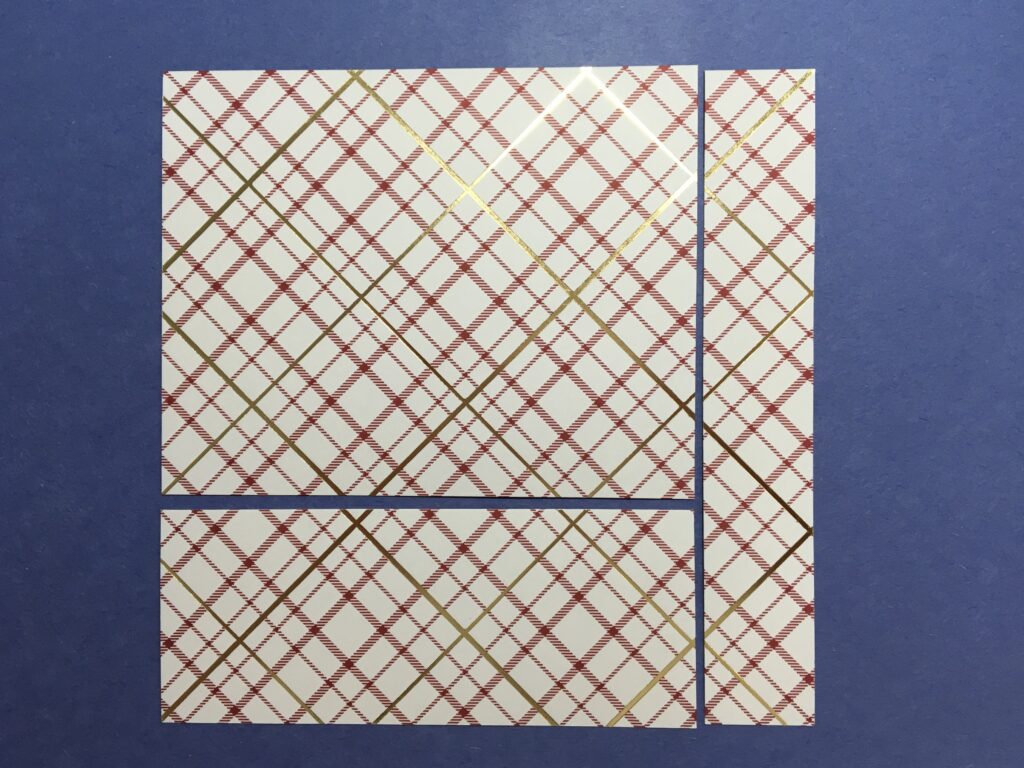
 Start with a piece of your favorite Designer Series Paper (DSP) cut to 6″ x 6″. Yup – this is the perfect project for the hoards of 6″ x 6″ DSP that you have in your stash!! Cut the DSP as pictured below. You will end up with three pieces. One (upper left) is 4″ x 5″. Another (right) is 1″ x 6″. The last (bottom left) is 2″ x 5″.
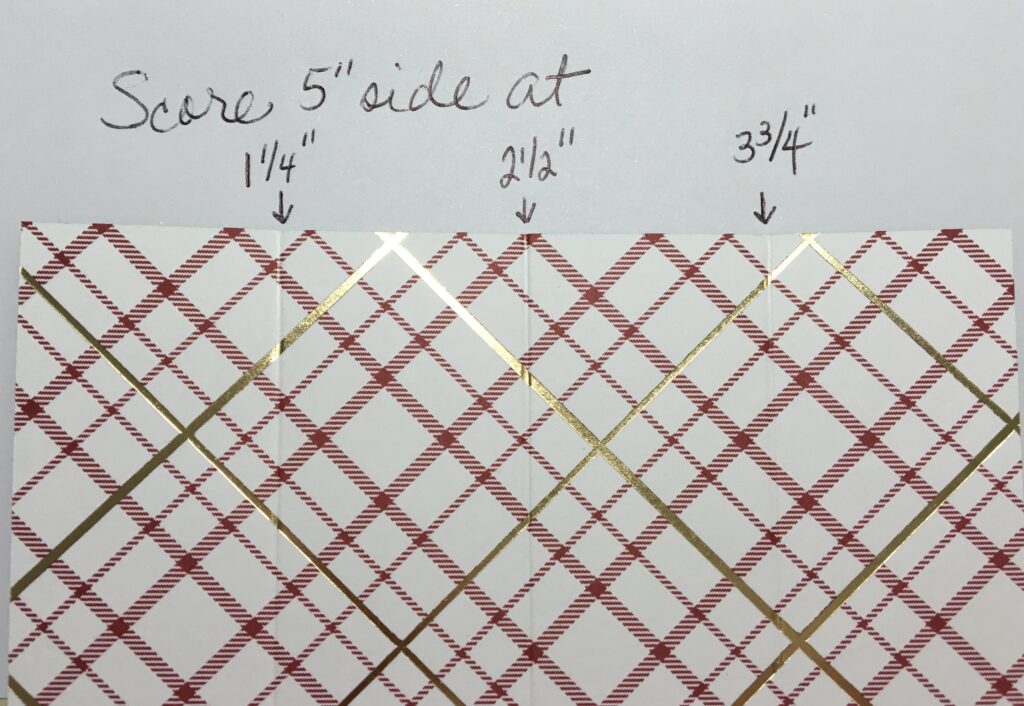
 Next, using the piece from the upper left (pictured above) piece, put the DSP into your scoring board so that the 5″ side is horizontal. This is the piece that is 4″ x 5″. You are going to make three scores. One at 1 1/4″, one at 2 1/2″, and one at 3 3/4″. See the picture below. This is the main part of the wrapper.
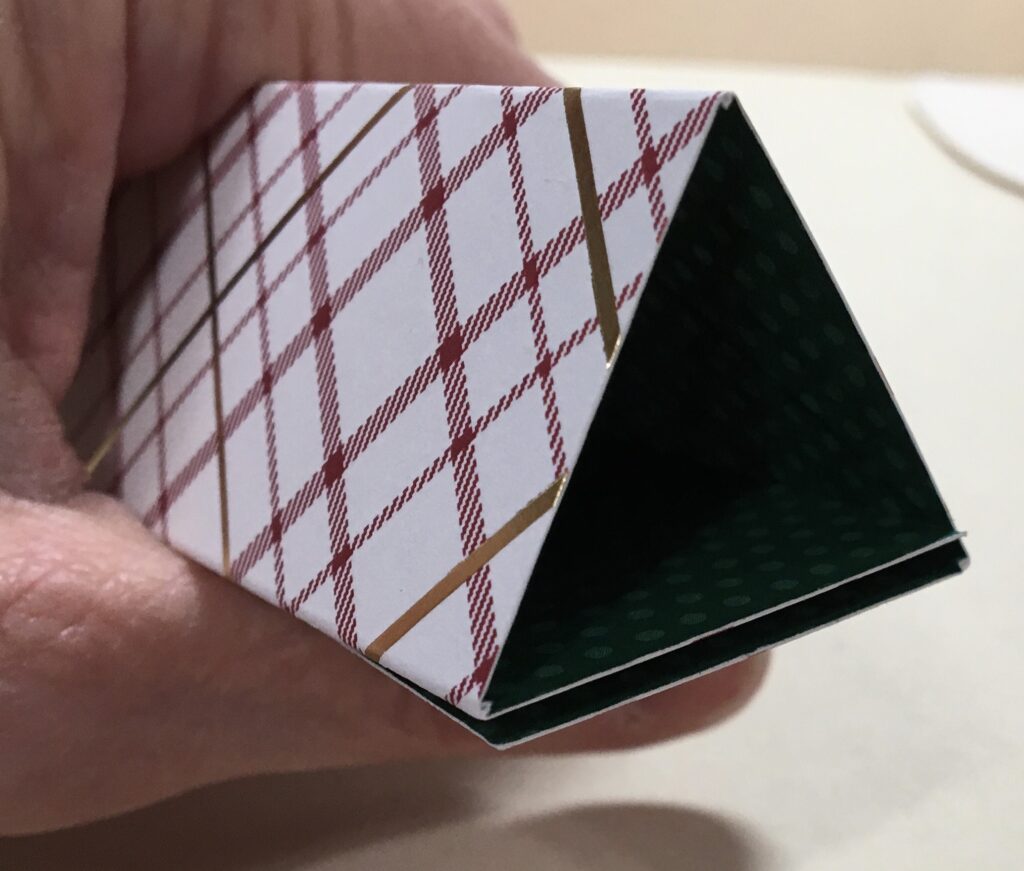
 Burnish the scored lines and fold to create a triangle shaped wrapper. Two sides will overlap as pictured below.
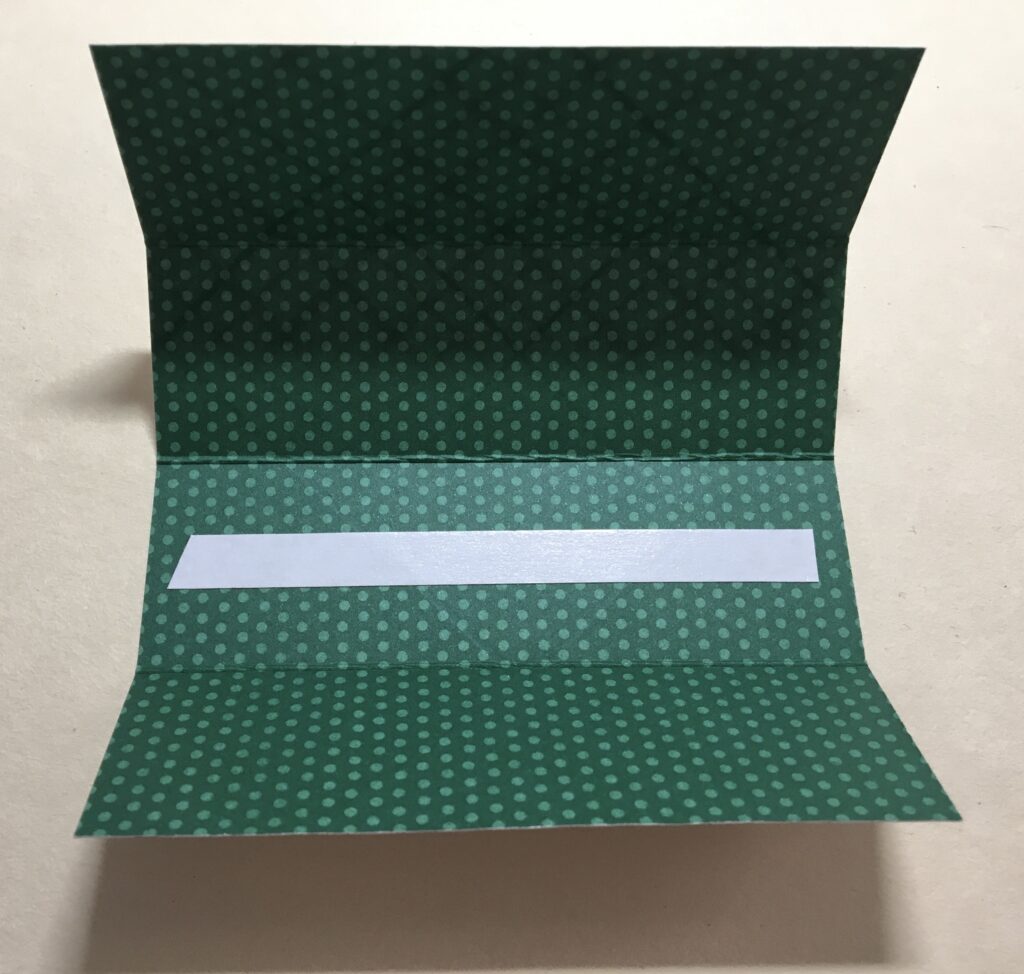
 It’s time to add the chocolate! By the way, no-one will ever know if a few Hershey’s kisses never make it into the wrappers. Just saying!! I like to use a piece of Tear & Tape to attach the kisses. This will make absolutely sure they will not fall out. Just put a piece of Tear & Tape as shown below, take off the wax paper piece from the tape, and add four Hershey’s kisses.
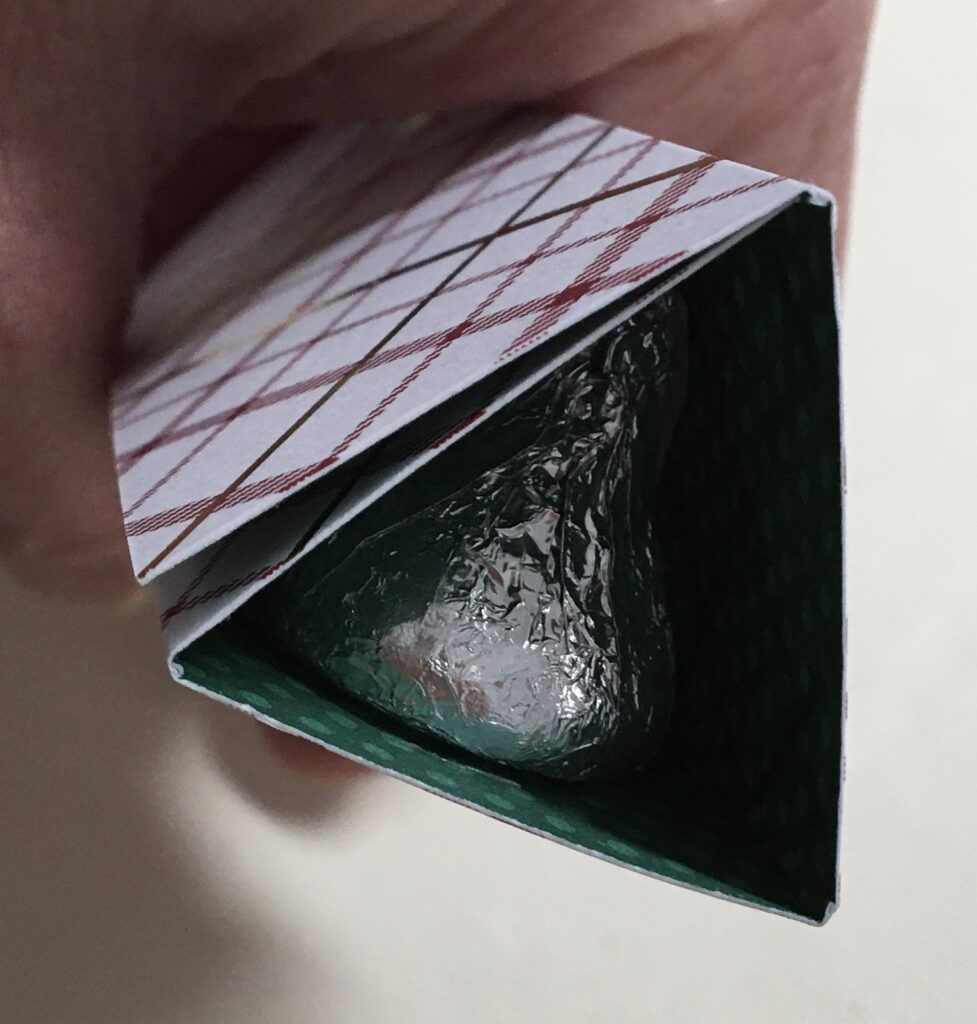
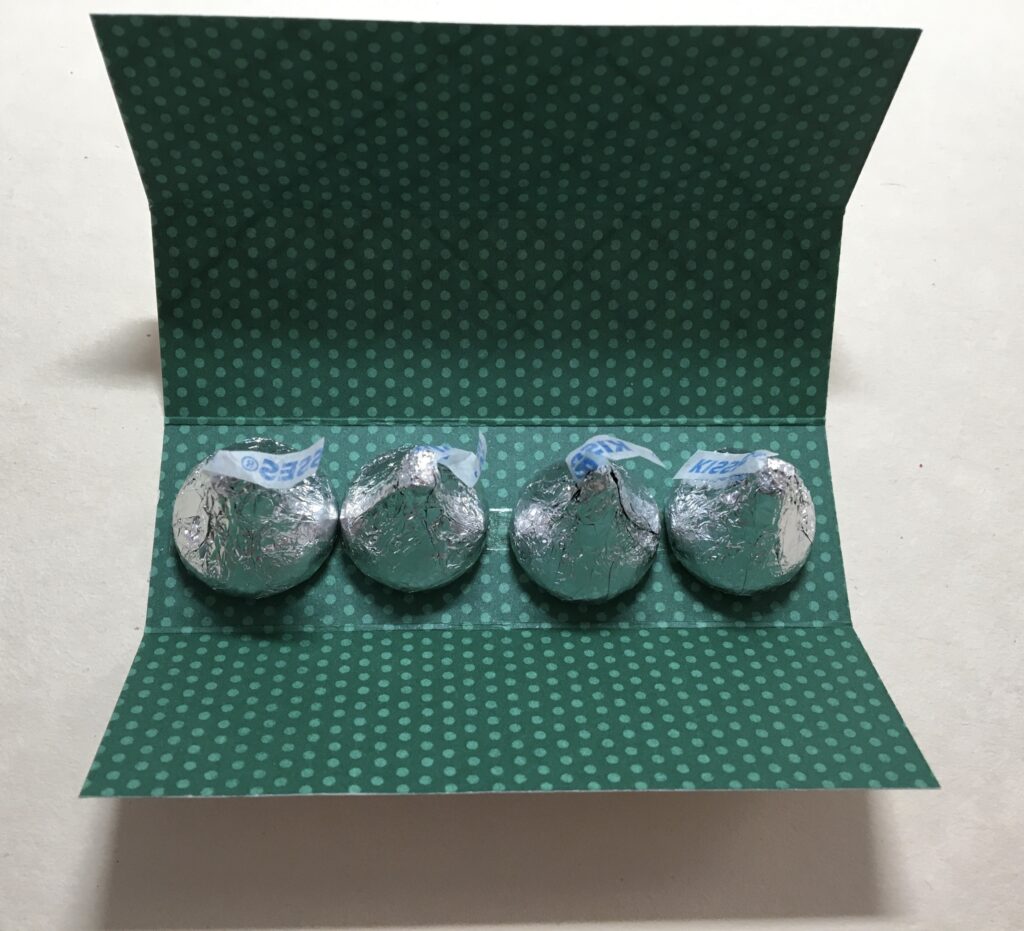 Fold the wrapper over the kisses, and you’ll see how they will be packaged!
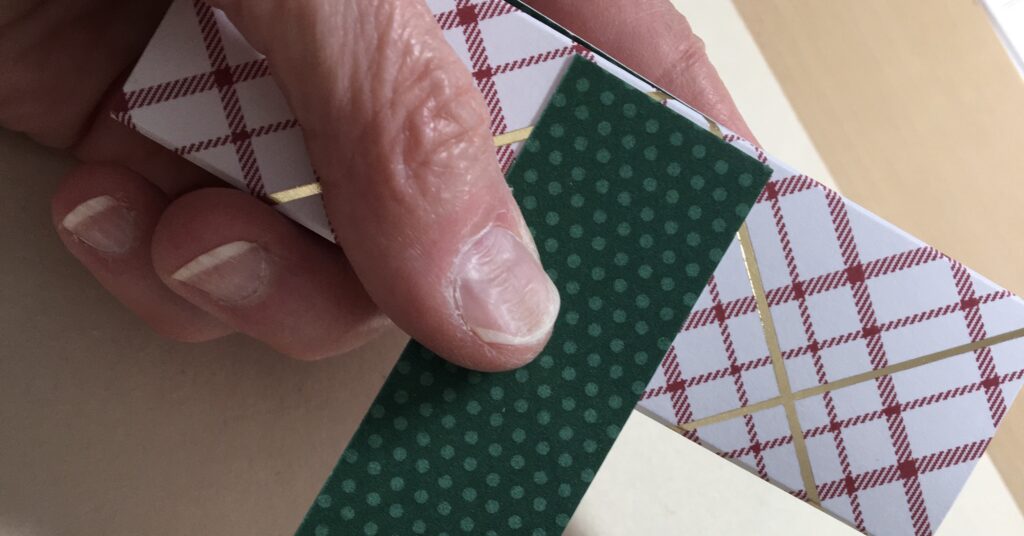
 The last thing to do is create and decorate the belly band that will hold the wrapper together. Use one of the pieces that you cut from the original piece of 6″ x 6″ DSP. You’re going to take the one that is 1″ x 6″ and trim it to 1″ x 5″. I like to flip this piece of DSP over to have another pattern on the outside of the wrapper.
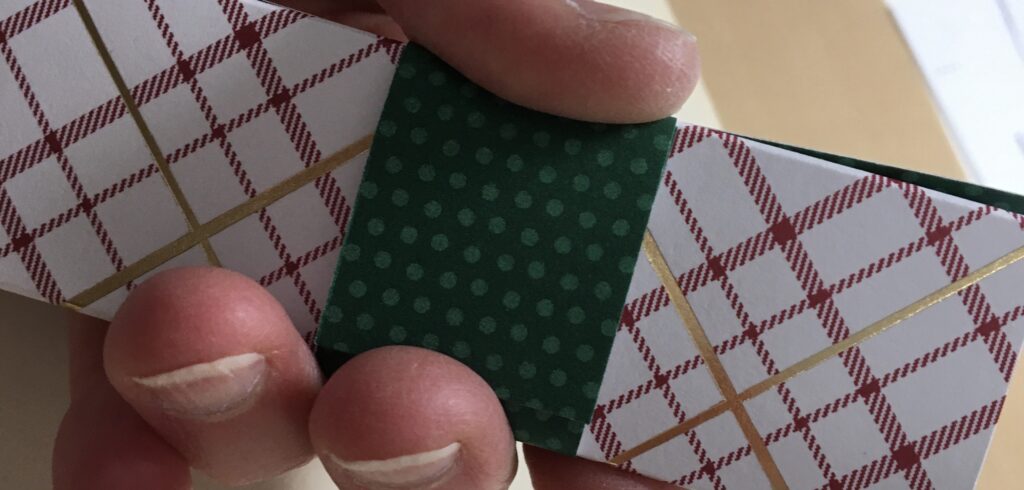
To create the belly band, put one end of the 1″ x 5″ piece at the edge of the bottom of your wrapper as shown below. Wrap the piece all the way around the wrapper. Don’t wrap it too tightly, but do wrap it snuggly. You can test how snug you have it. Just see if you can slide the belly band left and right on the wrapper. Adhere the end of your belly band with your preferred glue.
 The rest of the decorating is totally up to you. I decided to use the last piece of the original 6″ x 6″ DSP for part of my decorations. Using the Double Oval Punch (love this one!!!) I punched out a scalloped oval from the 2″ x 5″ DSP piece and put it onto my belly band. I also stamped “Merry Christmas” from the For Unto Us stamp set with Cherry Cobbler ink onto a piece of scrap Basic White card stock and punched out my sentiment with the oval punch from the Double Oval Punch. The sentiment was added directly onto the scalloped oval piece. The last bit of embellishment is a gold trim bow from the Simply Elegant Trim pack. It was adhered with a glue dot.
Confession – I did use retired DSP for my candy wrapper. I know you’ll find many patterns in your stash (current and retired) that will work perfectly for this project.
And, there you have it! A really fun, quick candy wrapper. And, the best part is there is chocolate inside!!! I hope you give these candy wrappers a try. They’re great for so many occasions – Christmas, Valentine’s Day, birthdays, anniversaries, get well wishes, graduation. Okay, you get my point!
If you’d like to add any of the main products that I used for my candy wrapper, take a look below. Click on any picture, and you’ll go directly to my on-line store.
Happy Stamping!
Laurie
|
|
|
|
|
|
|
|
