I absolutely love when the final card looks even better than the design I had planned. This card is one that fits that description.
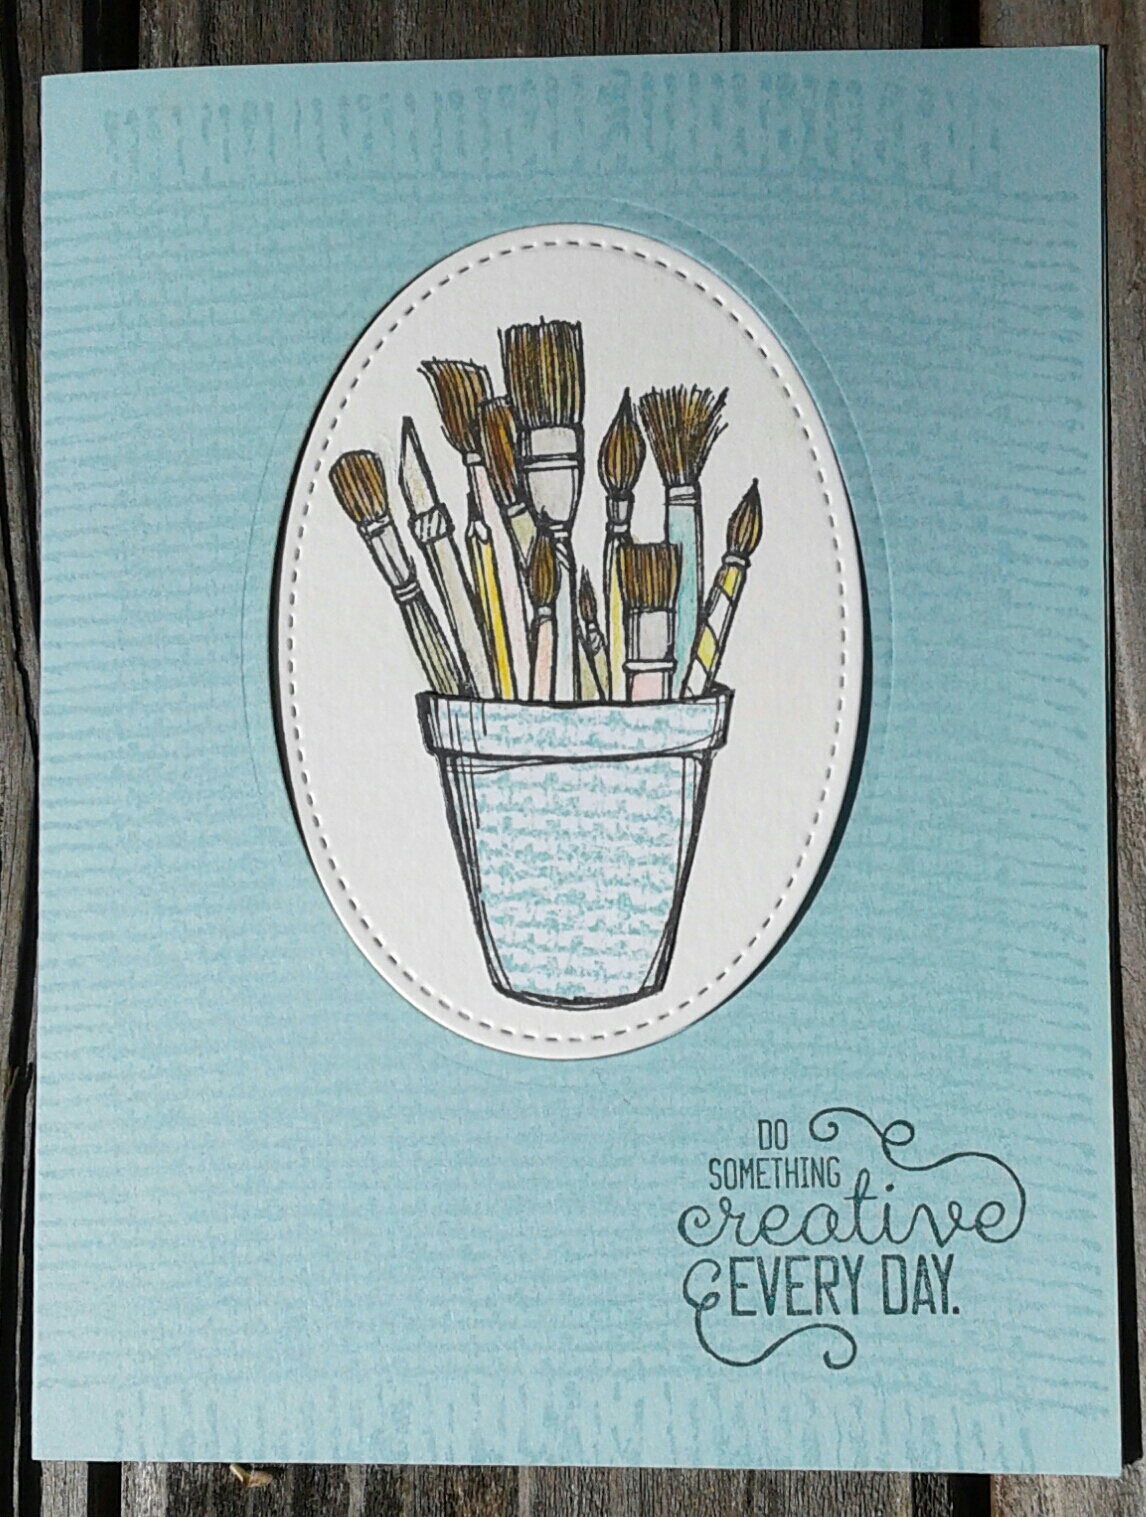
Take a look at the picture below. This is the card front….
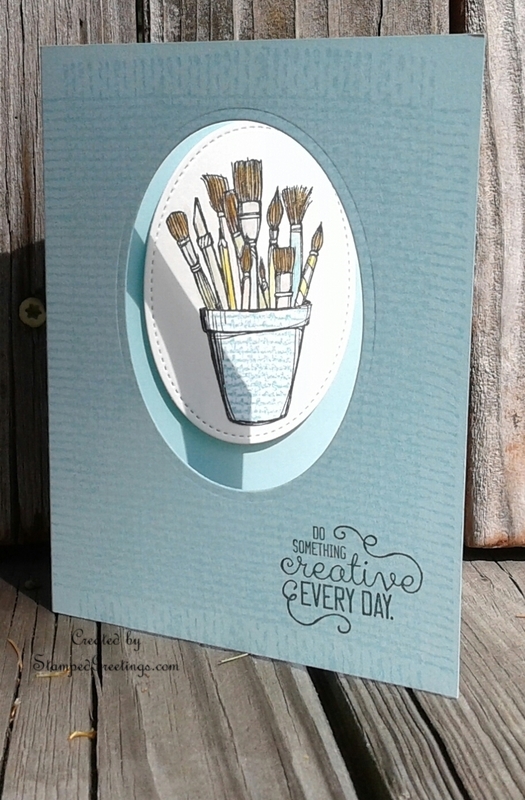
And, here is another picture! This shows how the card opens.
Another confession from me – I don’t use large background stamps too often. But, that may be changing after using the new Burlap Background Stamp to start this card. The background is stamped in Versamark onto a Pool Party card base. Don’t you just love the texture and interest that are added to the card?
The next step is to grab your Crafting Together stamp set and stamp the “Do Something Creative Every Day” stamp on the front of your card. The new Tranquil Tide In-Color ink works incredibly well with the Pool Party base.
Now – the real fun begins! Grab your Stitched Shape Framelits Dies and the largest oval die. Cut an oval from the front of your card. Remember – The picture is only an example. You can cut the oval from anywhere on the card.
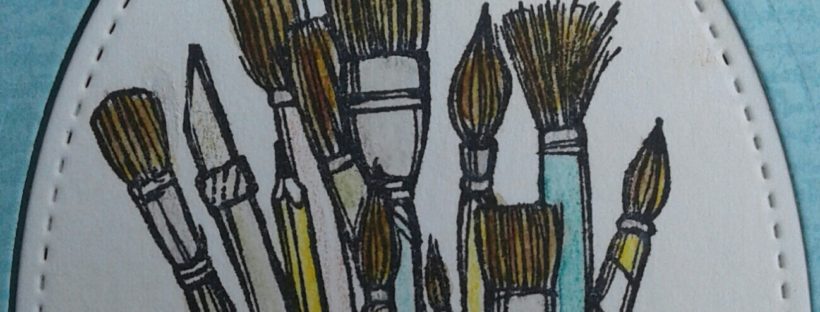
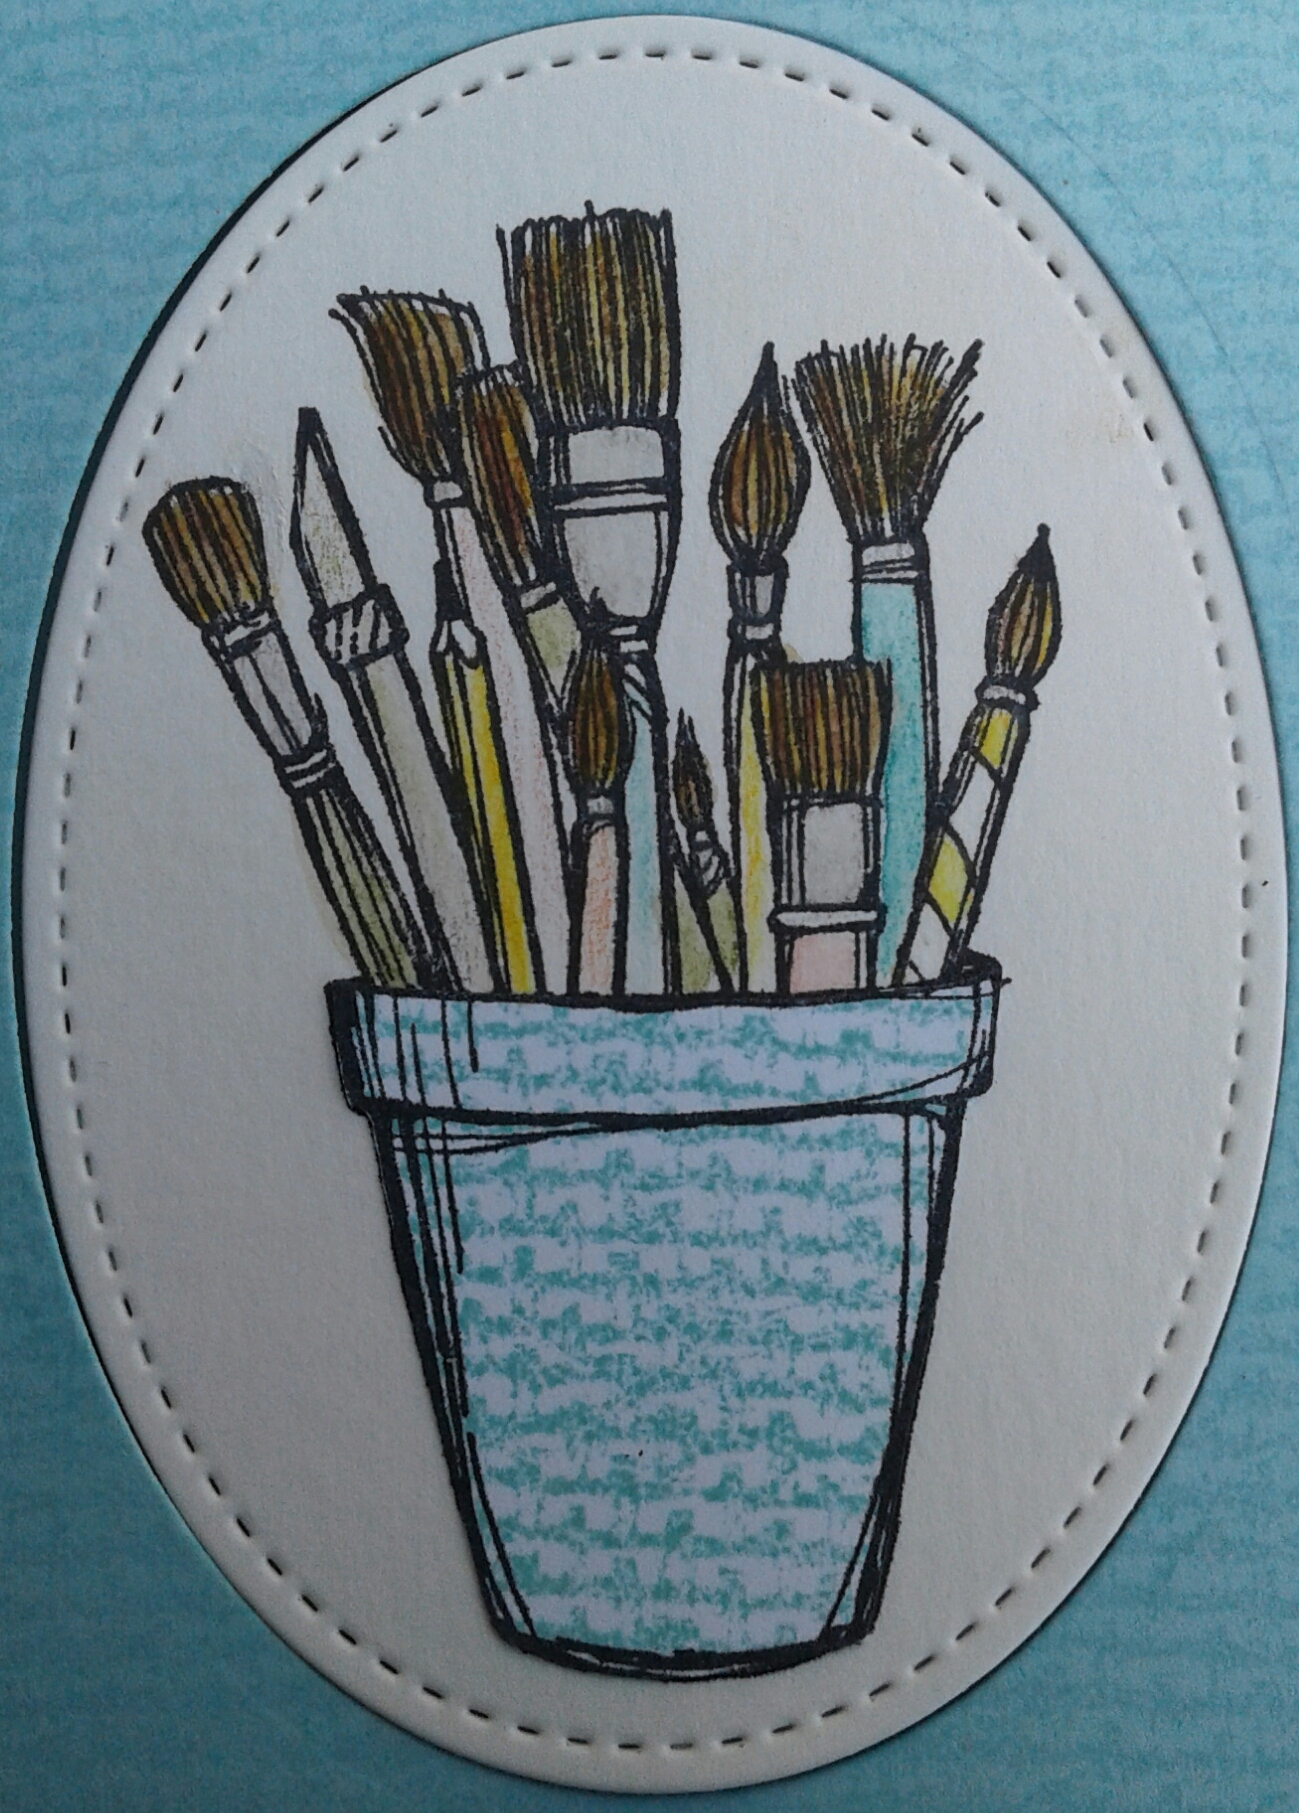
Use your Crafting Together stamp set and stamp the cup of paintbrushes onto a piece of Watercolor Paper. Be sure to use Basic Black Archival ink. This ink works incredibly well with the Watercolor Pencils and Aqua Painters. Yup – That’s the key to the coloring!! Just have fun coloring the image. When you use your Aqua Painters to put the finishing touch on the paint brushes, be very careful to use just a small amount of water on the brush.
The final step to finish the colored image involves paper piecing. Stamp the Burlap Background Stamp onto a piece of Whisper White card stock using Pool Party ink. Then, stamp the bottom half of the cup of paintbrushes onto the stamped Whisper White card stock. Use Basic Black Archival ink to stamp the cup image. Fussy cut the cup. Don’t adhere the cup just yet!
Die cut the colored image with the largest oval framelit die from the Stitched Shapes Framelits Dies set. Grab your card base. Adhere the die cut colored piece from the front of the card using dimensionals. Hold your card base “closed”. Add dimensionals to the back of the die cut colored piece. From the front of the card, put the die cut colored piece into the oval opening. Think of it as if you are putting an oval shape into an oval hole.
Sit back and admire your card! You may have a hard time giving this one away. You can always use it as daily inspiration in your crafting area!!!
Below are the main products that I used to create the card. If you click on any picture, you’ll go to my on-line store.
I hope this card has inspired your stamping creativity!!
Happy stamping,
Laurie
|
|
||
|
|
||
|
|
|
|
|
|
|


