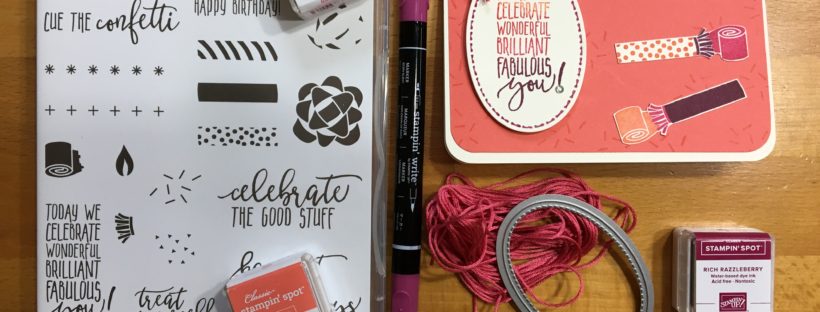
As you’ve seen from my recent posts, I’ve been having a lot of fun using the Picture Perfect Birthday stamp set to make birthday cards. My stash of ready-to-send birthday cards is really looking great! This has been a great set for me to use to live up to my motto – One stamp set, Three designs, Endless possibilities.
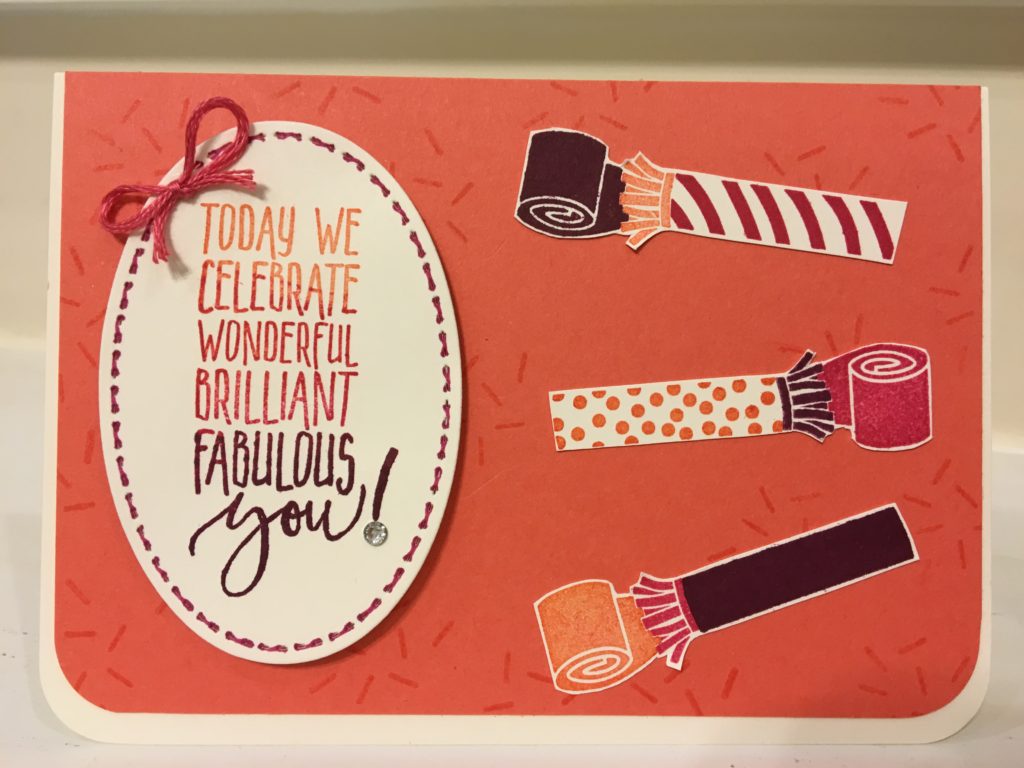
Today, I will share the third card using this stamp set. But – notice that it is not a birthday card 🙂 It could be used for many different occasions – new job, graduation, thank you, just saying hello, and, yes, it could be a birthday card! Take a look below –
This card is very straight forward to make. Here are the directions and a few tips:
- The base is a Very Vanilla note card. This size is perfect for a fun card like this one. And, the envelope is already in the note card package!
- I rounded the bottom corners on both the front and back of the card, as pictured.
- Cut a piece of Calypso Coral cardstock to 3 3/8″ x 4 7/8″. Round the corners of one of the longer sides of this piece, as pictured.
- Use Versamark ink to add some fun confetti images to the Calypso Coral piece. The more random the confetti the better. The confetti stamp is from the amazing Picture Perfect Birthday stamp set (a must add for your collection!).
- Adhere the Calypso Coral piece to the front of the note card, as pictured.
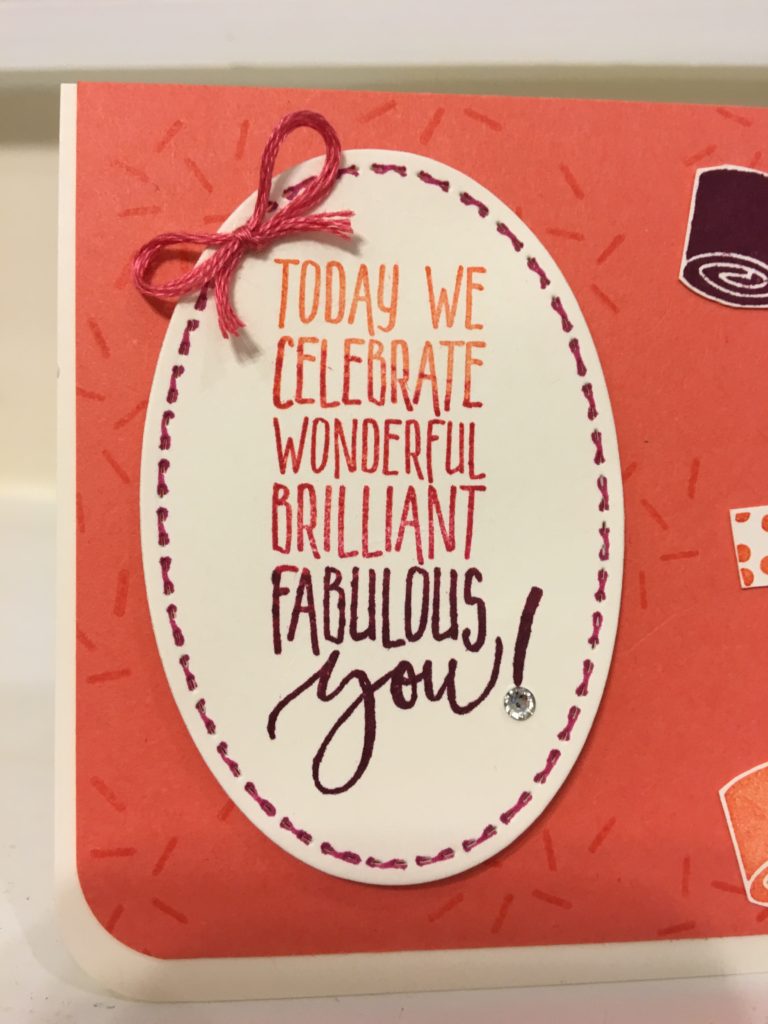
- On a piece of Very Vanilla cardstock, stamp “Today we celebrate wonderful brilliant fabulous you!” with three inks – Calypso Coral, Berry Burst, and Rich Razzleberry. I used my Stampin’ Spots from my Paper Pumpkin kits to ink the stamps. Start with the lightest color (Calypso Coral) for the top third(ish) of the sentiment. Add the next darkest color (Berry Burst) for the middle(ish) section of the sentiment. Finish with the darkest color (Rich Razzleberry) for the bottom third(ish) of the sentiment. Confession – I used a stamping placement tool to make sure I could apply the ink a few times until I liked the result. [I should get my Stamparatus within the next few weeks. Cannot wait to try it!!!!]
- Die cut the sentiment with the second largest oval from the Stitched Shapes Framelits set. This is another must have for your collection. Just trust me on this!!!
- Add the faux stitching to the die cut piece with a Berry Burst Stampin’ Write marker. Faux stitching adds a great touch to the card. I found some embroidery floss that was just about the same color as Berry Burst ink and added a bow to the die cut!
- The fun party noise makers are made from three stamps that you’ll find in the Picture Perfect Birthday stamp set. I stamped each one onto Very Vanilla cardstock. While each noise maker has the same three ink colors, I varied the colors for each noise maker to include the three colors in sentiment. And, you’ll notice that the mouth piece for each noise maker is a different pattern – stripes, dots, and solid. Warning – The noise makers are very addictive to stamp. Just saying! I fussy cut the noise makers before adhering them to the front of the card.
- The sentiment is adhered to the card base with dimensionals.
- The final touch is a rhinestone at the bottom of the exclamation point. It is from the Rhinestone Basic Jewels set.
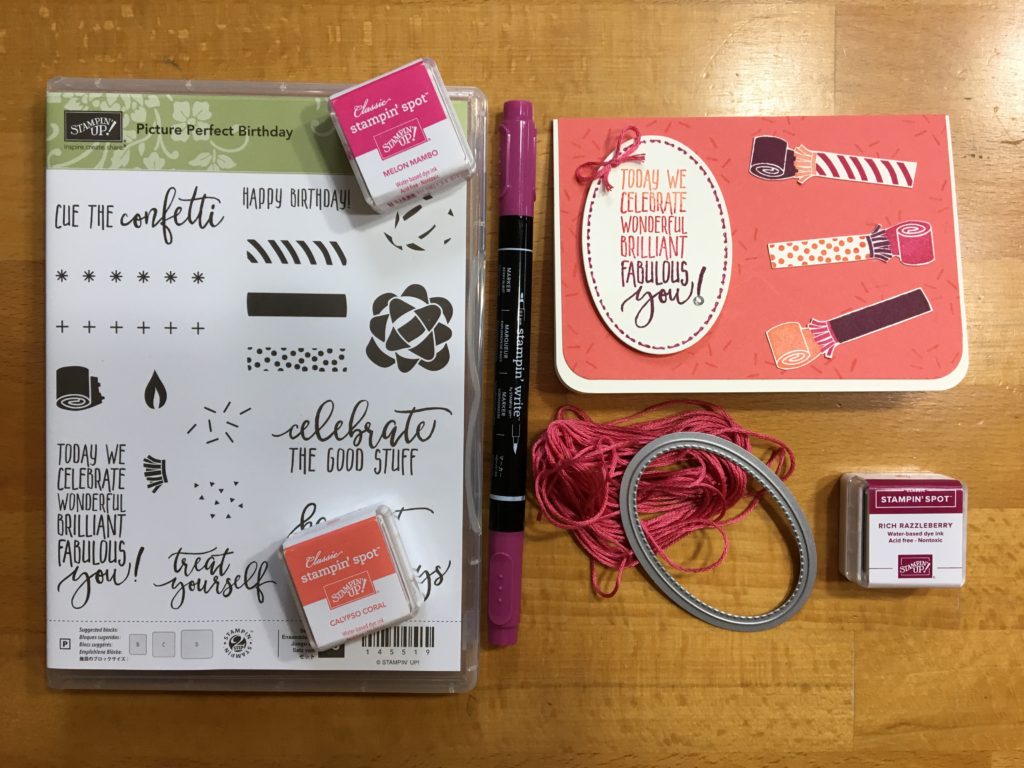
I hope you have fun making this card or altering it for your own twist on the design. Below you’ll find pictures of the main products that I used to make this card. If you click on any picture, you’ll go to my on-line store.
Happy stamping!
Laurie
|
|
||
|
|


