Welcome to the NC Demos October Blog Hop!! I hope you just came from Tina Lesson’s post. And, I know you loved her projects just as much as I did. Thank you so much for stopping by to see my projects for this month’s blog hop.
We are focused on showcasing the versatility of Stampin’ Up! products this month and are creating two projects with the same set of products. This theme was just so much fun!
Many of my friends have birthdays in winter months. Usually, I send them the birthday cards that could be used for any time of the year. This month’s blog hop made me rethink the style of birthday cards for the winter. Why not use some of the beautiful products in the Poinsettia Place Suite to highlight birthdays? Obviously, these products make stunning holiday focused cards – but, let’s see how they work for birthday cards.
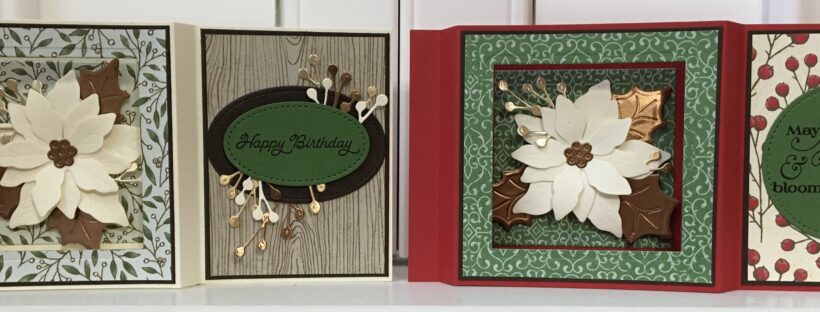
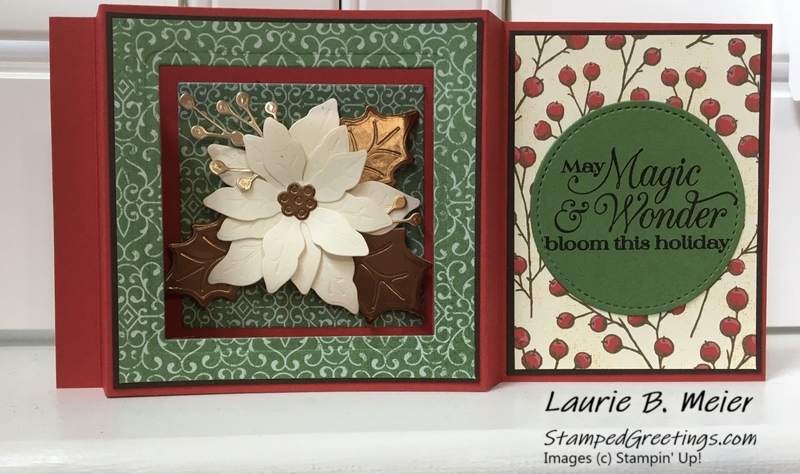
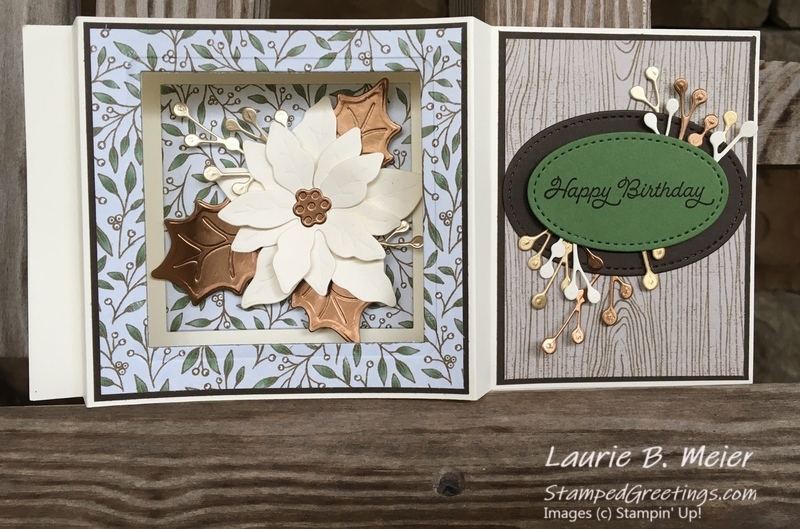
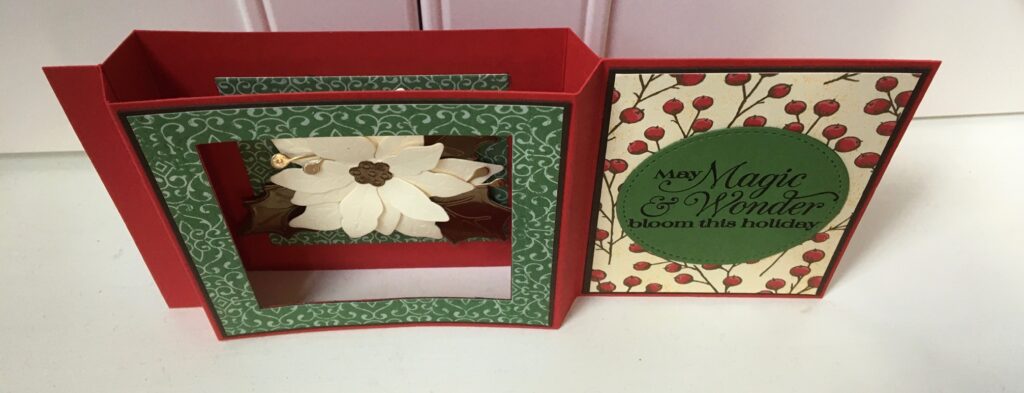
I also decided to make my cards in the slim line size. But, I wanted to incorporate a shadow box in the design. The final design is just as I had pictured it and allows for a nice side panel that has enough room for more color and a sentiment. Below are pictures of the two side shadow box slim line cards that I made featuring the Poinsettia Place Suite. One is a Christmas card, and the other is a winter birthday card.
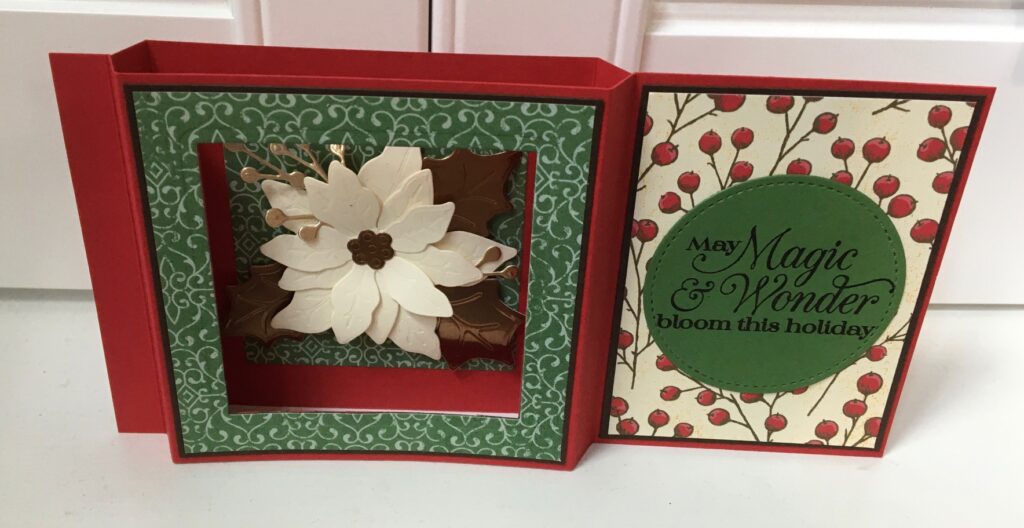
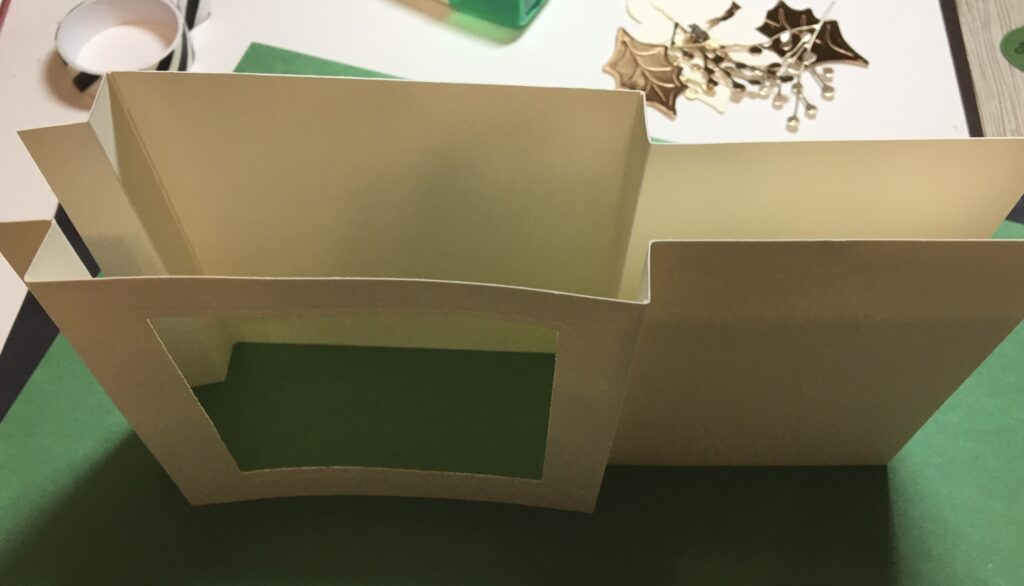
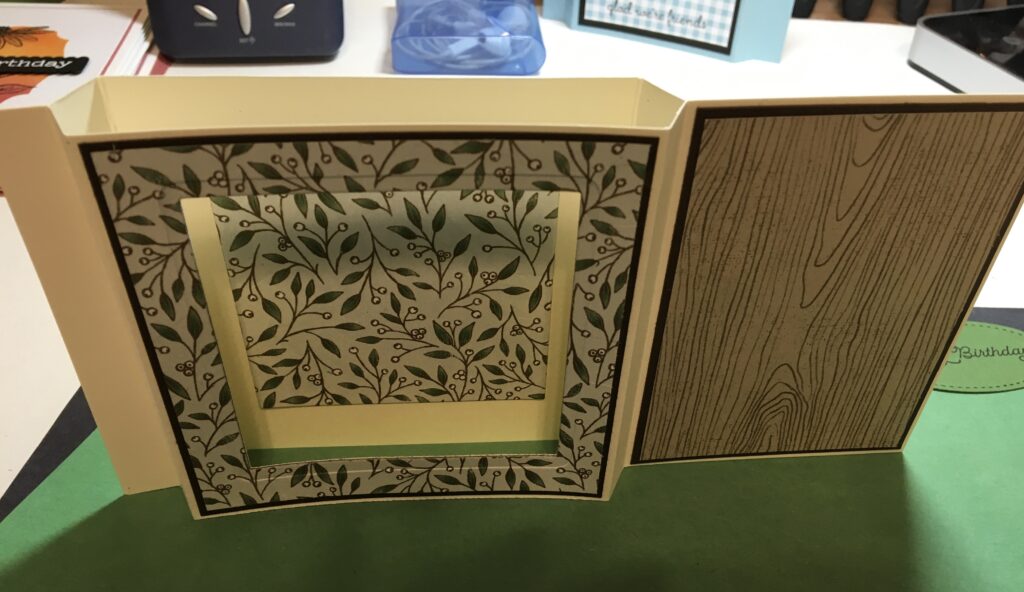
The pictures below give you an idea of what the side shadow box looks like and how the cards stand up.
Here are the directions to make these cards. They will fit into business size or resume size envelopes (A10 envelopes) for mailing.
- These instructions use the birthday card as the example.
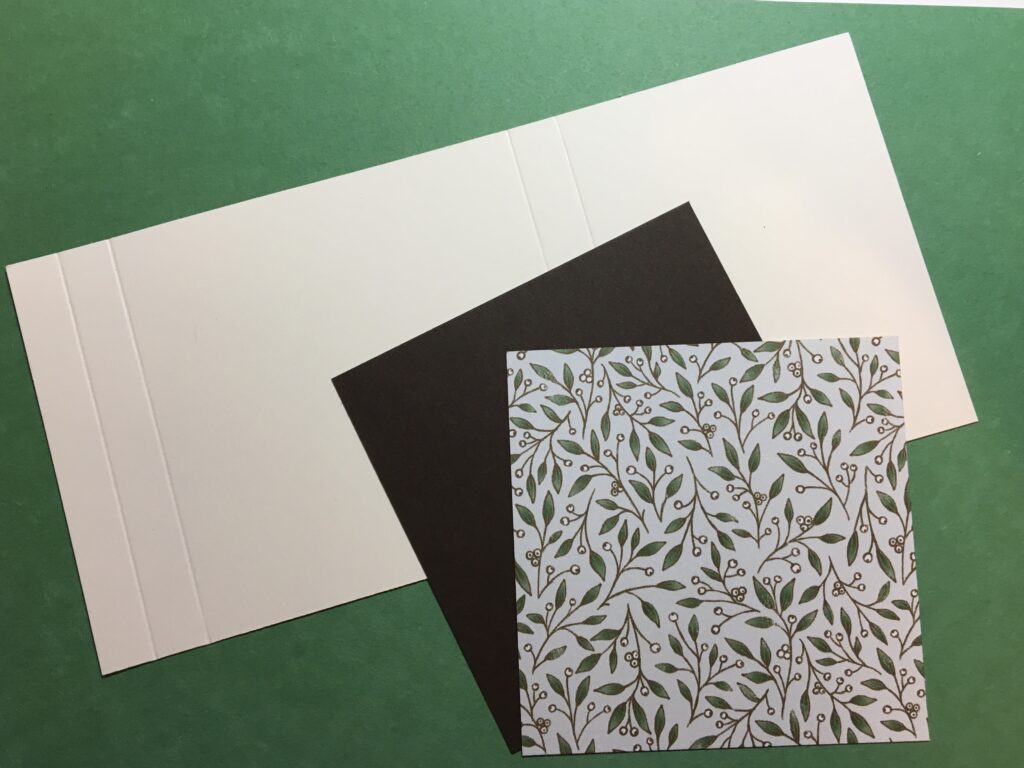
- The card base is made from two pieces of Thick Very Vanilla card stock. Each piece is cut to 4” x 8 ½” and scored at ½”, 1”, 5”, and 5 ½”. To make the Christmas card, substitute Real Red card stock for your base. The remaining colors for paper and ink are identical in both cards.
- The frame on the front of the shadowbox is a piece of Early Espresso card stock cut to 3 7/8” x 3 7/8”.
- The DSP on the front of the shadowbox is a piece from the Poinsettia Place Designer Series Paper (DSP) cut to 3 ¾” x 3 ¾”.
- I used a square die to cut the front of the shadow box, the DSP piece, and the Early Espresso piece. My square die is about 3 ¼”. You can use any shape that you want to for the shadow box opening. I don’t recommend anything larger than about 3 ¼” to give you a nice size border for the shadow box.
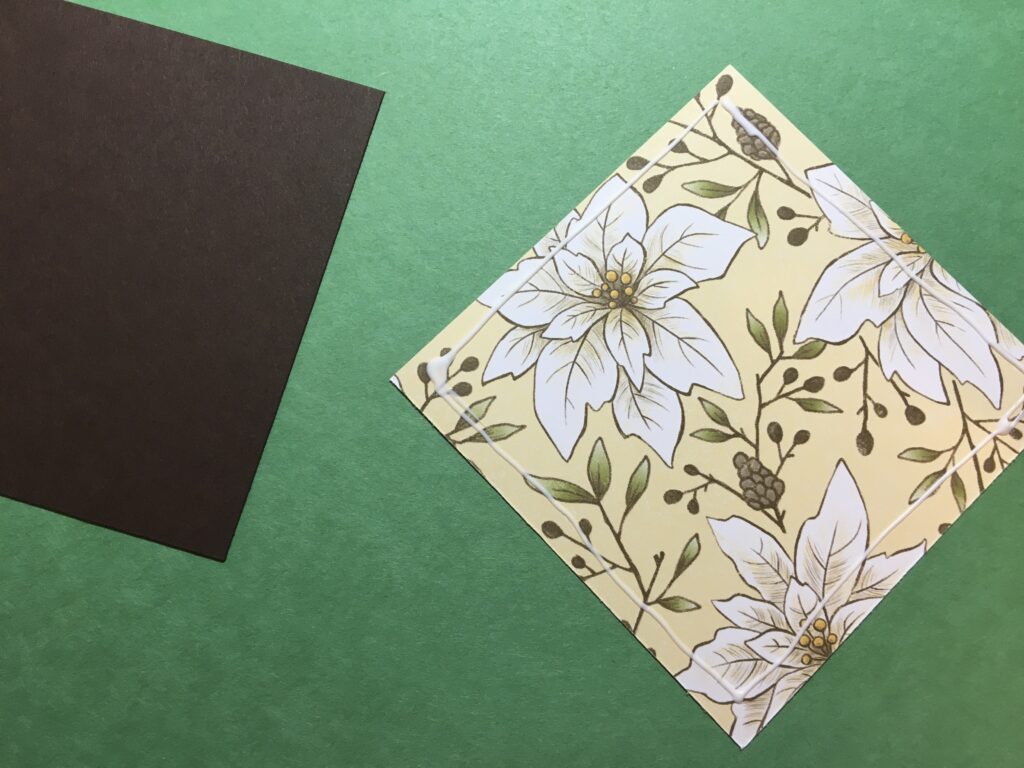
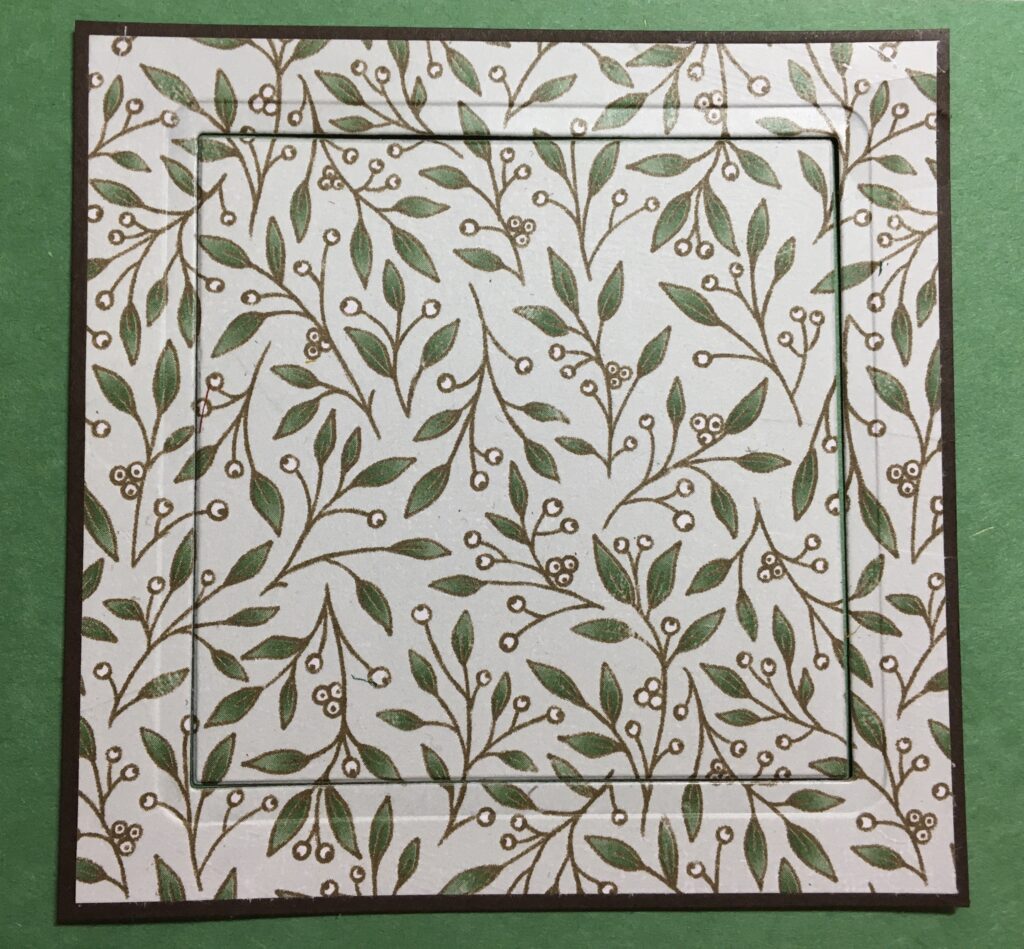
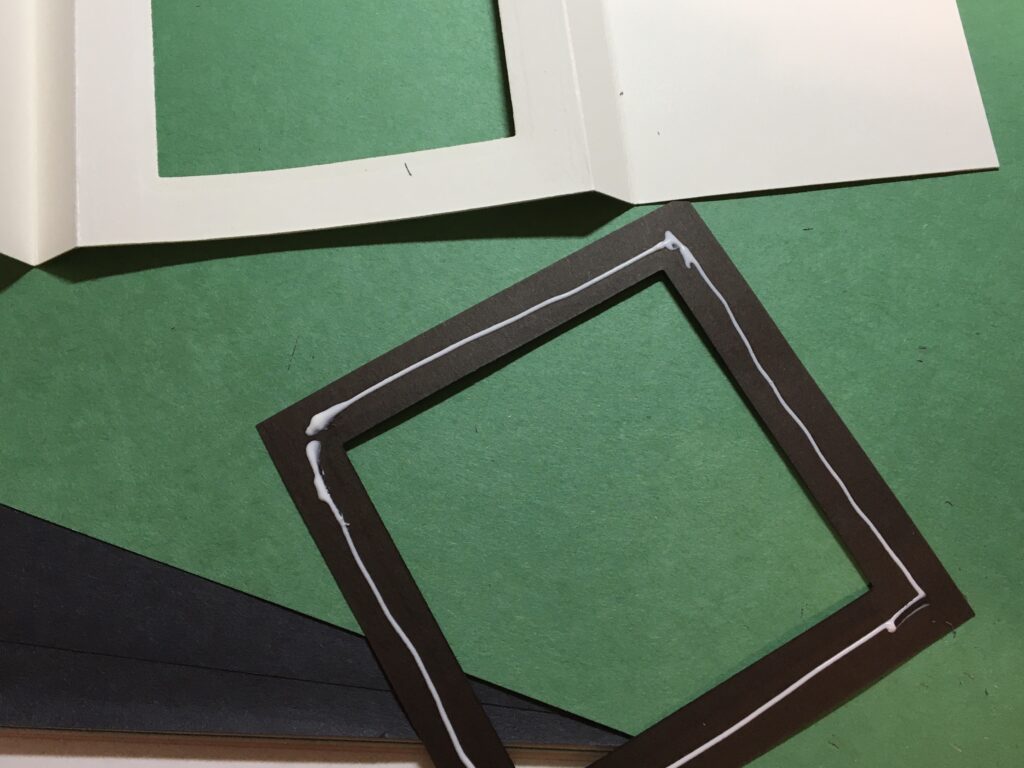
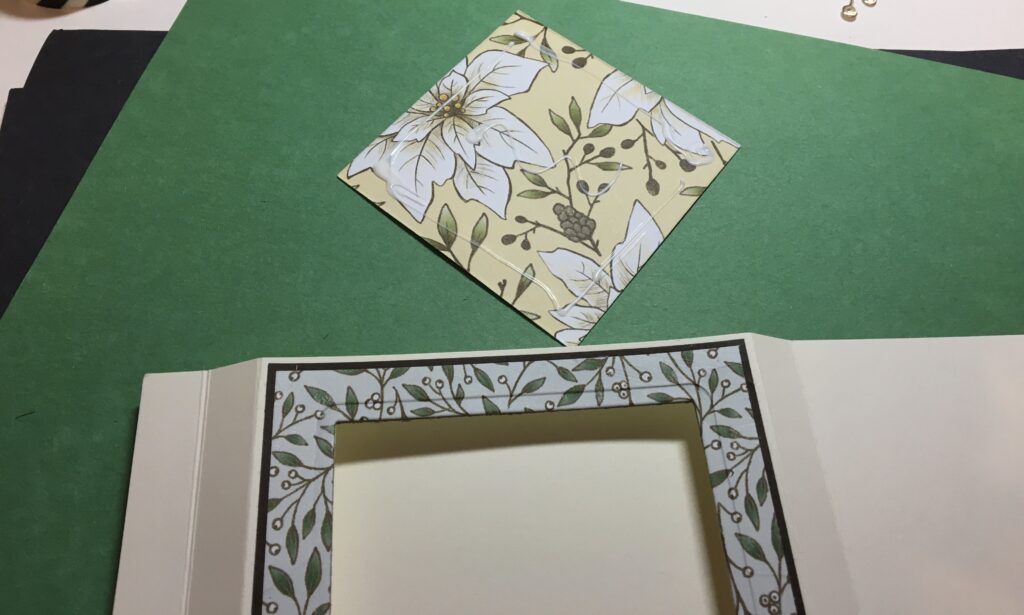
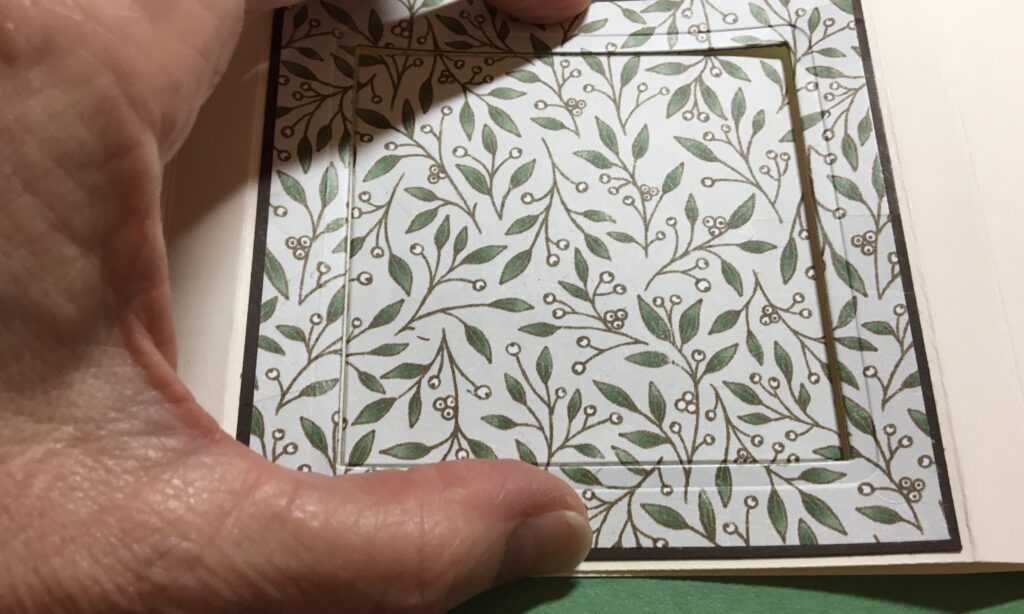
- To die cut the opening for the shadow box, adhere the DSP piece to the Early Espresso piece of card stock. Just put the adhesive around the edges of the DSP piece. You want to keep the center free of adhesive since the center will be the background inside the shadow box. See the picture below on the right.
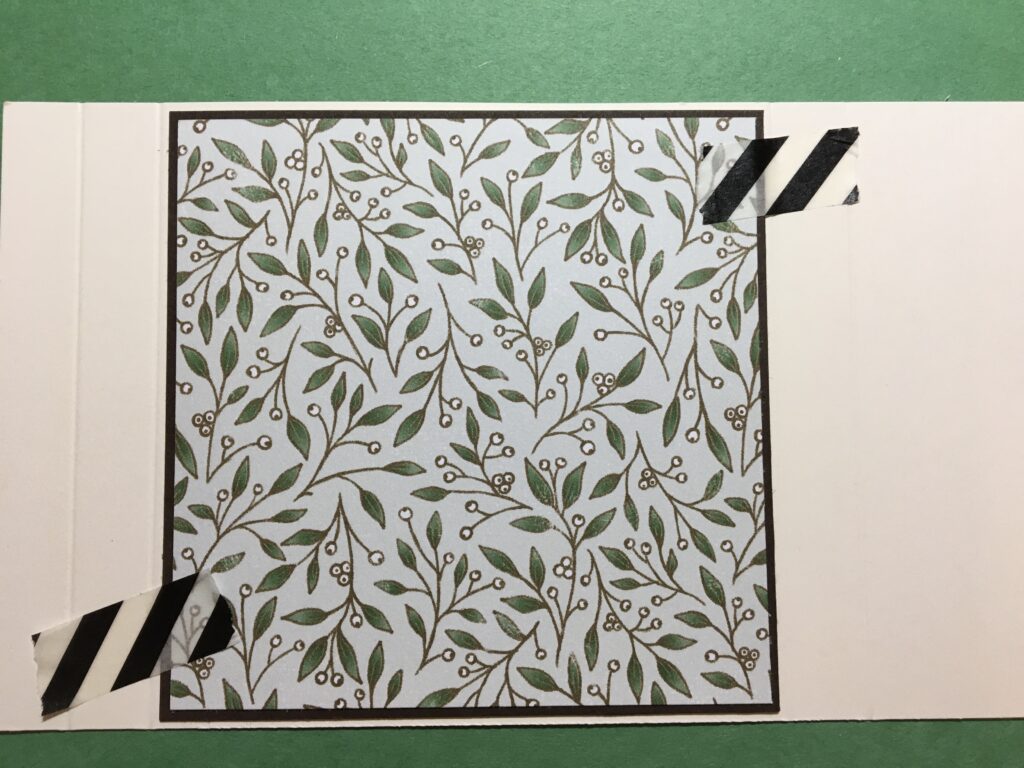
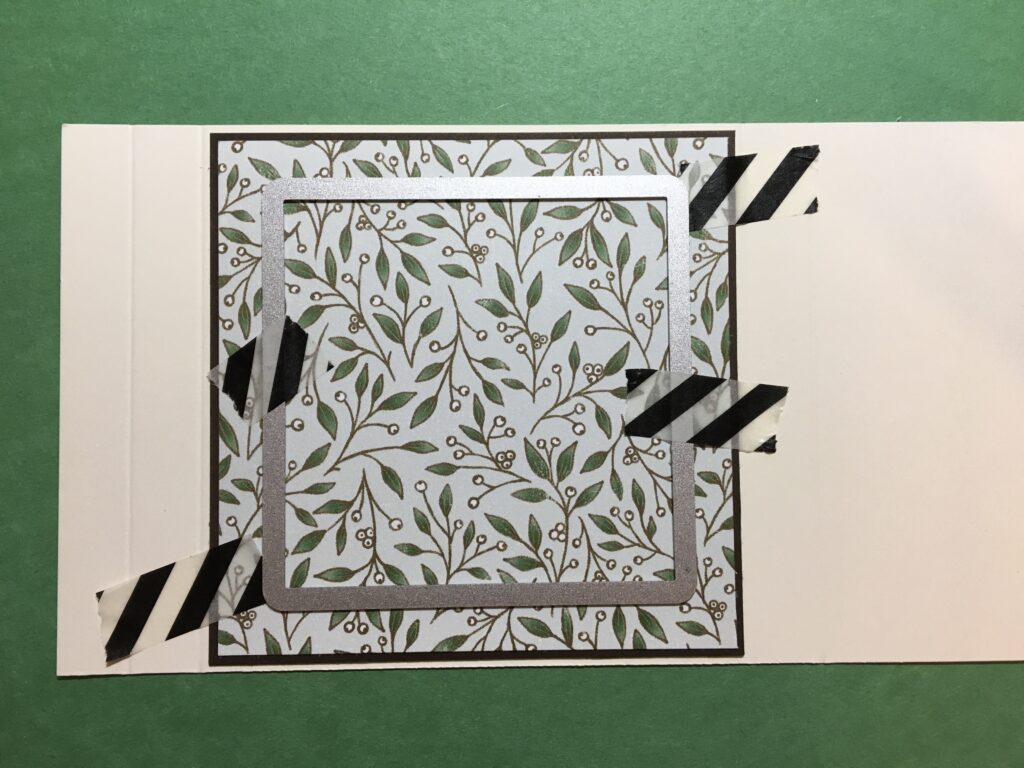
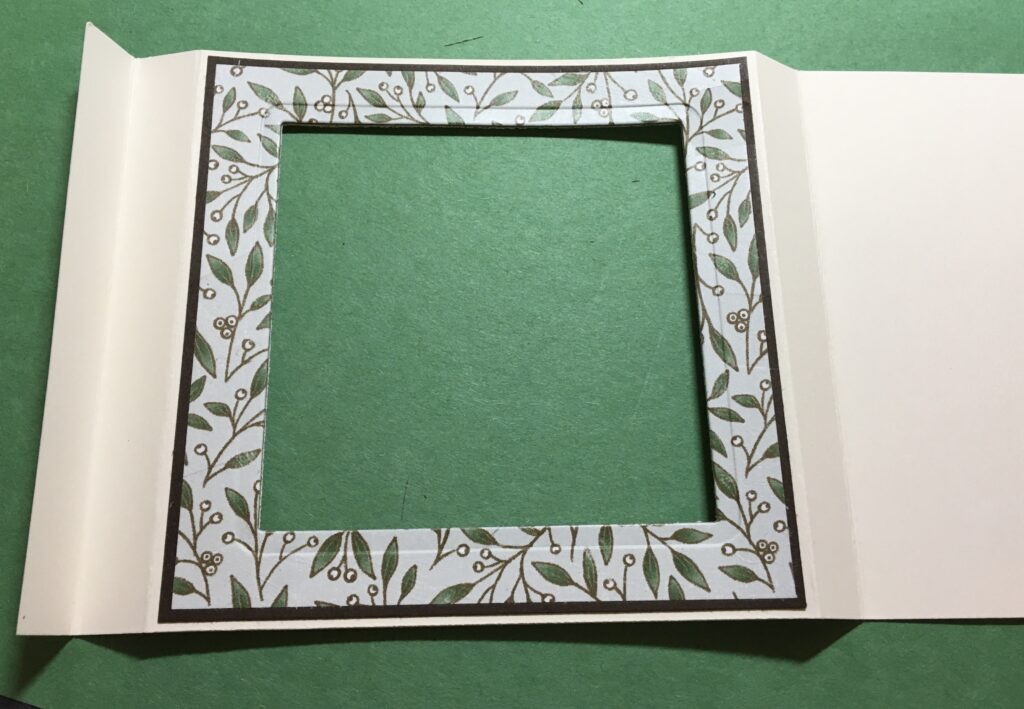
- Place the frame and DSP piece onto the card base. Align the piece between the 1″ score line and the 5″ score line in the place where you want your shadow box front to be die cut. Use washi tape to fix the piece to the card base. Then, get your square die and put it in place to cut the opening. Use washi tape to fix the die in place to run through your die cutting machine. Note: Since there are two pieces of card stock and one piece of DSP that need to be cut, you may need to run the pieces through your die cutting machine a few times to get a good, clean cut.
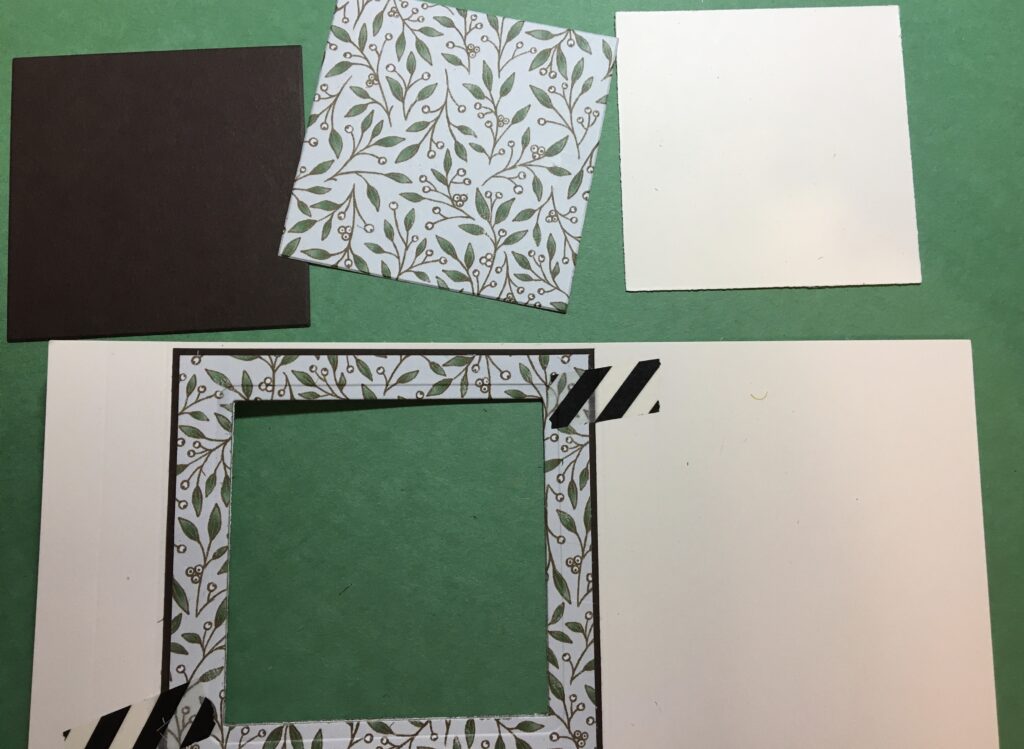
- Take a look at the picture above on the left. You will end up with several pieces of die cuts. The square Early Espresso and square Very Vanilla pieces are “extras” for other projects!
- The square DSP piece will be the background of your shadowbox. Take a look at the picture above on the right. Put these two pieces aside.
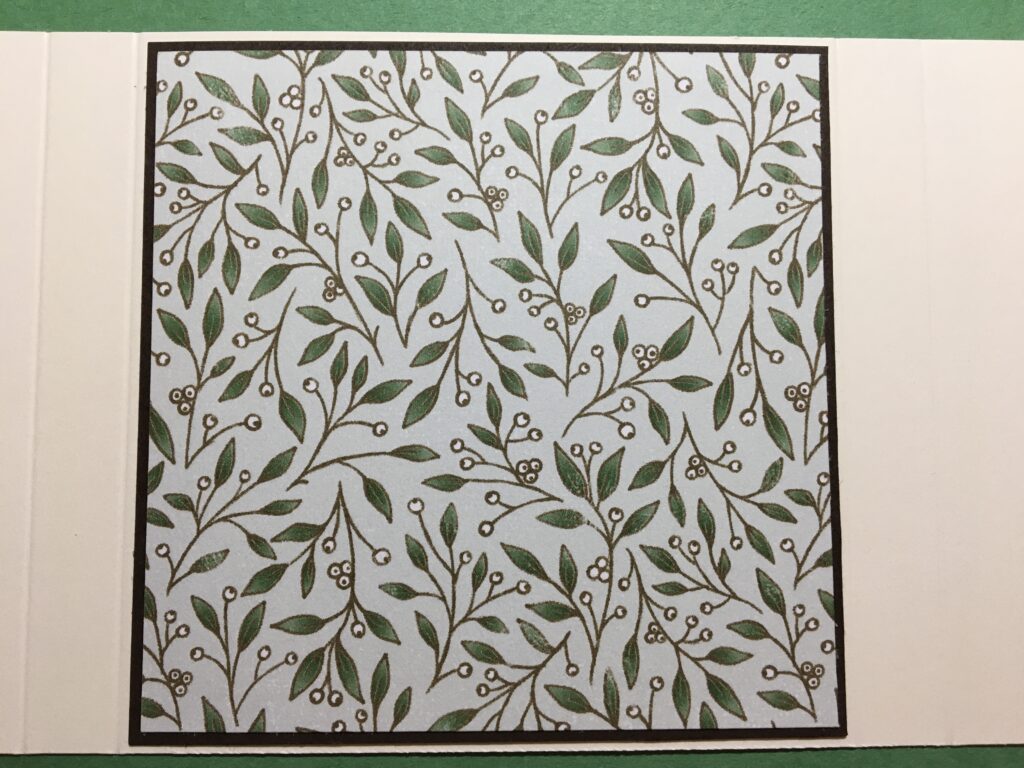
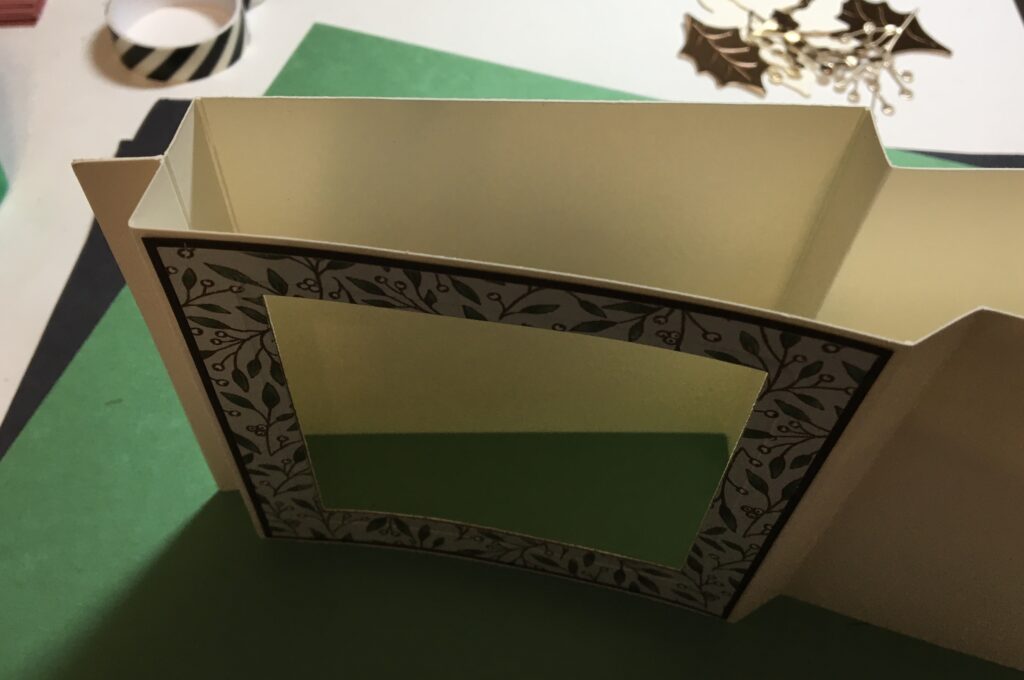
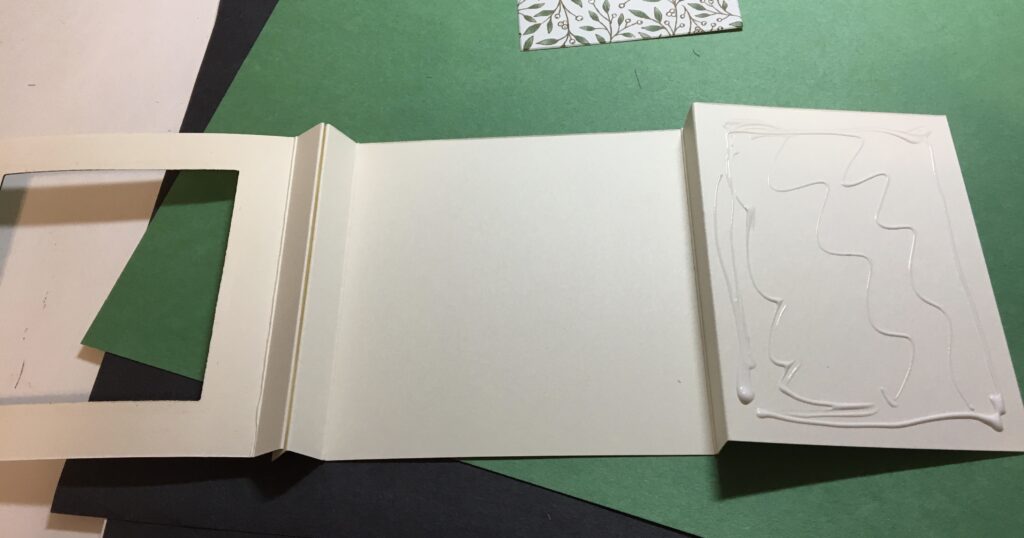
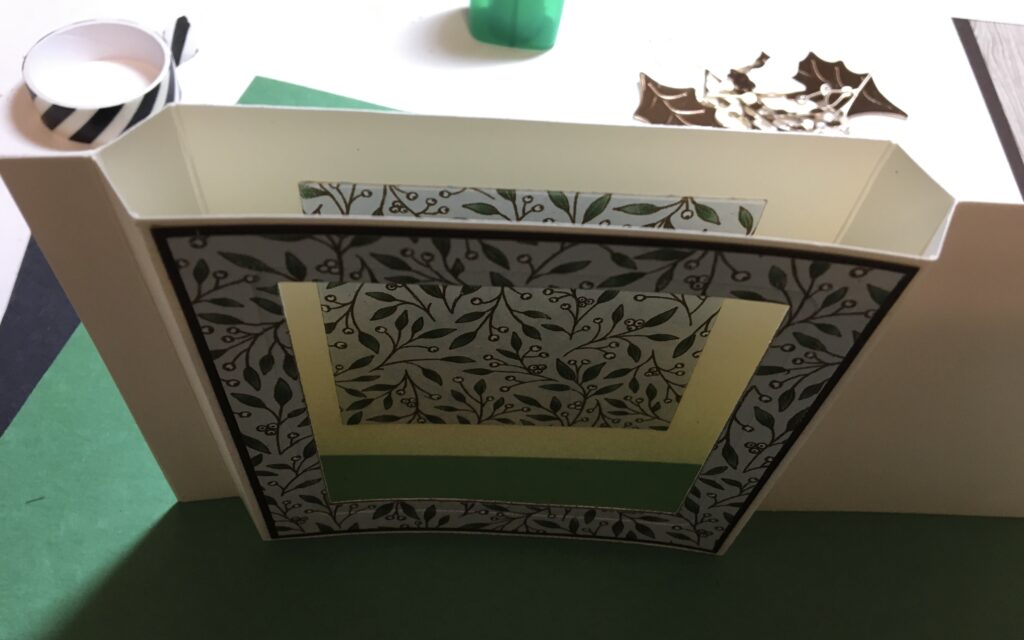
- Now it’s time to get the card base together. Fold and burnish your two card bases as shown below.
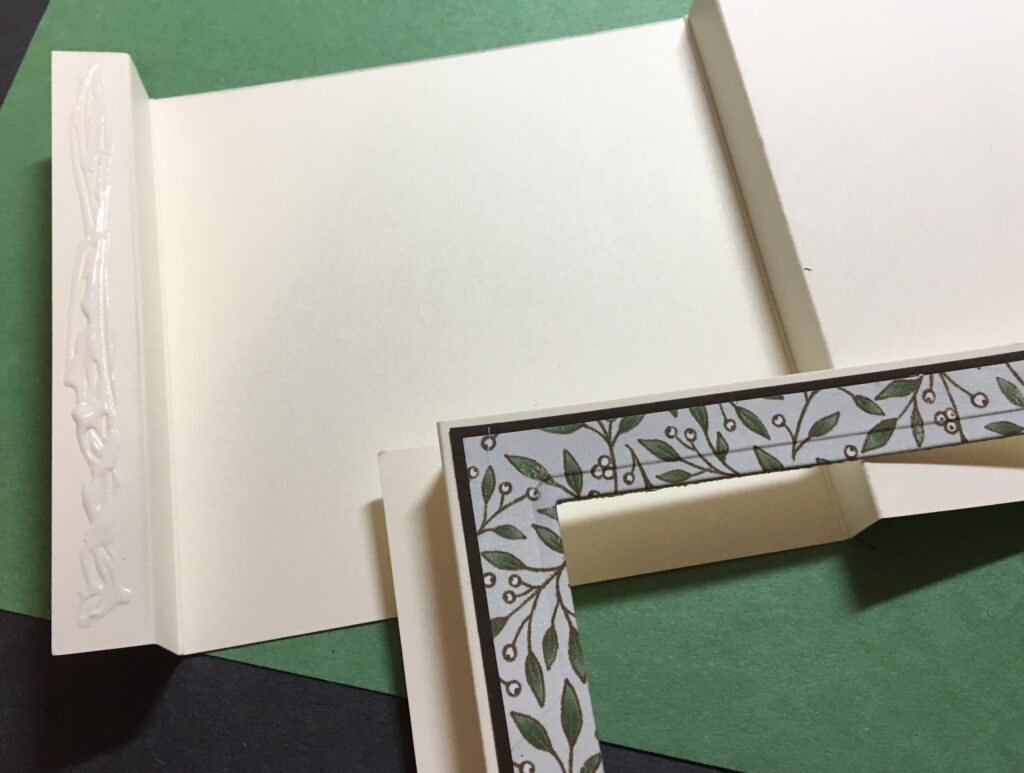
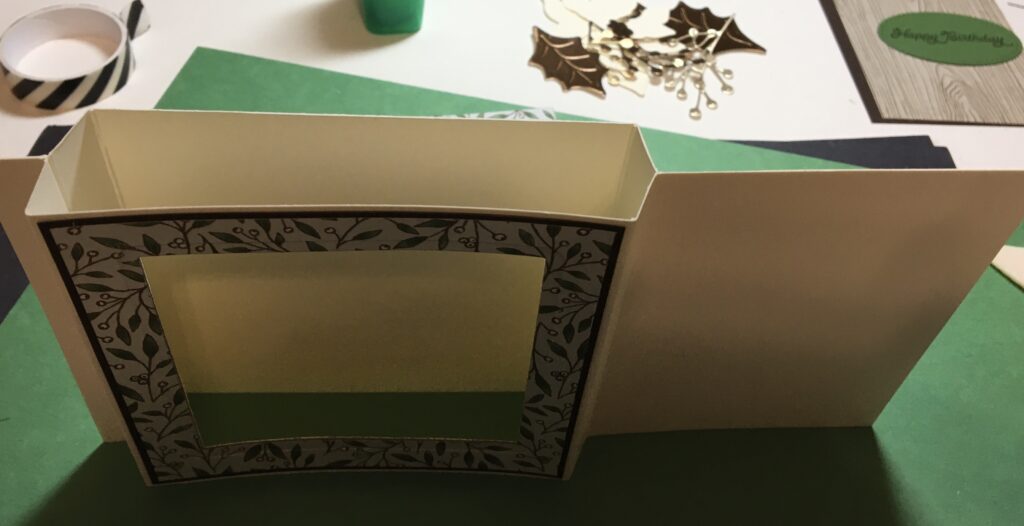
- Attach the frame piece to the front of the shadow box opening. Before you adhere your frame – Make sure you have it in the correct orientation! This is especially important if you have a pattern on your DSP.
- The rest of the card base is going to be put together before you add the DSP in the back of the shadow box. This is done in two steps.
- First, adhere the small edges of the two card base pieces together.
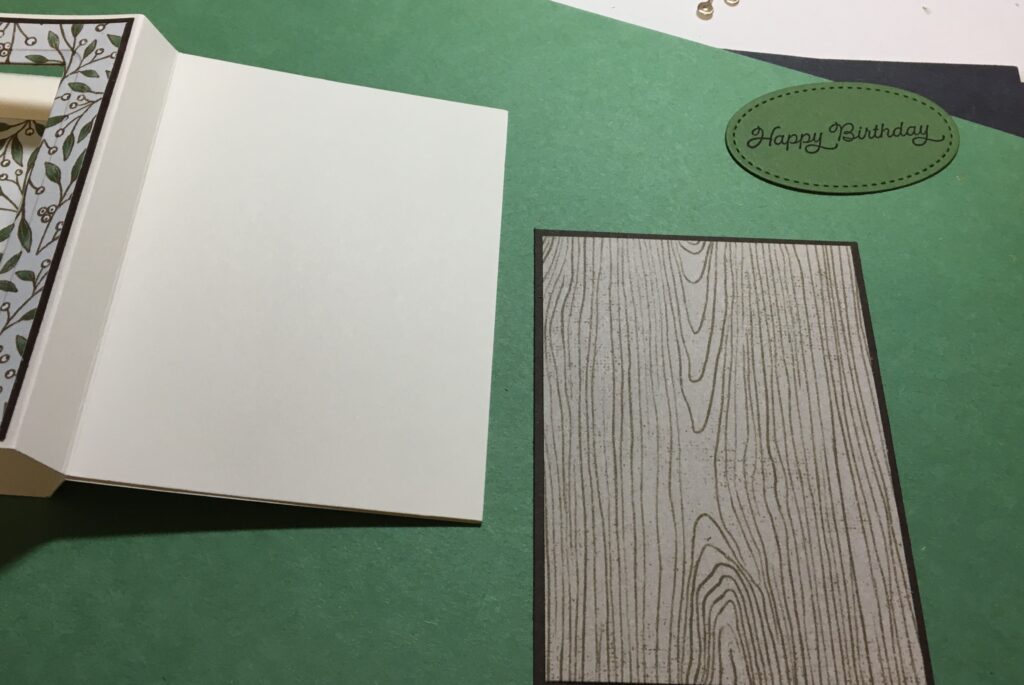
- Next, adhere the larger edges of the two card base pieces together. These edges will form the side panel.
- Now, you can add the DSP as the background for the shadow box. Simply, put adhesive on the DSP piece. Make sure you have this piece in the right orientation to go in to the shadow box. Push the frame down flat. This will help you align the DSP piece where it needs to be to line up perfectly with the shadow box opening. It’s just like putting a piece into a puzzle!
- The message panel is framed with a piece of Early Espresso card stock cut to 2 7/8” x 3 7/8”. The DSP on the message panel is also from the Poinsettia Place DSP and is cut to 2 ¾” x 3 ¾”. Adhere these two pieces together. Then, adhere them directly to the panel.
- The sentiment is from the Posted For You stamp set and is stamped with Early Espresso ink onto Garden Green card stock. Note: The sentiment on the Christmas Card is from the Poinsettia Petals stamp set.
- The sentiment is cut from one of the oval dies in the Stitched Shapes dies collection and adhered directly to the panel. The frame for the oval is another oval cut from Early Espresso card stock with a larger oval die from the Stitched Shapes dies collection.
- The poinsettia is three layers of dies cut from Very Vanilla card stock with the Poinsettia dies. I used the medium poinsettia dies to cut one layer and the small poinsettia dies to cut two layers. The center of the poinsettia and leaves are cut from the Brushed Metallic card stock with the Poinsettia dies. The sprigs are cut from the Brushed Metallic card stock and also from the Very Vanilla card stock. The finished poinsettia is attached with dimensionals.
- Final embellishment of the card is your choice!
- I’ve also included a YouTube video from a card class that I held today. This video goes through the steps to make the Christmas card version of this project. Simply click on the video below to watch:
I think you will find that this card design is easy and fun to make. You will be able to use it for any occasion.
Please be sure to continue on our blog hop and go and see what Sue Root has to share this month. She always has amazing projects! All participants in this month’s NC Demos Blog Hop are listed below.
At the end of this post, you’ll see pictures of some of the main products I used to make my cards. If you click on any picture, you’ll go directly to my online store.
Happy stamping!
Laurie
October NC Demos Blog Hoppers:
Jo Anne Hewins
Tina Lesson
Laurie Meier <— YOU ARE HERE
Sue Root
Dawn Colby
Tracie Evans Langley
Main Products Used to Make the Side Shadow Box Slim Line Cards:
|
|
|
|
|
|
|
|
|
|
||
|
|
|
|
|
|
