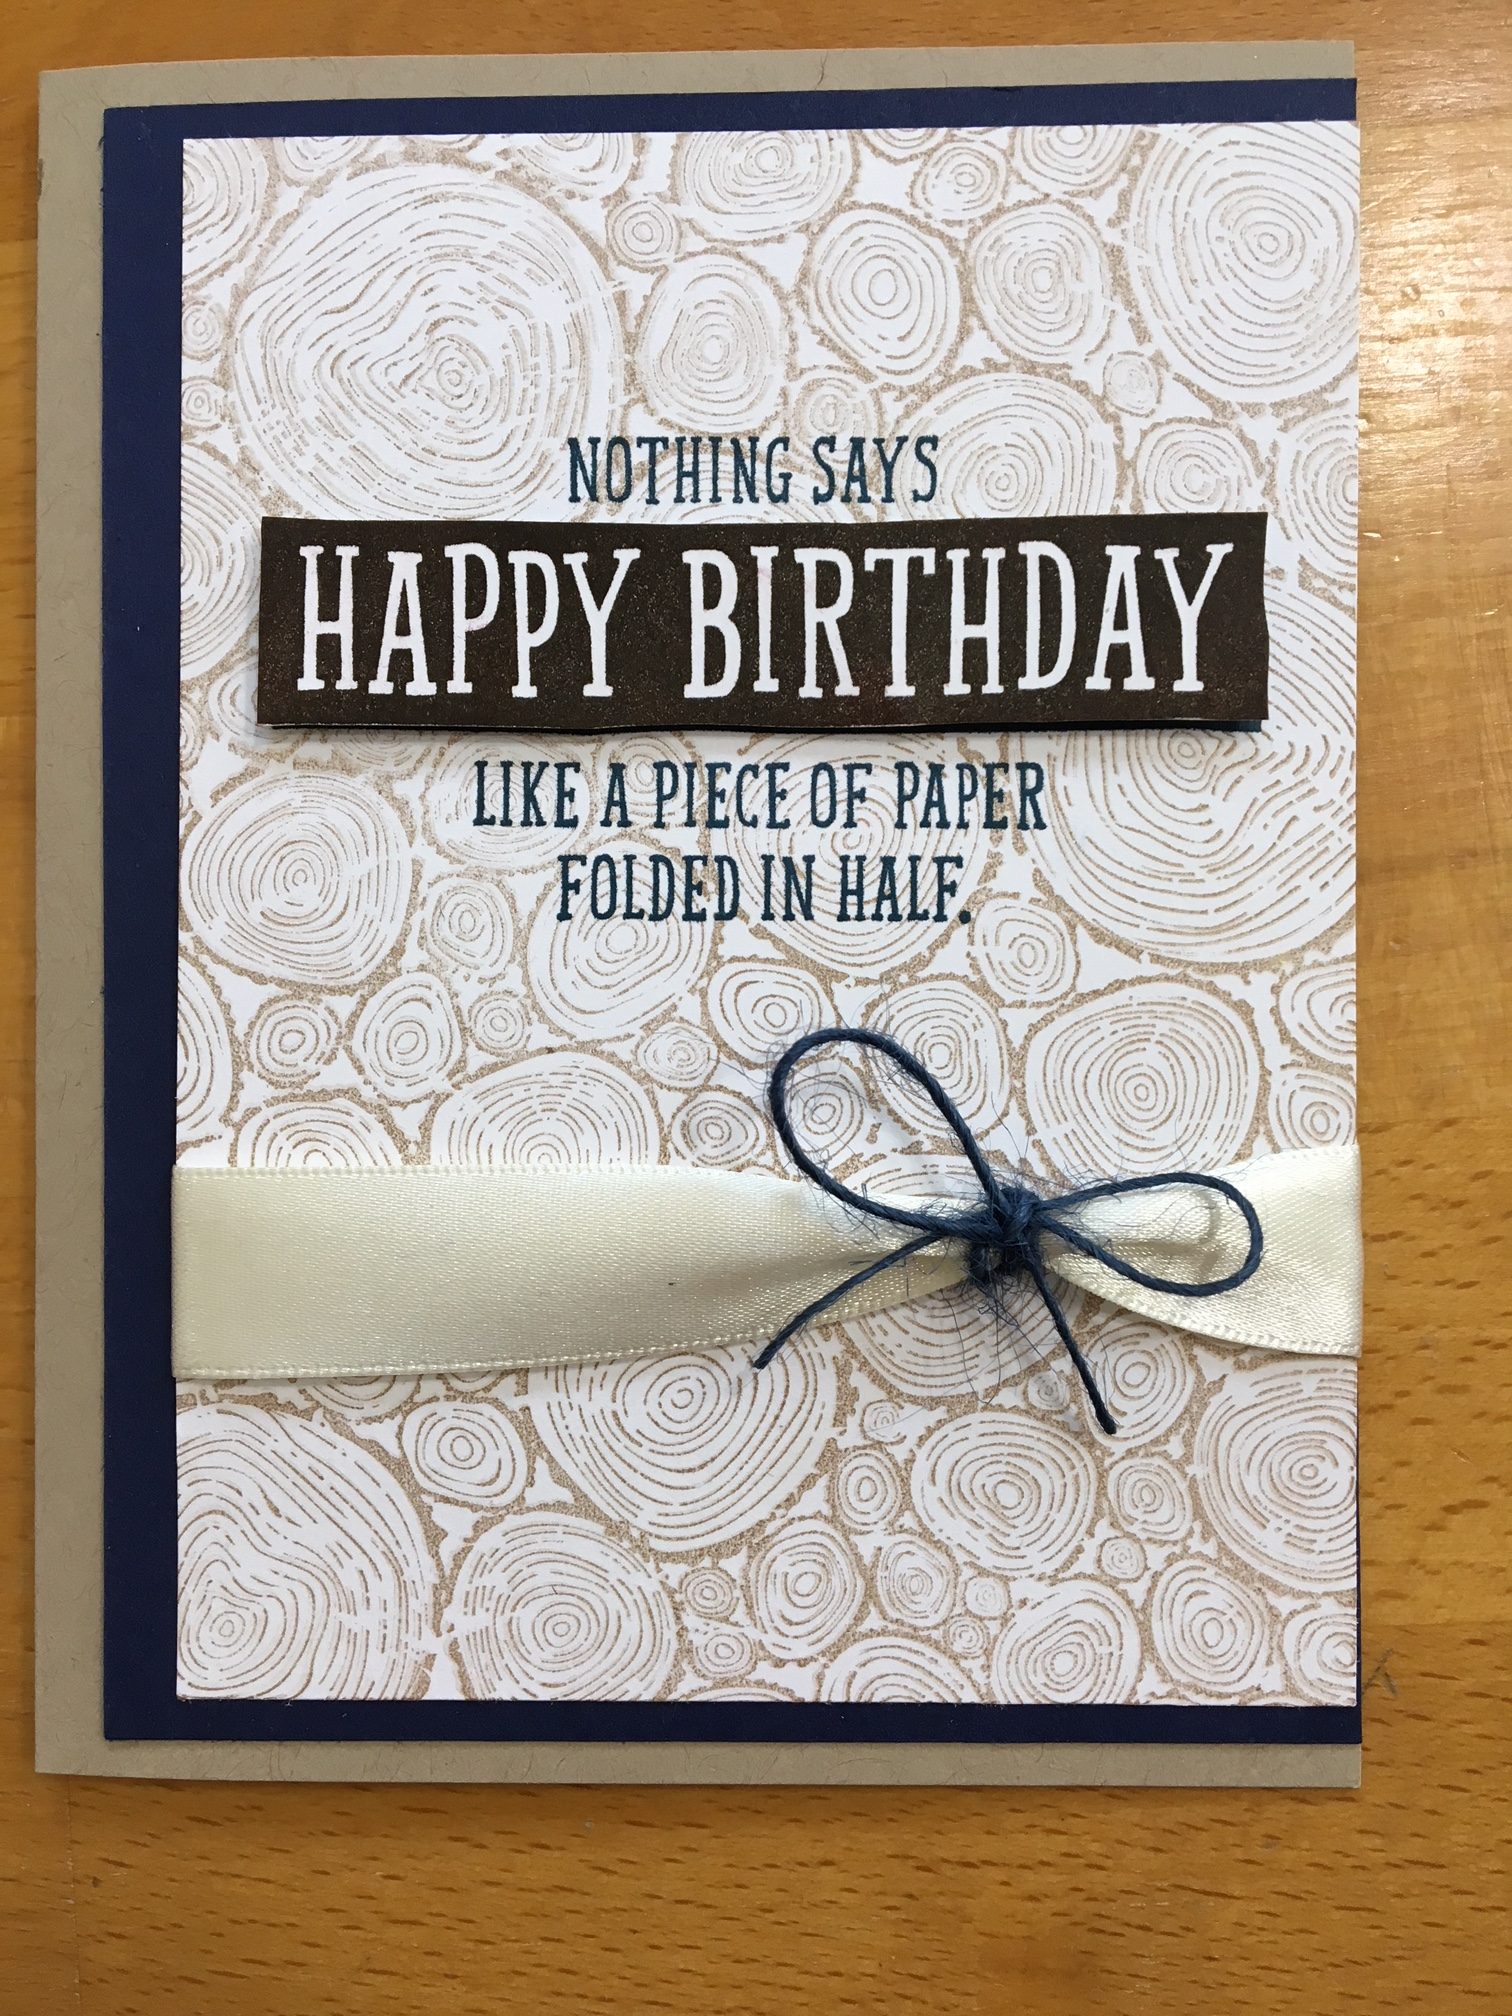
In a recent post, I shared a masculine birthday card that features the retiring Birthday Wit stamp set. If you did not see the card earlier, please click here to go to the post. A picture of the card is also shown below.
You’ll notice that the background stamp called Tree Rings was used on the front of the card as the background for the focal piece. It was also used on the inside of the card as a true background for the repeated sentiment. Today, I will share some tips, tricks, and pictures that I hope will be helpful to you as you use background stamps on your cards.
For background stamps, I prefer to purchase the clear background stamps rather than the wood-mounted stamps. The clear stamps take less room to store, and I’m able to use the largest clear block for all my background stamps.
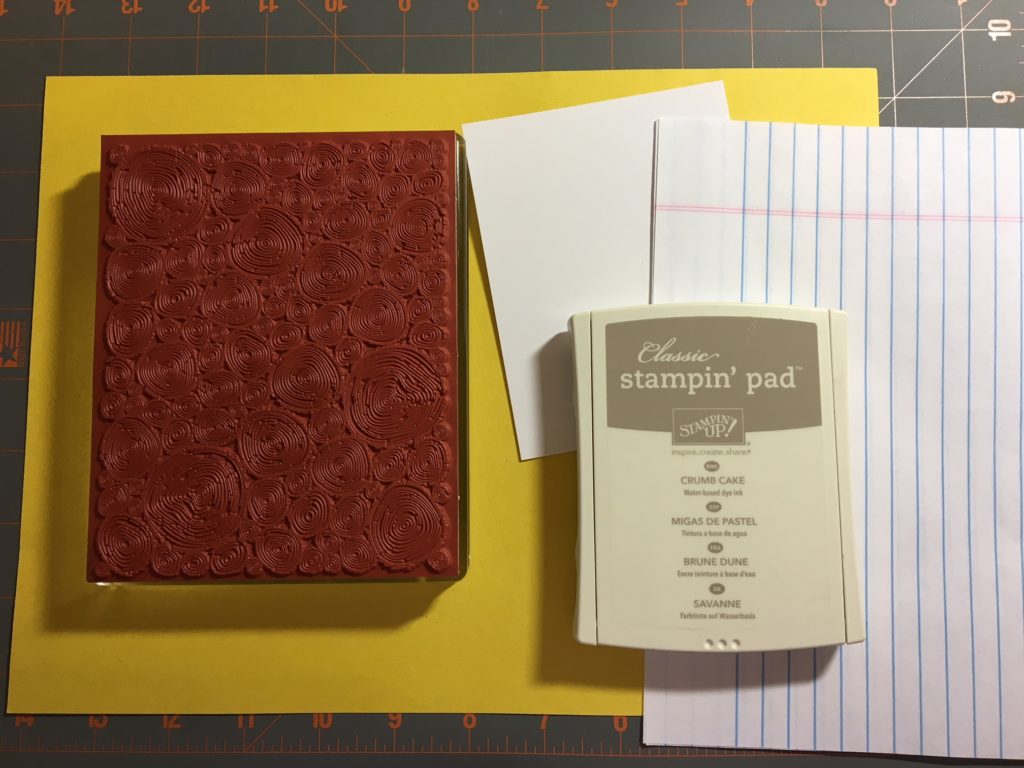
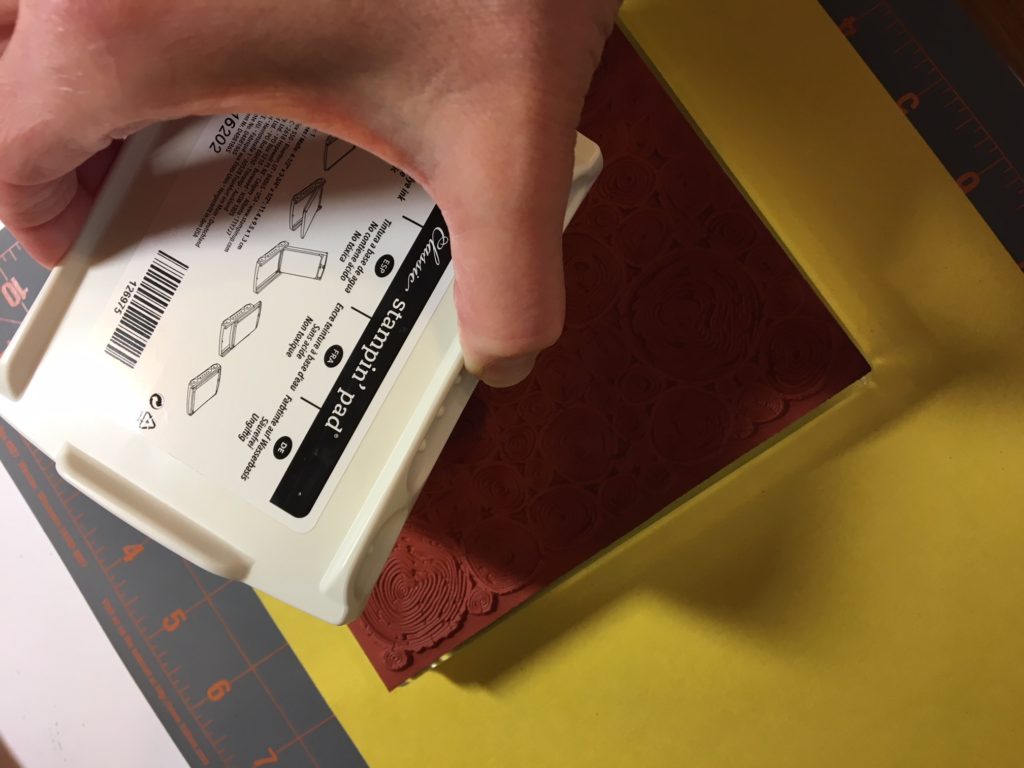
To ink the background stamps, I always place the stamp on my table (with the stamp side up) and add ink by tapping the ink pad onto the stamp. See the pictures below for reference.
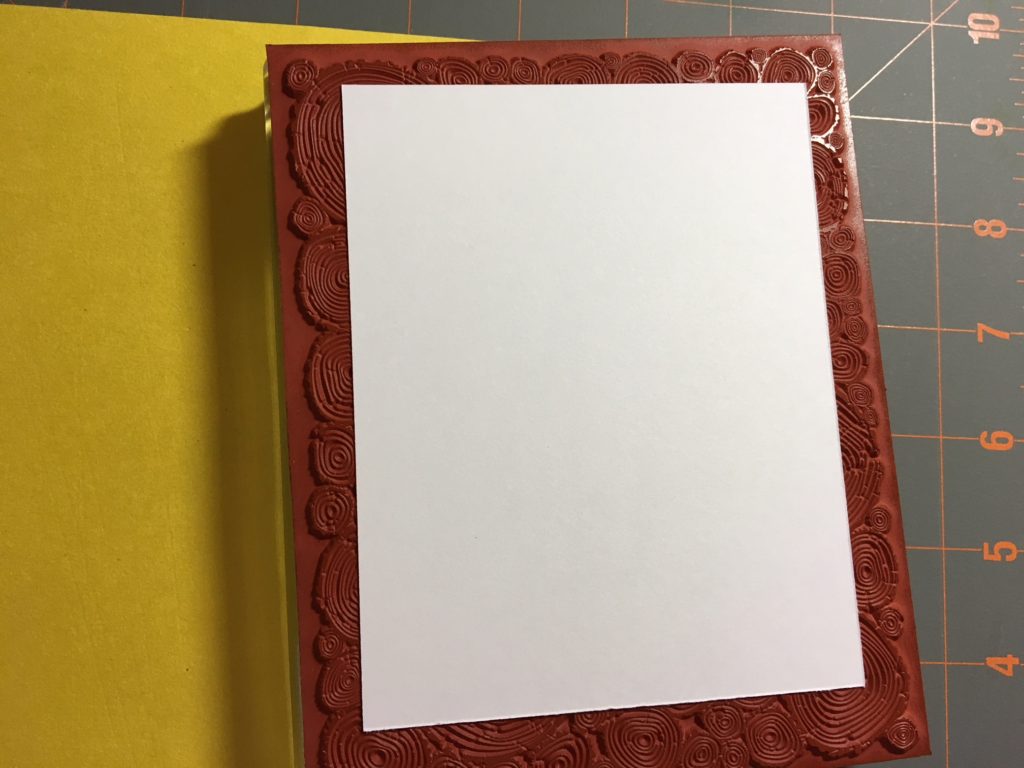
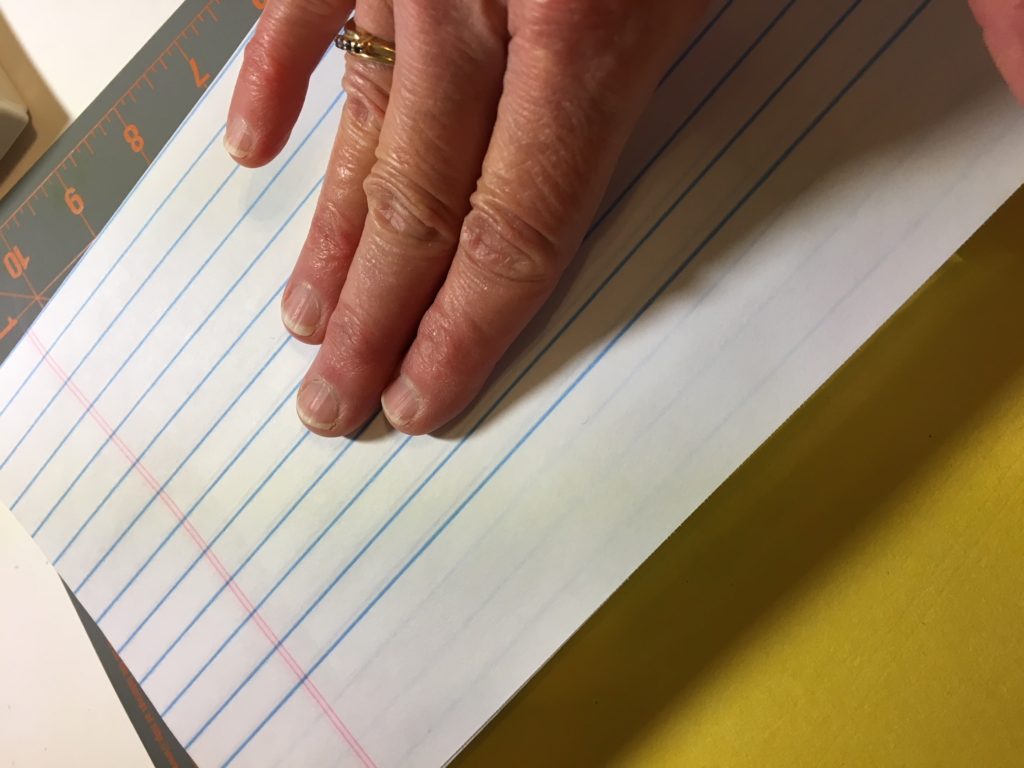
To stamp the front piece of the card, I put my Whisper White cardstock directly onto the stamped image and then put a piece of scrap paper on top of the cardstock. See the pictures below. By placing the scrap paper over the cardstock, I can rub all over the stamp without getting ink on my hands. When you do this, make sure that you rub all areas of the stamp, especially the edges.
When you’re done, remove the scrap paper. Then, lift up the stamp. Turn the stamp over, and the stamped cardstock will fall to your table.
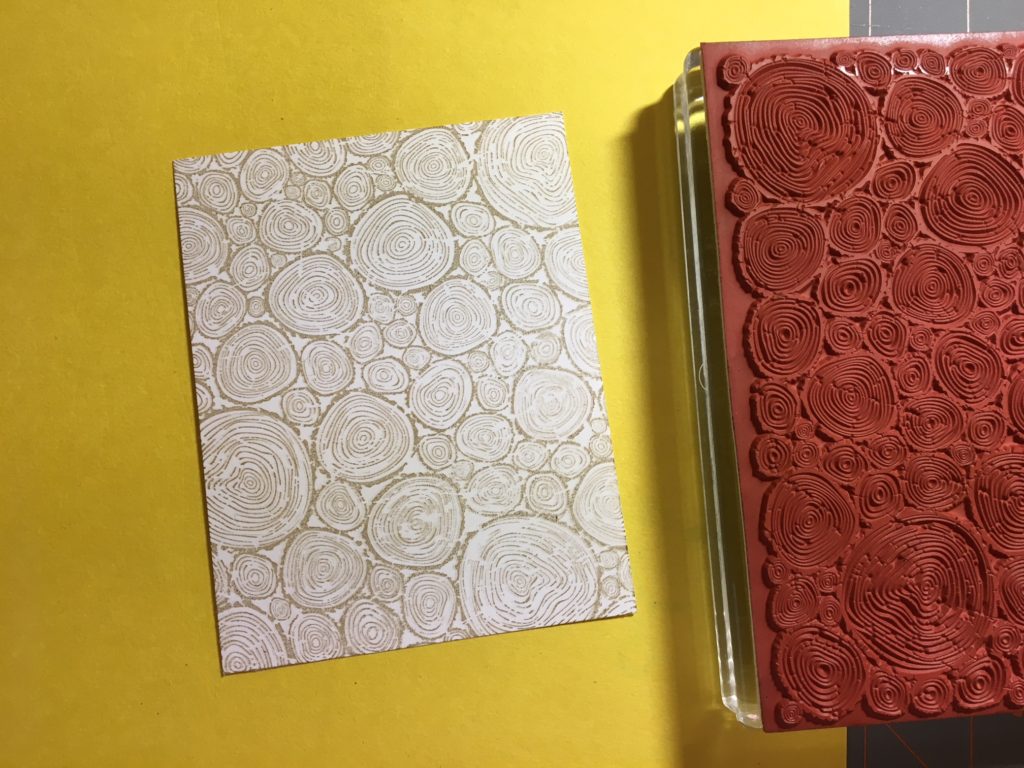
The Tree Rings stamp has a rather random pattern. This is good for this technique since you will not need to worry if you have your Whisper White cardstock straight when you place it onto the stamp to be inked. Below are four pieces that I stamped using the technique described above. Notice that each finished piece is slightly different – the pattern is not in the same place on each piece of paper, and the intensity of the ink varies depending upon how hard I pushed on the scrap paper.
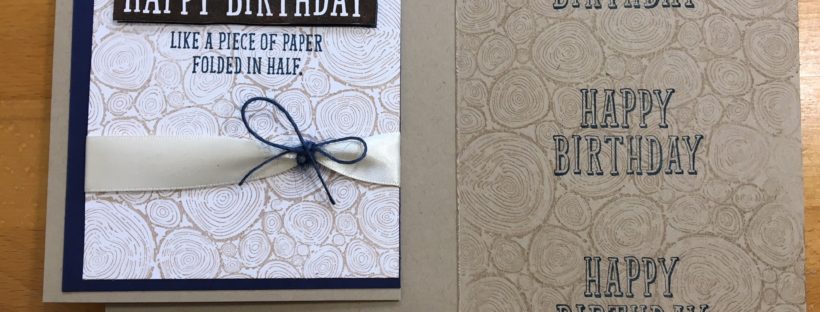
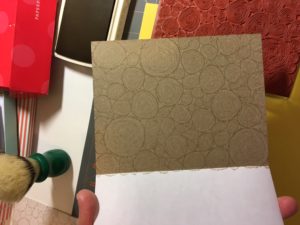
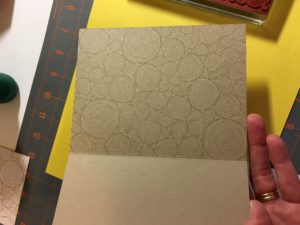
I used the same background stamp, Tree Rings, for the inside of the card. But, I used a slightly different technique for the stamping. Look at the picture of the finished inside of the card. You’ll notice that the background stamp is only seen on the right half of the card. The stamped image purposely stops at the middle fold.
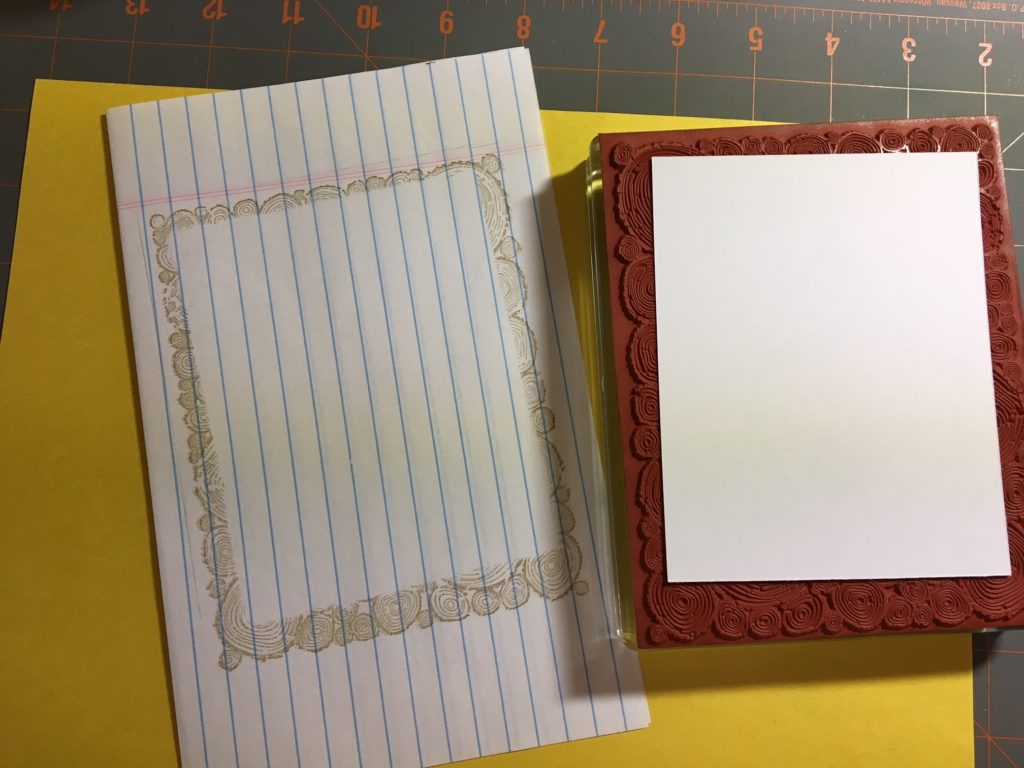
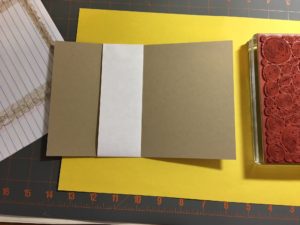
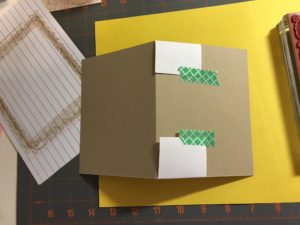
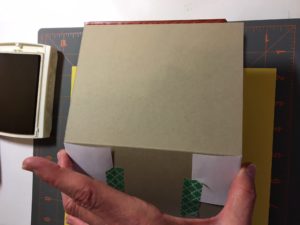
A masking technique was used to achieve the end result. Use a piece of copy paper to mask the inside of the card. Place the copy paper as close to the center fold as possible. Use as thin a piece of paper as possible for your mask. This will allow a cleaner stamped image near the piece of paper. Use washi tape to attach the copy paper to the back of the card. See the pictures below for reference.
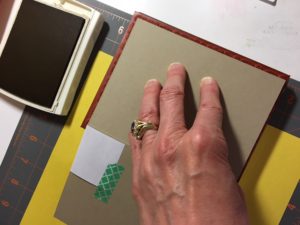
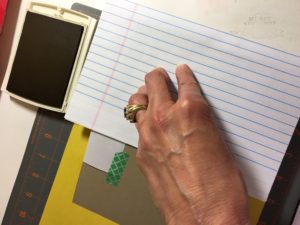
When you place the card onto the background stamp, try to ensure the area that will be stamped is centered on the stamp. This will help make sure the inside of the card is completely stamped. Put the piece of copy paper over the cardstock (just as was done for the front of the card), and rub over all areas of the stamp. Make sure you pay special attention to the middle of the card, where the center fold and mask are. See the pictures below for reference.
When you’re finished with the stamping, lift the card off the background stamp. Remove the mask to reveal the inside stamping.
These background stamp techniques are great for many styles of cards. Take a look in your craft stash. You will now be able to think about using your background stamps in new ways.
Happy Stamping!
Laurie
