First, and most important, I hope each of you and your family is staying healthy and sane during this unprecedented time. My husband, Bruce, and I are doing fine and taking a day at a time. We feel incredibly blessed with an amazing family and group of wonderful friends. It warms my heart to witness how much everyone is supporting each other right now.
Please forgive me for not posting sooner. I realize that it has been a while since I shared my last post with you. To be honest, I really needed to step away from attempting to be creative and sharing cards. My mind was very overwhelmed with news updates, our fluid new “normal”, and an incredibly messy craft room. Yesterday, I took time to clean and organize my craft room, and today I feel a lot more focused.
In fact, this morning, I had the privilege to Skype with a wonderful group of some of my best friends in the world. We caught-up with each other’s lives and made cards with the latest Paper Pumpkin kit. By the way, that kit is simply amazing. And, the free stamp set is incredible.
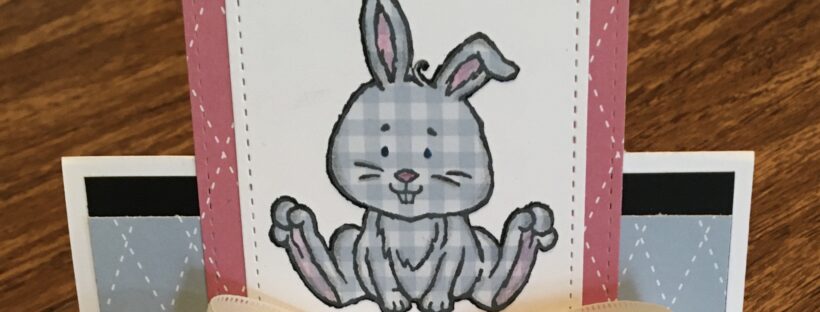
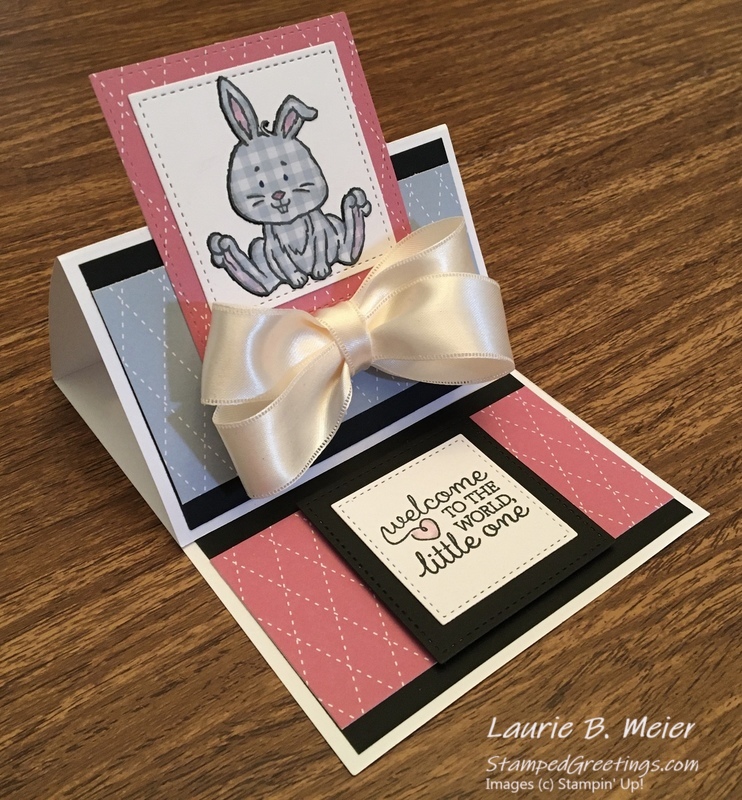
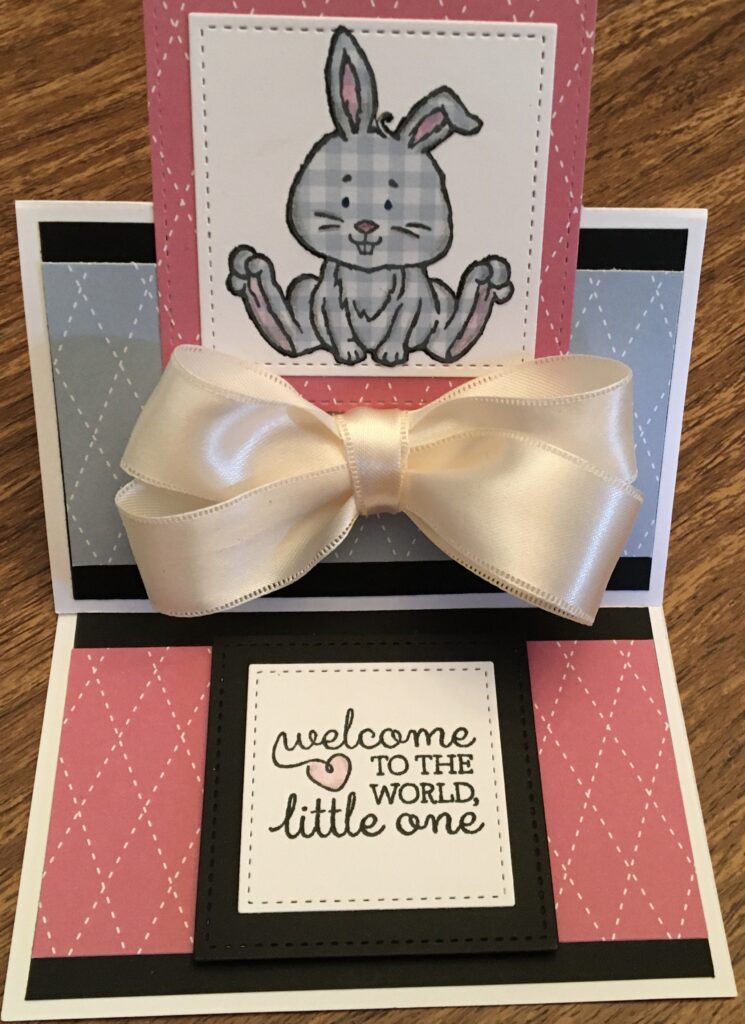
Thanks for listening to me vent 🙂 Now – Let’s get to the card that I want to share with you. This card is one that was made at the recent Stamp Club that I have each month. We met on March 8, just before our level of normal life changed! The focal point of the card is the incredibly cute bunny from the Welcome Easter stamp set. The bunny literally sits on a partial die cut on the card. I’ll do a separate post (maybe even a video) on how to do the partial die cut – a game changer as far as adding a fun twist to many of the dies that are already in your collection.
Here are the basic directions to make this card:
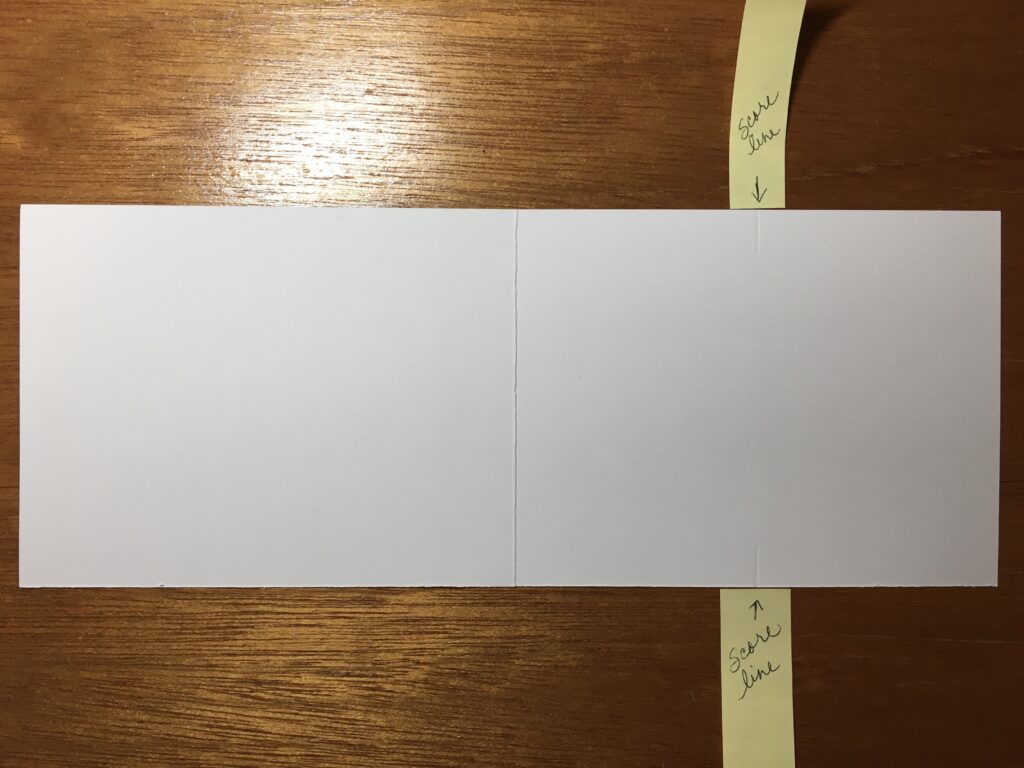
- Start with a piece of Thick Whisper White card stock cut to 4 1/4″ x 11″, scored at 5 1/2″ on the 11″ side.
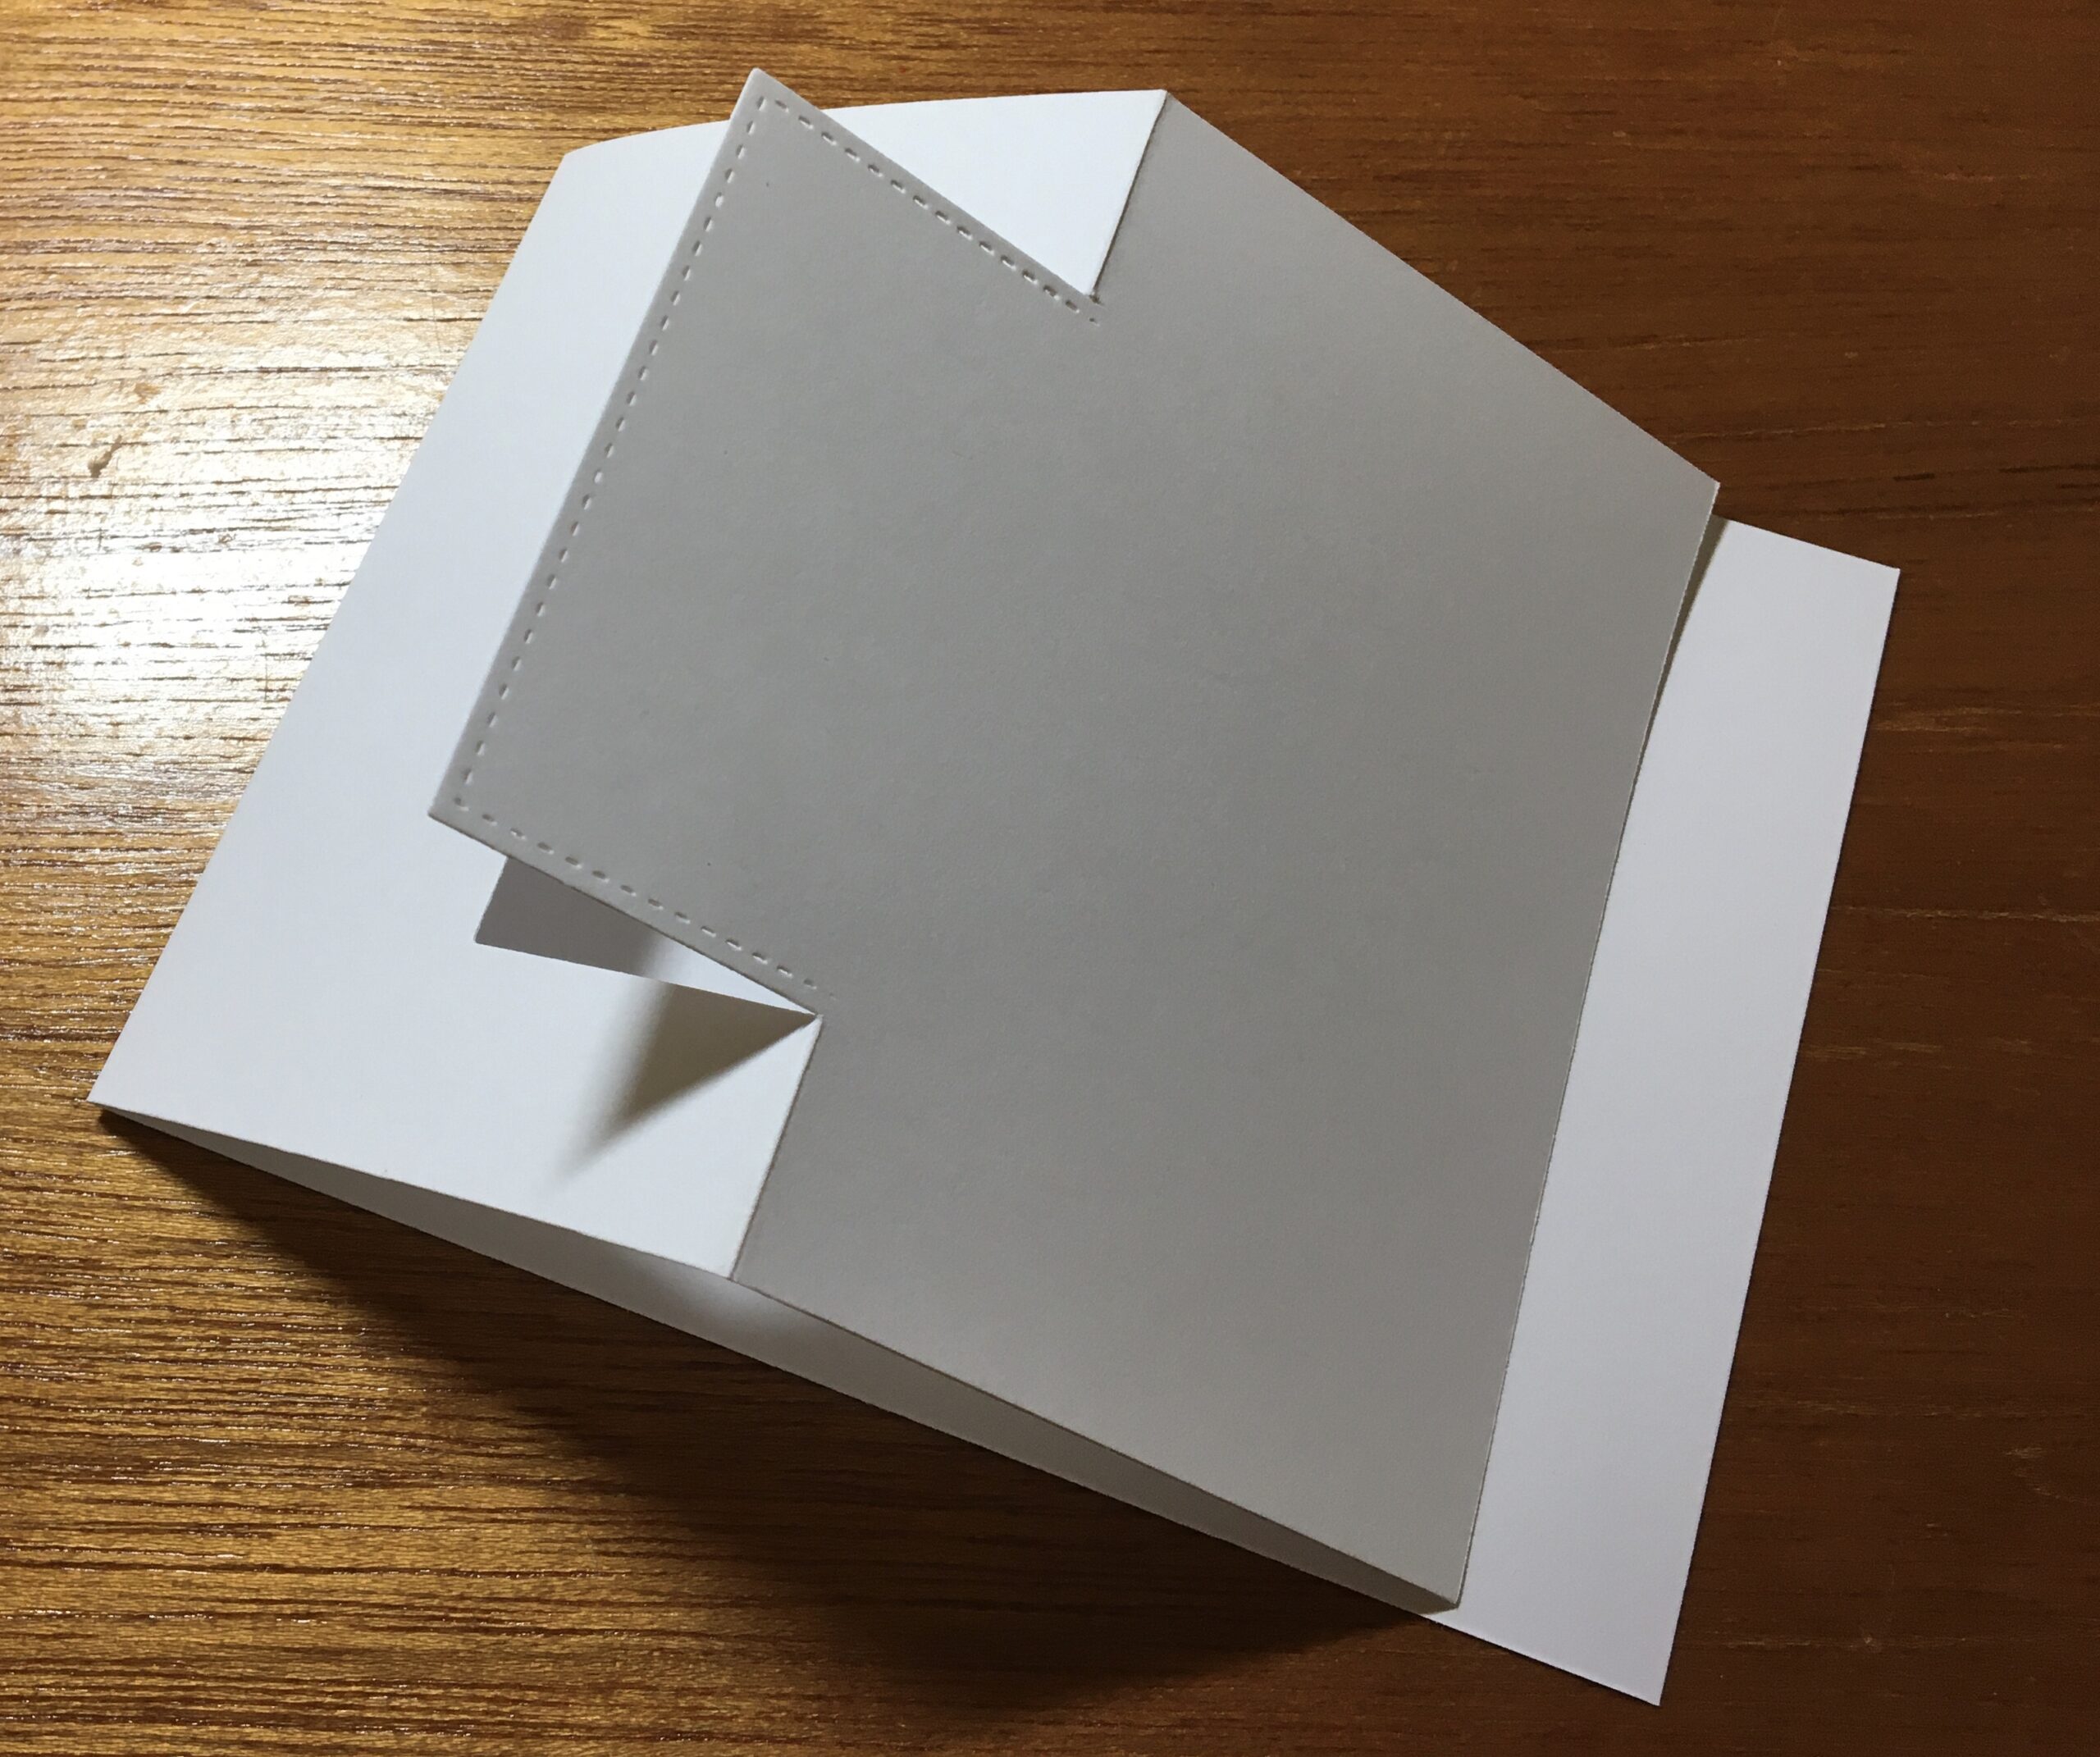
- Choose one side of the card base to be the one that will be used for the partial die cutting. On that side, you will make two score lines as guides for the partial die cutting. Make the score lines at 2 3/4″ from the middle of your card base where you just scored at the 5 1/2″ mark on the 11″ side. These score lines will be about 1/2″ long and will be on opposite sides of the paper. Look at the picture below for reference.
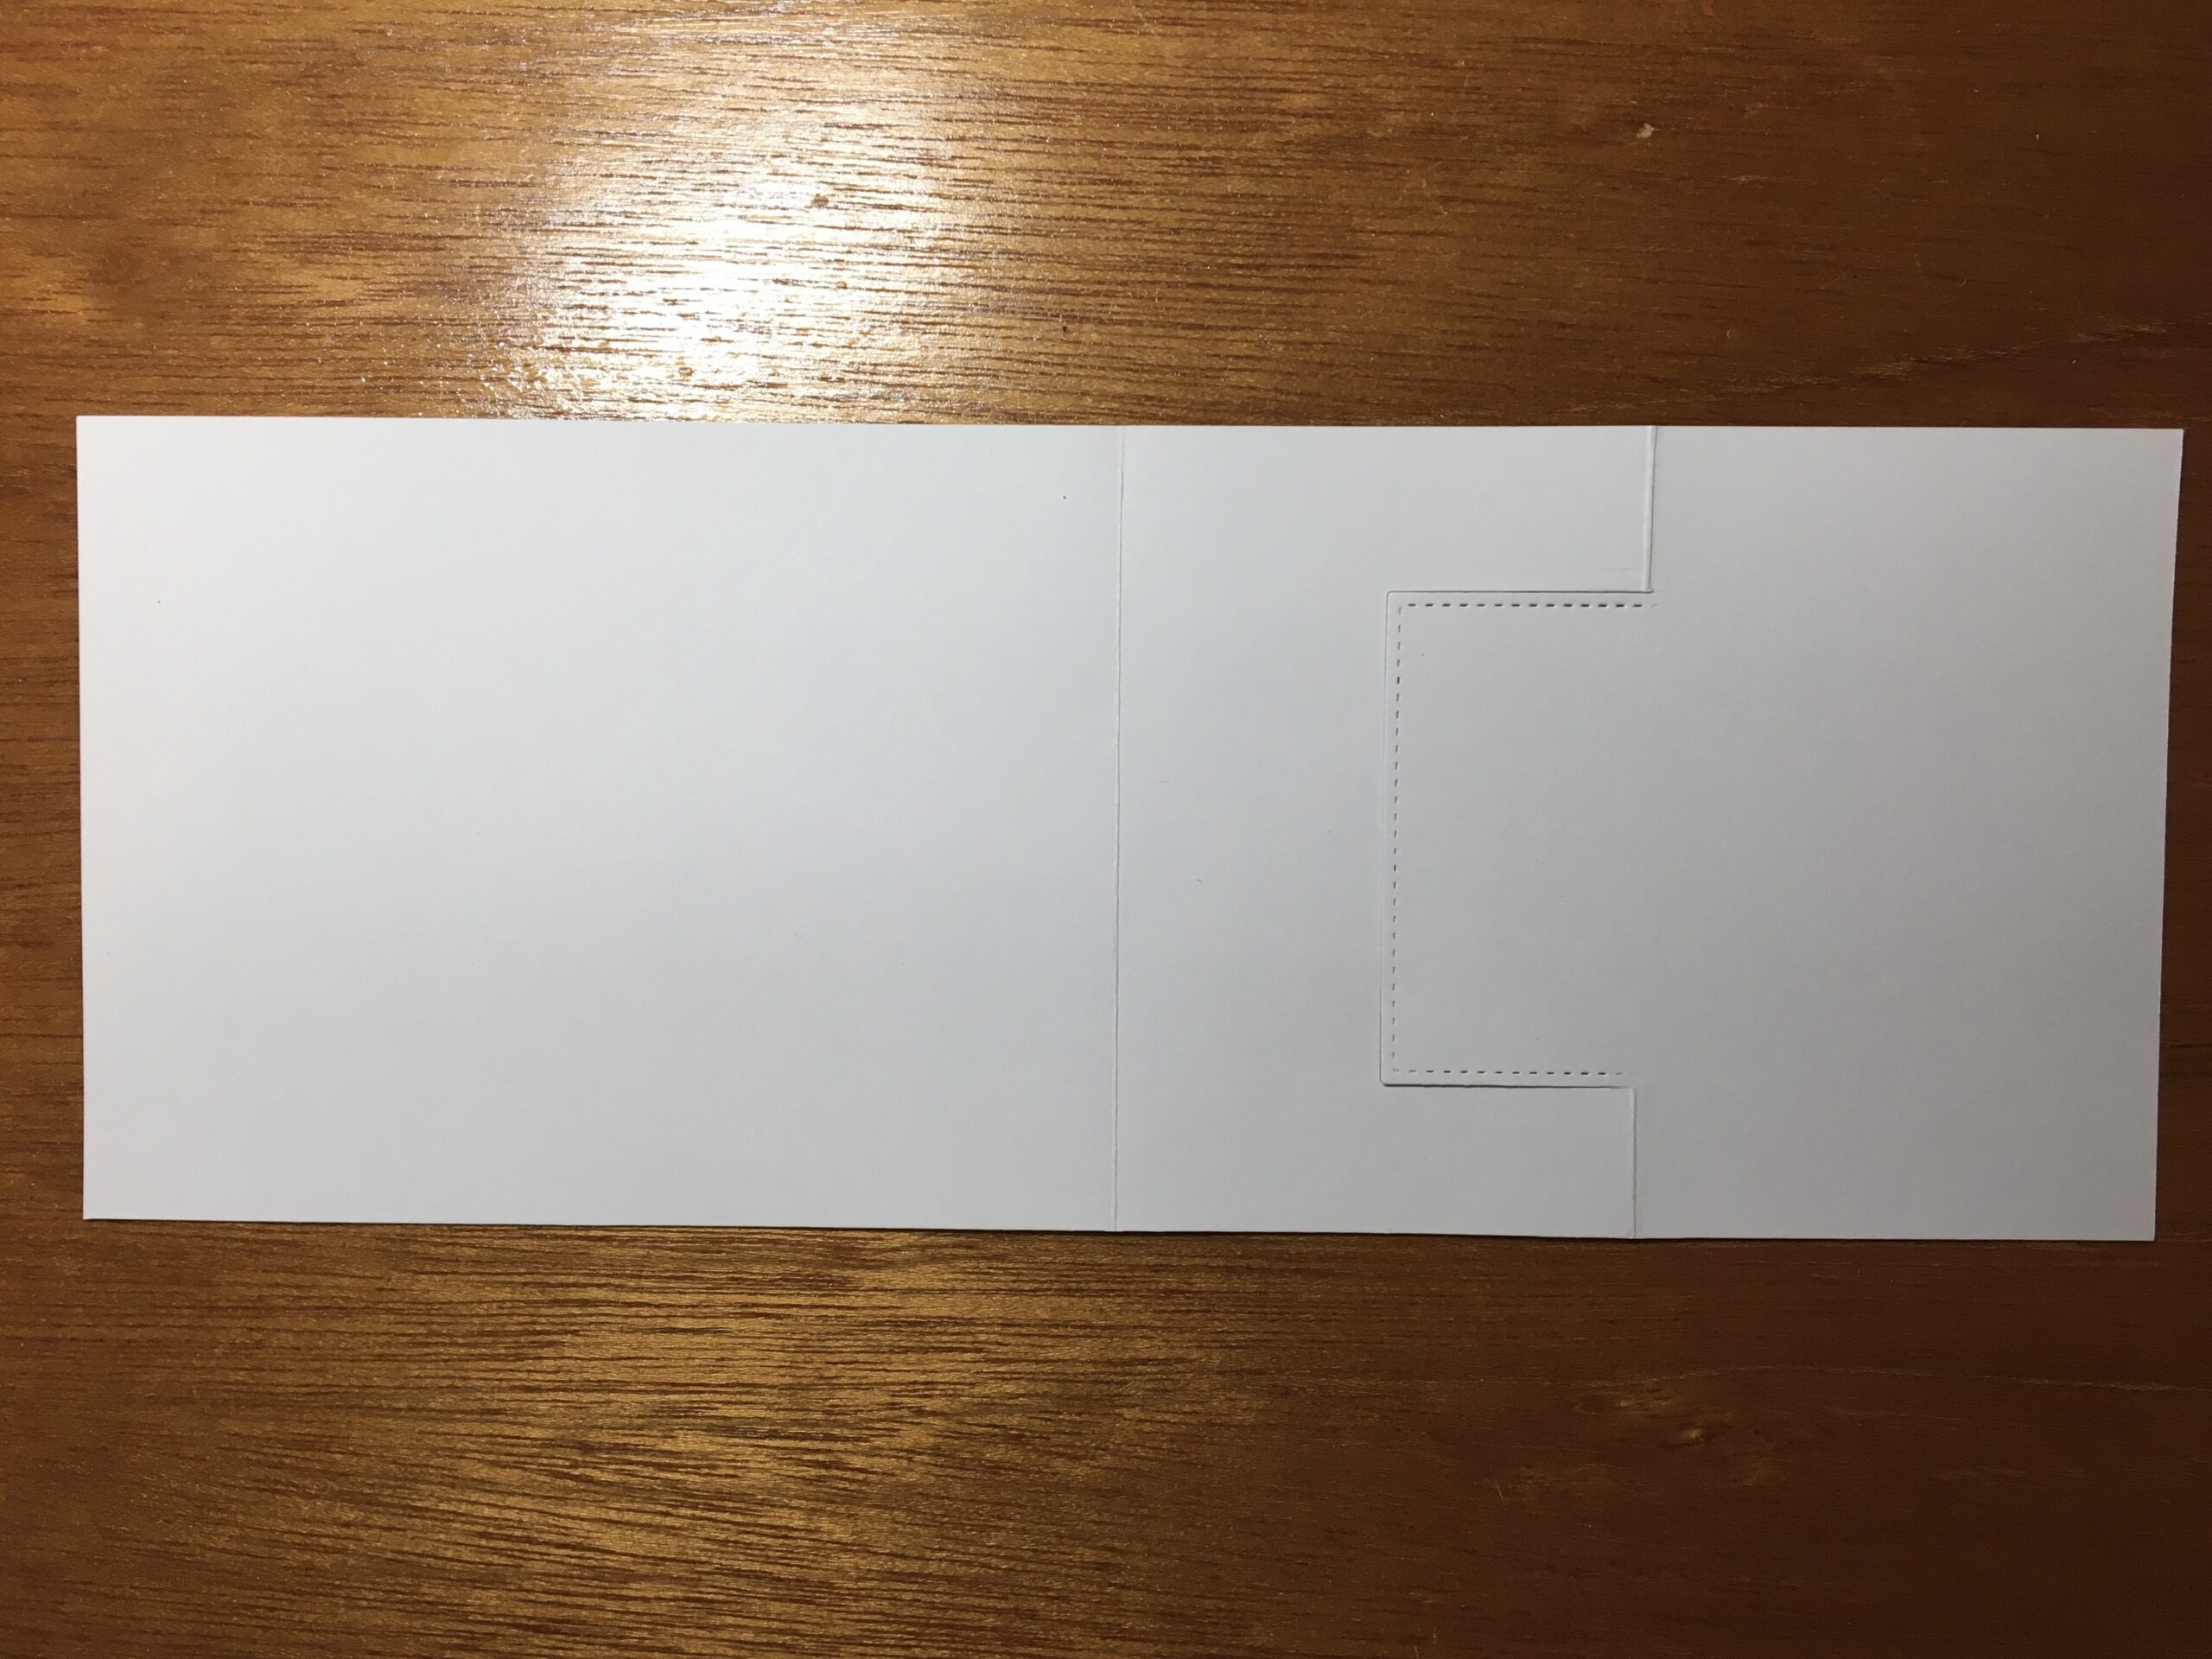
- Next is the partial die cutting! If you haven’t done this before, prepare to be awed and to think about your die collection in a whole new way!
- The pictures below shows you what you want to create. You will die cut only part of the square which will create a pop-up area for the focal point. In this case, the focal point is the adorable bunny image 🙂
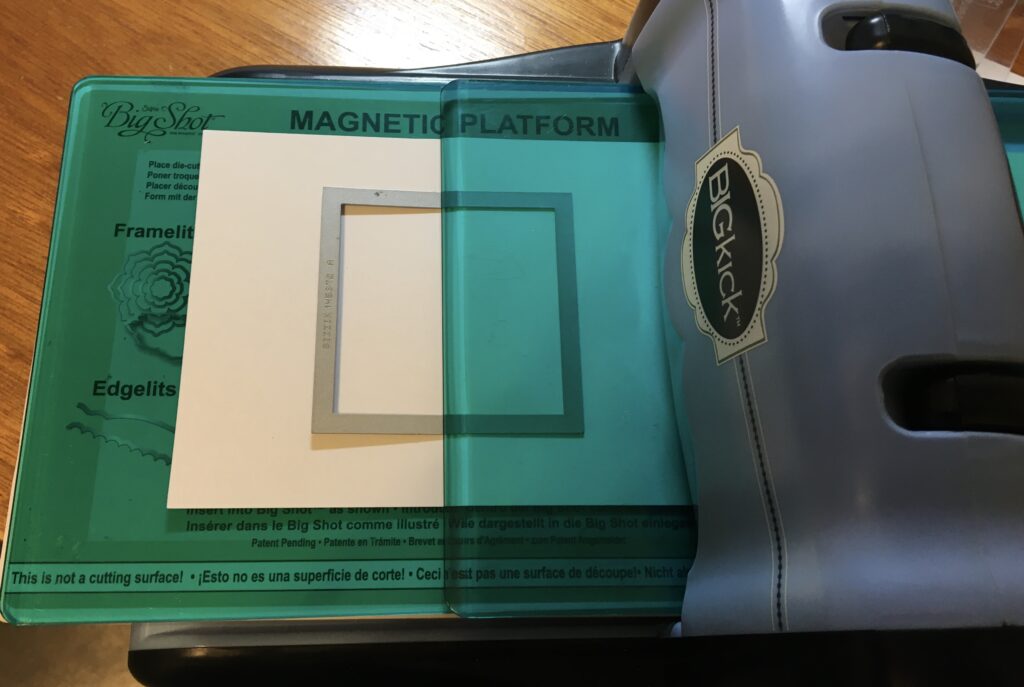
- The best way to tell you how to die cut the card base is to show you. Essentially, you want to put the top plate only on the part of the die that you want to cut. If there is no pressure from the top plate, the die cutting machine won’t make the cut! Take a look at the picture below.
- Now, the decorating can start. Get your pack of the beautiful In Color 6″ x 6″ Designer Series Paper (DSP) pack. I used the latest In Color collection, 2019 to 2021. Chose a few colors and patterns that you would like to use for your card.
- On one piece of DSP, stamp the bunny from the Welcome Easter stamp set. I used Memento black ink for my stamping. Next, grab your Watercolor Pencils, and color parts of the bunny image. I chose to color the ears, nose, and bottoms of the feet in a light pink. I also did a little shading with gray on the cheeks ears, and feet. After you love your coloring, fussy cut the bunny image.
- Stamp the bunny image onto a scrap piece of Whisper White card stock. Use the second largest square die from the Stitched Shapes Dies collection to die cut your image. Adhere your fussy cut bunny image onto the die cut Whisper White piece directly over the stamped image. This technique is called paper piecing. It is great to have the image stamped underneath the fussy cut image. For example, if you fussy cut the image a little too much, you’ll still see the stamped lines of the image on the background piece.
- Die cut a piece of DSP with the largest square die in the Stitched Shapes Dies collection. As you can see from the picture, I used a piece of the Rococo Rose DSP. Adhere the die cut white piece (with the bunny) to the DSP die cut piece.
- Decorate the front of the card before you adhere the finished layered bunny piece. The Basic Black card stock background piece is 3 7/8″ x 2 1/2″. The DSP piece is 3 7/8″ x 2″. As you can see from the picture, I used a piece of the Seaside Spray colored DSP.
- After your card front is decorated. Add the finished layered bunny piece. It will fit perfectly on top of the pop-up section of the card since the pop-up section and the back layer of the bunny piece were cut using the same die.
- The inside of the card is two layers. The first layer is made of (1) a background layer of Basic Black card stock background piece cut to 3 7/8″ x 2 1/2″ and (2) a piece of DSP cut to 3 7/8″ x 2″. I chose the same DSP as the one that is the frame behind the bunny image. Adhere inside the card as pictured.
- The second layer is the “stopper” for the pop-up card. You truly can think of this as being like a door stop. It is raised up on dimensionals to help keep the card standing the way it is intended to stand.
- To create the second layer, stamp “welcome to the world little one” from the Welcome Easter stamp set onto a scrap piece of Whisper White card stock. Die cut the sentiment with the third largest square in the Stitched Shapes Dies collection. Die cut a piece of Basic Black card stock with the second largest square die in the same die collection. This is the die that you used to die cut the bunny image. Adhere the two die cut pieces together. Adhere the finished piece to the inside of the card, as pictured, using dimensionals.
- Finish the card with your choice of embellishments. In my opinion, a big double bow on the front of the card did the trick!
This is definitely a time when we should all pray for those who are expecting to welcome new babies into the world. Our thoughts and prayers should be with the families and medical staff who will be involved. This card can really help you let new parents know how much you care.
I hope you enjoy using this card design and make it your own. And, go check out your die collection to see which ones you can use for partial die cutting. The options are truly endless.
Below are the main products that I used to create this card. If you click on any picture, you’ll go directly to my on-line store.
Happy stamping!
Laurie
|
|
||
|
|
||
|
|
|
|
|
|
|
|
