My husband, Bruce, and I live in the beautiful state of North Carolina. Each October, the North Carolina State Fair is one of the prime events in the area. If you’re going to be in the Raleigh area beginning this Thursday, be sure to check out the NC State Fair website for the event calendar. Click on the logo below for more information.
Just like many state fairs, the NC State Fair has several friendly competitions. One of them is card making! I’ve entered the card making competition each year beginning with 2008. Every year, I am in awe of the amazing talents of so many artists. They are all very inspiring.
A few years ago, a new category was added to the card making category. It is the Artist Trading Cards (ATC). Entries have four ATC cards, each measuring 2 1/2″ x 3 1/2″. This category has really stretched me with stamping and other techniques.
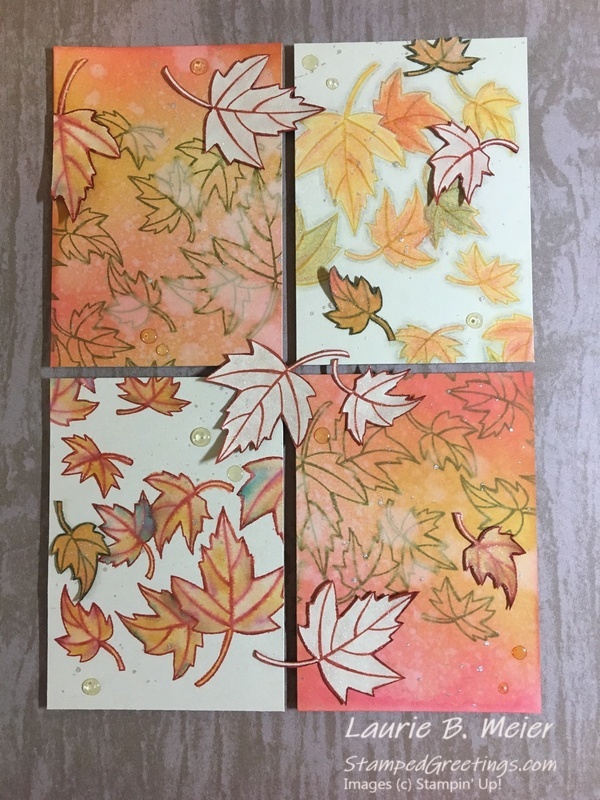
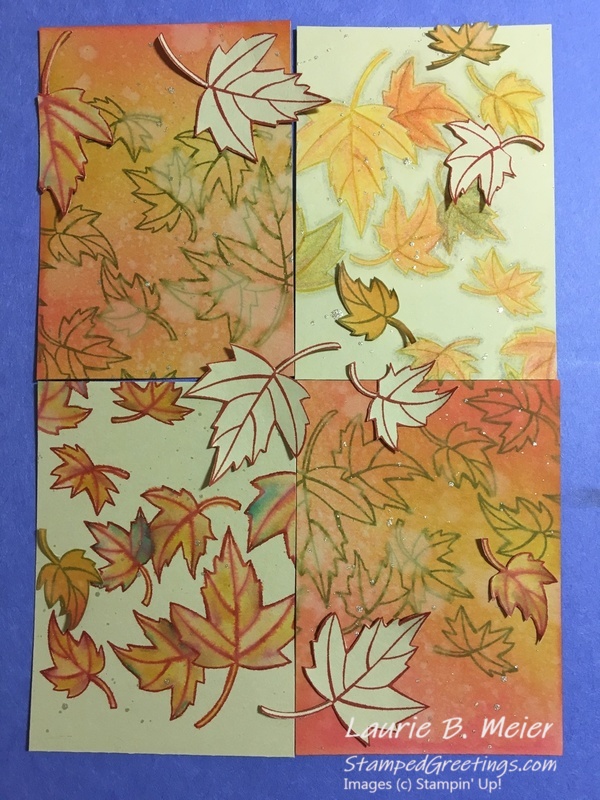
Today, I’d like to share the entry that I literally just dropped off for this year’s ATC competition. I hope you enjoy the fall theme and recognize the stamp set that I used.
The ATCs feature the recently available Blended Seasons stamp set. If you did not add that stamp set to your collection, don’t fear. I bet you have a stamp set in your stash that you can use to create a similar set of Artist Trading Cards.
Here are some of the steps that I used in the process:
- Cut a piece of Crumb Cake card stock to 5″ x 7″.
- Use your Stamparatus (the most amazing stamp positioning tool ever!!) to stamp your favorite image in opposite corners of the card stock piece. I stamped four separate pieces of card stock with four different colors of inks. I wanted to have a variety of stamped line colors to play with and figure out which pieces I wanted to keep.
- Before you cut the 5″ x 7″ to their final 2 1/2″ x 3 1/2″ sizes, be sure to complete the coloring of each piece.
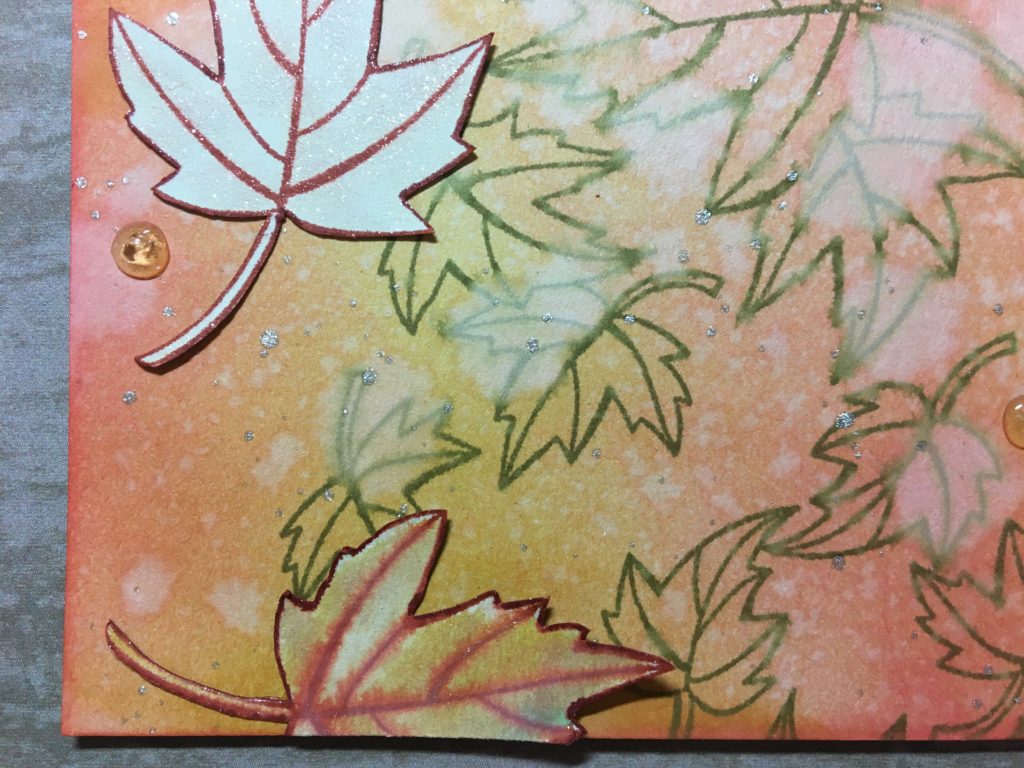
- On one piece, I used Tim Holtz distress inks over the image stamped in Old Olive ink. After I distressed the piece, I sprinkled some water onto the piece and took the excess water off with a paper towel. The effect is really fun. After this piece of card stock was cut, it was used for the upper left and lower right quadrants.
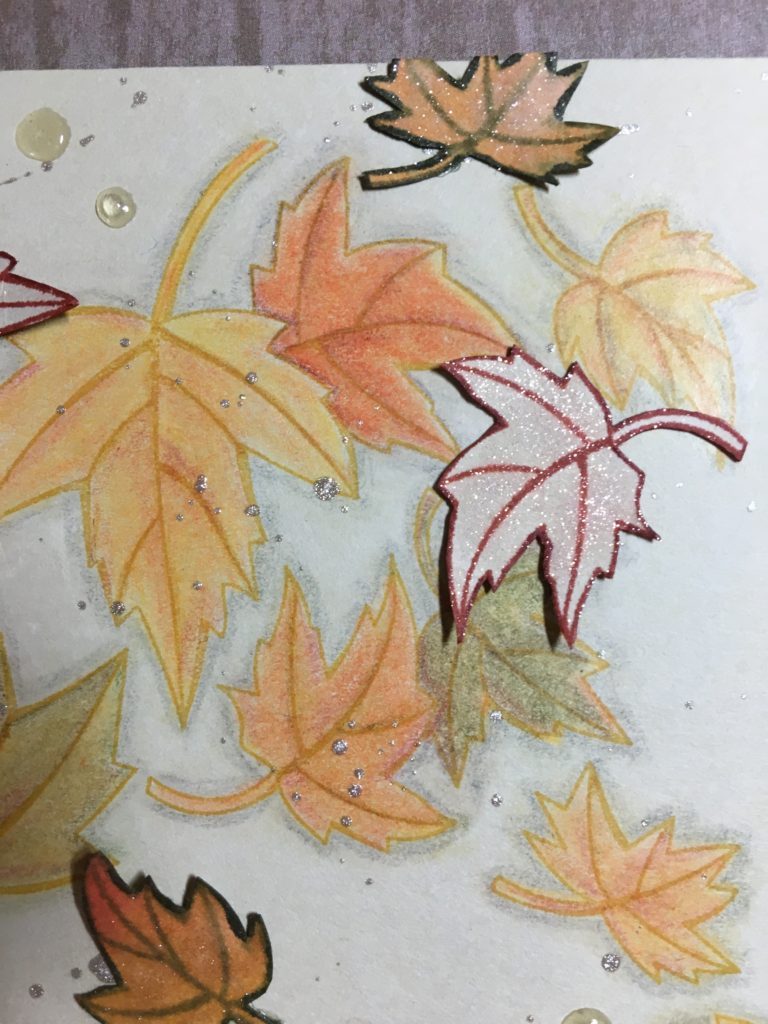
- On another piece that I stamped with a really light touch of Cajun Craze ink, I used my Watercolor Pencils to add interest and depth to the design. After this piece was cut, it was used for the upper right quadrant.
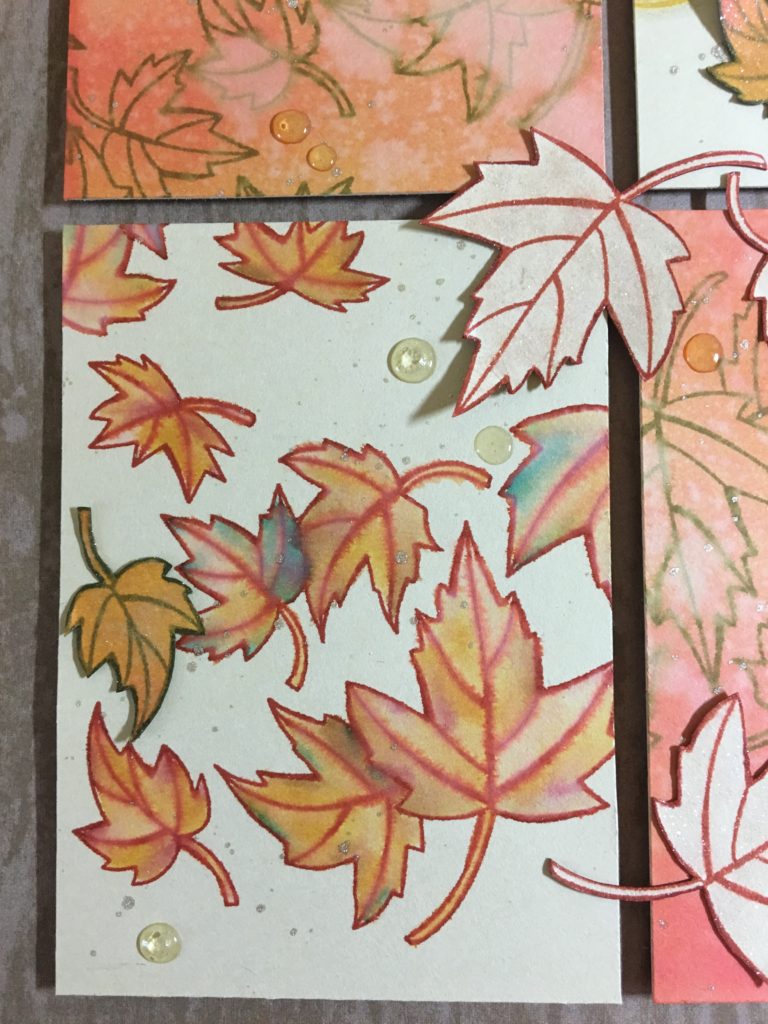
- On yet another piece that I stamped with Cherry Cobbler ink, I used my Aqua Painters to add color to the leaves. I like the way Aqua Painter made the inked lines bleed a little. After this piece was cut, it was used for the bottom left quadrant.
- I did have another piece that I had stamped with Early Espresso ink. The colors that I used to decorate this piece didn’t work well with my final project. But, I will use the piece for another project.
- After I figured out which pieces were going to be used for each quadrant, I put them together on a scrap piece of paper and spattered some Champagne Mist Shimmer Paint over the entire piece.
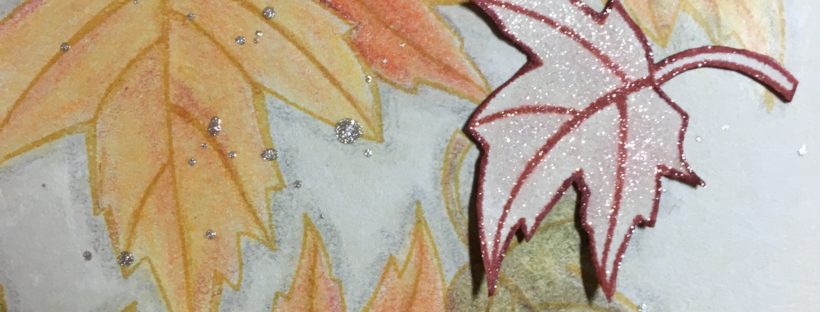
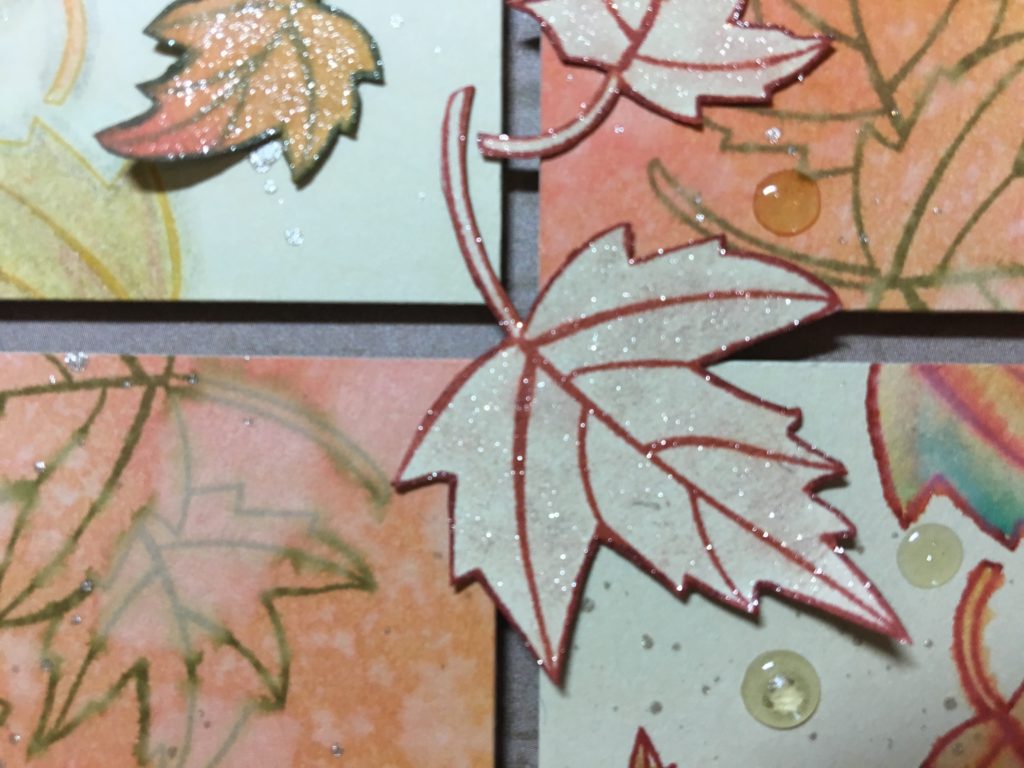
- Since I had extra leaves from each piece that I chose not to use in the final project, I fussy cut some of the leaves and decided where I would place them on the cards. To add a little interest to the leaves, I highlighted them with Clear Wink of Stella.
- The final touch was random drops of Ranger Glossy Accents. They add a very unique, whimsical feel.
This technique can easily be translated into cards. Stay tuned, I’ve been inspired by the ATC entry! I’m going to make a few cards with similar layouts. Check back to see them.
Some of the products that I used to make the ATCs are shown below. Click on any picture, and you’ll go to my on-line store.
Happy stamping!
Laurie
|
|
||
|
|
|
|
|
|
|
