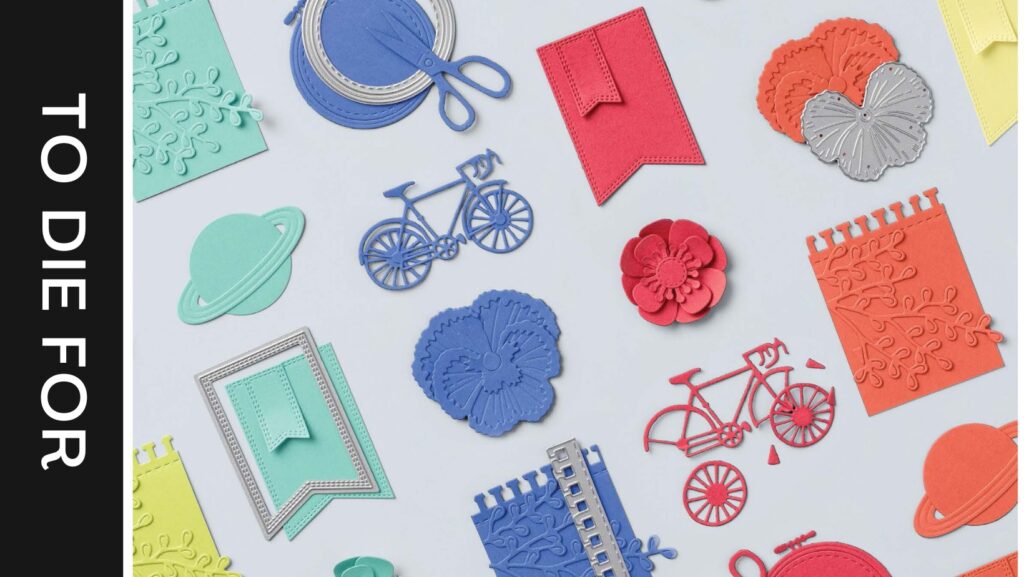
Welcome to the August “To Die For” NC Demos Blog Hop! This month, we are focused on creating projects using versatile Stampin’ Up! dies. I hope you just came from Toni’s post and saw her amazing (as usual!) project. Thanks so much for stopping by to see the project that I’m sharing this month.
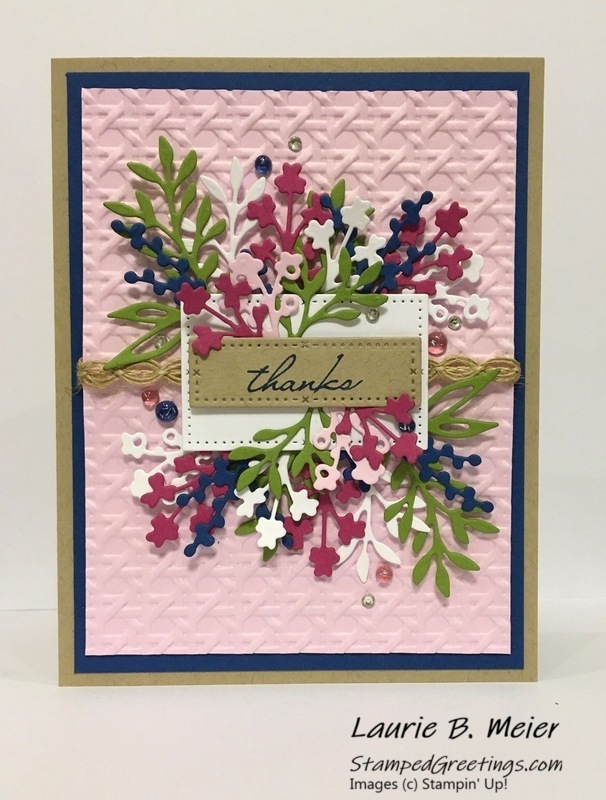
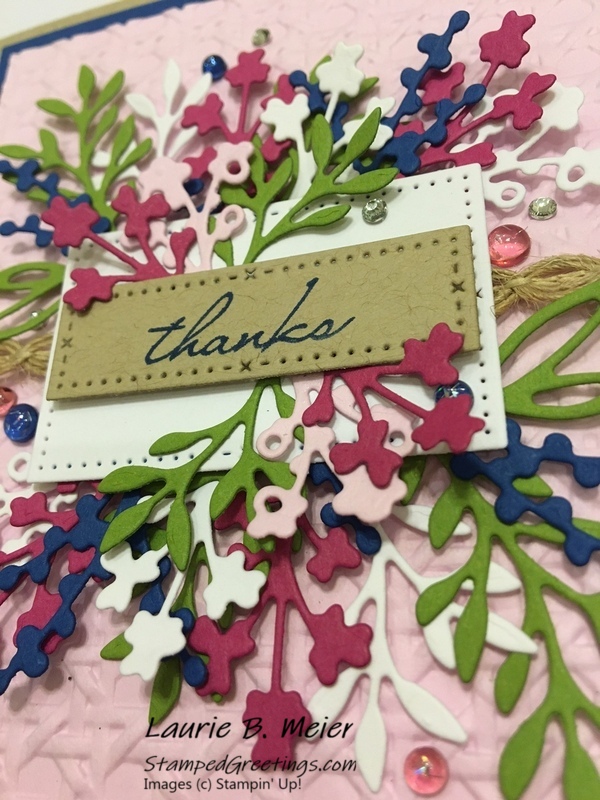
It wasn’t too difficult to decide on the dies that I was going to use for my project. The Timeless Arrangements dies are so unique and stunning! They offer many possibilities for different designs in cards, boxes, and other 3D projects. And, as a bonus – they are really a lot of fun to use! The card I created is shown below.
It was also fun to use the recent Color Coach that Stampin’ Up! published to challenge myself to a new-to-me combination of colors. Old Olive, Blueberry Bushel, Berry Burst, and Bubble Bath are gorgeous together. Add a little touch of Basic White to show off the color combination, and the overall colors just pop!
Below are the basic instructions to create the card:
- Create your card base with the 8 ½” x 5 ½” of Crumb Cake cardstock by scoring at 4 ¼” on the 8 ½” side and folding in half. Burnish the score line well.
- Adhere the Blueberry Bushel cardstock (4” x 5 ¼”) directly to the card front using Multipurpose Liquid Glue.
- Use the Cane Weave 3D Embossing Folder to emboss the piece of Bubble Bath cardstock (3 ¾” x 5”). Wrap the embossed piece with Wavy Trim, as pictured, and secure the trim on the back of the Bubble Bath piece. Use Multipurpose Liquid Glue to adhere the embossed Bubble Bath piece directly onto the Blueberry Bushel piece.
- There are four dies in the Timeless Arrangements Dies that have flowers or leaf images and are attached to rectangles. Choose three of these dies. For each of the three dies, cut out two images using one of the following colors of cardstock – Old Olive, Berry Burst, and Blueberry Bushel. Separate your pieces so that you have two piles with one of each color in each pile. Take the pieces from one pile and adhere them together with Multipurpose Liquid Glue so the rectangles stack on top of each other. The flowers and leaves will look like they are in front of and behind each other. Do the same with the other pile of die cuts.
- Add a few additional die cuts to each stack. Use Basic White cardstock to cut additional, individual flowers and leaves from the die set. Use Multipurpose Liquid Glue to attach the additional pieces to the back of the stacked and adhered die cuts.
- Die cut a piece of Basic White cardstock with the largest rectangle in the die set. This will be the base to attach your flower and leaf dies.
- Align one group of stacked and adhered flower and leaf dies just under the top edge of the die cut rectangle. Adhere the stack using Multipurpose Liquid Glue. Adhere the second stack just under the bottom edge of the die cut rectangle. This is now the focal point of the card.
- Use Stampin’ Dimensionals to adhere the focal point piece on top of the Wavy Trim in the center of the card, as pictured.
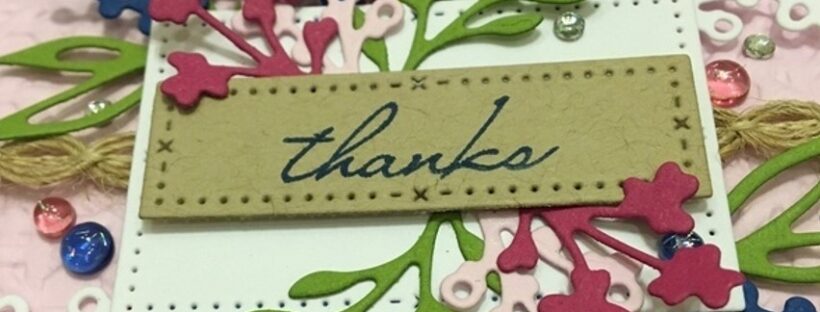
- Use a Clear Block C and the “thanks” stamp set from the Timeless Arrangements stamp set to add the sentiment onto a piece of Crumb Cake cardstock. The ink for the sentiment is Blueberry Bushel. Die cut the sentiment using the smallest rectangle in the Timeless Arrangements dies. Adhere the sentiment piece in the middle of the die cut Basic White rectangle using Stampin’ Dimensionals.
- Add a few additional die cut flowers and leaves that are tucked under the “thanks” sentiment piece. In the example, they were cut from Berry Burst, Old Olive, and Bubble Bath cardstock using the individual flower and leaf dies. Adhere them with a tiny bit of Multipurpose Liquid Glue.
- To finish the card, add some of the beautiful gems from the Tinsel Gems Four-Pack and a few Rhinestone Basic Jewels.
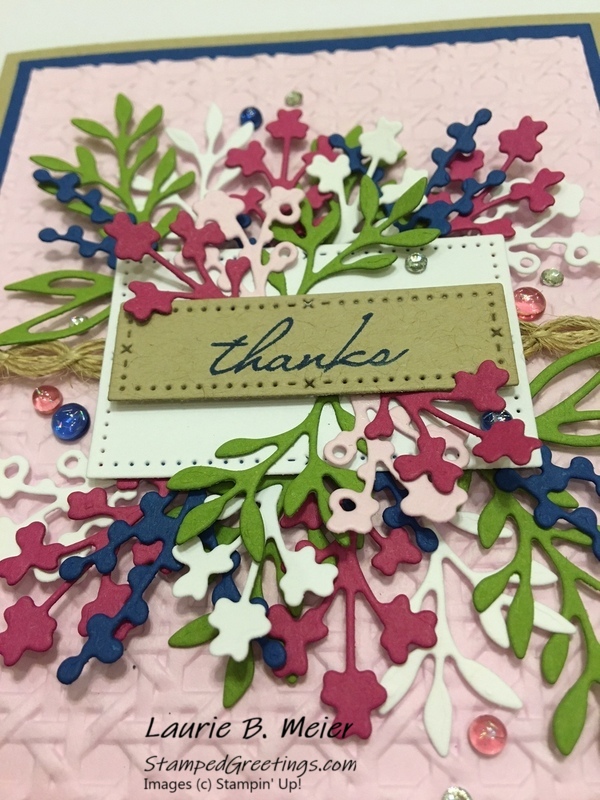
- The picture below shows the layers of the die cut pieces –
I hope you give this card design a try. Imagine beautiful autumn colors, spring pastels, or maybe winter hues for the die cuts. I know I’ll be trying several more color combinations!
Please be sure to hop over to see Kelly’s project. Also, check out the list of this month’s blog hoppers to make sure you don’t miss any of our projects.
If you would like to add any of the products I used to your collection, take a look at the items below. Click on any picture, and you’ll go directly to my online store.
Inky hugs,
Laurie
August Blog Hoppers:
Tina Lesson
Jo Anne Hewins
Toni Campana
Laurie Meier <— YOU ARE HERE
Kelly Taranto
Tracie Evans Langley
Products Used to Create the Card:
|
|
||
|
|
|
|
|
|
|
|
|
|
|
|
|
|
|
|
|
|
|
|
|
|
|
