Welcome to the NC Demos October Blog Hop!!! If you were just visiting Tracie Evans Langley’s site, I’m sure you were as impressed with her project as I was. She is a very talented stamper. Thanks for taking time to stop by to see my card for this month.
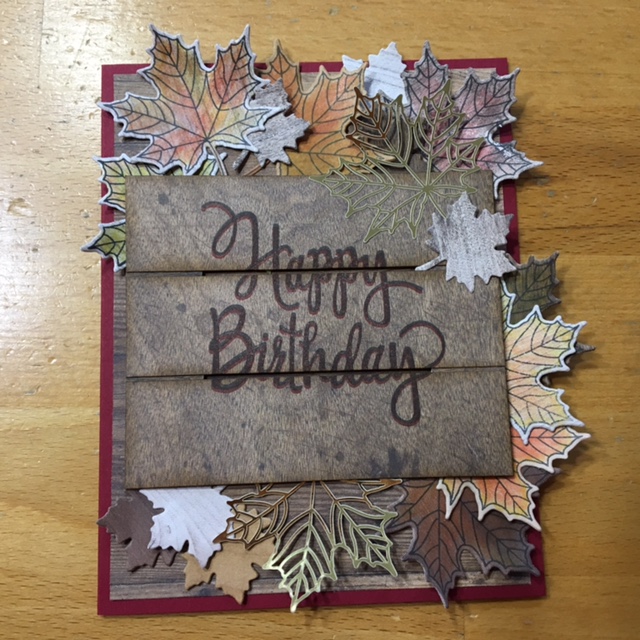
Our theme for October is to be Thank-Fall! You’re going to see many amazing projects that have seasonal themes. I am very Thank-Fall for autumn colors! They are so vibrant and inviting. Fall is definitely my favorite season. Sweatshirts, jeans, football, light sweaters, and beautiful leaves just make me smile. I am also thankful for friends and family who have Fall birthdays!! If you get a card that looks like the one pictured below, just pretend to be surprised!
This card has a lot of layers, textures, autumn colors, and leaves. It was a lot of fun to make. Here are the main steps and directions.
- The base is Cherry Cobbler cardstock, cut to 8 1/2″ x 5 1/2″, scored at 4 1/4″ on the 8 1/2″ side.
- There is a card front piece from the Wood Textures Designer Series Paper (DSP) Stack cut to 4″ x 5 1/4″. I LOVE this DSP stack. The wood patterns are absolutely amazing. If you act by tomorrow, you can get four packs for the price of three. Check here for more details.
- Adhere the card front piece to the card base.
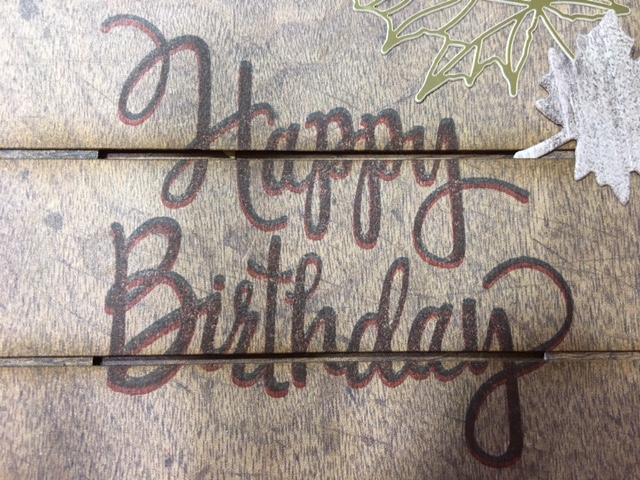
- The main sentiment is the Stylized Birthday stamp. It is stamped in Cajun Craze onto another piece from the Wood Textures DSP Stack. This piece is cut to 3″ x 3 3/4″. You can also stamp a shadow image of “Happy Birthday” in Memento Black Ink. After you stamp “Happy Birthday”, cut the piece into 1″ x 3 3/4″ pieces, as shown. The result should look like planks of wood. Adhere the “planks” to scrap pieces of Wood Texture DSP. If you look closely in the picture, you’ll see vertical DSP pieces behind the planks.
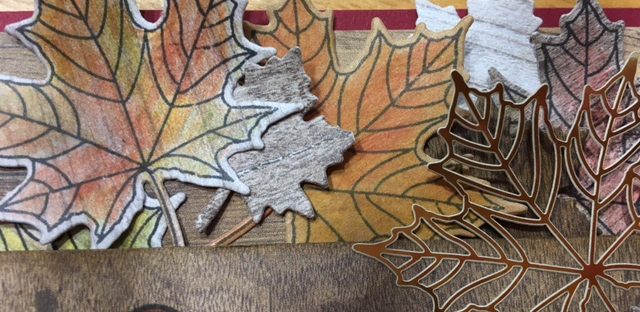
- Use the Colorful Seasons stamp set and Memento Black Ink to stamp the large veined leaf onto different pieces of Wood Textures DSP. Color the leaves with your Watercolor Pencils. If you want, you can use your Aqua Painter to spread the watercolors. Be sure to use the absolute least amount of water possible in the Aqua Painter. Die cut the leaves with the corresponding thinlit from the Seasonal Layers Thinlits.
- Use some of the scrap Wood Textures DSP to die cut smaller leaves. The die for the smaller leaf is also from the Seasonal Layers Thinlits.
- Adhere the leaves to the card front. Glue dots work very well for this. Occasionally, put your “plank” piece on top of the leaves that you have adhered to make sure you like the design.
- When you’re happy with the design, use dimensionals to add the “plank” piece to the front of the card.
- You can add a few leaves on top of the “plank” piece if you want.
- Confession – I used leftover gold leaf stickers from a recent Paper Pumpkin kit to add a little bling. You could just as easily die cut the same filigree leaf shape with a die from the Seasonal Layers Thinlits. The card would be gorgeous with multiple metal colored leaves!
- There you have it! A great birthday card that highlights the season. I hope you enjoy making the card.
Please continue on to Sue Stapp’s project. A full list of this month’s NC Demos Blog Hoppers is listed at the end of this post.
The main products I used to make this card are shown below. If you click on any picture, you’ll go to my on-line store.
Happy stamping!
Laurie
|
|
||
|
|
|
|
|
|
|
|
NC Demos October Blog Hoppers:
Laurie Meier <— YOU ARE HERE


