Welcome to the February NC Demos Blog Hop! This month, we are featuring cards that focus on ushering in Spring. If you’re coming from Sharon Maranich’s post, I’m sure you found her project amazing. She always inspires me! Thanks so much for stopping by my post.
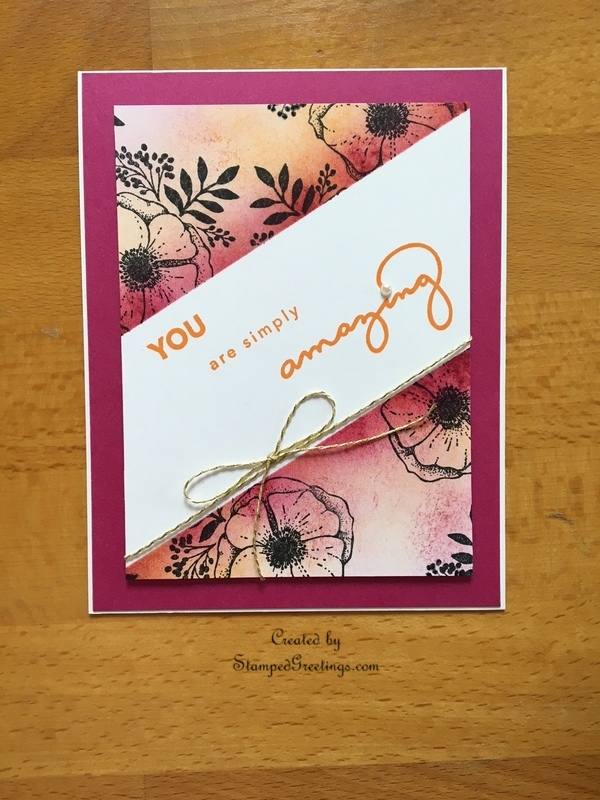
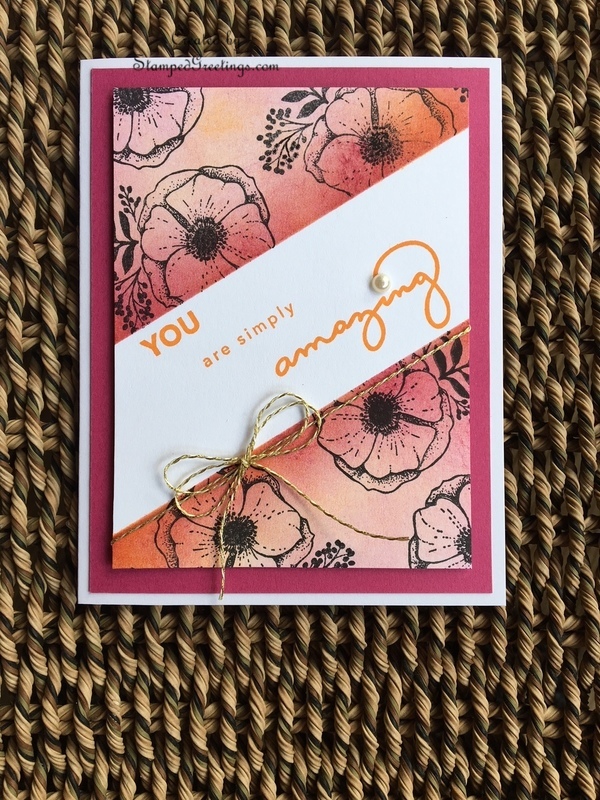
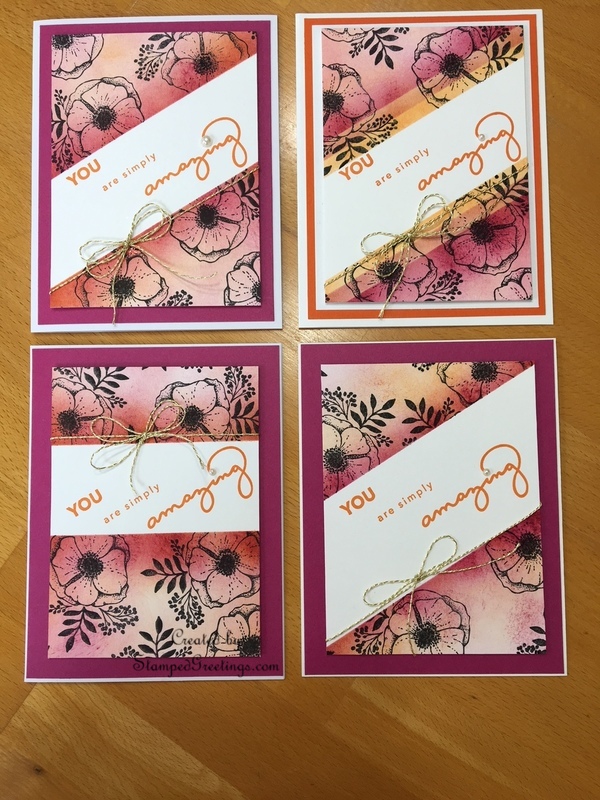
One of my favorite stamp sets in the Sale-A-Bration brochure is Amazing You. I love the script of the sentiments and the vibrant image stamps. As a frugal stamper, my motto is – One stamp set – Three design – Endless possibilities. The card pictured below is the first of three designs that I’ll share this week featuring the Amazing You stamp set.
One-layer cards can be challenging! I guess I should really say that one-layer card fronts can be challenging since I have added some bling to the card. When I showed this card to my husband (my true, honest critic), he really liked the card and thought the sentiment banner was a separate piece of cardstock attached to the front of the card. It isn’t!! But, there is an illusion of multiple layers. The flowers, shadings of ink, and the sentiment are all on one, single piece of Whisper White cardstock. 🙂
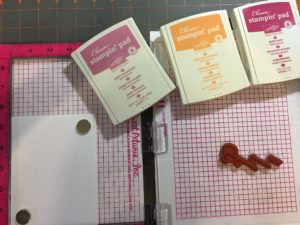
The main colors used to make this card are:
Here are some directions and tips on how to make this card:
- Use a stamp positioning tool (I don’t have my Stamparatus yet but should have it this coming week – YEAH!!) to stamp the “YOU”, “are simply”, and “amazing” sentiments from the Amazing You stamp set onto a piece of Whisper White cardstock cut to 4 1/4″ x 5 1/2″. I used Peekaboo Peach ink for the stamping. It is a gorgeous color.
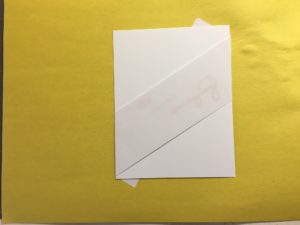
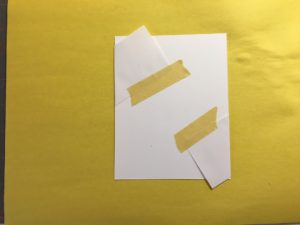
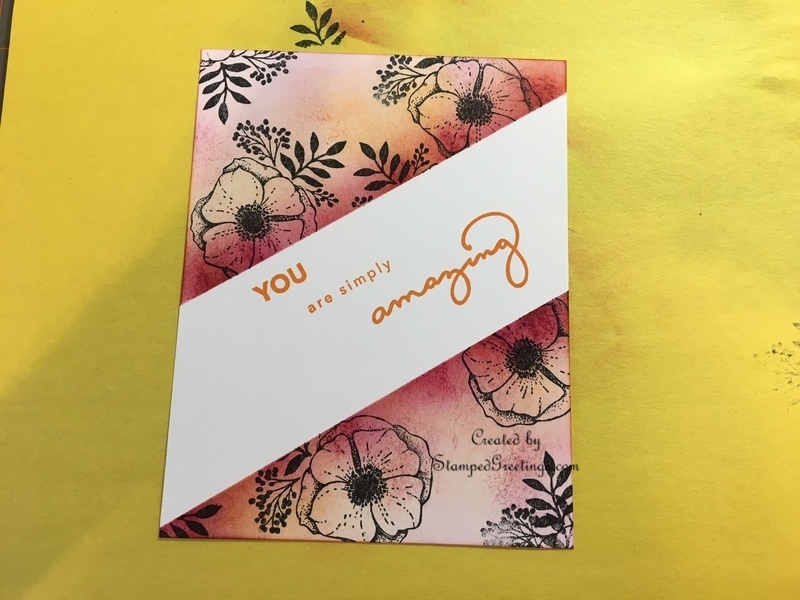
- Cut a piece of copier paper to 2″ x 8 1/2″ to use as a mask. The copier paper is a great thickness for this type of technique. The thinner the paper the better. Wrap and tape the copier paper, as pictured below, to mask (or cover) your stamped sentiment.
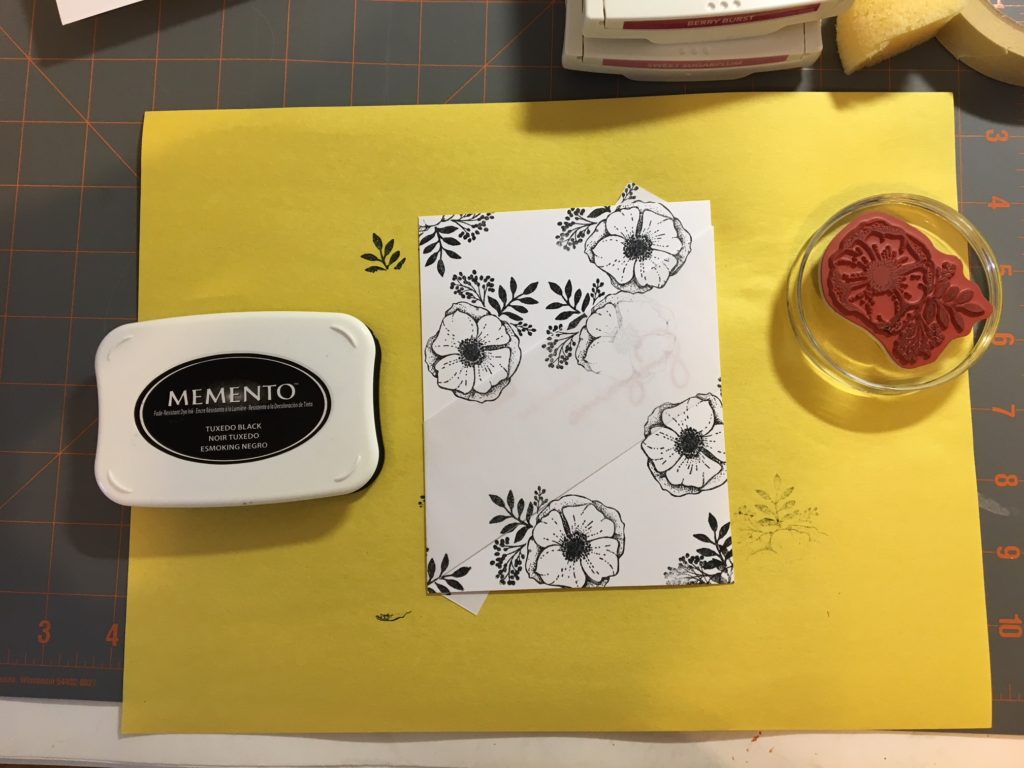
- Use Memento Tuxedo Black Ink and the flower stamp from the Amazing You stamp set to add random flowers and leaves to the unmasked part of your card front. Don’t be afraid to stamp onto the copier paper to give more of a random feel to the design. Also be sure to add some additional foliage in addition to the flowers. If you rotate the flower stamp when you make the images, the design will look more random.
- The next step is to start adding color over the stamped flower images. Leave the copier paper mask attached to your card front.
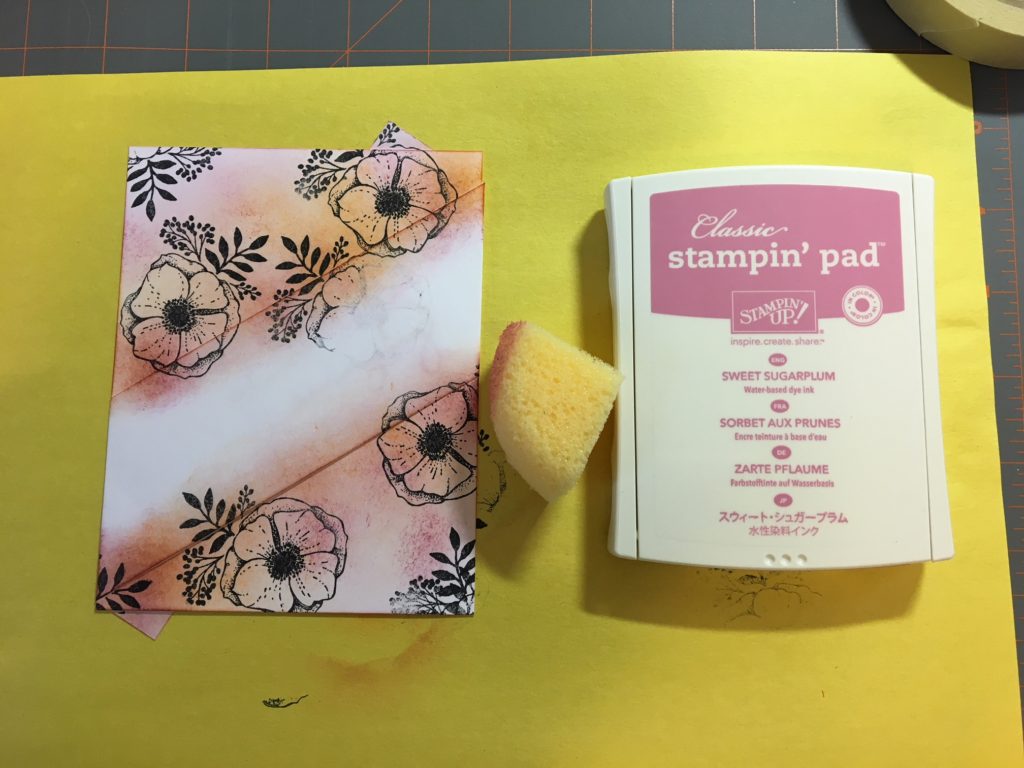
- Use a sponge to first add Peekaboo Peach to your card. As you’ll see from the picture below, you want to add color especially at the edge of the copier paper. Also, be sure to add some Peekaboo Peach to other areas where the flowers are stamped.
- The next color to add (with a second sponge) is Sweet Sugarplum. Again, make sure you focus on the edge of the copier paper. But, make sure that you add color on other parts of the stamped flowers. I tend to add lighter color away from the copier paper edges.
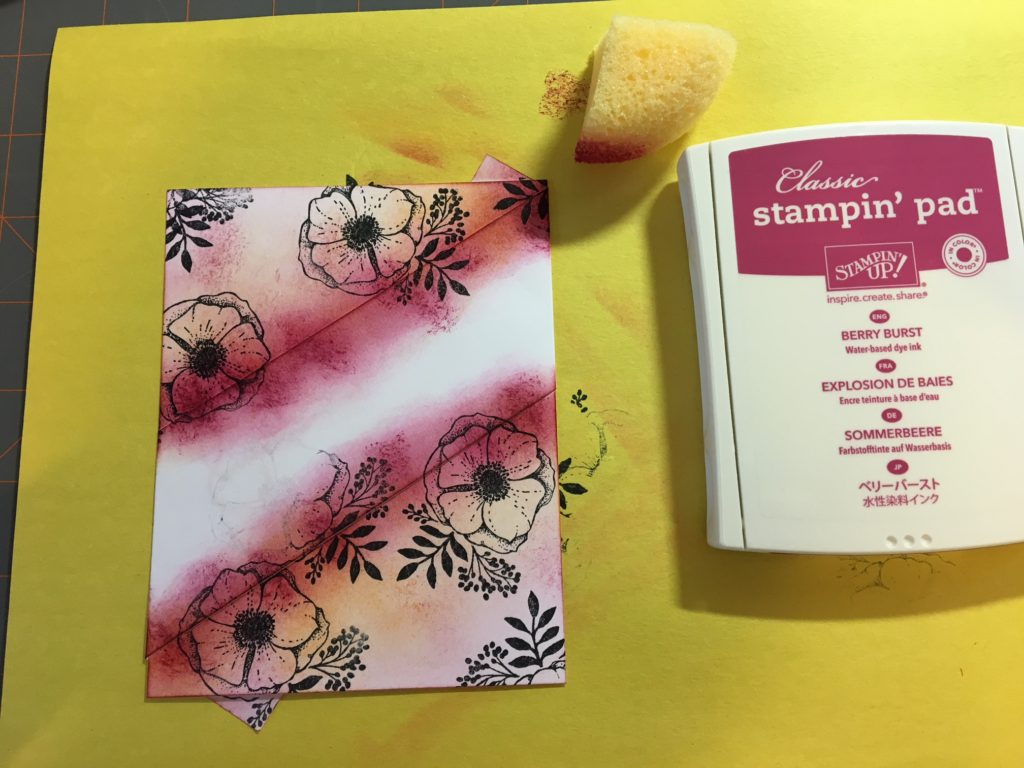
- The last color to add (with a third sponge) is Berry Burst. You may want to have a slightly lighter hand with this color. It is pretty intense, but the effects are stunning.
- When you’re happy with your color sponging, carefully take off the copier paper. You will probably have that “WOW!” kind of happy gasp when you see the results. It’s very much like the magic of wet embossing!
- Trim your card front down to 3 1/2″ x 4 3/4″.
- The card is assembled with a card base of Thick Whisper White cardstock cut to 4 1/4″ x 11″, scored at 5 1/2″ on the 11″ side. It is a top-folding card. A piece of Berry Burst cardstock, cut to 4 1/8″ x 5 3/8″, is adhered directly to the card base.
- A piece of gold cord is wrapped around the bottom of the white area on the card front, and a gold cord bow is attached, as pictured. One pearl, from the Pearl Basic Jewels collection, is added to “dot” the “i” in “amazing”.
- The card front is adhered to the Berry Burst piece using dimensionals.
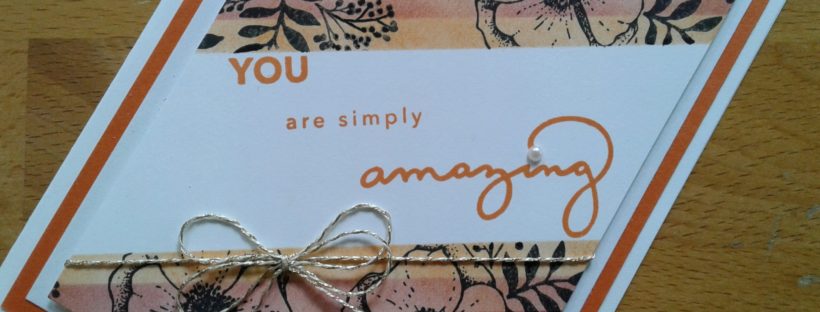
After I made the card pictured above, I decided to experiment a little with this technique. The next card I made used the same steps as outlined above; however, the piece of copier paper was cut to 1 5/8″ x 8″. I also changed the style of the bow to a double bow.
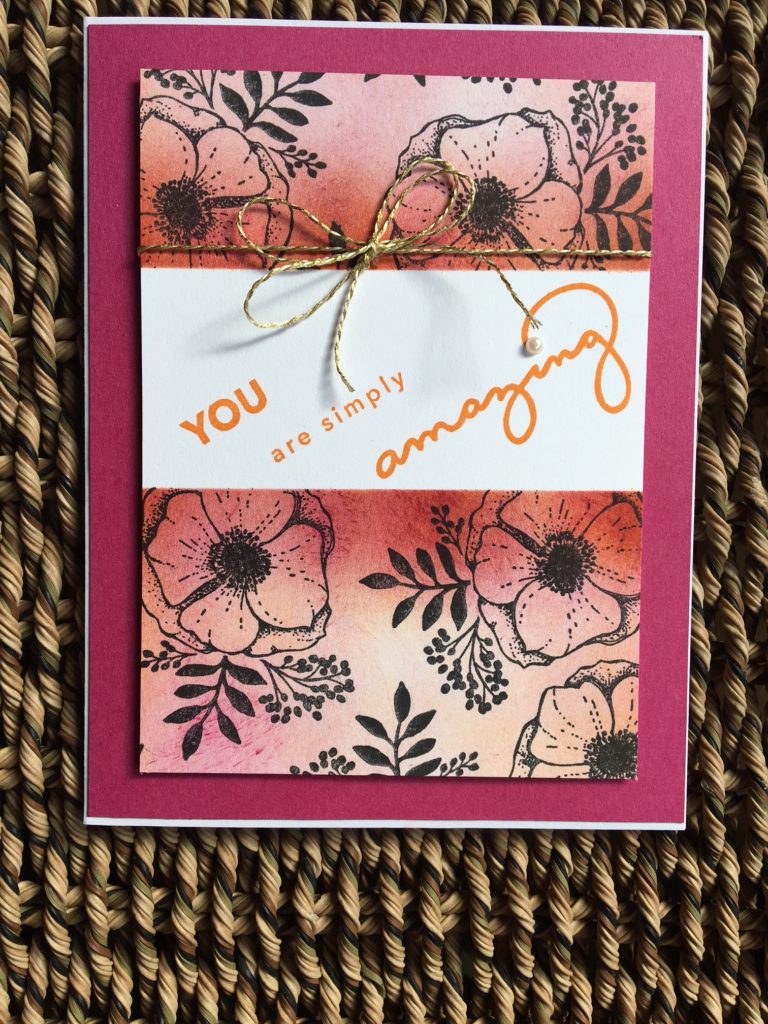
Then, I decided to try using the copier paper as a horizontal mask. This time, I put the double bow on top of the sentiments.
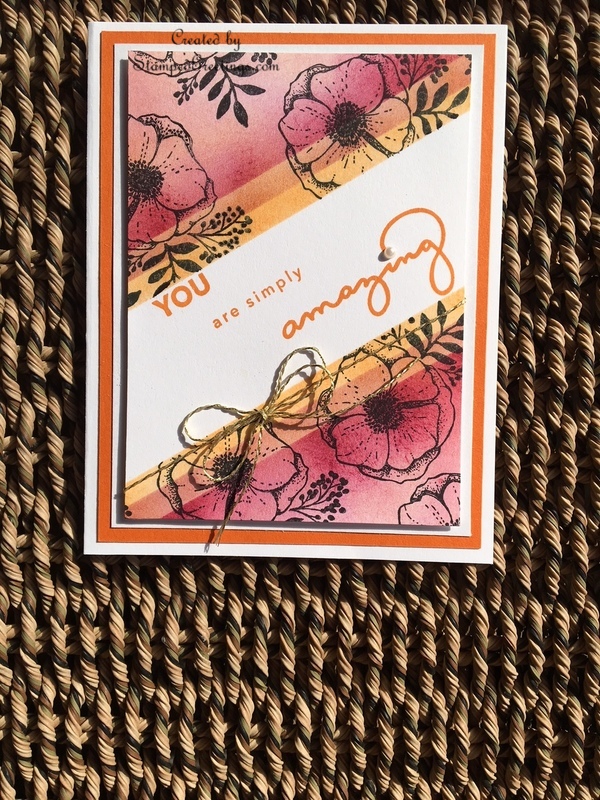
My last card was a little whimsical and definitely a lot of fun. Again, I followed the same steps that I outlined above; however, for this card, I used three, separate copier paper masks. The first mask was cut to 1 1/2″ x 8″. I sponged on the Peekaboo Peach color and then took off the first mask. I added the second mask which was cut to 2″ x 8″ and sponged on the Sweet Sugarplum color. After I took off the second mask, I added the third mask which was cut to 2 1/2″ x 8″ and sponged on the Berry Burst color. I really like the hombre effect from using multiple masks.
Please give this technique a try! You will love it. It really is pretty quick, and the results are amazing!
Now, hop on over to Sue Root’s post to see her amazing project. All the participant’s in this month’s NC Demos Blog Hop are listed below.
Below are the main products that I used to make my cards. If you click on any picture, you’ll go to my on-line store.
Happy stamping!
Laurie
|
|
||
|
|
February NC Demos Blog Hoppers
Toni Campana
Tamra Davis
Jo Anne Hewins
Tracie Evans Langley
Sharon Maranich
Laurie Meier <– YOU ARE HERE
Sue Root
Kathy Svedberg
Frances Wagner
Christina Walker
