Welcome to the June NC Demo Blog Hop! If you’ve hopped over from Tracie’s post, I’m sure you’ll agree that her project was great! She is an amazing artist. Thanks so much for stopping by to see my post.
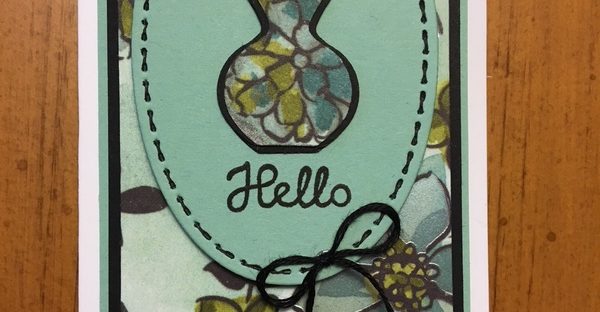
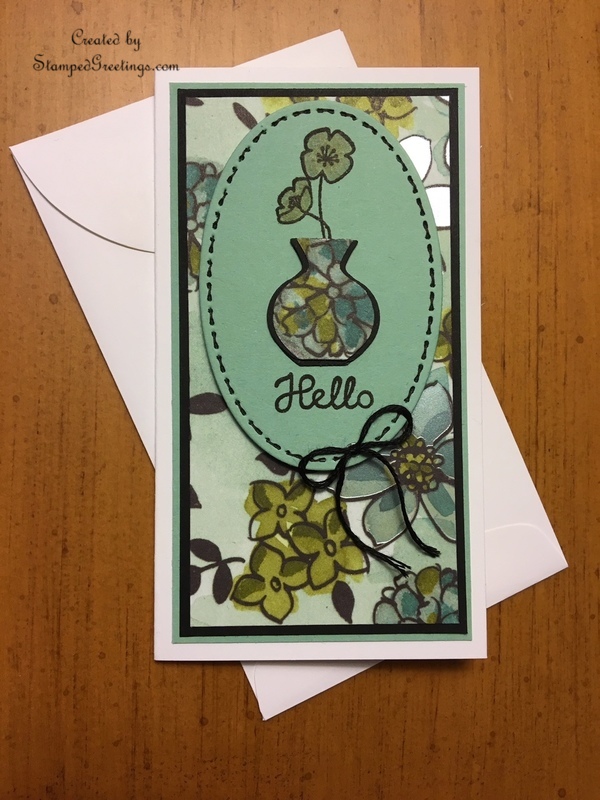
This month, all the artists in the blog hop are focused on our favorite products from the NEW Annual Catalog. There are so many amazing new products! It was pretty hard for me to pick just a few to use for my project. I finally decided to combine two of my absolute favorites – The gorgeous Share What You Love Specialty Designer Series Paper and the versatile Varied Vases bundle. For a fun twist, I also decided to use the Whisper White Narrow Note Cards and Envelopes for the base of my project. Below is a picture of my card –
This card design will be a perfect choice for a pretty gift card, a bright hello card, or a sweet thinking of you card. Let’s face it – some times we all need a quick design that we have in our back pockets. You will be happy to have this card design in your portfolio! Here are a few steps and tips to follow when you make the card:
- The card base is a Whisper White Narrow Note Card. The dimensions of the card are 2 1/2″ x 4 1/2″.
- The largest frame piece is Mint Macaron card stock cut to 2 1/4″ x 4 1/4″.
- The next smaller size frame piece is Basic Black card stock cut to 2 1/8″ x 4 1/8″.
- The next smaller size frame piece is from the Share What You Love Specialty Designer Series Paper cut to 2″ x 4″. I am willing to bet that you save scraps of Designer Series Paper. I sure do! The DSP that I used for this card were scraps from another card.
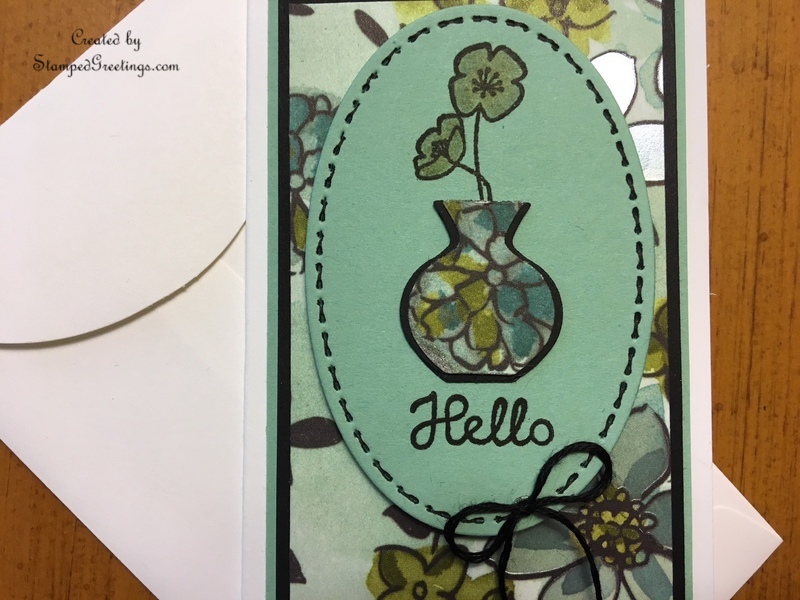
- The focal point of the card starts with an oval die cut from Mint Macaron. Tip: Before you put the card together, die cut the oval from the Mint Macaron frame piece, using the second largest oval die from the Stitched Shapes Framelits. No one will ever know there is a gaping oval hole in the Mint Macaron frame 🙂
- Grab another piece of your scrap DSP and punch your choice of vase shape using the Vases Builder Punch.
- Grab a piece of scrap Basic Black card stock and punch three vases of your chosen shape. Adhere the Basic Black vases behind the DSP vase. The Basic Black vases are attached to add a small frame to the left side, right side, and bottom of the vase.
- Stamp “hello” from the Varied Vases stamp set on the bottom of the die cut oval. I used Memento Black Ink to stamp.
- Choose the flower stamp that you want to use from the Varied Vases stamp set to add flowers to your vase. Tip: Figure out how much of the stem piece you can fit on your card but make sure the stamped stem will be hidden by the vase. I only stamped about half the stem on the flower stamp that I chose. If I had stamped the entire stem, part of the stem would be seen below the vase.
- Adhere the framed DSP vase over the stamped flower. Add color to the flowers with your choice of color from the Watercolor Pencils set. I used Old Olive and Pacific Point to add hint of green and blue to compliment the colors in the DSP.
- Add faux stitching to the die cut oval using a Basic Black Stampin’ Write Marker. To finish the “stitching”, you can also add a black twine bow to the die cut oval.
- The framed pieces are adhered with your favorite glue. The finished die cut oval is adhered to the card front with Dimensionals.
I hope you enjoy making this card and that you’ll change the design to make it your own. The main products that I used to make the card are shown below. You can click on any picture and go directly to my on-line store.
Be sure to continue your blog hop by visiting Sue’s post. I know she has an incredible project to share with us! All the artists who are part of this month’s NC Demo Blog Hop are listed below.
Happy stamping!
Laurie
|
|
|
|
|
|
|
|
|
|
|


