Are you ready for Mystery Stamping?
Over the last week, I’ve held two Mystery Stamping virtual events with great friends, who happen to be stampers!! This idea came from Sharon Armstrong, a fellow Stampin’ Up! demonstrator.
Essentially, here is how Mystery Stamping works – I sent an email to my stamping friends with a list of supplies they needed to get together for the event. For the paper that would be needed to make the card, I told them the dimensions to use to cut the paper before we met. When we got together, I gave them step-by-step directions to make the card and showed them a few tips and tricks along the way. None of the stampers shared any thing about their card with the group until we were all done making the card. Then, each person showed her card to the rest of the group. It was so much fun to see the different color and pattern combinations. Each card was unique!
Since we had so much fun doing this, we are going to do another Mystery Stamping event in May. And, we have a group challenge going as well. For every card that a person makes using this technique, that person’s name is entered into a drawing that will take place on May 1. The lucky winner of the group challenge will receive a free May Paper Pumpkin kit. How fun is that?!?
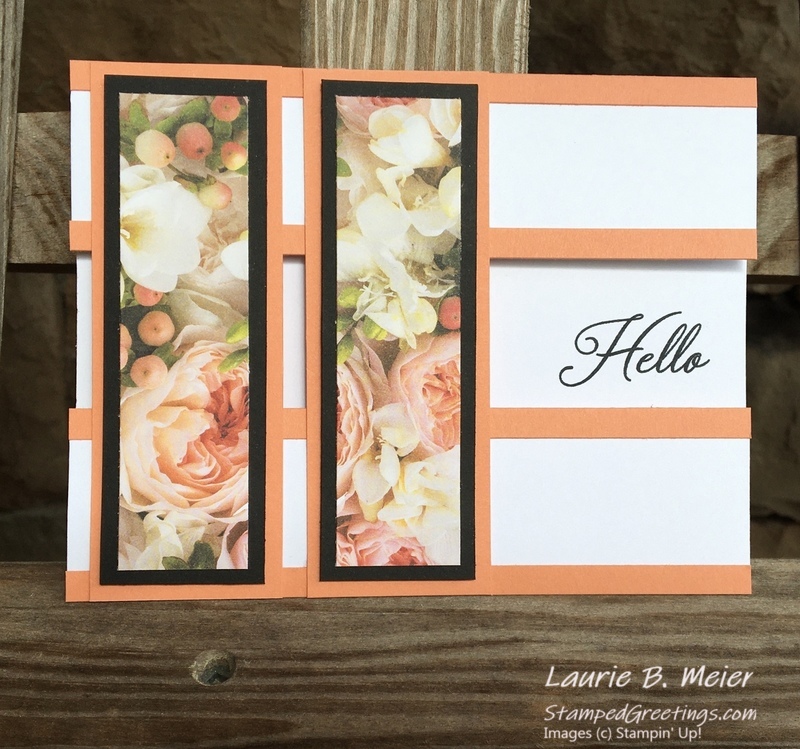
I’m going to put this post together as if you are doing Mystery Stamping with me. That means that I am not going to reveal the completed card until the end of the post. I’ll list the steps that you’ll need to follow to make the card.
- First, you need to get your paper and supplies together. Here is what you need:
- Paper trimmer
- Ruler
- Adhesive
- Dimensionals (optional)
- Pencil and eraser
- Stamp with sentiment – The sentiment should fit within an area that is 1 ¾” wide and 1” high
- Ink – Choose a color that will go well with your cardstock and pattern/Designer Series Paper.
- Stamp positioning tool – Stamparatus, MISTI, etc. (optional)
- Paper
- Scissors
- Embellishments of your choice. You may want to wait to choose your embellishments until you see the card that we create.
- Here are the dimensions to use to cut your paper.
- Your choice of color cardstock – Choose a color that will go well with the pattern/Designer Series Paper that you’ll use
- 2 pieces – each cut to 5 ½” x ¼”
- 2 pieces – each cut to 4 ¼” x 1 ½”
- 2nd Color cardstock (optional) – This would be used to add a frame around your pattern/Designer Series Paper
- 2 pieces – each cut to 4” x 1 ¼”
- You know me well enough to figure out that I used black cardstock
- Pattern/Designer Series Paper
- 2 pieces – each cut to 3 ¾” x 1”
- Card base from your choice of cardstock – Choose a color that will go well with the other colors you have chosen. I am going to use Whisper White.
- Your choice of color cardstock – Choose a color that will go well with the pattern/Designer Series Paper that you’ll use
- Now, we’re ready to start the Mystery Stamping! Let’s create the card base.
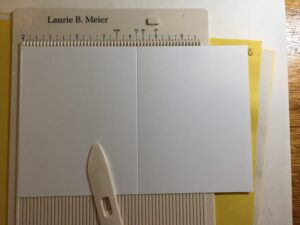
- First, make a card base cut to 5 ½” x 8 ½”. Essentially, cut a piece of 11” x 8 ½” paper in half on the 11” side. Score the 8 ½” side at 4 ¼”. This will give you a standard A2 card base.
-
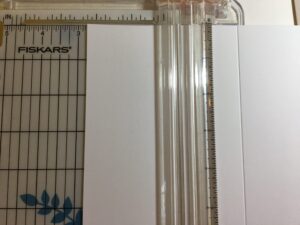
- Choose a side of your card, and cut off 2 ¾” from the side, as pictured below.
-
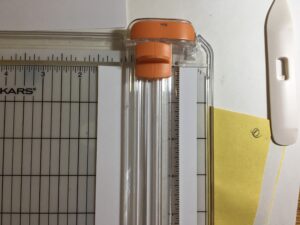
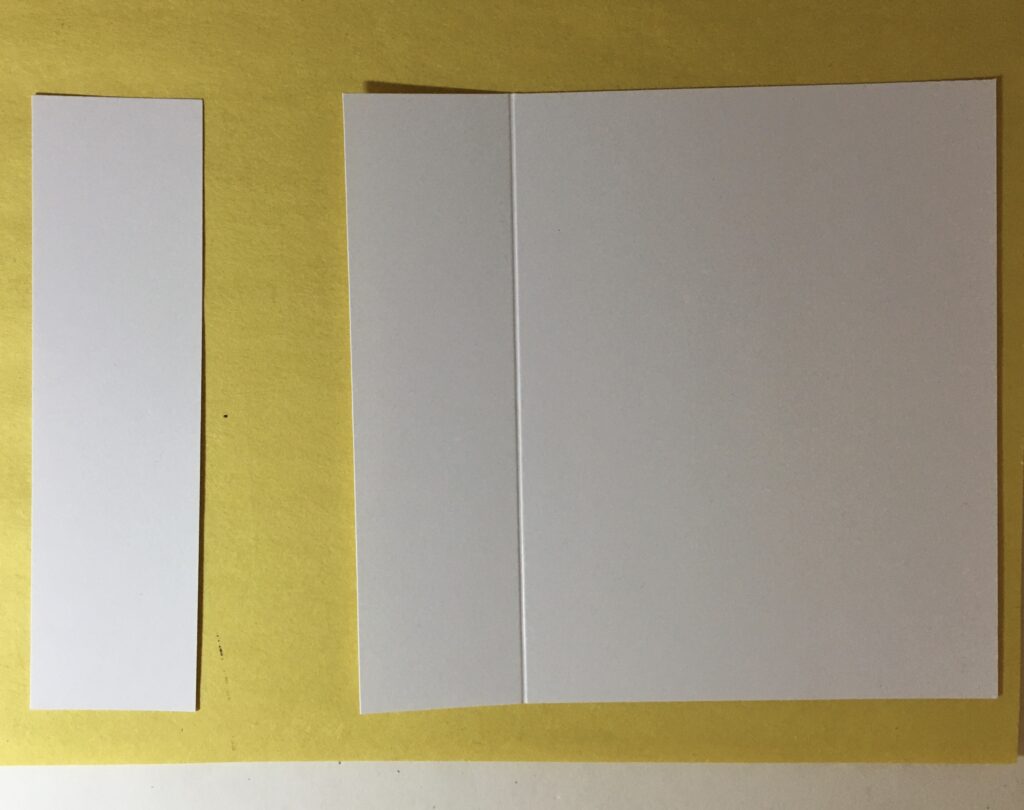
- You now have a piece of paper that measures 2 ¾” x 5 ½”. This is the piece that you cut off. You will cut this piece to get a piece that is 1 ½” x 5 ½”. The other piece is extra and will not be used to make the card.
-
- Pictured below are the two pieces that you need to have for your card base. The one on the left is 1 ½” x 5 ½”. The one on the right is 5 ½” x 5 ¾”, with a score line at 1 ½” on the 5 ¾” side. Think of it as a traditional A2 card base with the middle cut out on one side!
- The next step is to start assembling the card!
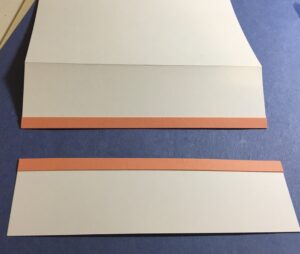
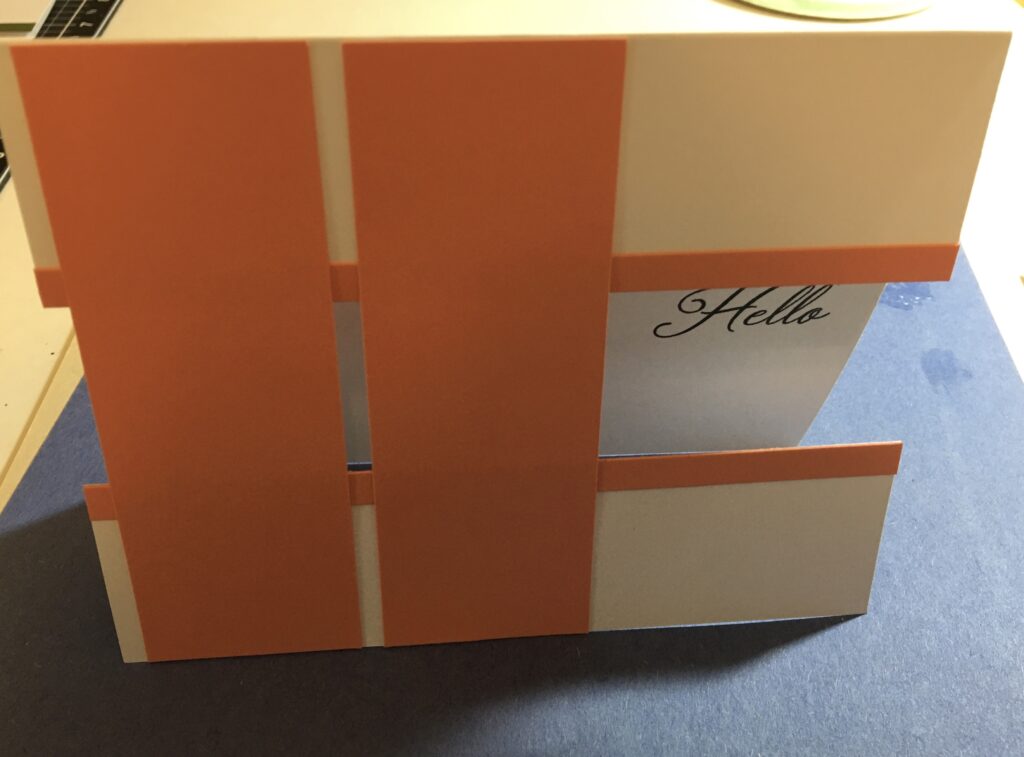
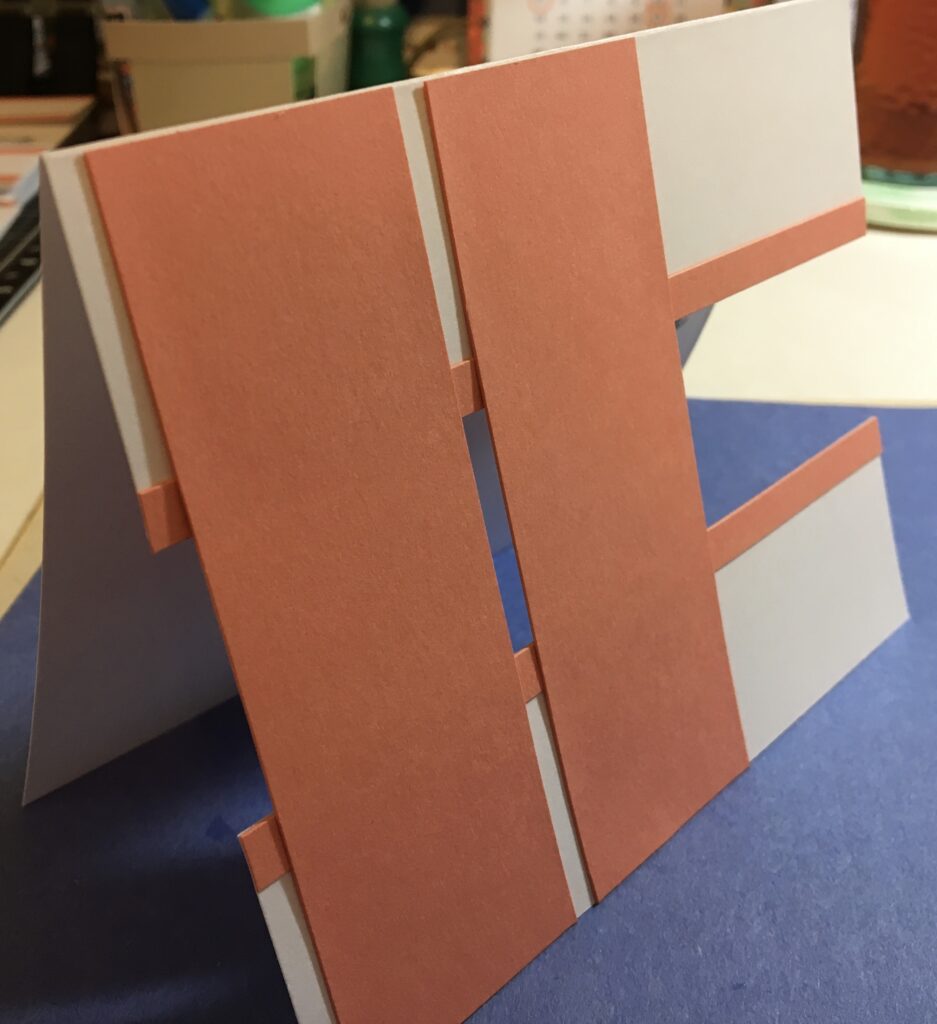
- Adhere the two strips of 1/4″ x 5 1/2″ color cardstock to the card base as pictured below. Think of the top piece as the top of the card base and the bottom piece as the bottom of the card base.
-
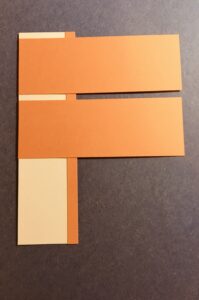
- Then, adhere the two pieces of 1 1/2″ x 4 1/2″ color cardstock to the bottom of the card base as pictured below.
-
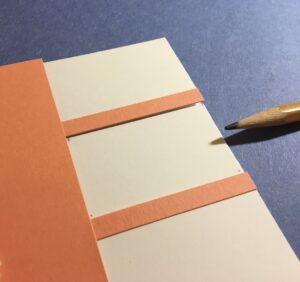
- Before you put the top and bottom of the card base together, you are going to stamp the sentiment! To do this, place the top and bottom pieces of the card together as if they were going to be adhered. Take a pencil and lightly mark the corners of the rectangular area on the inside of your card, as pictured below. Essentially, you are marking the boundaries of where you are going to stamp your sentiment.
-
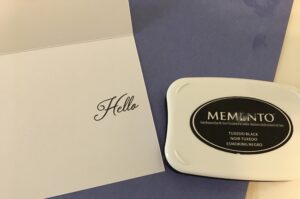
- Use your stamp positioning tool or acrylic block to stamp your sentiment onto the inside of your card, as pictured below.
-
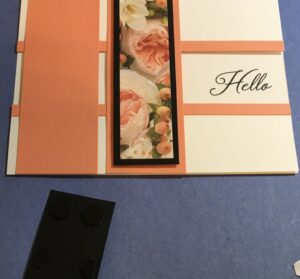
- Now, you can adhere the top and bottom pieces of your card base together. The pictures below shows how the card base looks at this point.
-
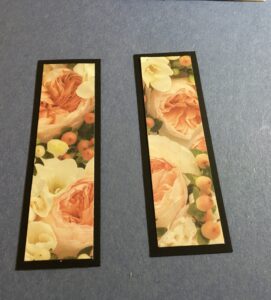
- If you decided to cut frames for your pattern/Designer Series Paper (DSP), adhere your DSP to the frames. I usually use Basic Black cardstock for frames. I really love how the black outline makes the design pop.
-
- You can use dimensionals or adhesive to attach the framed pieces to your card front. I used black dimensionals for this. They are perfect since they blend into the Basic Black cardstock incredibly well!
-
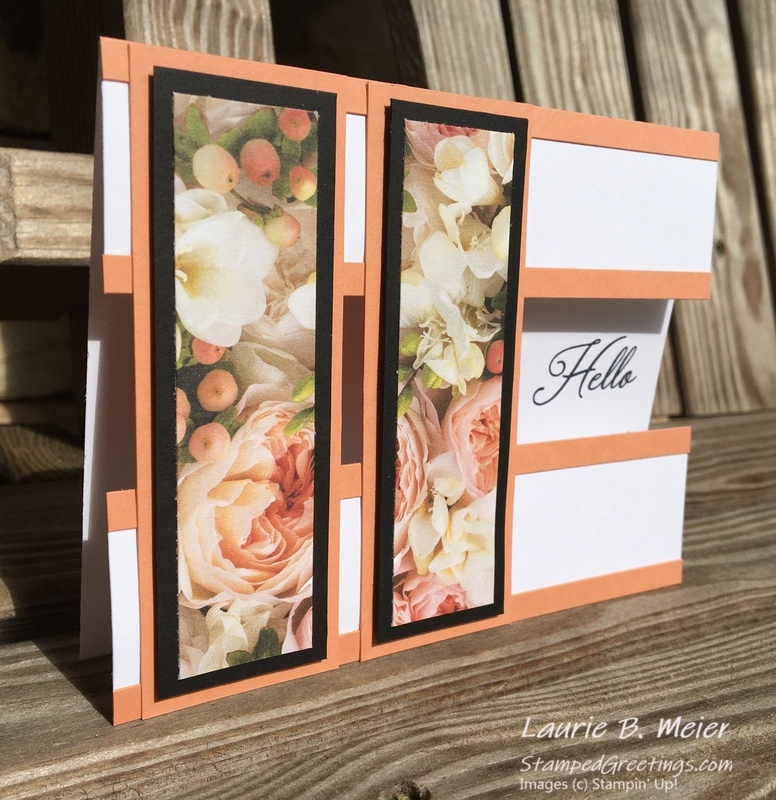
- The card is now finished — except if you want to embellish your creation. I decided that I liked the design well enough that I didn’t add any bling!
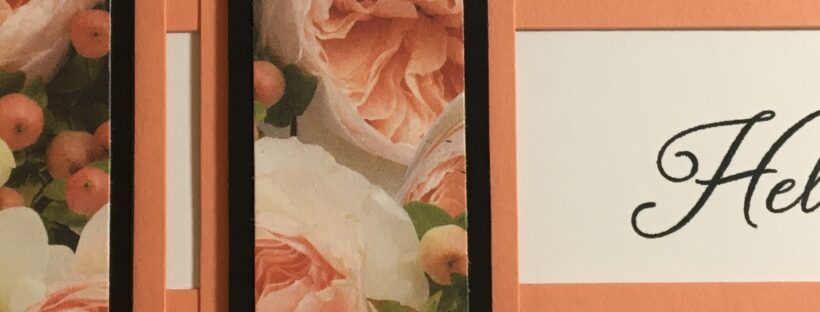
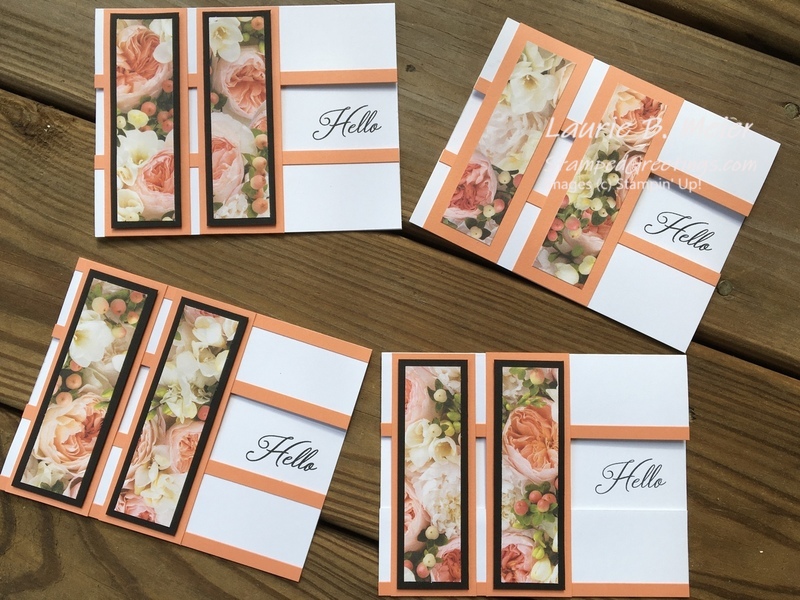
There are many ways to tweak this design. Take a look at the four cards pictured below. You’ll see subtle differences in the way they were put together.
I hope you have enjoyed this Mystery Stamping post. You should have fun shopping your stash for the supplies and paper that you need to make this card.
Some of the main supplies that I used to make my card are pictured below. If you click on any picture, you’ll go directly to my on-line store.
Happy Mystery Stamping!
Laurie
|
|
|
|
|
|
