Welcome to the January NC Demos Blog Hop! This month, we are celebrating the incredible FREE products that are available during Sale-a-Bration (SAB)! You can see all the FREE SAB products by clicking here. Sale-a-Bration will end on February 28th.
If you just came from Jo Anne’s post, I’m sure you’ll agree with me that her project was just amazing. She is such a talented artist! Thanks so much for continuing on the blog hop and stopping by to see what I am sharing.
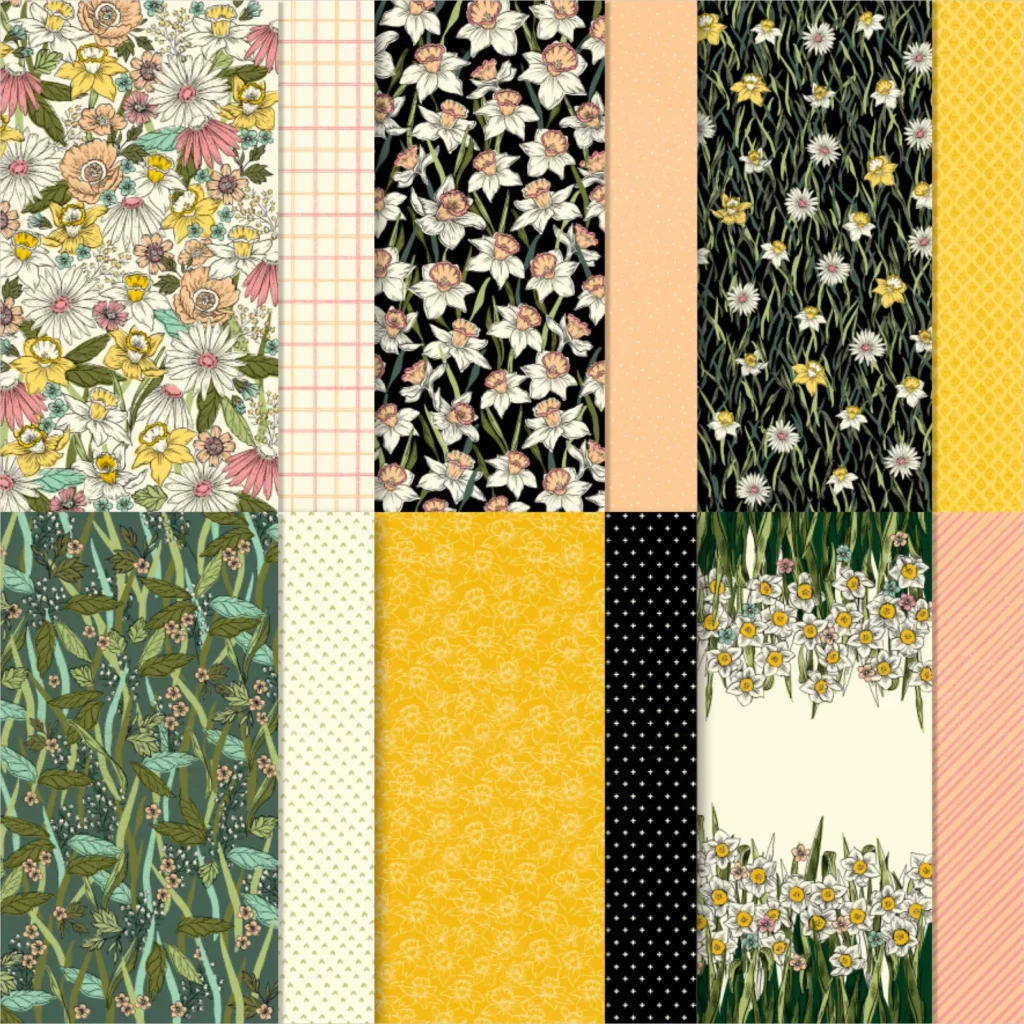
One of the first SAB products that caught my attention is the beautiful Daffodil Afternoon Designer Series Paper (DSP). It is FREE with a $50 purchase (before shipping and tax). The gorgeous patterns in this DSP collection are shown below. The colors are so vibrant and work together well for many types of cards.
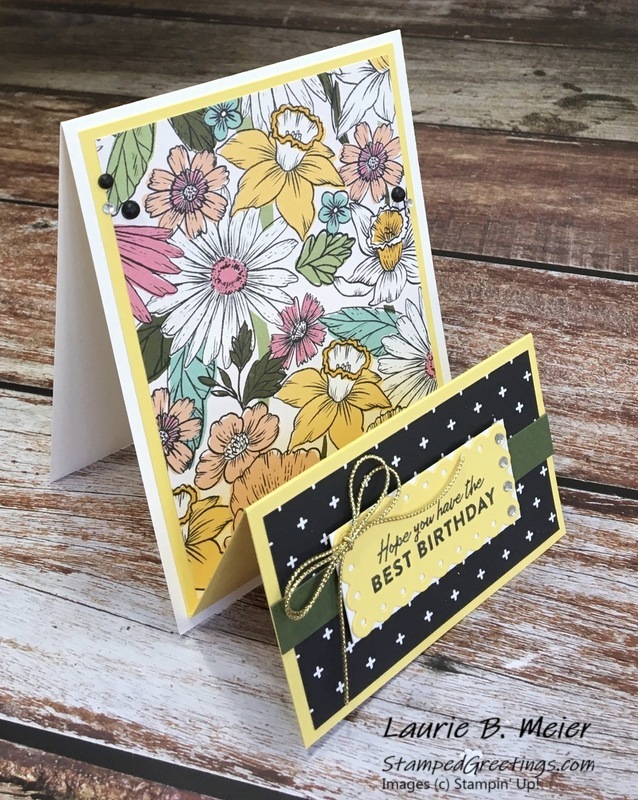
The fun fold card design that I’m sharing this month is called a Double Easel card. My inspiration was taken from a recent post by Su Mohr. I decided to make the Double Easel card design using the Daffodil Afternoon DSP.
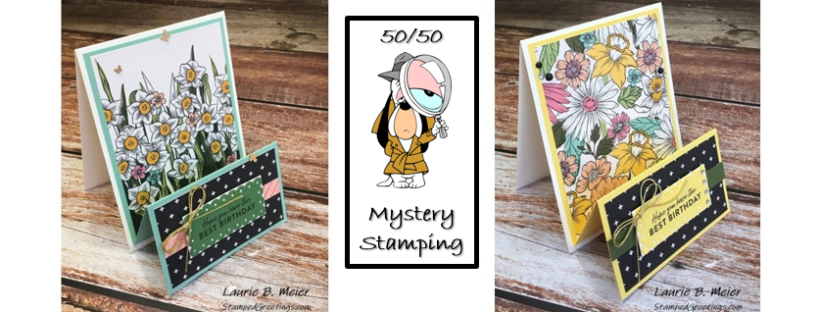
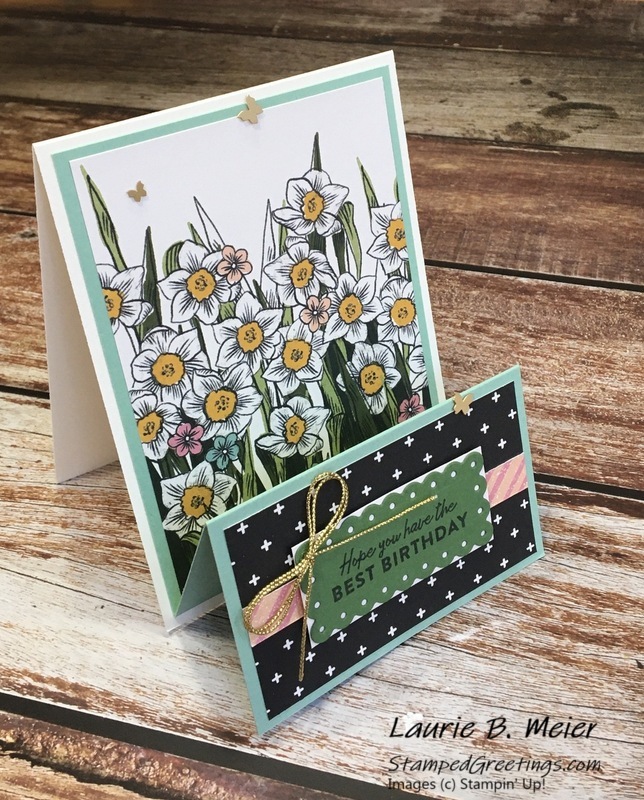
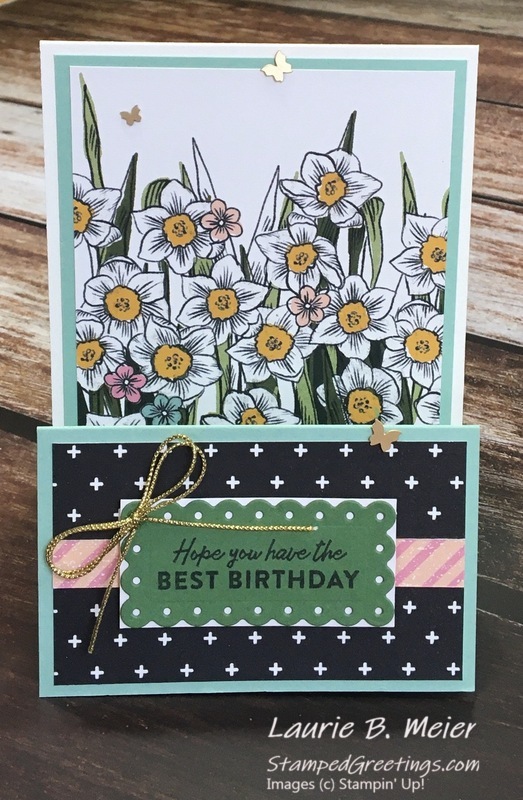
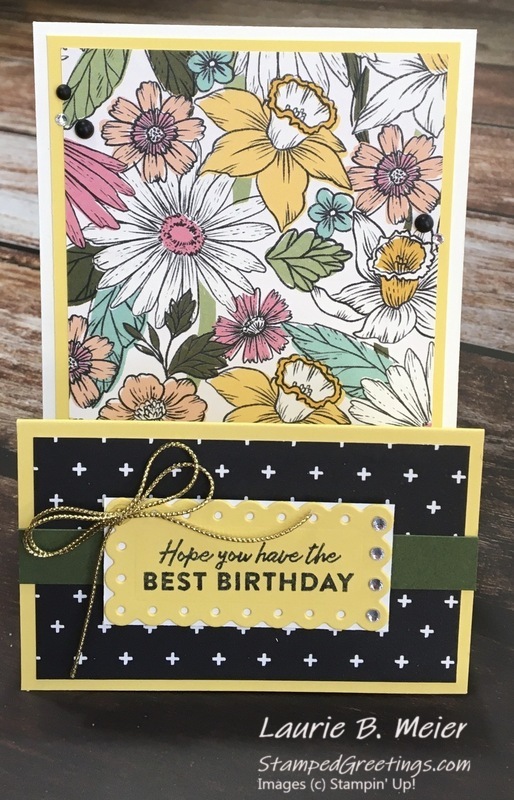
Pictured below are two double easel card examples that I made. This type of fun fold card is really quick and easy. These cards also provide a WOW effect for the people who receive them.
Below are the basic directions and paper dimensions for the cards –
- Card base – Very Vanilla card stock cut to 8 1/2″ x 5 1/2″, scored at 4 1/4″ on the 8 1/2″ side.
- Color card stock for the second easel – For the first card pictured above, I used Mint Macaron card stock. For the second card pictured above, I used Daffodil Delight card stock. These pieces are cut to 4″ x 10 1/4″. They are scored at 2 1/2″ and 5″ on the 10 1/4″ side. Check out the pictures above to see how to fold the color card stock piece.
- Attach the color card stock piece to the card base, as pictured. At this point, you’ve created the double easels.
- For each card, cut two pieces of DSP that will work together well with your color card stock. In fact, if you watch the video (linked below), you’ll hear me say that you may want to pick your DSP first and build the other papers around your choice!
- The first piece of DSP is cut to 3 3/4″ x 5″, and the second is cut to 3 3/4″ x 2 1/4″. If your DSP has a pattern that needs to be in a certain direction (for example – you might have flowers that need to show vertically), pay attention to how you cut the DSP.
- The first DSP piece is adhered to the front of the larger easel. Reference the picture to see where it goes 🙂
- The second DSP piece is adhered to the front of the smaller easel. Yup – reference the picture to see where this one goes 🙂
- The rest is completely up to you. Maybe add a sentiment, die cuts, bling, twine, and whatever else makes you happy!
- The card will fold down to fit into a regular A2 size envelope.
I have the privilege of leading a truly incredible group of Stampin’ Up! demonstrators. We have been stamping together for a number of years and, frankly, are close friends who happen to enjoy ink, stamps, and paper! Yesterday, we got together for our monthly team meeting, and I introduced the group to this card design.
There was even a little twist thrown in. I called it “50/50 Mystery Stamping”! You’re just going to have to watch the video linked below to see what I’m talking about 🙂
Now, please continue over to Amanda’s post to see her amazing project. If you have missed any of the posts from this month’s blog hop, just check out the list below that includes everyone who is hopping this month.
This month’s blog hoppers –
Tina Lesson
Jo Anne Hewins
Laurie Meier <—– YOU ARE HERE
Amanda Howard
Tracie Evans Langley
Kelly Taranto
Frances Wagner
If you are interested in adding any of the products that I used to your stamping stash, take a look at the products shown below. When you click on a picture, you’ll go directly to my online store.
Inky hugs,
Laurie
|
|
||
|
|
|
|
|
|
|
|
|
|
|
|
|
|
