Every month, our demonstrator gets together to catch-up on what’s new with Stampin’ Up!, what’s new with each other, and also to make a project. Since I am hooked on Mystery Stamping, I decided to send my team instructions before the meeting for a fun Mother’s Day card.
Before I reveal the card, here are the directions that I gave the team to have on-hand to make the card:
- Card base in a color that will match your DSP or a very neutral color cut to 5 ½” x 8 ½”, scored at 4 ¼” on the 8 ½” side. Essentially, this is a standard A2 card size.
- Using the same color as your card base, cut a piece of cardstock to 5 3/8” x 4 1/8”.
- Next get a piece of another color cardstock that will work well with your DSP to make a frame. Cut it to 2 ¾” x 5 ¼”.
- Get a piece of DSP that works well with your card base and your frame and cut it to 2 ½” x 5”. I recommend a pretty basic design – either a pattern or floral-ish in tone.
- You’re going to make a few banners for the card. One will have a sentiment. The sentiment stamp should fit into a 2 ½” x ¾”ish area. I’m going to focus on Mother’s Day.
- Ink color of your choice. I’ll probably use black or one that works well with my frame color choice.
- The banners will include one in the color of your card base and one in the color of your frame. Have pieces of about 2” x 4” of both to use to make the banners.
- Grab an embossing folder that has a design that works with your DSP. Or, choose a very neutral one (dots, stripes, etc.).
- Get some twine or thin ribbon that will work with the colors that you’ve chosen.
- And, get a few pieces of embellishment. I’m going to use some of the leftovers that I have from PP kits, including a few leaves and sprigs. If you don’t have Paper Pumpkin leftovers, consider a punch that you have or a die that you have to make some floral-ish embellishments.
- We’ll figure out the final pieces of bling as we go. I’ll probably use a few sequins to add a little pop.
- The regular glue, scissors, paper cutter… will come in handy.
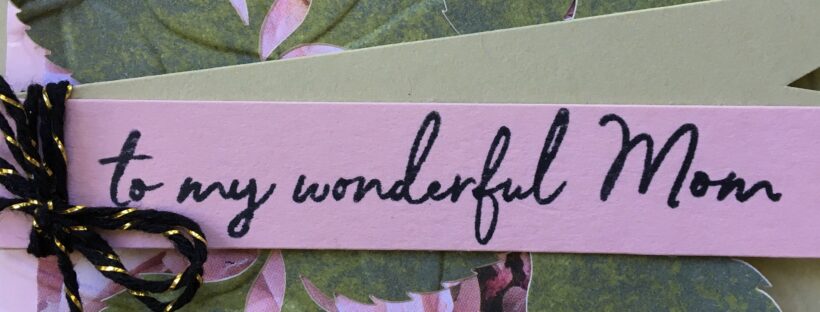
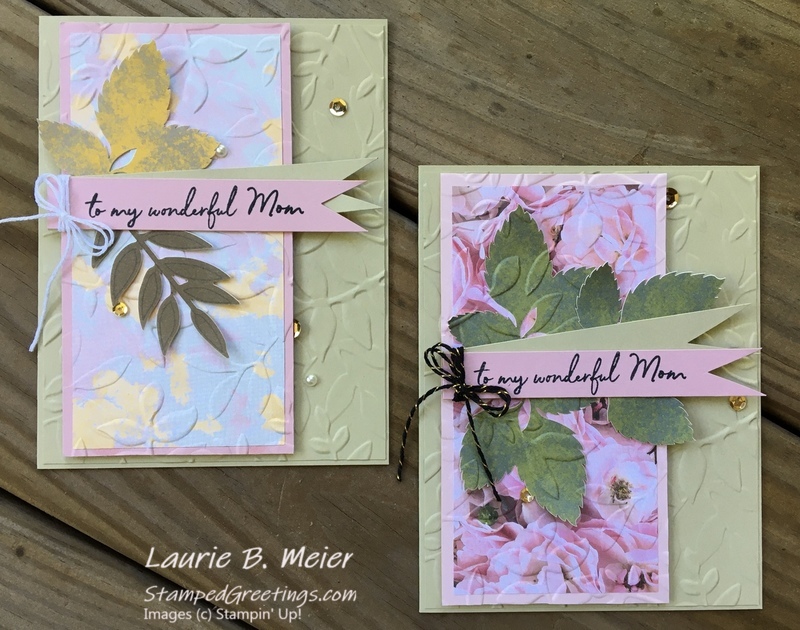
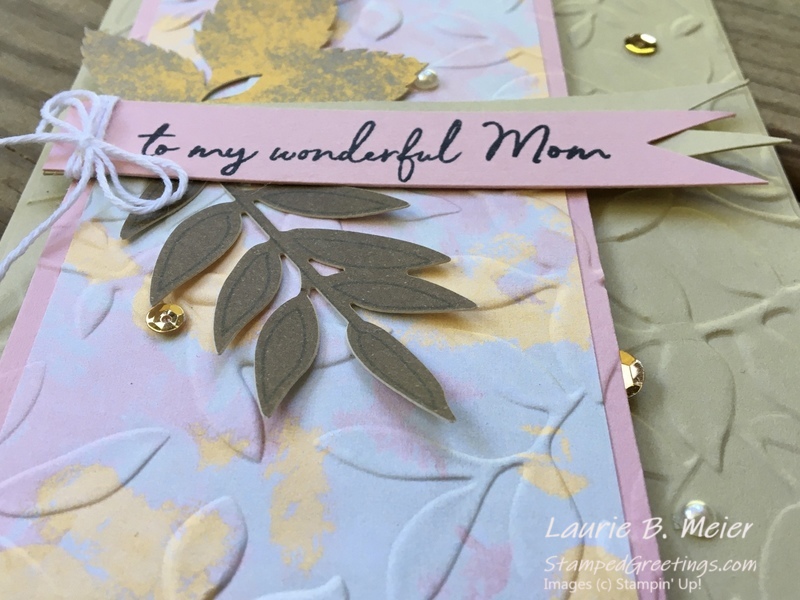
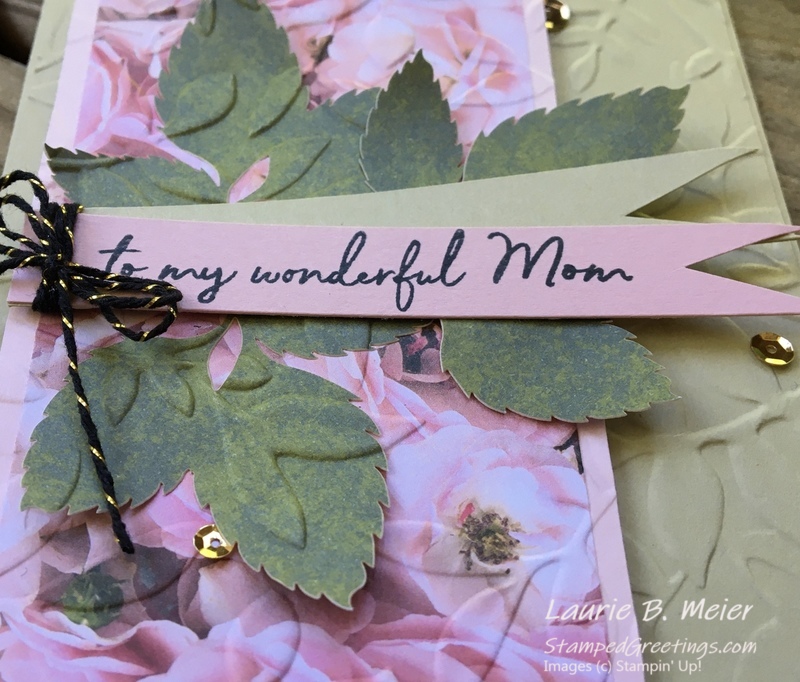
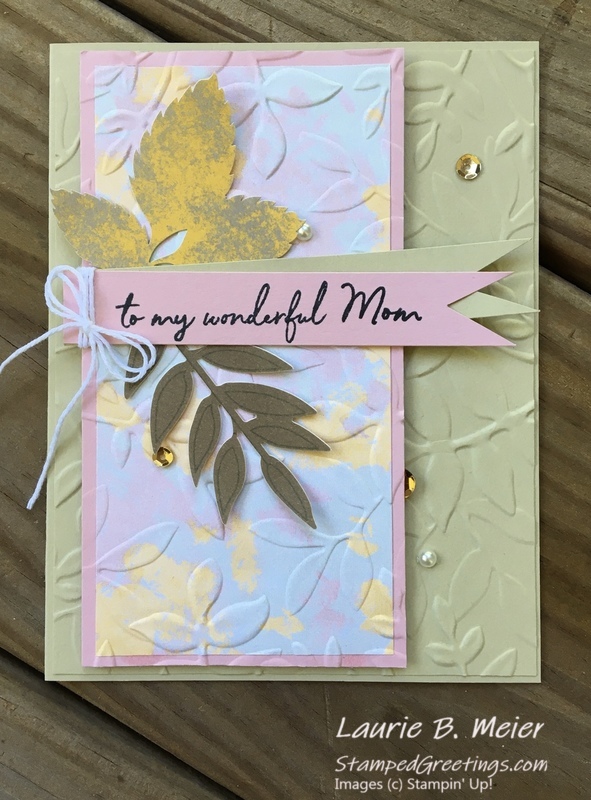
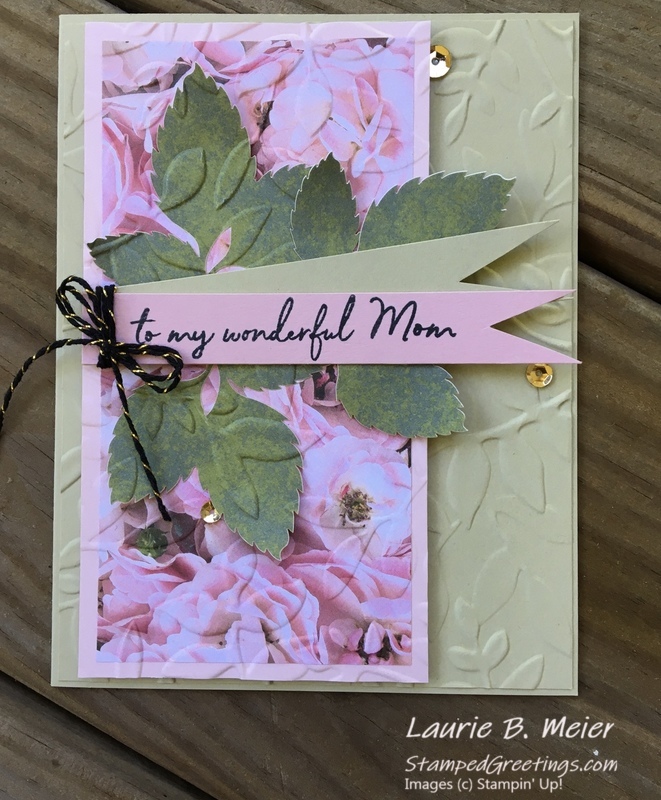
Okay, now, here is the card. Okay, actually, here are two cards that I made with the directions above.
I love the texture of these cards. This was so easy to achieve by simply adhering the layers together and then running them through the Layered Leaves 3D Embossing Folder. It’s a great way to add a little dimension to your cards.
Confession – I used quite a few Paper Pumpkin products to finish my cards. The sentiment is from the stamp set in the April 2020 kit which I absolutely loved. The leaves and sequins are also from prior kits.
Below are a few of the products that I used to make the cards. Give them a try, I think you’ll love how easily the cards come together.
Happy stamping,
Laurie
