Welcome to the January NC Demos Blog Hop! I just love this month’s theme – Life’s A MASK-querade! How fun is that?!?! If you just came from Tracie’s post, I know that you’ll agree with me that her project was amazing. Thank you so much for stopping by to see what I’m sharing this month.
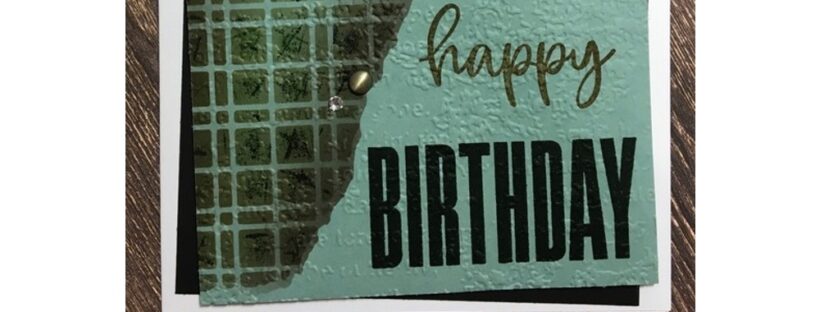
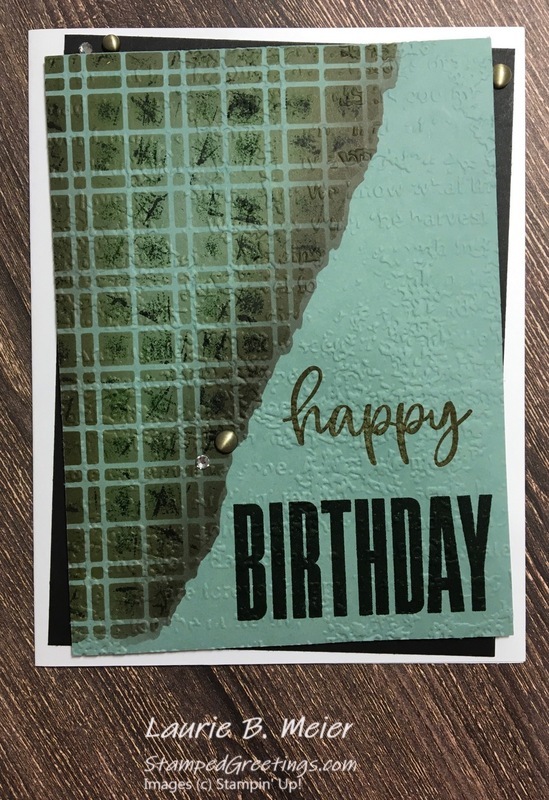
Before I became a stamper, I spent a lot of time stenciling. Stenciling is such a great art form and incredibly therapeutic (just like stamping!). When I saw the Split Textures Dies, they reminded me of stencils that I used in the past, and I decided to use them as masks. [Sorry if I use stencil and mask interchangeably 🙂 ] Take a look at my card below. I think the result is just stunning – and, it’s really easy!!
Stampin’ Up! has amazing masks that are sold in packages. You can also make your own masks with dies and punches.
The basic instructions are shown below. I really hope you give this technique a try and experiment with different color combinations and different masks.
- Use a Basic White cardstock piece (5 ½” x 8 ½”, scored at 4 ¼” on the 8 ½” side) to create the card base.
- Adhere a Basic Black cardstock piece (3 7/8” x 5 ¼”) directly to the card front, as shown. Offset the Basic Black piece on the card front to be a little “wonky”. It will add some interest to the design!
- Use a scrap piece of cardstock to die cut the “mesh” die from the Split Card Textures Dies. This will be used as a mask.
- Place the “mesh mask” on a Soft Succulent cardstock piece (3 ¾” x 5 1/8”), on the edge of the cardstock as pictured. Use washi tape or Post-it notes to secure the “mesh mask” when you add ink with the Blending Brushes.
- Use a Blending Brush to first add Crumb Cake Ink over the open area of the “mask”.
- Next, use the ink refills (Garden Green and Evening Evergreen) to ink two of the Uninked Stampin’ Spots (or use Stampin’ Spots from your Paper Pumpkin collection!). Pounce the spots over the open areas of the “mask” to add interesting ink patterns.
- To finish the “mask”, use a Blending Brush to add Early Espresso ink to the edges of the “mask” pattern.
- Stamp “BIRTHDAY” from the Biggest Wish Stamp Set on the bottom right of the Soft Succulent piece with Early Espresso ink. Stamp “happy” from the Biggest Wish Stamp Set with Crumb Cake ink on the card front, as shown.
- Use the Timeworn Type 3D Embossing Folder to emboss the Soft Succulent piece.
- Attach the Soft Succulent piece on the card using dimensionals. Again, add this piece on a “wonky” angle to give your card some more interest!
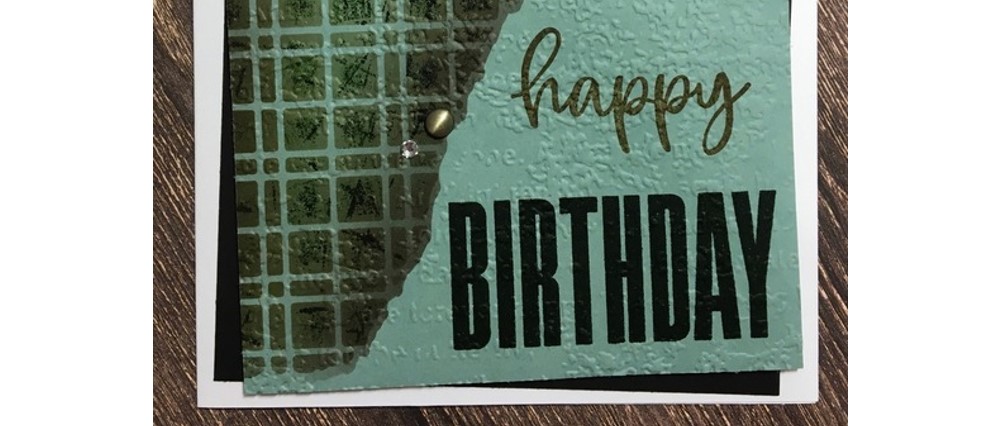
- Finish your card by adding a few of the Brushed Metallic Dots and a few Rhinestone Basic Jewels.
Please be sure to check out Toni’s post. I know it is fabulous, as usual! And, make sure that you take time to see the amazing projects from all of the month’s blog hoppers. The full list, with links, is shown below.
January 2023 Blog Hoppers
Toni Campana
Jo Anne Hewins
Tina Lesson
Tracie Evans Langley
Laurie Meier <— YOU ARE HERE
If you would like to add any of the products that I used to make my card to your stash, please look at the supplies that are shown below. Click on any picture, and you’ll go directly to my online store.
Inky hugs,
Laurie
|
|
||
|
|
||
|
|
|
|
|
|
|
|
|
|
|
|


