Last week, I had a lot of fun designing cards featuring the Floral Statements stamp set. Instead of three designs, I actually got a little carried away and made four different cards! This week, I am going to focus on the Painted Autumn Suite. It is absolutely amazing!
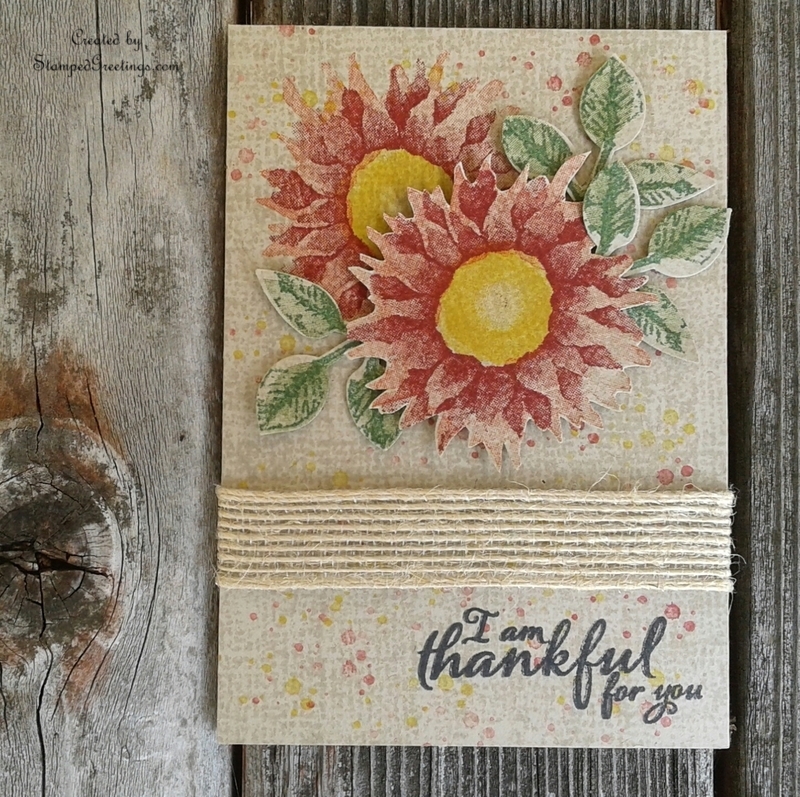
Below is a picture of the first card using this product suite. Just like the title of this post implies, I paired the Painted Harvest and Timeless Textures stamp sets in making this card.
Confession – I used the retired Crumb Cake notecards for this card, but you can easily recreate the card simply using Crumb Cake cardstock. For the card base, cut a piece of Crumb Cake to 10″ x 3 1/2″ and score at 5″ on the 10″ side. For the card front, cut a piece of Crumb Cake cardstock to 5″ x 3 1/2″.
Steps I used to make the card:
- Grab your Timeless Textures stamp set and the use the stamp with the smaller random dot pattern to create a background for the card front. Use Versamark ink to create the background and stamp the design horizontally and then vertically over the card front. The end result looks like a really fun burlap.
- The next layer of background on the card front is also made with the Timeless Textures stamp set. Use the grungy (love that word) dots stamp and randomly stamp the dots with Cherry Cobbler and Crushed Curry ink over the card front. Make sure you have different levels of color by stamping off occasionally before stamping the dots.
- To finish the card front, you will stamp “I am thankful for you” from the Painted Harvest stamp set. This stamp set is part of the gorgeous Painted Autumn Suite. Use Archival Basic Black Ink to stamp the sentiment in the bottom right corner of the card front.
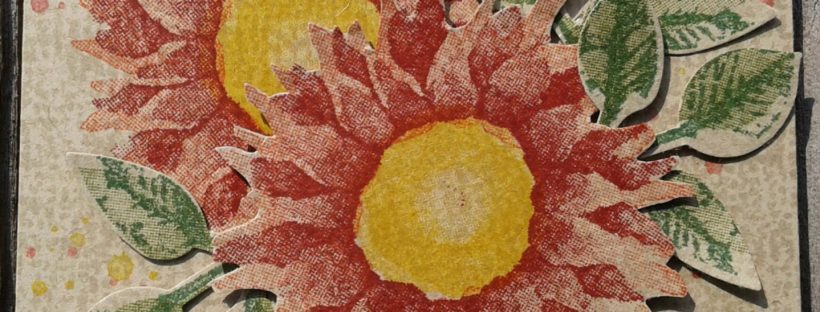
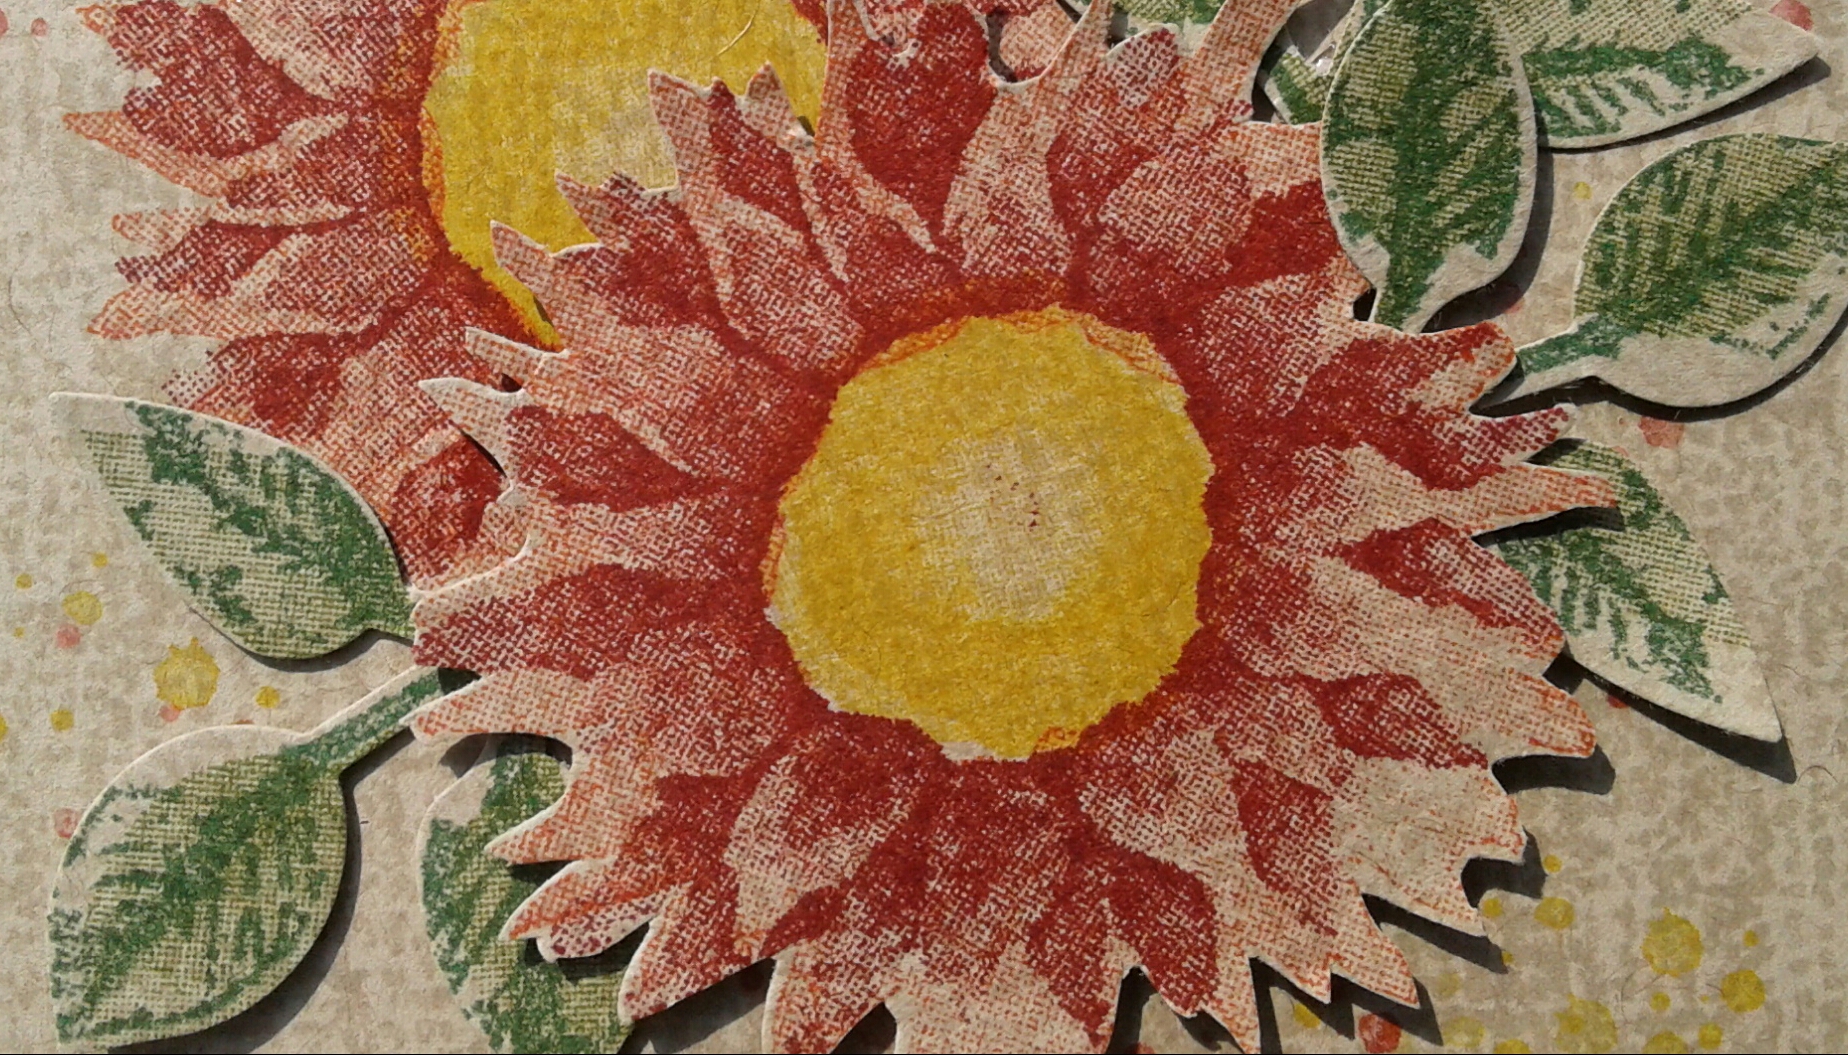
- In the upper left corner of the card front, stamp the sunflower from the Painted Harvest stamp set. The larger, bottom flower outline is stamped in Calypso Coral ink. The smaller, top flower outline is stamped in Cherry Cobbler ink. The colors works really well together. The middle of the flower is stamped in Crushed Curry, one of my absolute favorite yellow! The picture below gives a better view of the flower.
- Grab a scrap piece of Crumb Cake cardstock and repeat the steps above to stamp a second flower. Now, take a deep breath and fussy cut the flower. Remember – You don’t need to be perfect in cutting the flower. Please trust me with that!
- On another piece of scrap Crumb Cake cardstock, stamp a few of the leaves. The example card has Old Olive as the first, solid leaves color. The darker, second color is Garden Green. Use the Leaf Punch to punch out the leaves. You will love this new punch!
- Take a look at the picture below to get an idea of an example of how to arrange the fussy cut flower and punched out leaves to finish the focal point of the card. Dimensionals were used to adhere the fussy cut flower, and glue dots were used to add the leaves. The leaves are also curled just a little to give some interest.
- There are a few final touches to complete the card. First, a piece of the new Burlap Ribbon (part of the Painted Autumn Suite) is added by folding the ends of the ribbon around the sides of the card front, securing the ends with strong tape. Second, the card front is adhered to the card base with dimensionals.
- There you have it! A gorgeous card with a lot of textures added with stamps and ink.
Later in the week, I’ll share two more designs using the Painted Autumn Suite. Be sure to check back to see them.
The main products that I used to make today’s card are shown below. Click on any product picture and you’ll go to my on-line store.
Happy stamping!
Laurie
|
|
||
|
|
||
|
|
||
|
|
|


