In my last post, I highlighted an amazing technique with two step embossing that gives a unique finish to your card front. If you haven’t seen that post, please check it out here.
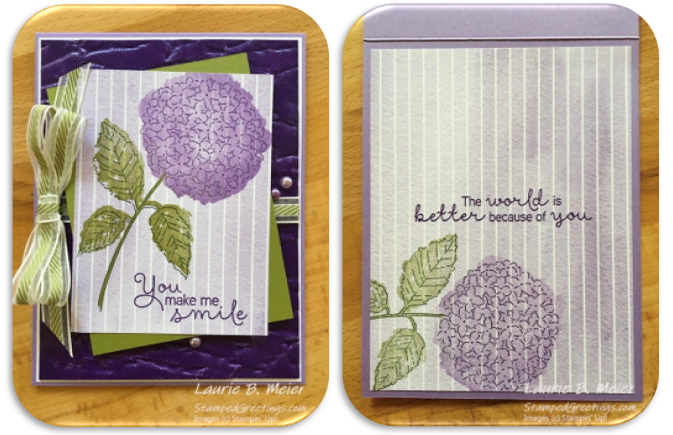
In this post, I am using one of the two step embossing pieces and products from the Hydrangea Hill Suite to make a gorgeous, top-folding card. Take a look at the pictures below!
This card is very straight forward to make. Here are the basic steps –
- Start with a piece of Highland Heather card stock cut to 4 1/4″ x 11″. Score at 5 1/2″ on the 11″ side. This will give you a top folding card base.
- Create a two step embossed piece of Gorgeous Grape card stock with Clear Embossing Powder. Use the two step embossing technique that I highlighted in my last post.
- Cut a piece of Basic White card stock to 4 1/8″ x 5 3/8″ to use as the first frame layer on your card front. Adhere this piece to the card base.
- Cut a piece of the amazing Hydrangea Hill Designer Series Paper (DSP) to 3″ x 4″. As you can see, I used the design that has the white stripes and the varying shades of Highland Heather in the background.
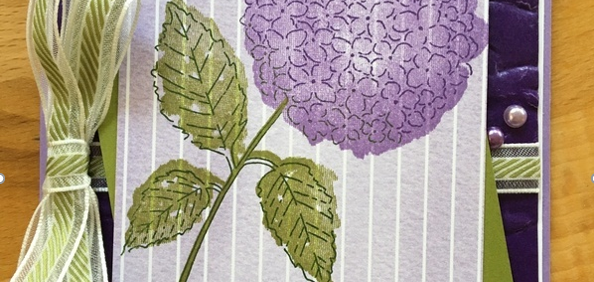
- Stamp the hydrangea flower and foliage image from the Hydrangea Haven stamp set onto the DSP piece. Use Gorgeous Grape ink for the flower part of the image and Garden Green ink for the foliage part of the image. Use the solid flower head and solid foliage images from the same stamp set to fill in your stamped hydrangea. For the flower head, use Highland Heather ink. For the foliage portion, use Old Olive ink.
- Use Gorgeous Grape ink to add the sentiment, “you make me smile”, to the bottom of your focal point.
- Cut a piece of Old Olive card stock to 3 1/8″ x 4 1/8″. This will be used behind the focal point on the front of your card.
- Before you adhere the two step embossed Gorgeous Grape piece to the card front, use some of your favorite ribbon to wrap around the piece and tie a bow on the left side of the card. Confession – I used retired ribbon for my card! I love this ribbon since it has Old Olive in the middle.
- Now, you can adhere the two step embossed piece to the front of your card.
- Attach the Old Olive piece behind the stamped DSP piece at an angle, as shown.
- Use dimensionals to add this combined piece to your card front.
- For additional bling, you can add a few of the pretty Pastel Pearls.
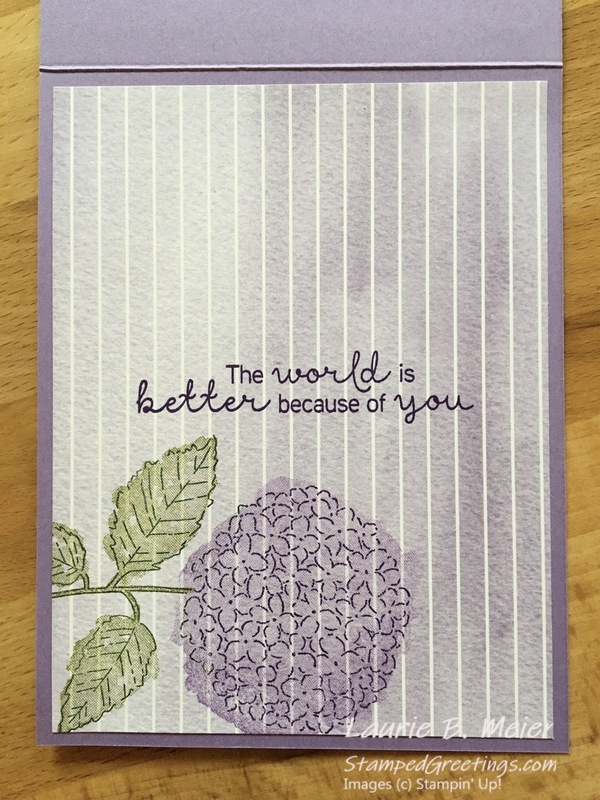
- The inside of the card is meant to echo the theme from the card front. Start with a piece of the DSP that is cut to 4″ x 5 1/4″. Stamp the hydrangea flower at the bottom of this piece, using the same ink colors as you did for the front of the card. Add the sentiment, “the world is better because of you” from the Hydrangea Haven stamp set, in the center using Gorgeous Grape ink. Adhere this piece directly to the inside of your card.
I hope you enjoy making this card and use the design for many other occasions. I would love to see what you do with the layout.
Below, you’ll find pictures of the main products that I used to make my card. If you click on any picture, you’ll go directly to my online store.
Happy stamping!
Laurie
|
|
|
|
|
|
|
|
|
|
|


