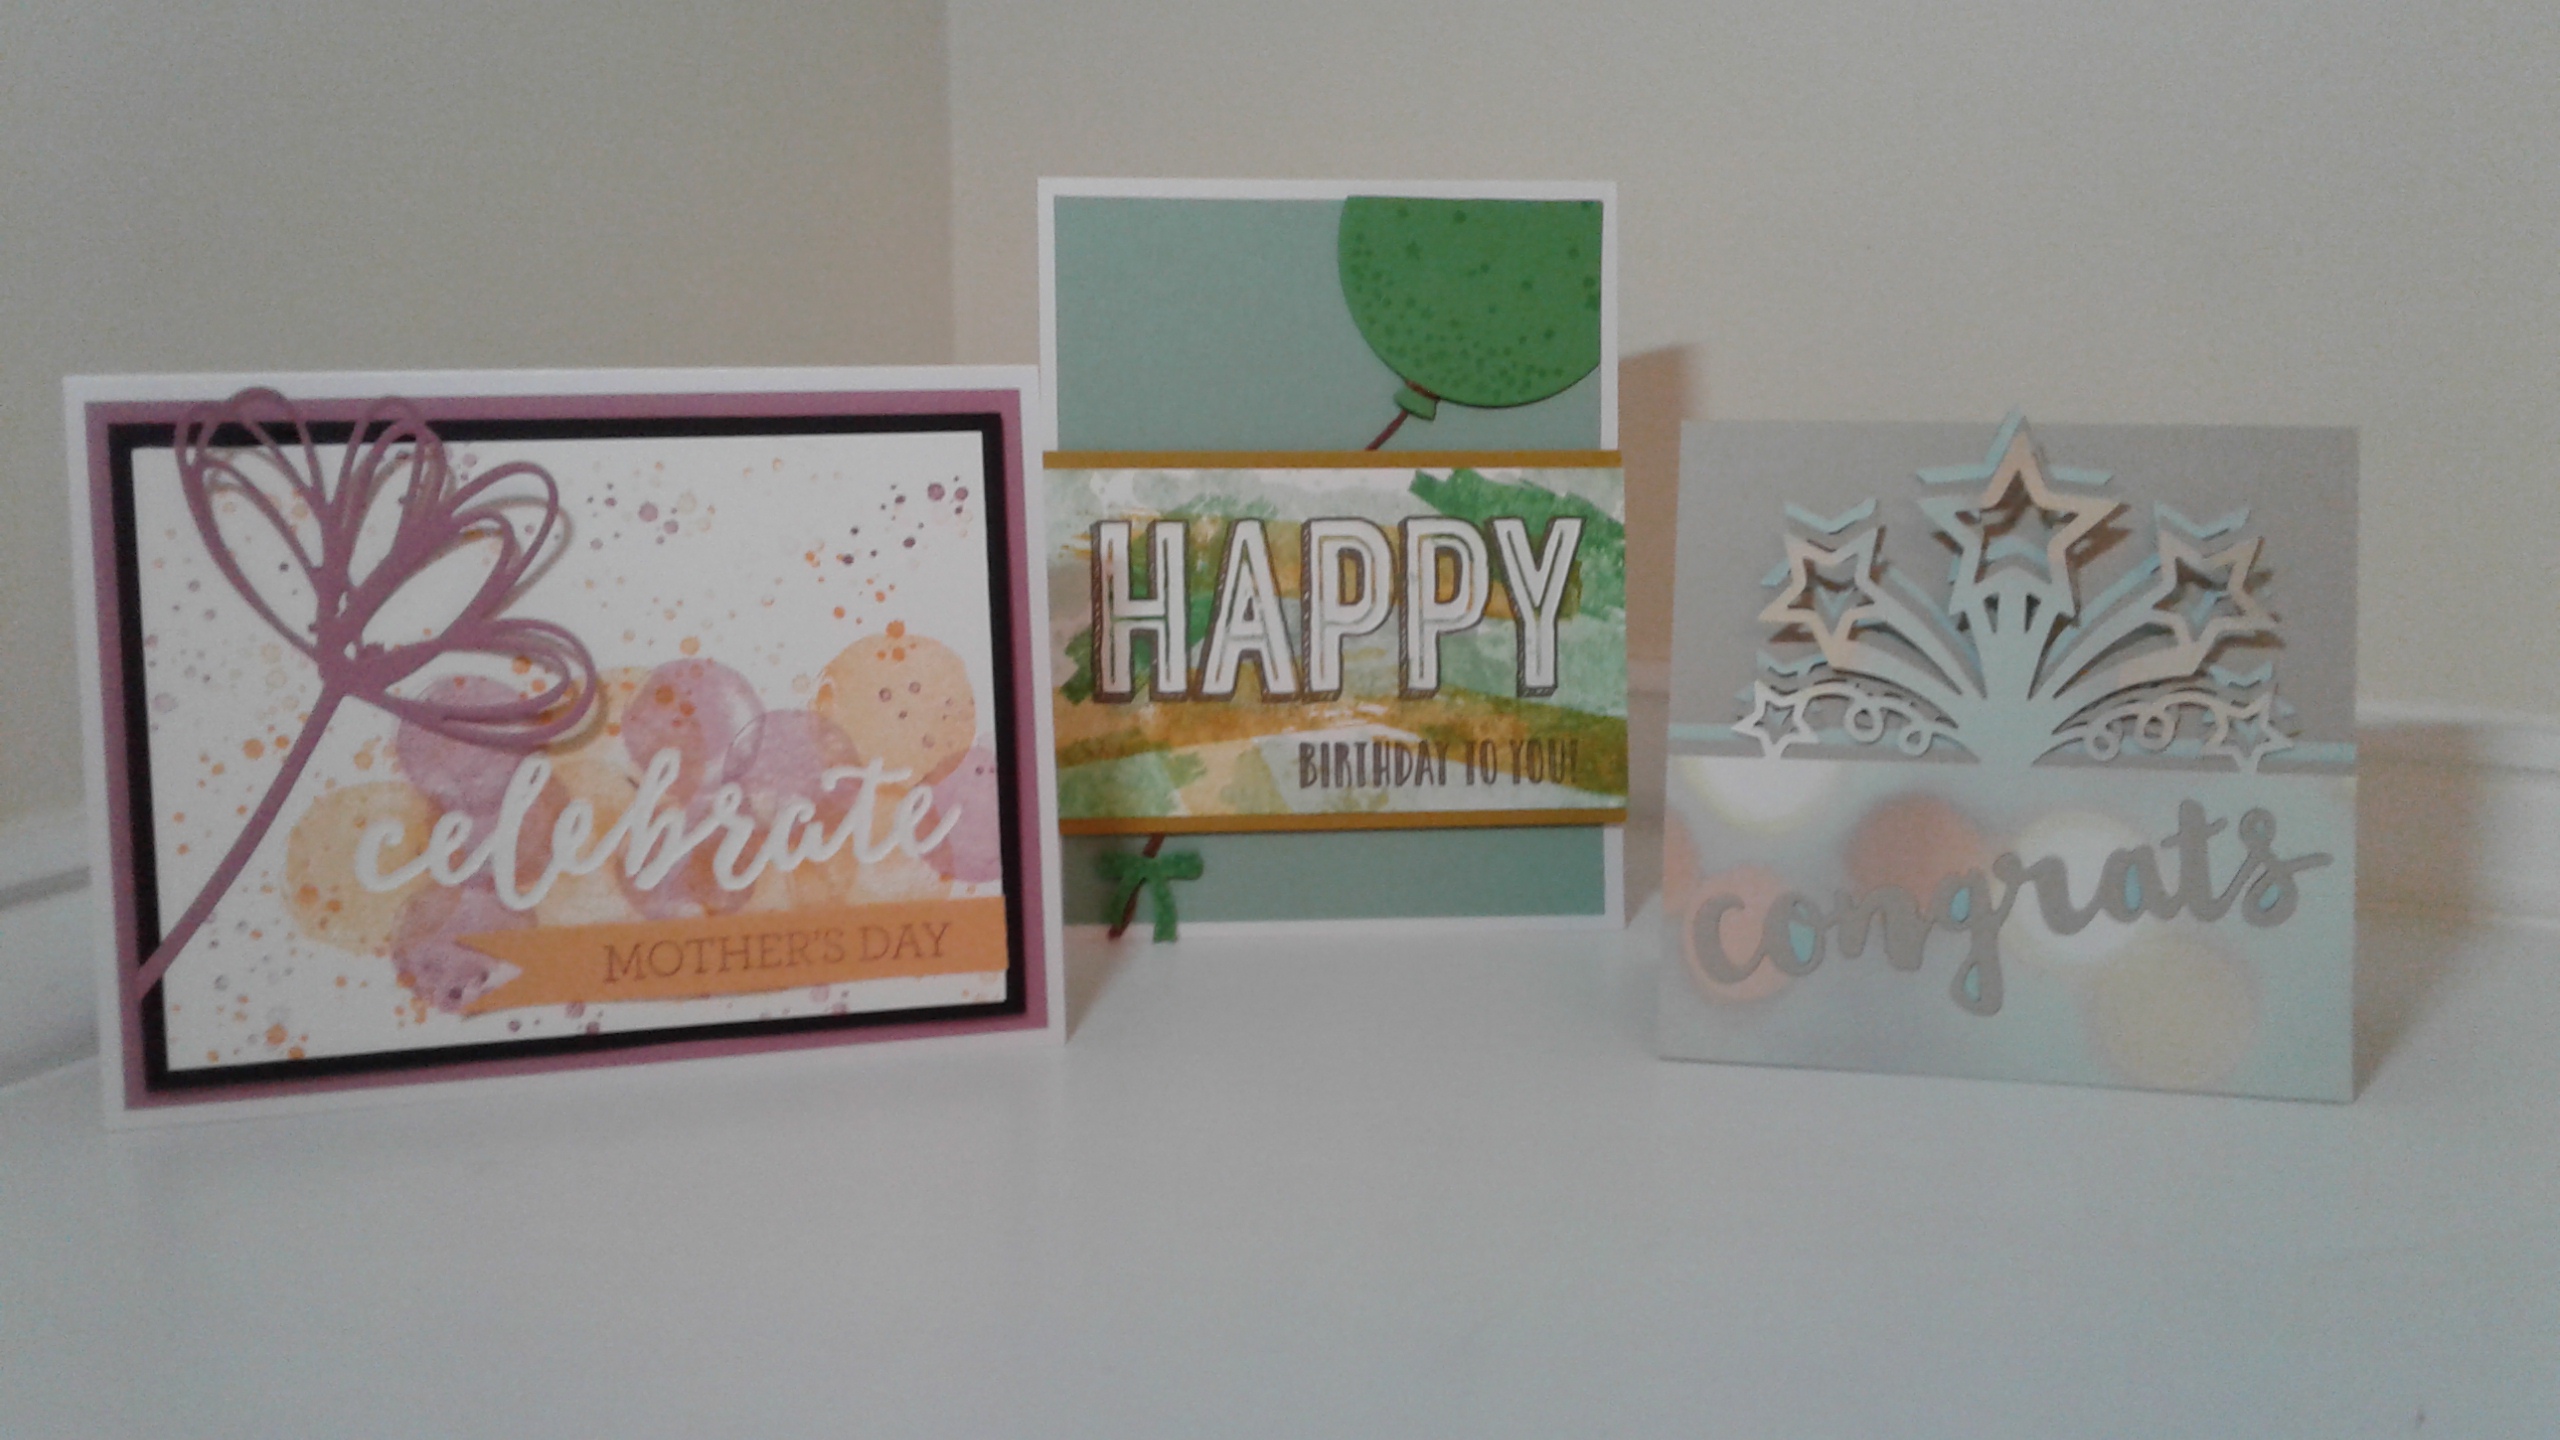
As a Stampin’ Up! demonstrator, I have the privilege of sharing amazing products with a great group of ladies. We meet every month and just have a great time making cards and spending time together. Over the last few years, we have become a very close group of friends. At our last stamp club meeting, we made the projects in the picture below. I will be posting separate blogs over the next few days and will give details on each card.
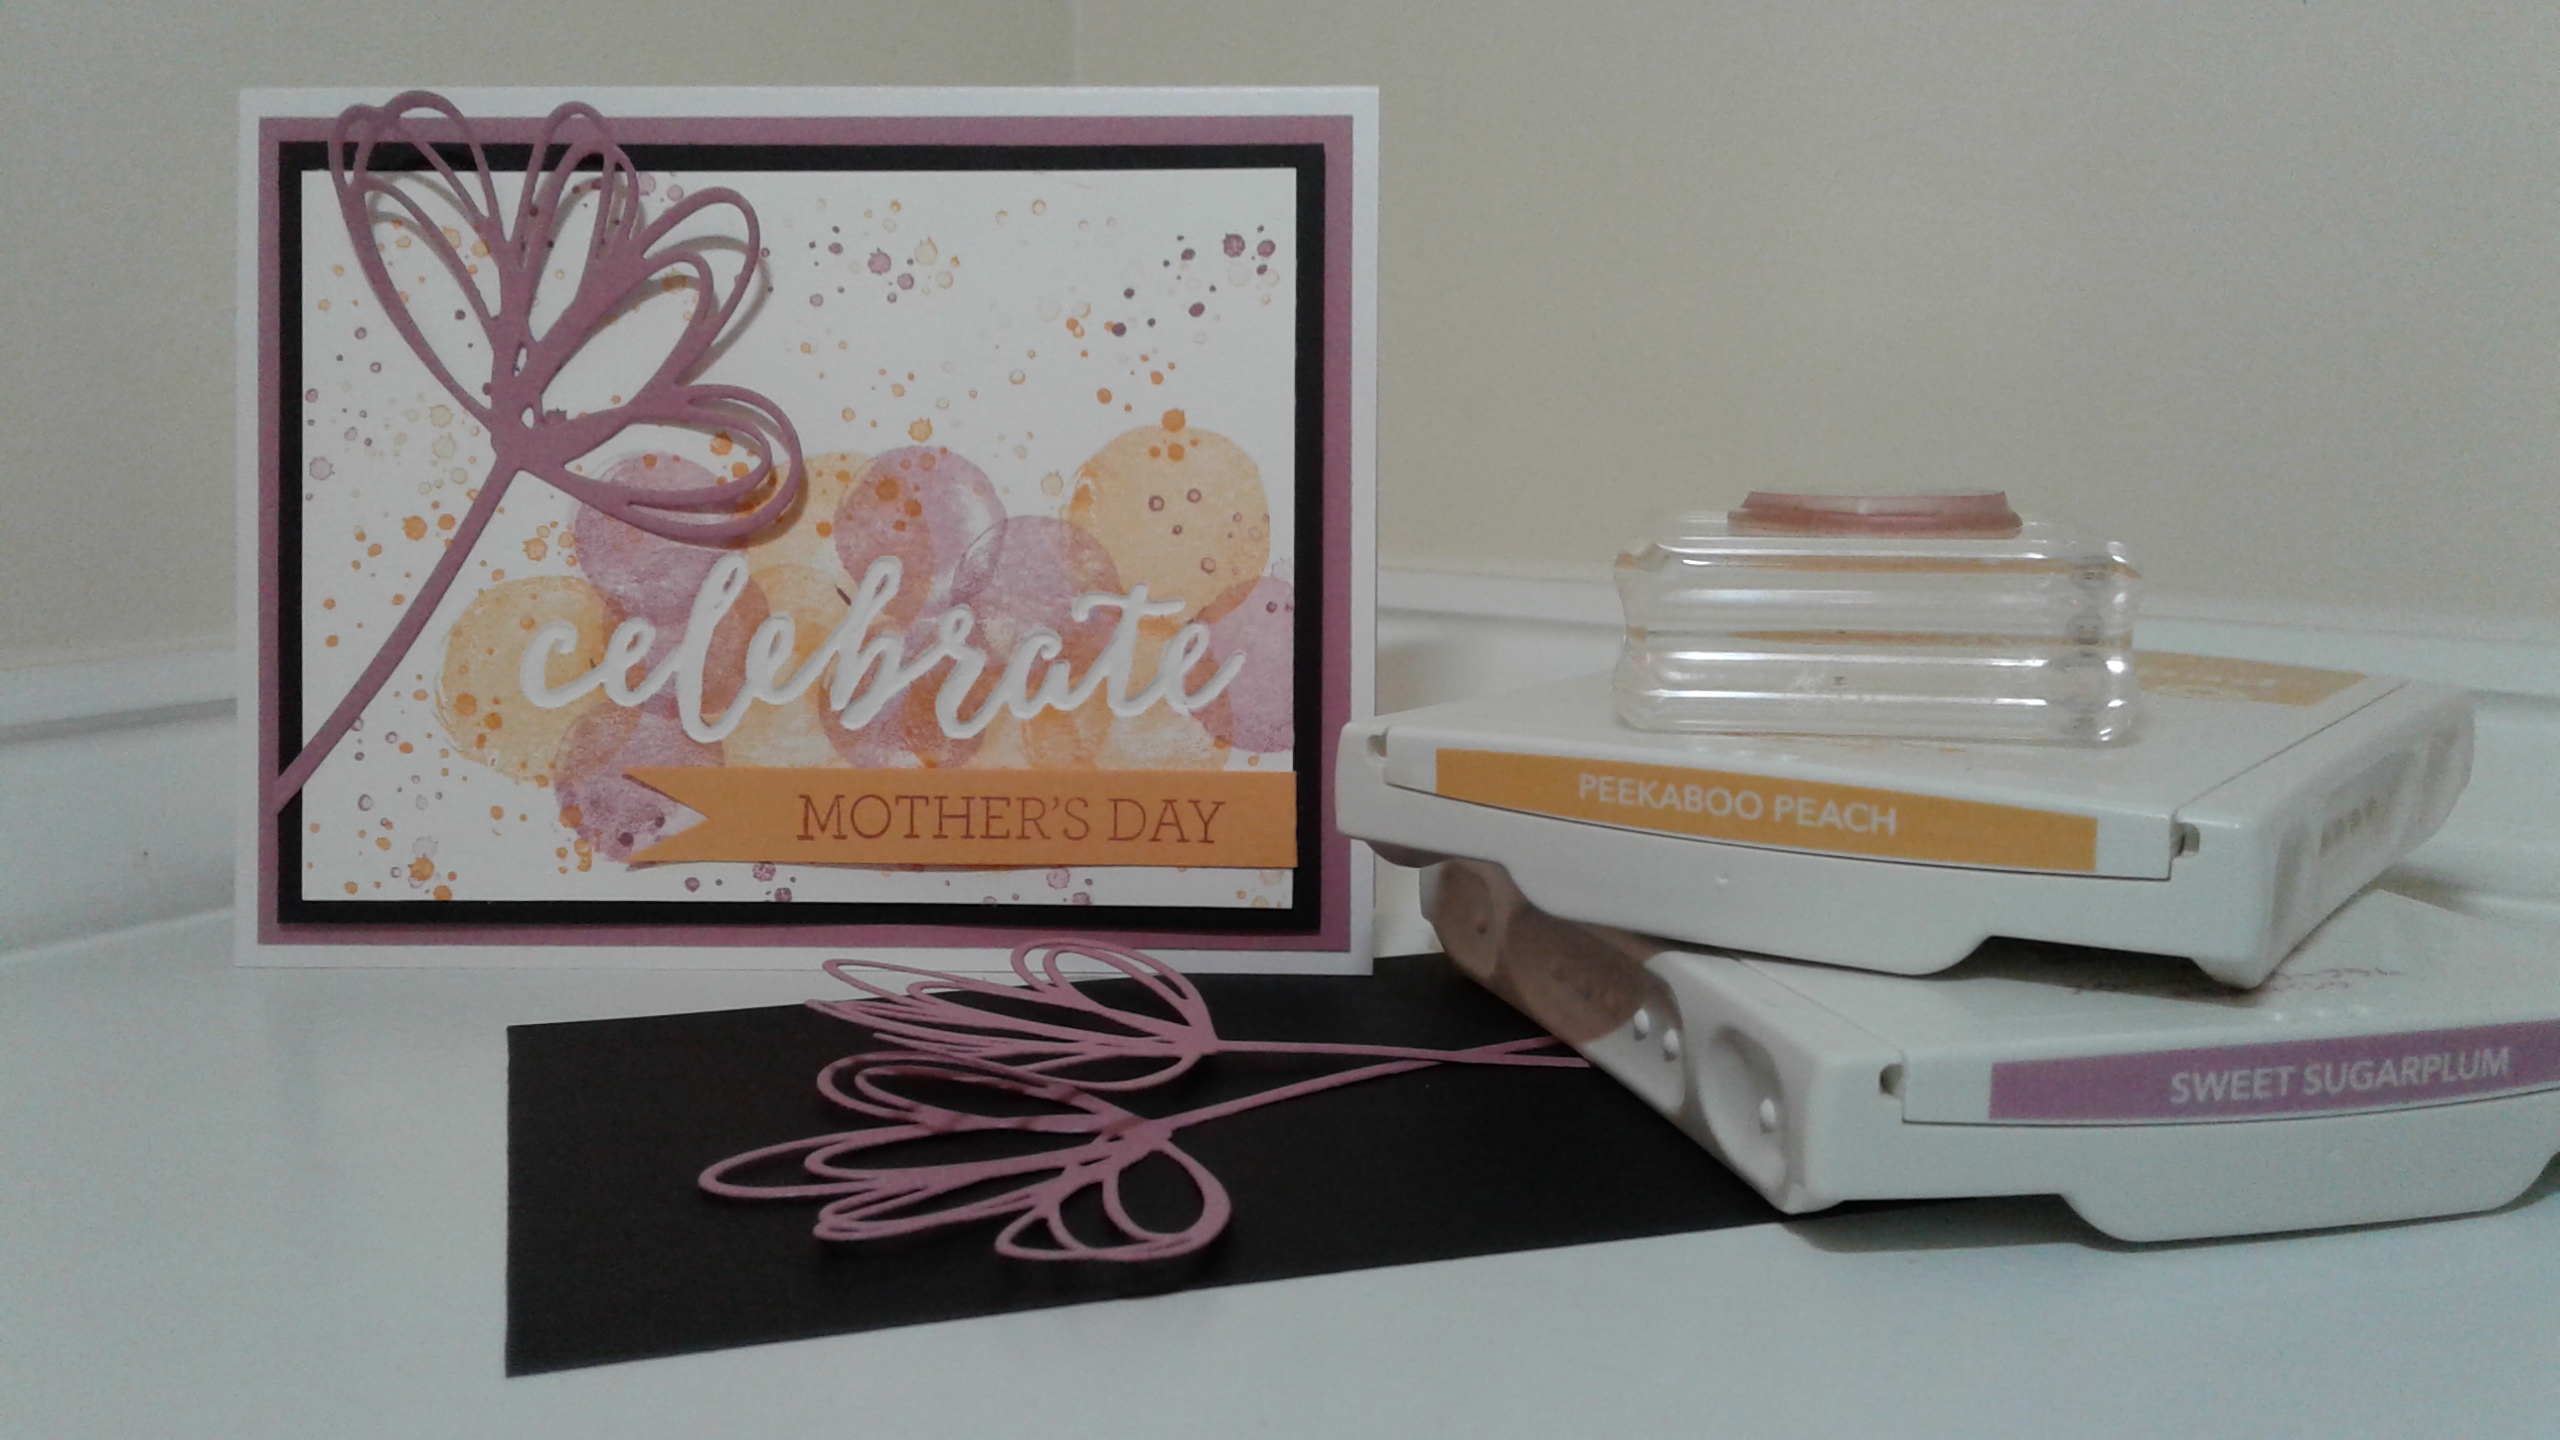
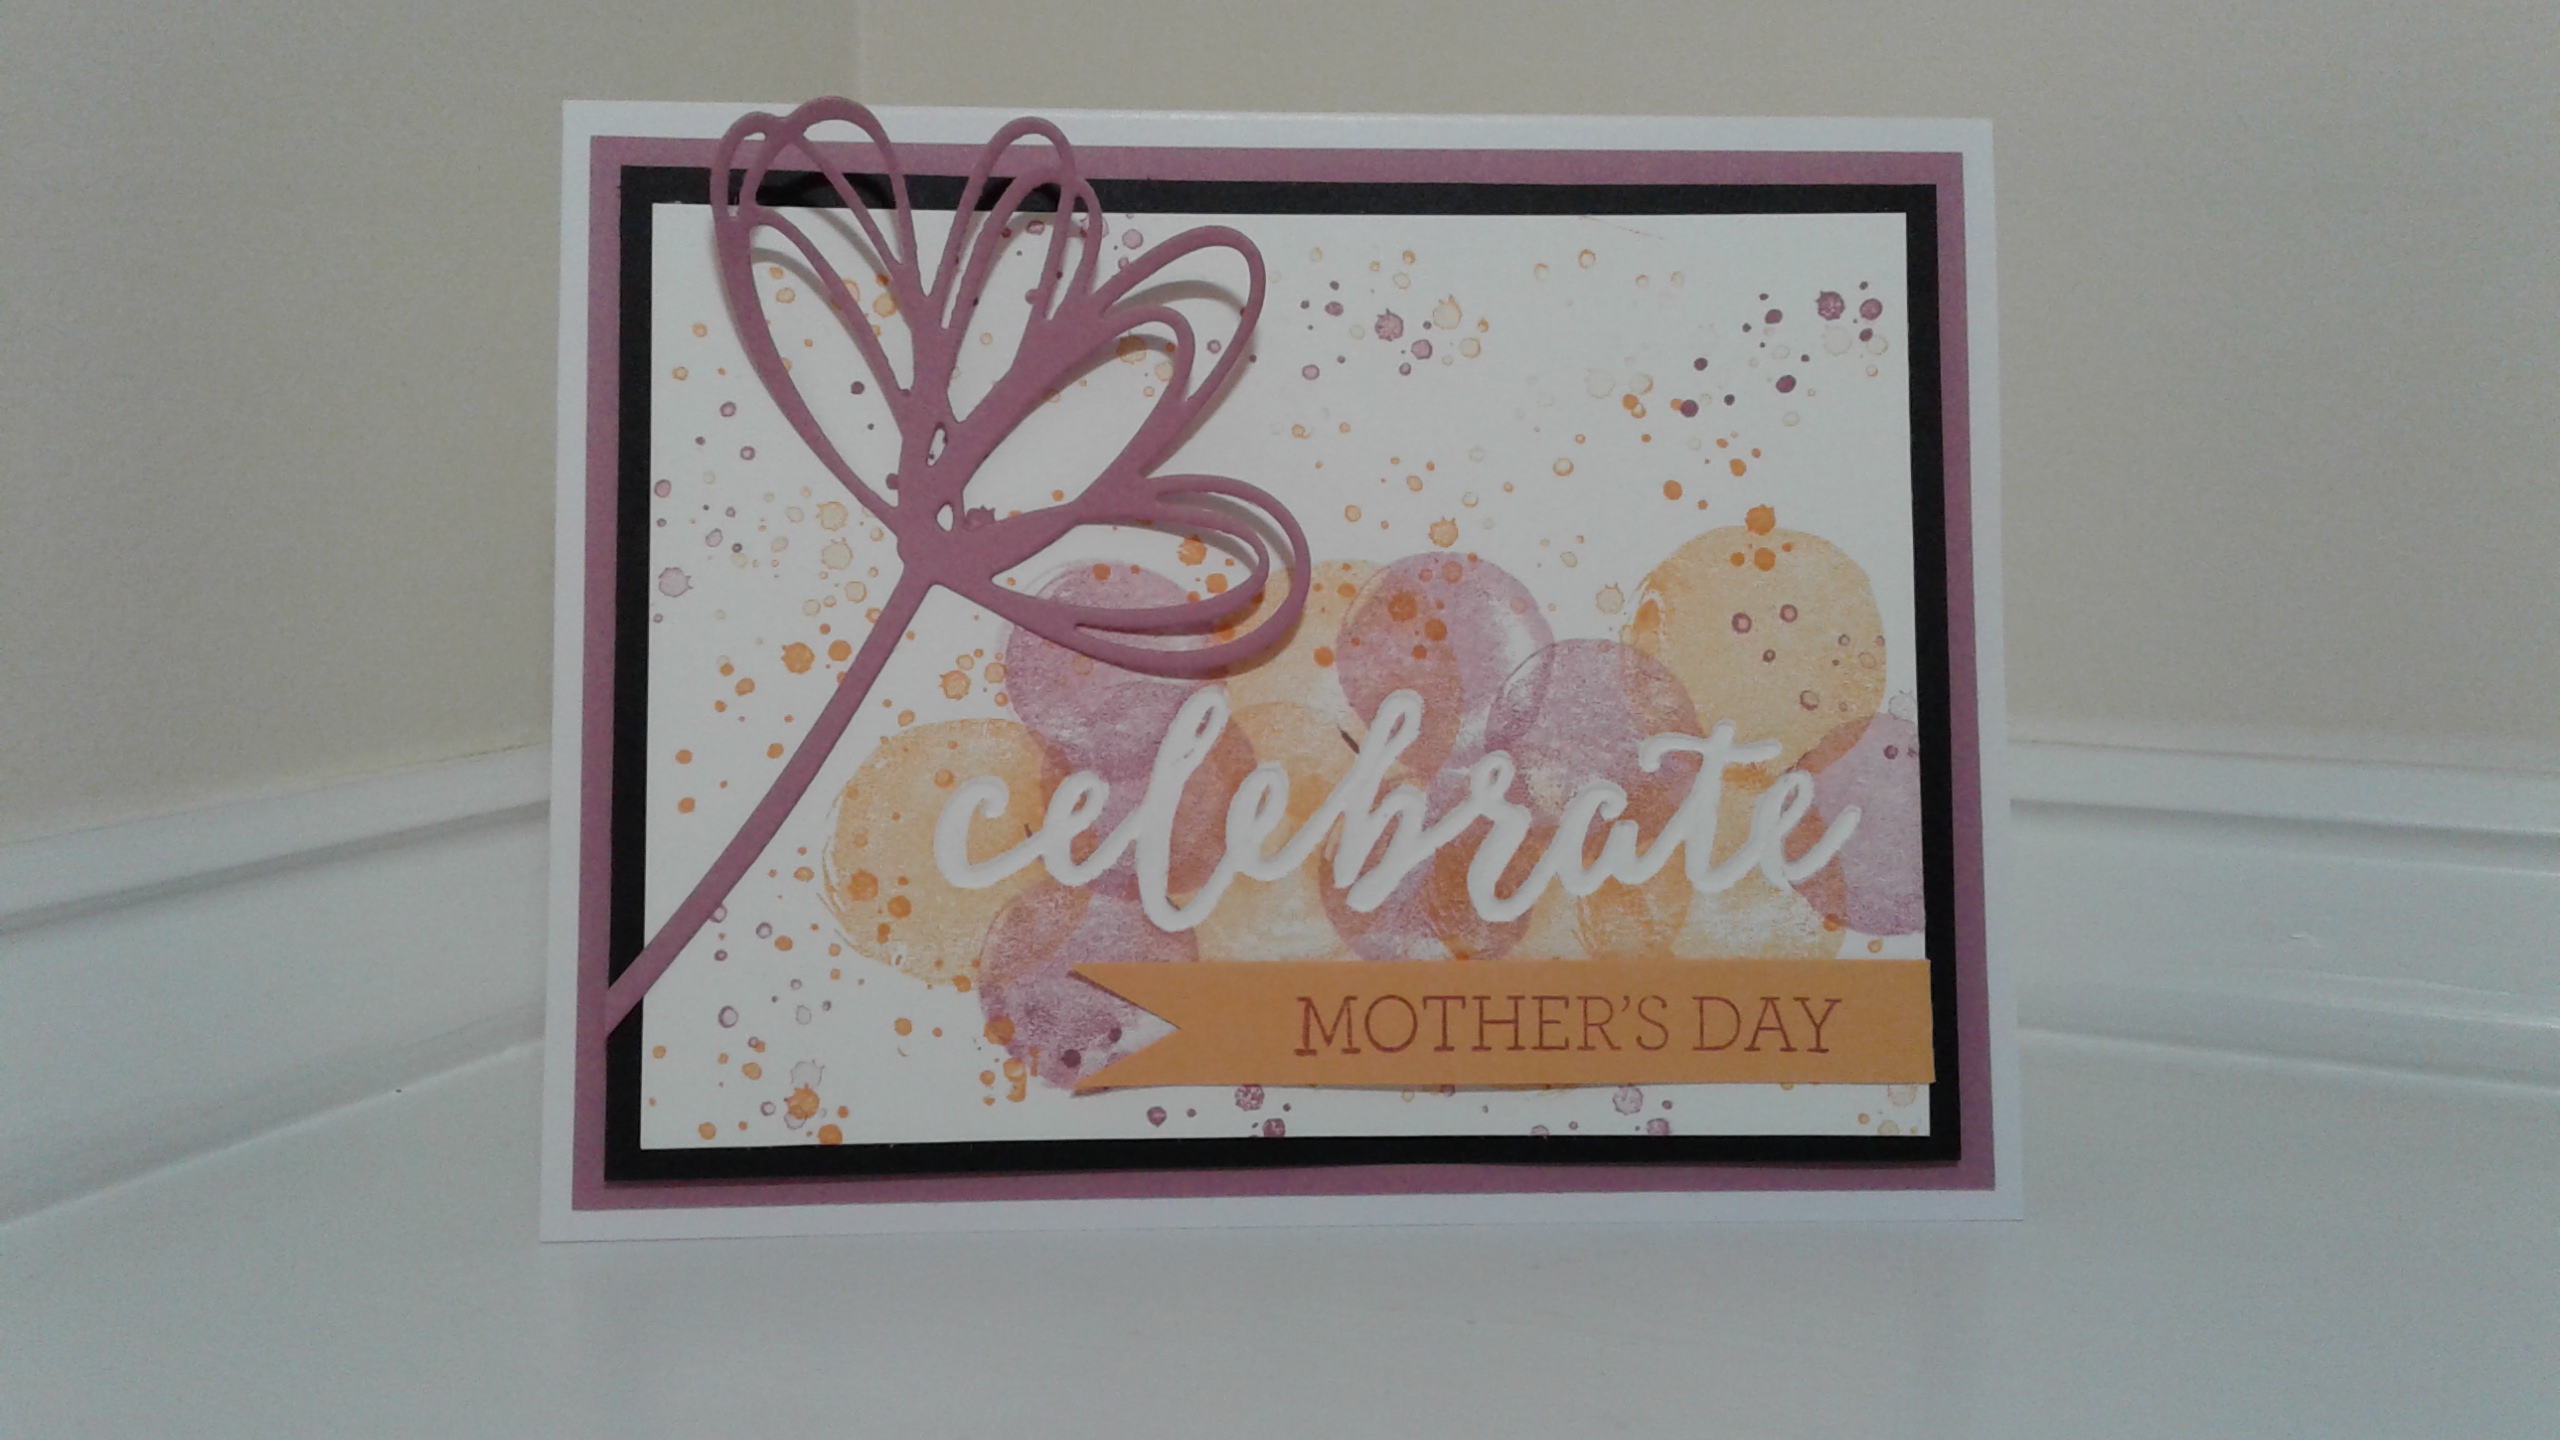
The first card that I am going to show you is a Mother’s Day card that is just plain cheerful! It could be easily altered to celebrate many other occasions. As you see how easy the card it to make, I’m sure you’ll think of many other ways you can use the design.
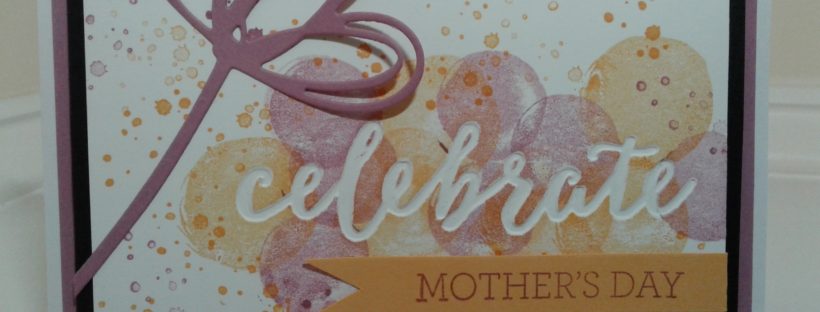
The card features an amazing stamp set called Happy Celebrations and a very unique embossing folder from the Celebrations Due Textured Impressions Embossing Folders set. The embossing folders in this set de-emboss the words celebrate and happy. Unlike traditional embossing folders where the letters would pop out toward the front of the card, these embossing folders press the letters away from the front of the card. The words are de-embossed. Then, you can stamp over the de-embossed words and highlight them in a very unique way. If you look at the picture in the banner of this post, you can see what I’m talking about. Pretty awesome, huh?
Here are the steps that I used to make the card:
- The card base is Whisper White, cut to 8 1/2″ x 5 1/2″ and scored at 4 1/4″ on the 8 1/2″ side.
- The layers of the card include:
- Sweet Sugarplum card stock cut to 5 1/4″ x 4″.
- Basic Black card stock cut to 5″ x 3 3/4″.
- Whisper White card stock cut to 4 3/4″ x 3 1/2″.
- Use the “celebrate” embossing folder from the Celebrations Due Textured Impressions Embossing Folders set to de-emboss the word “celebrate”, as pictured, in the lower right section of the Whisper White card stock piece.
- Use Peekaboo Peach and Sweet Sugarplum ink pads to stamp the circles from the Happy Celebrations over the de-embossed “celebrate”. Alternate the colors and sizes of the circles to add some interest to the design. One tip for stamping the circles – Tap the circle stamps on the ink pads. Don’t push the stamps into the ink pads. By tapping the ink pads, you’ll get a more evenly distributed image when you stamp.
- Use the (retiring! Can’t believe this is true!) Gorgeous Grunge stamp set and the random dots from the set to add a fun Peekaboo Peach and Sweet Sugarplum background to the card front.
- Grab a piece of your scrap Peekaboo Peach card stock (I know you have some!). I used the “Mother’s Day” stamp from the Crazy About You stamp set and Sweet Sugarplum ink to create the banner. The Crazy About You set has many options for you to use with this card design. You really need the set in your stash – just trust me. Attach your banner to the card front, as pictured. Fold the end of the banner around the edge of the card front and adhere the folded piece to the back.
- Use the flower die from the Sunshine Wishes Thinlits set to die cut the Sweet Sugarplum flower. Here is a great tip – I cut the flower die from the middle of the Sweet Sugarplum piece that is one of the layers on this card. Just cut it from the center of the Sweet Sugarplum piece. No-one will ever know since you’re going to put a piece of Basic Black card stock over the area that is cut out!
- Now, you’re ready to put the card together. Attached the Sweet Sugarplum piece directly to the card base. Then, adhere the card front to the Basic Black piece. Add the die cut flower, as pictured. Cut the stem of the flower flush against the Basic Black piece. Only put glue on the stem and the lower part of the flower. Then, you’ll be able to curl the “petals” to give the card more interest. I like to use the Fine Tip Glue pen to glue die cut pieces.
- Use dimensionals to add the Basic Black to the Sweet Sugarplum piece.
Here is one more picture of just the card. There are endless possibilities for the words that you can use. There are also several great die cuts that you could make from the Sunshine Wishes Thinlits. I would love to see your creations!
Below are the main items that I used to make this card. If you click on any picture, you’ll go to my on-line store.
Happy stamping!
Laurie
|
|
||
|
|
|
|


