I recently had the privilege of attending the virtual Creativate Retreat! Oh my goodness – What an amazing event! If you haven’t participated in the quarterly retreats, I highly recommend that you consider attending the next one that is currently scheduled for March 27, 2021. If you go to any of the Facebook pages linked below, you’ll find more information. These four amazing demonstrators will host the next Creativate Retreat. Trust me – you don’t want to miss it!
- Start with a piece of paper (card stock or DSP – more on that in a minute), and cover the paper with Versamark.
- Add embossing powder to the Versamark covered piece. You can use clear embossing powder or colored embossing powder. Again, more on that in a minute.
- Heat set your piece. Use your heat gun to set the embossing powder. Be careful not to hover too long over one part of the piece when you are heat setting the powder. You don’t want to overheat or singe your piece.
- Choose one of your favorite embossing folders. I like the 3D embossing folders for this technique.
- Put your embossed piece into your embossing folder, and run it through your die cutting/embossing machine.
- Prepare yourself! When you open your embossing folder to reveal the end result, I guarantee that you’re going to say “WOW!!” again. Just trust me on this.
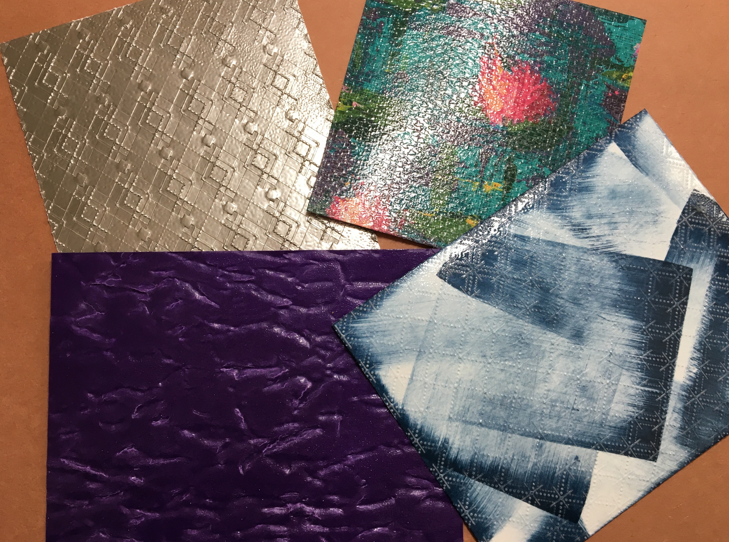
Now, let me share the paper and embossing powder that I used to create the pieces in the picture below.
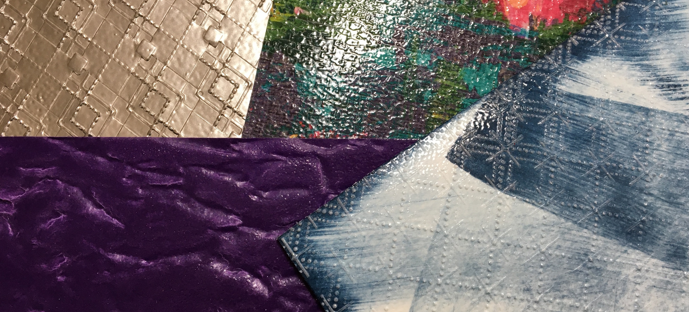
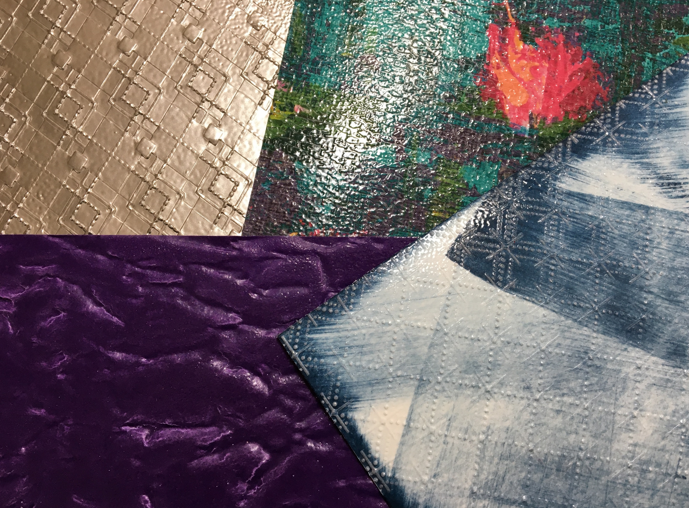
- Top left – White card stock + Pewter embossing powder + Absolutely Argyle 3D Embossing Folder
- Top right – Designer Series Paper [retired Lily Impressions DSP] + Clear embossing powder + Tasteful Textile 3D embossing folder
- Bottom left – Gorgeous Grape card stock + Clear embossing powder + Old World Paper 3D embossing folder
- Bottom right – White card stock + Misty Moonlight ink using a direct to paper technique [simply swipe your ink pad directly across your paper in a few different places to make a fun, abstract pattern] + Clear embossing powder + Dainty Diamonds 3D embossing powder
Give this technique a try! You will love it and be preoccupied with different combinations that you can use to make unique backgrounds.
In my next post, I’ll share a beautiful card that I made with the Gorgeous Grape piece, pictured above, and products from the Hydrangea Hill suite. Until then, take a look at the main products that I used to make the two step embossed pieces. They are pictured below. If you click on any picture, you’ll go directly to my online store.
Happy stamping!
Laurie
|
|
||
|
|


