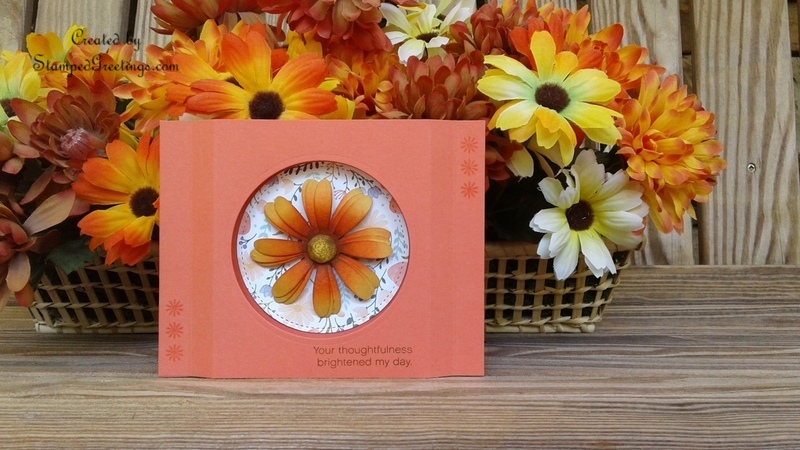
The Delightful Daisy suite of products was a huge hit at my recent stamp club! I hope you had a chance to see my last post and one of the cards that we made. Today’s post will feature another stamp club card. This card has an incredible WOW factor and is really not difficult to put together. Take a look at the card.
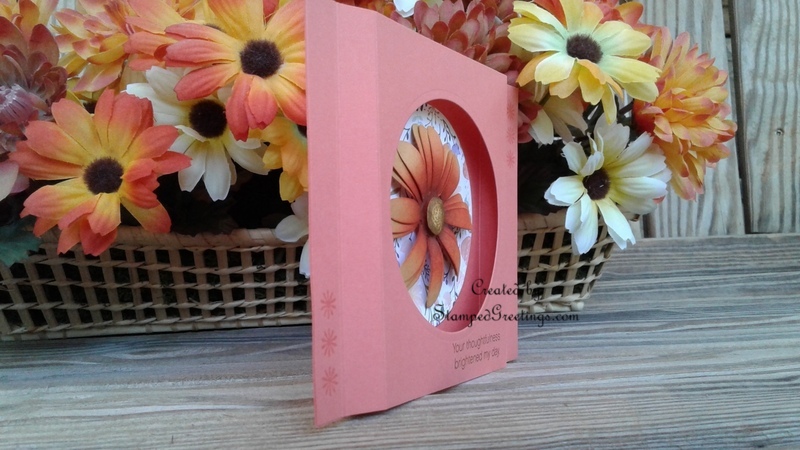
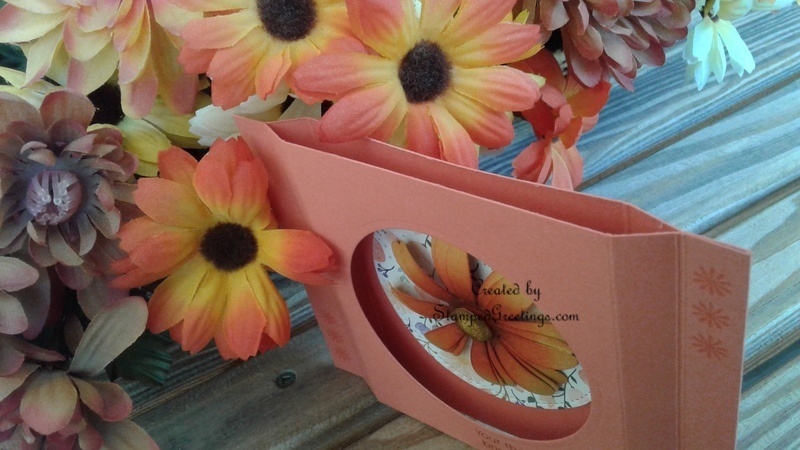
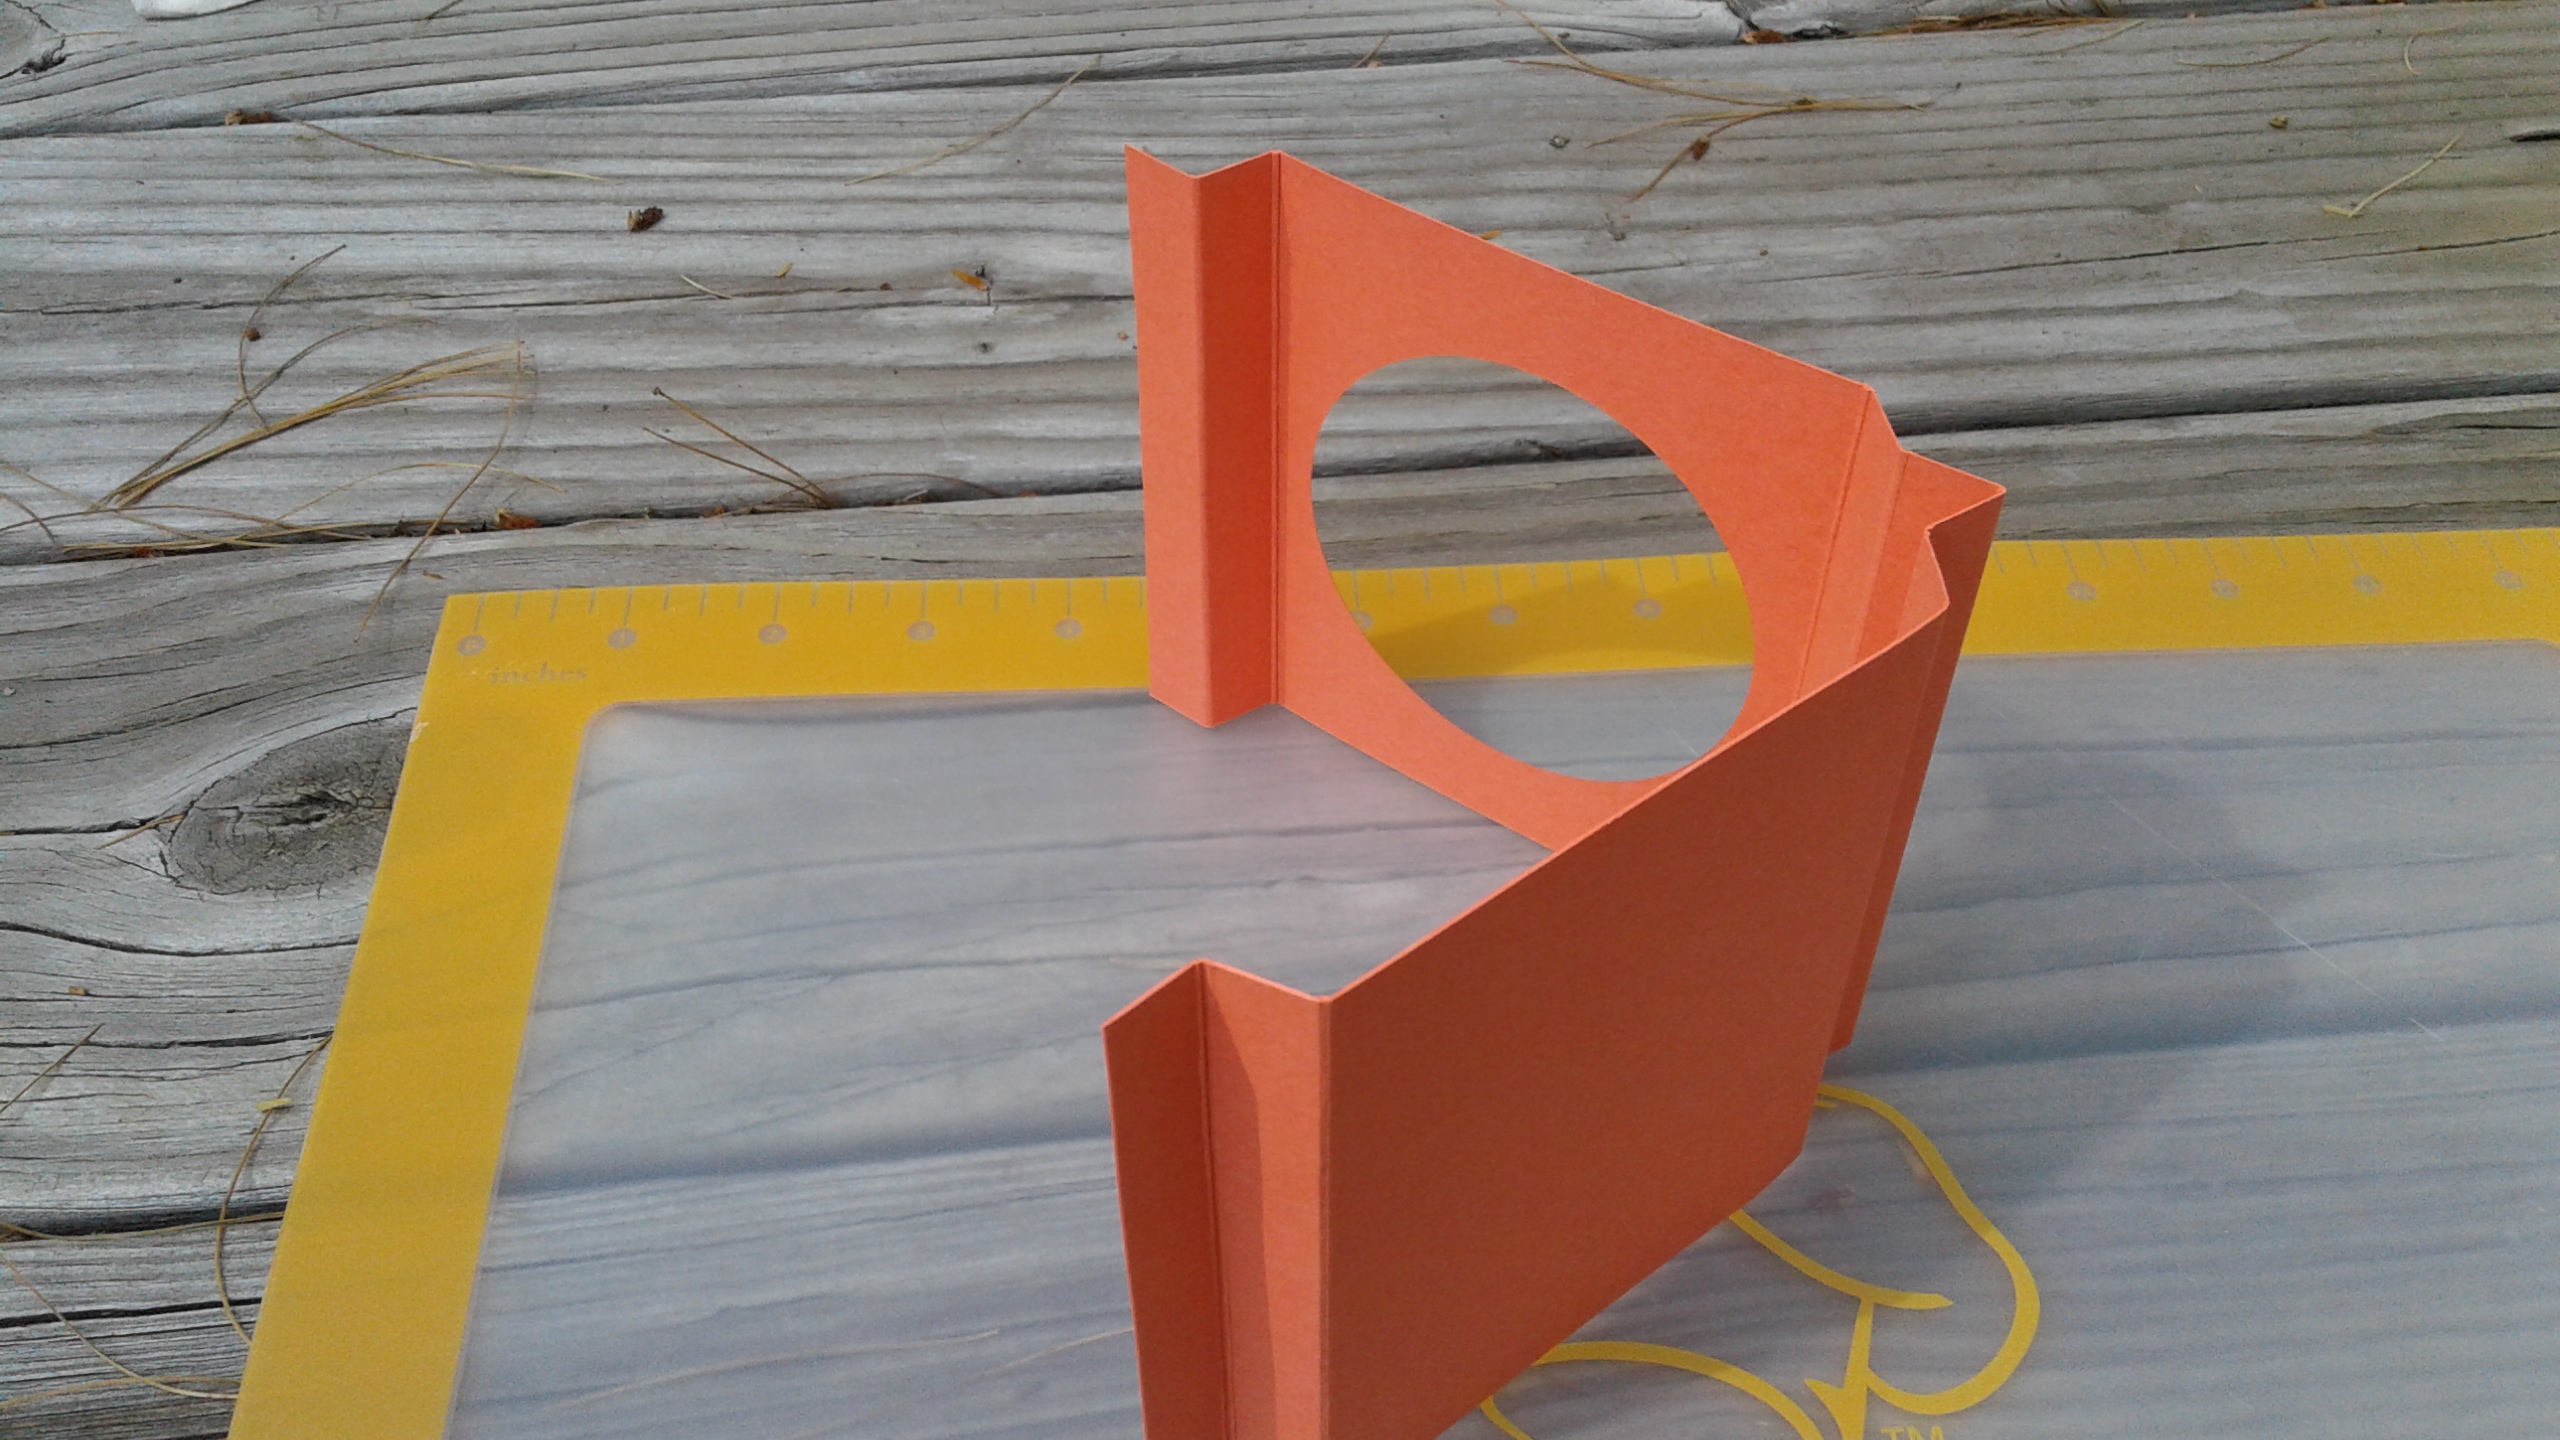
I hope you agree that it has the wow-how-did-she-make-that impact. It’s a little difficult to appreciate the depth of the card from this picture. It is a simple shadowbox card. The pictures below help show the depth a little better.
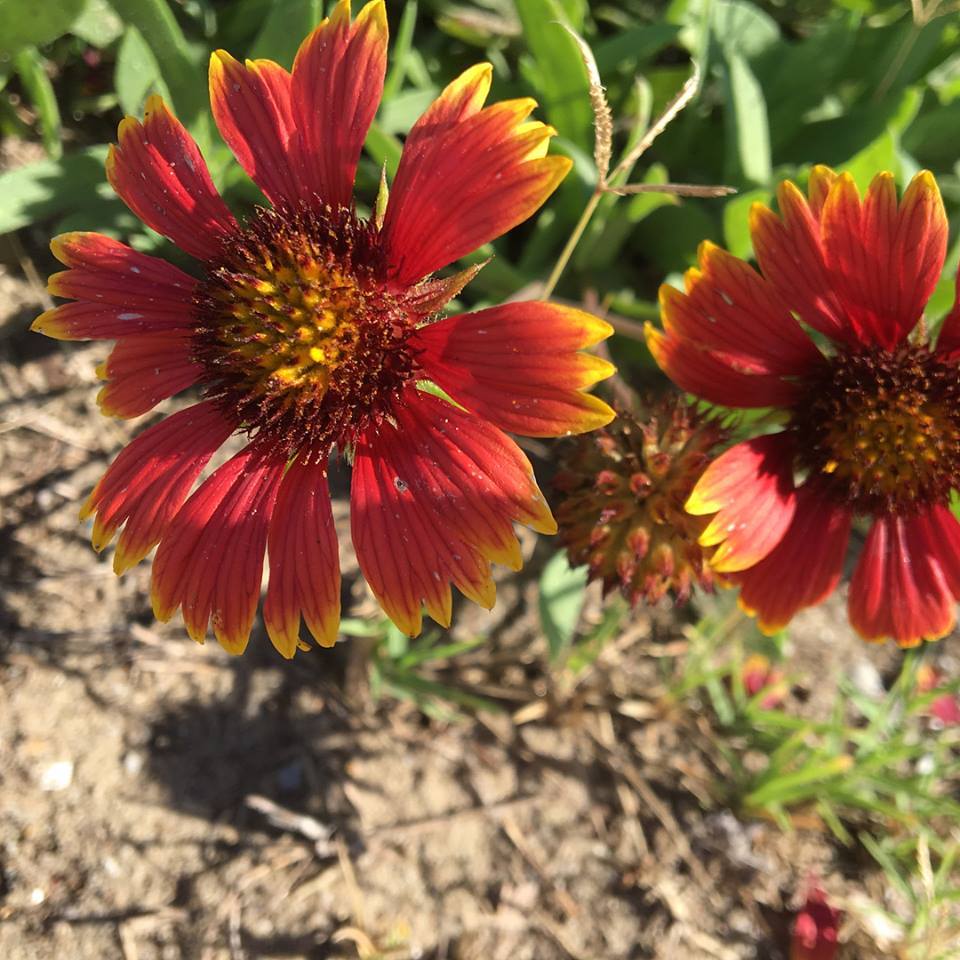
Let me share the inspiration for this card. My husband, Bruce, and I recently spent time with my side of the family at Holden Beach in North Carolina. Our family gathers there every year and has a great time catching up. We have a few family games that we play. One is a domino game called”Texas 42″, and the other is the (world championship!) Bunco tournament. I have completely digressed from my story about the card inspiration…. Bruce and I were out on a walk at the beach and saw wild daisies growing along the sidewalk. I took a few pictures and tried to mimic the flower in the card that I created. Here is one of the pictures that I took of the wild daisies.
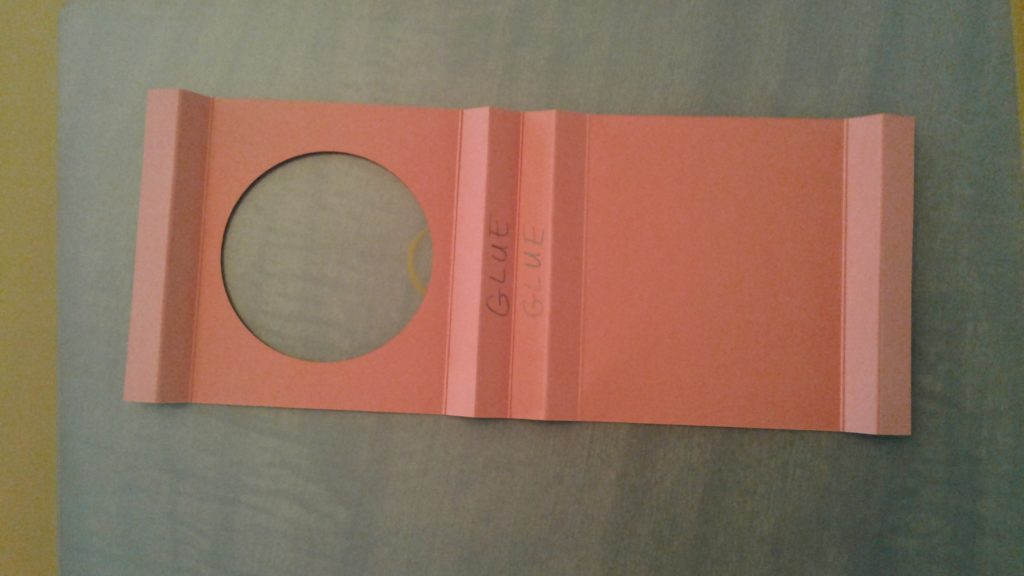
Now – On to making the card! Let’s start with the shadowbox card itself. The card base is a piece of Calypso Coral cardstock cut to 4 1/4″ x 11″ (half a sheet of 8 1/2″ x 11″ standard cardstock). There are a few score lines involved in making the base. The score lines are at 1/2″, 1″, 4 1/2″, 5″, 5 1/2″, 6″, 6 1/2″, 10″, and 10 1/2″. A picture may be more helpful.
The folds are pretty straight forward when you see how the card comes together. The folds are – valley at the 1/2″ score line, mountain at the 1″ score line, mountain at the 4 1/2″ score line, valley at the 5″ score line, mountain at the 5 1/2″ score line, valley at the 6″ score line, mountain at the 6 1/2″ score line, mountain at the 10″ score line, and valley at the 10 1/2″ score line. Again, a picture may be more helpful.
Before you assemble the card base, die cut the largest circle from the Stitched Shapes Framelits in the middle of the area between the 6 1/2″ score line and the 10″ score line, as the card picture illustrates. You can now put your card base together.
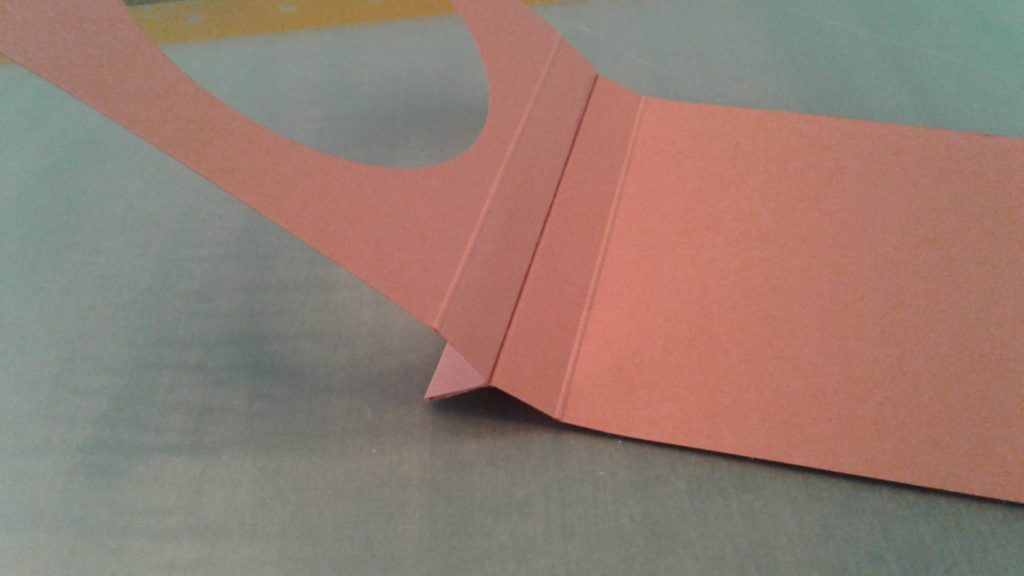
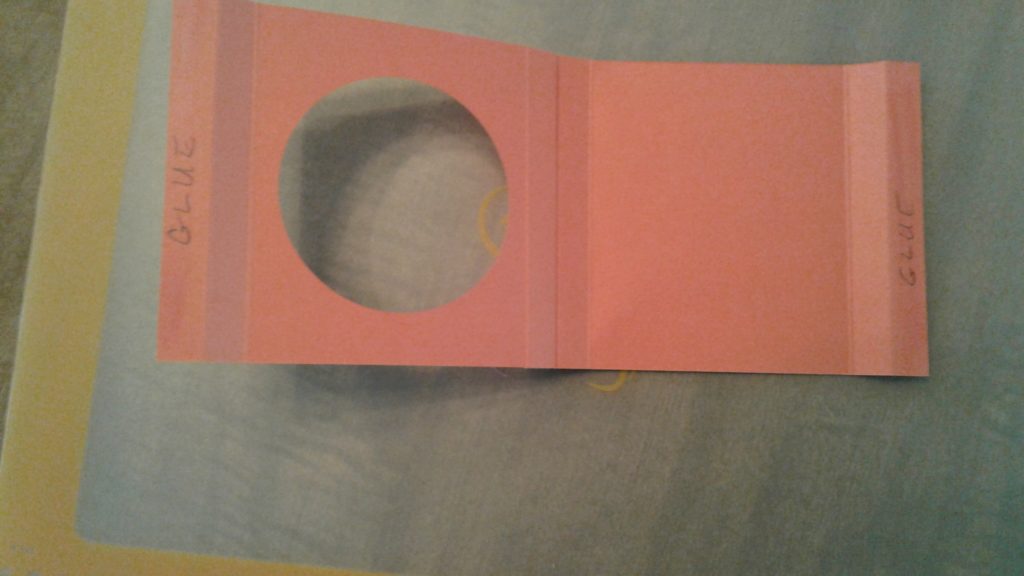
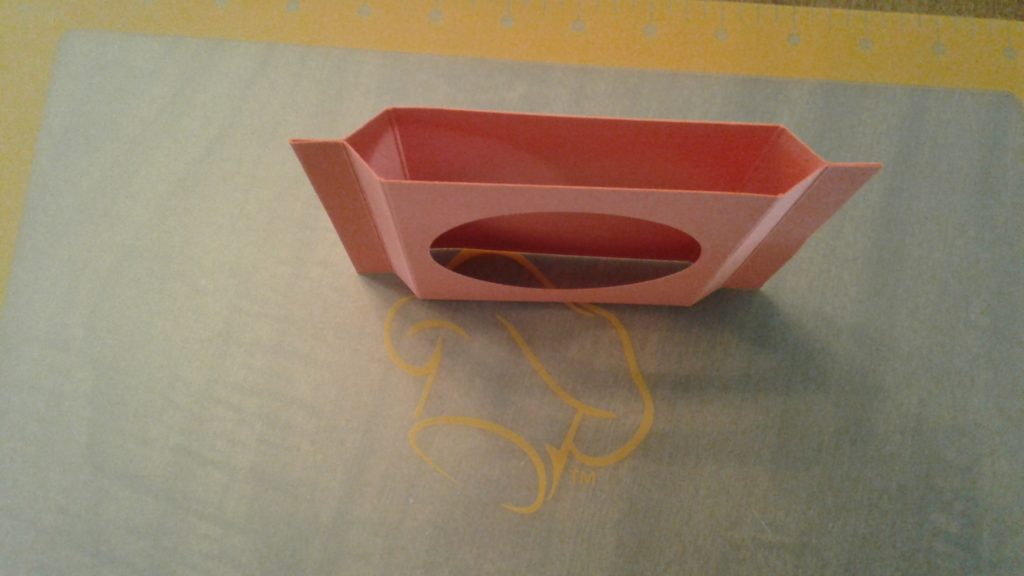
To assemble the card base, fold the base in half at the 5 1/2″ score line. Step 1: Put glue between the 5″ score line and the 6″ score line. Adhere the glued areas together, as pictured below. Step 2: Put glue between the 1/2″ score line and the 1″ score line and between the 10″ score line and the 10 1/2″ score line. Adhere the glued areas together, as pictured below. You will then have your shadowbox card built. This card will fit easily into a standard envelope for a 4 1/4″ x 5 1/2″ card. You’ll flatten the card a little before mailing.
- Step 2b
The other steps to complete the card are below:
- Use the same circle die from the Stitched Shapes Framelits that you used on the card base to die cut a circle from your choice of Delightful Daisy Designer Series Paper (DSP). You will probably have a difficult time narrowing down the paper that you’ll use since there are so many gorgeous patterns in the package of DSP.
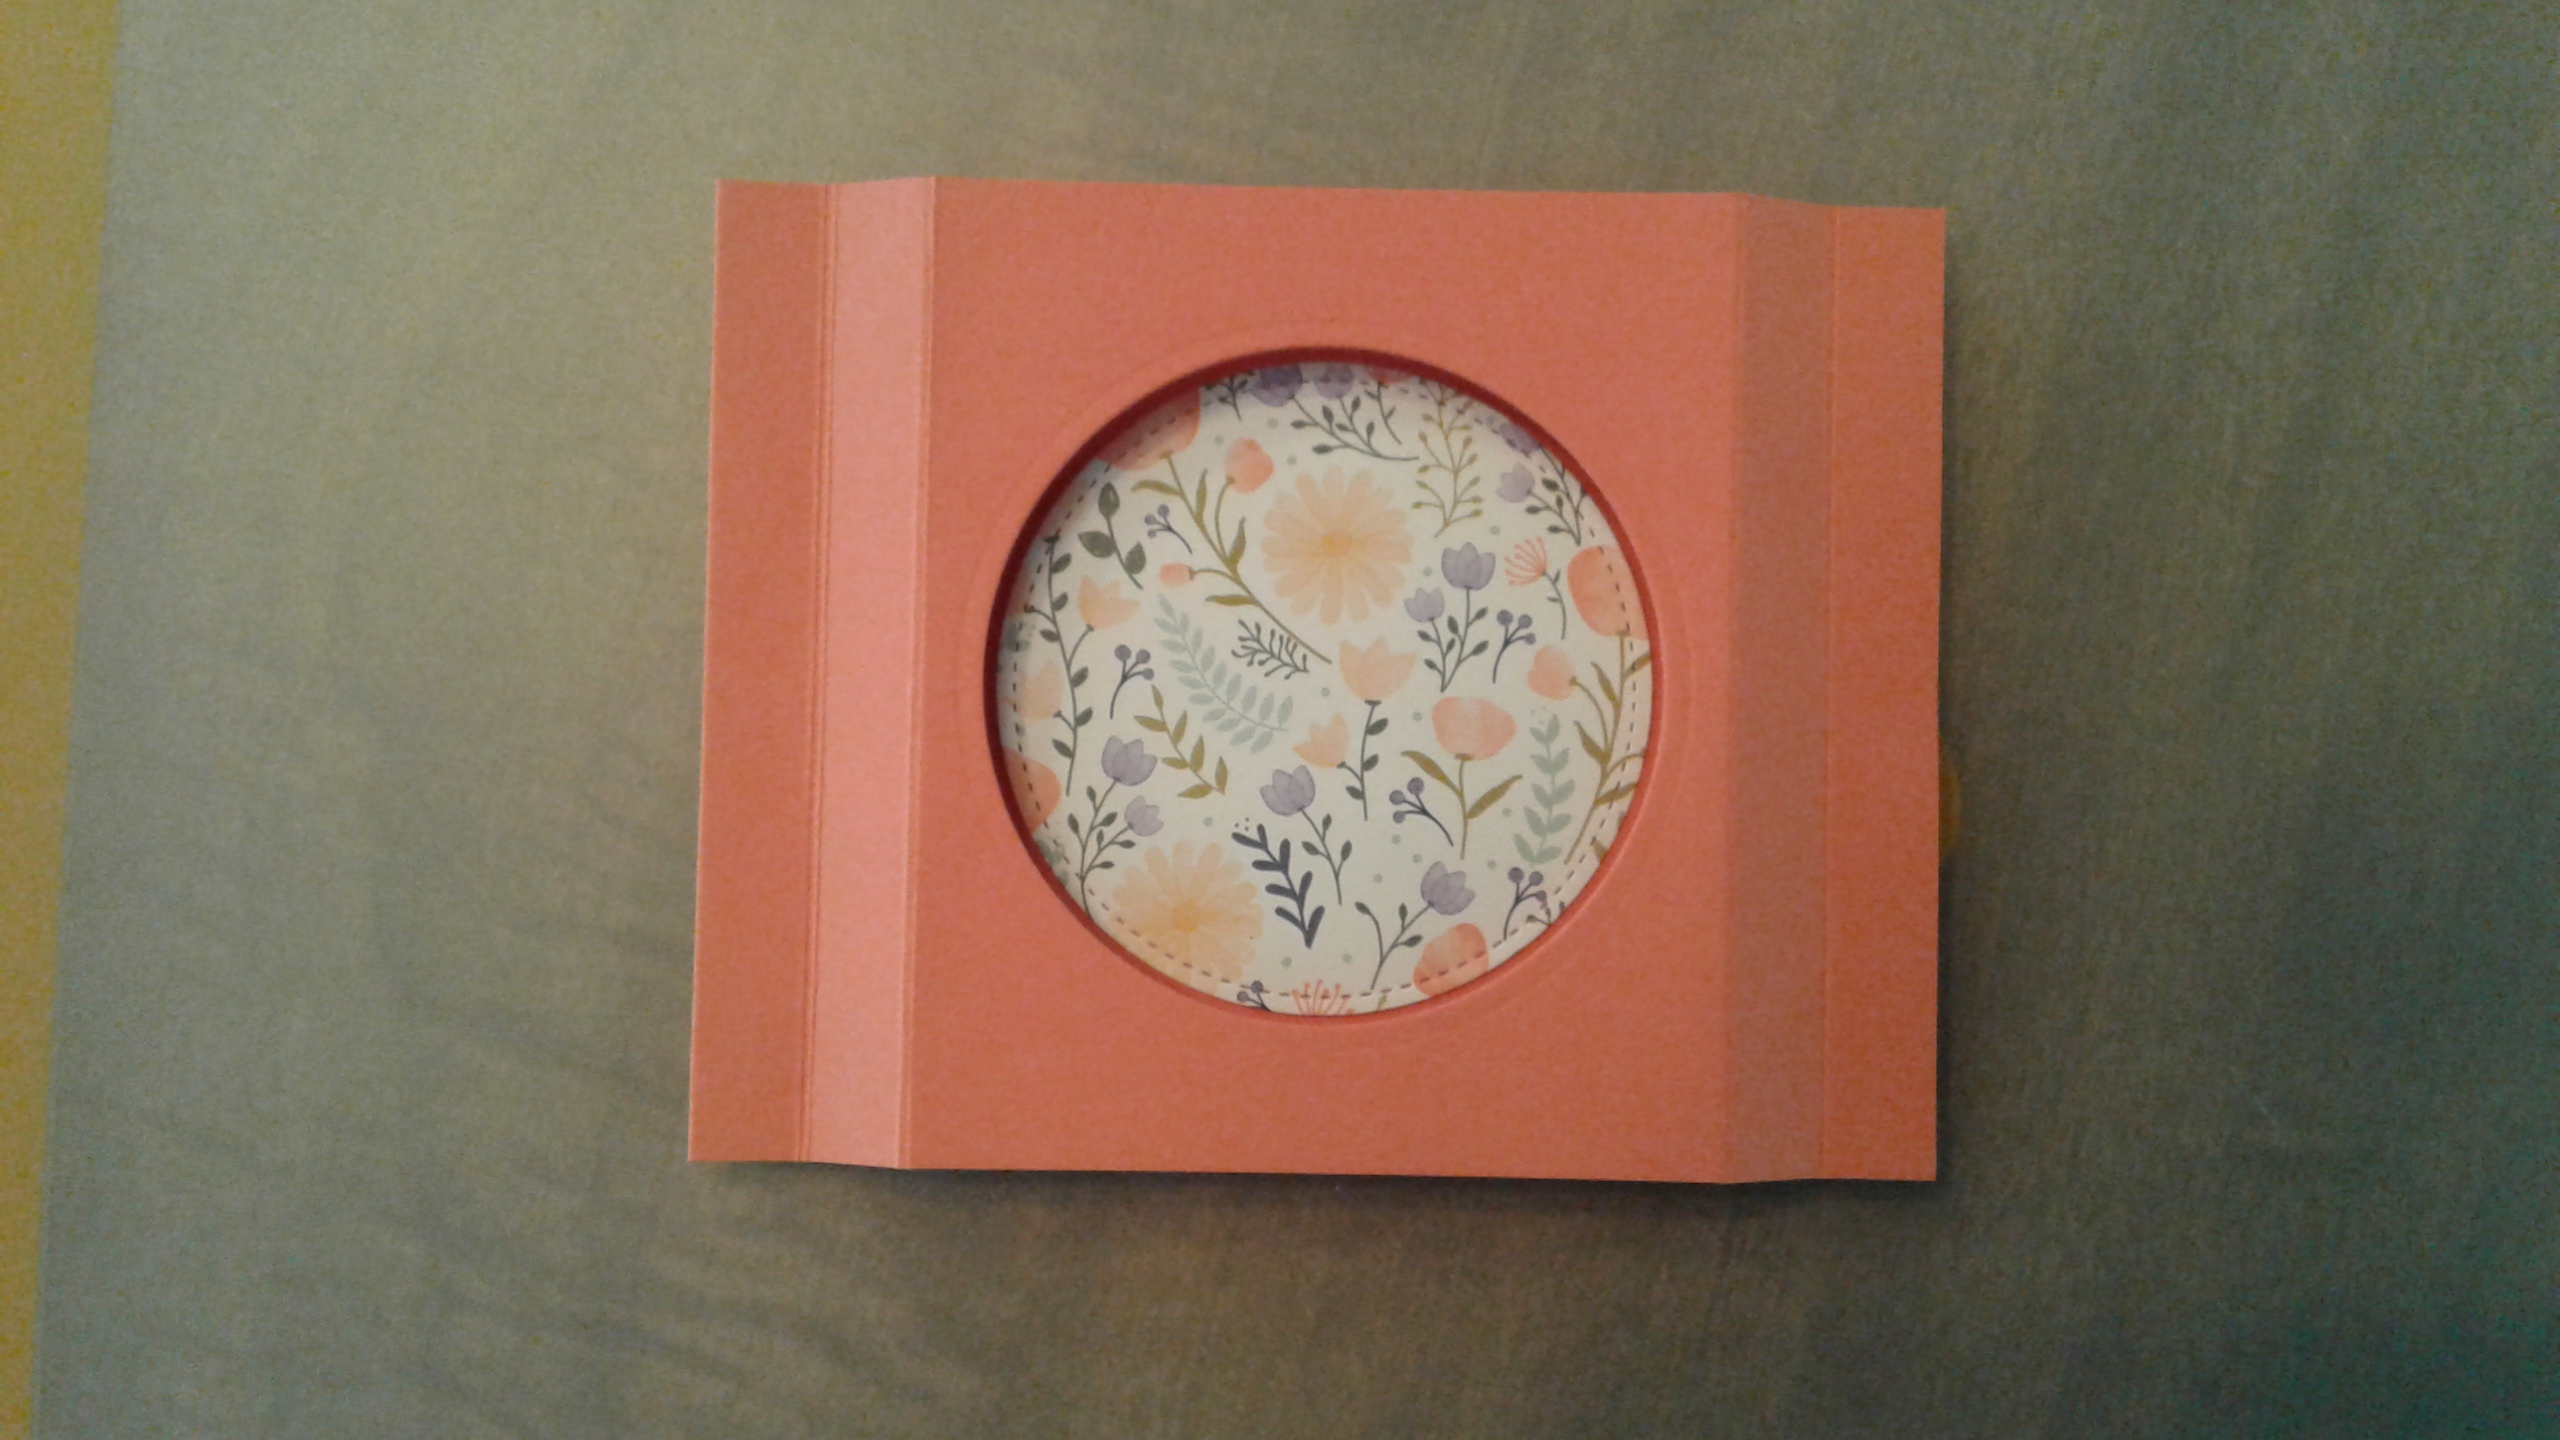
- Glue the DSP circle in the middle of the back of the shadowbox card. You can easily line up the circle with the die cut circle on the front of the card. Check out the picture below for reference.
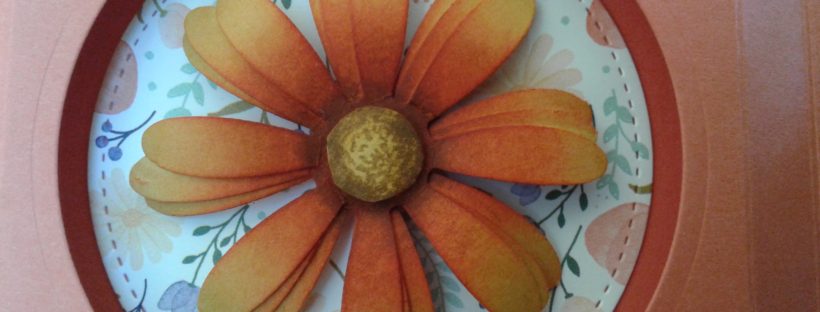
- Now, it’s time to work on the flower. Take a look at the close-up picture of the flower.
- Use Crushed Curry cardstock to punch three daisies using the Daisy Punch.
- Grab your sponge and Calypso Coral ink and add color in the middle of the petals. Be sure to leave the ends without ink to allow the Crushed Curry color to show.
- Use your bone folder to give shape to the daisy petals. Then, glue the daisies together, as pictured. Group the petals in sets of three to make the flower look like the wild flowers I found at Holden Beach.
- Stamp a flower center from the Daisy Delight stamp set onto Crushed Curry cardstock with Soft Suede ink. Fussy cut the flower center. Use your finger or a bone folder to give the flower center some depth. When you’re done, the flower center will have a slight dome shape. Use dimensionals to adhere the flower center to the daisy petals.
- Get a small paint brush or a piece of sponge to add Soft Suede ink to the outside of the flower center and slightly onto the petal area near the flower center. This coloring will add depth and will make the flower pop.
- I used stamps from the Daisy Delight stamp set to add a personal touch to the card.
- Finish the card by adhering your flower in the middle of the die cut circle.
- Stand back and admire your work!!
I hope you’ve enjoyed learning more about this card and how to make it. The main products that I used to make the card are pictured below. If you click on any product, you’ll go to my on-line store.
Happy stamping!
Laurie
|
|
|
|
|
|
||
|
|
|
|
