Happy Saturday! I hope you are keeping warm and enjoying the start of your weekend. Remember – Stamping is a great distraction from the cold weather!
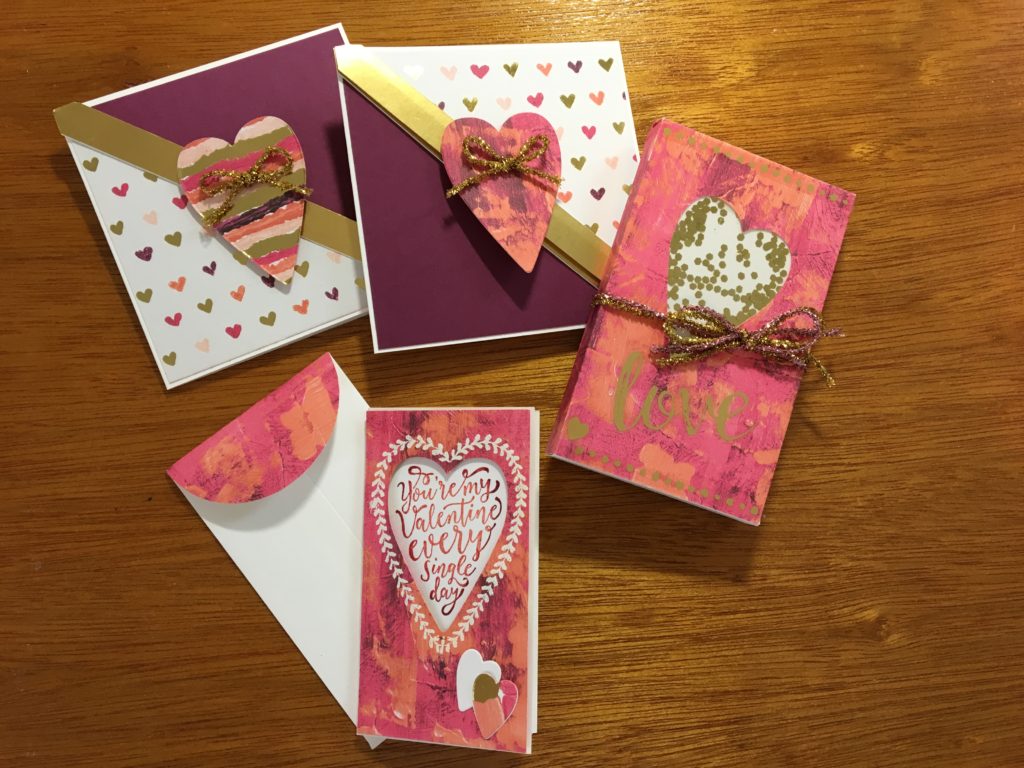
I also hope you find the picture below inspiring. Each of the three projects using products from the Painted with Love Suite in the Occasions Catalog (pages 18 and 19). You may have been drawn to this suite by the gorgeous Painted with Love Specialty DSP as I was, but I guarantee you’re going to love the other Painted with Love suite products.
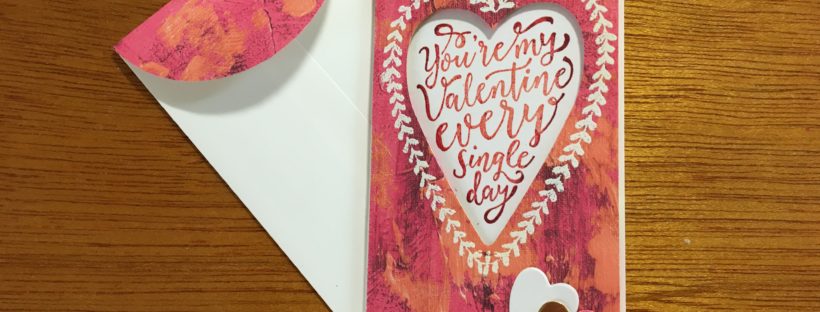
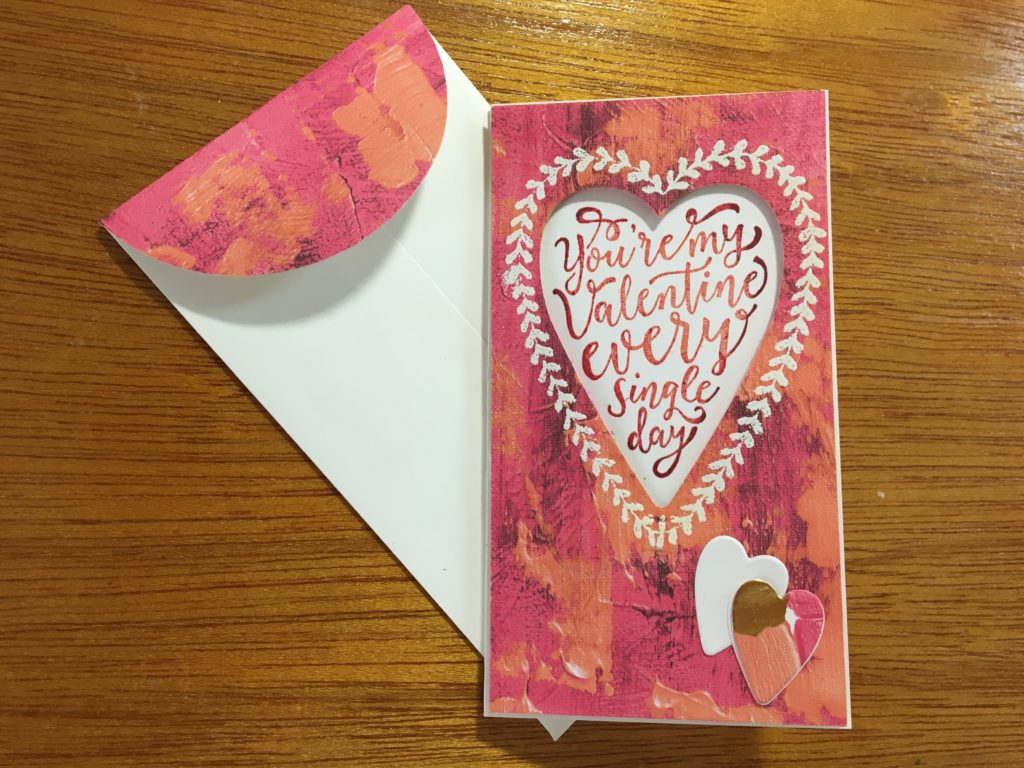
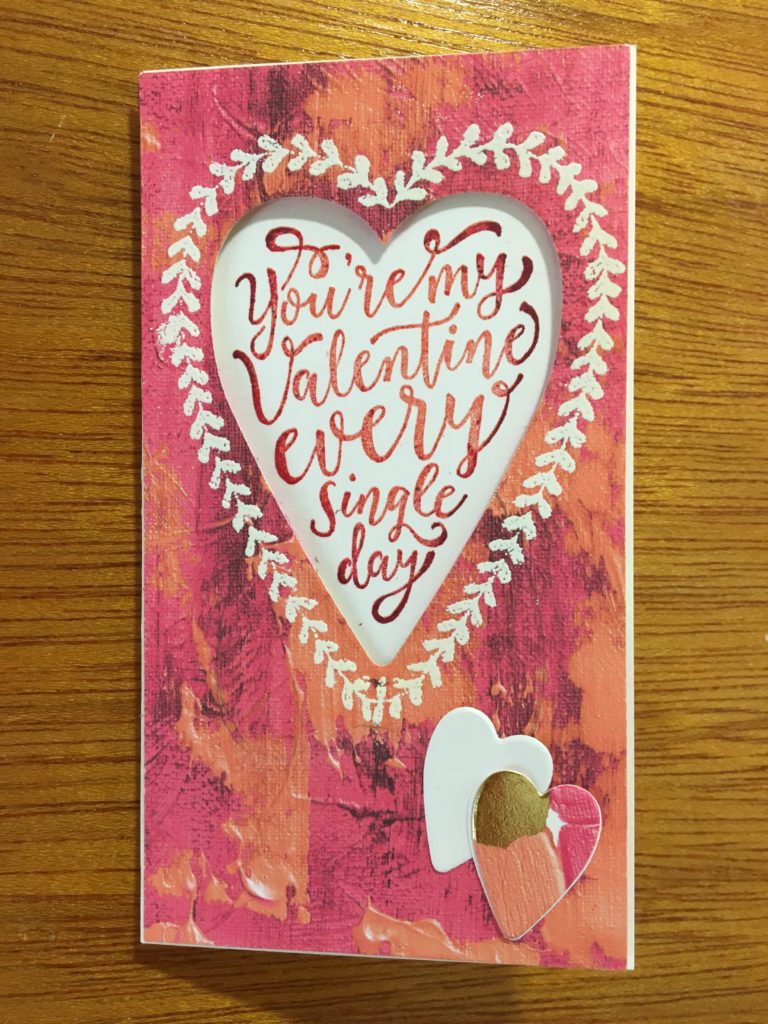
Earlier this week, I posted pictures and directions for the box made with the box die from the Lots to Love Box Framelits Dies. If you missed that post, please check here. Today, I am going to share tips and tricks to make the Valentine card pictured below. In the next few days, I’ll post more information and details for the third project pictured above.
This Valentine’s Day card features the new Whisper White Narrow Note Cards and Envelopes (page 19 of the Occasions Catalog). They are the same weight as the larger Whisper White Note cards and fit perfectly inside boxes made with the box die from the Lots to Love Box Framelits Dies. The cards are also a great way to top a gift and to give as a simple note to brighten someone’s day. Here are the directions for the card:
- Cut a piece of your choice of the Painted with Love Specialty DSP to 2 3/8″ x 4 3/8″. You may have a hard time narrowing down which piece of DSP to use since they are all amazing!
- Use Whisper White Craft Ink to stamp the lovely heart outline image from the Sure Do Love You stamp set onto the DSP as pictured. Then, heat emboss the heart image with White Embossing Powder.
- Use the largest heart die from the Lots of Love Box Framelits Dies to die cut the heart shape in the middle of the heart outline that you have heat embossed.
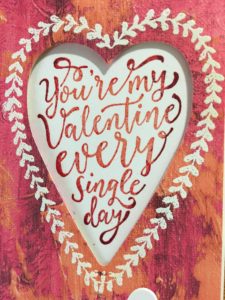
- The sentiment is from the Sure Do Love You stamp set on a piece of Whisper White cardstock cut to 2 1/4″ x 3 1/2″. I used and updated “Rock and Roll” technique to stamp the sentiment. [Okay – Raise your hand if you know what the “Rock and Roll” technique is!] If you think of the sentiment stamp as being in three concentric circles, my stamping explanation should make sense! I stamped the inside circle (the middle) in Calypso Coral. The next circular section (I guess really more of a doughnut shape) was stamped in Melon Mambo, overlapping the Calypso Coral just a bit. The outer section is stamped in Rich Razzleberry, overlapping the Melon Mambo a little. [Confession – I also used a MISTI to stamp the sentiment. This allowed me to play with the coloring to get it exactly as I wanted it. SOON – We’ll be able to use the new SU! Stamparatus to do this technique!!] Take a look at the picture below to get a better view of the layers of colors in the sentiment.
- To attach the sentiment to the DSP, put dimensionals on the stamped sentiment piece. Place the dimensionals on the paper around the sentiment to make sure they won’t be seen when you place the DSP piece over the top.
- Attach the DSP piece to the front of the note card. Use dimensionals again for this. Put your dimensionals in the four corners of the DSP and just below the die cut heart.
- Add a few die cut hearts to the front of the card for a finished look. I used Whisper White cardstock and a piece of the Painted with Love Specialty DSP for the hearts. I also die cut the hearts with the narrow shaped heart from the Lot to Love Box Framelits Dies set.
- To finish the envelope, use a piece of the Painted with Love Specialty DSP (again your choice of design) cut to 1 1/2″ x 3″. Glue to the envelope flap and trip to fit the shape of the flap.
Below are the main products that I used to make all the projects shown in the first picture in this post. If you click on any picture, you’ll go to my on-line store.
Remember, during Sale-a-Bration (through March 31), for any $50 order you have, before shipping and tax, you can choose one FREE product from the SAB Brochure. Click here to see the SAB Brochure. Also, there are two FREE SAB gifts for any $100 order, before shipping and tax.
Happy Stamping!
Laurie
|
|
||
|
|
||
|
|
||
|
|
||


One thought on “Stamp Club Preview”
Comments are closed.