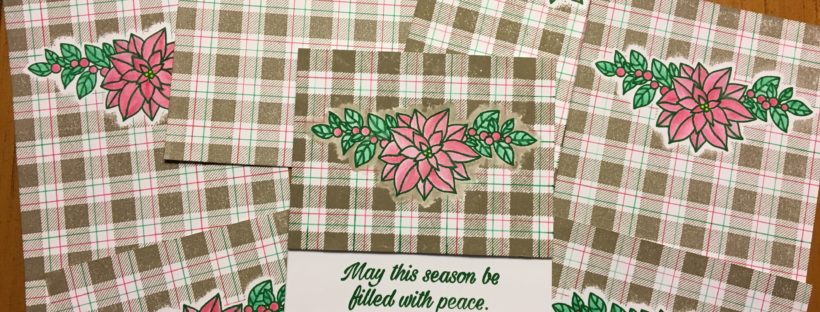
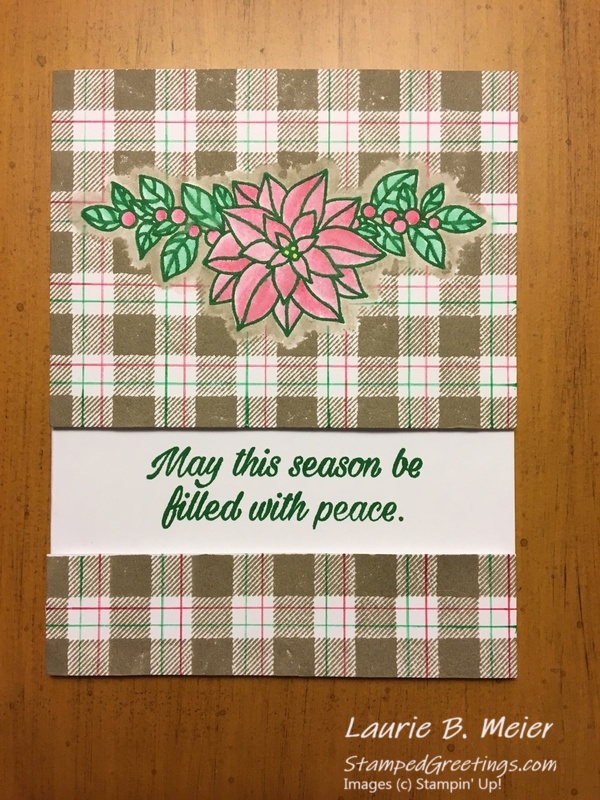
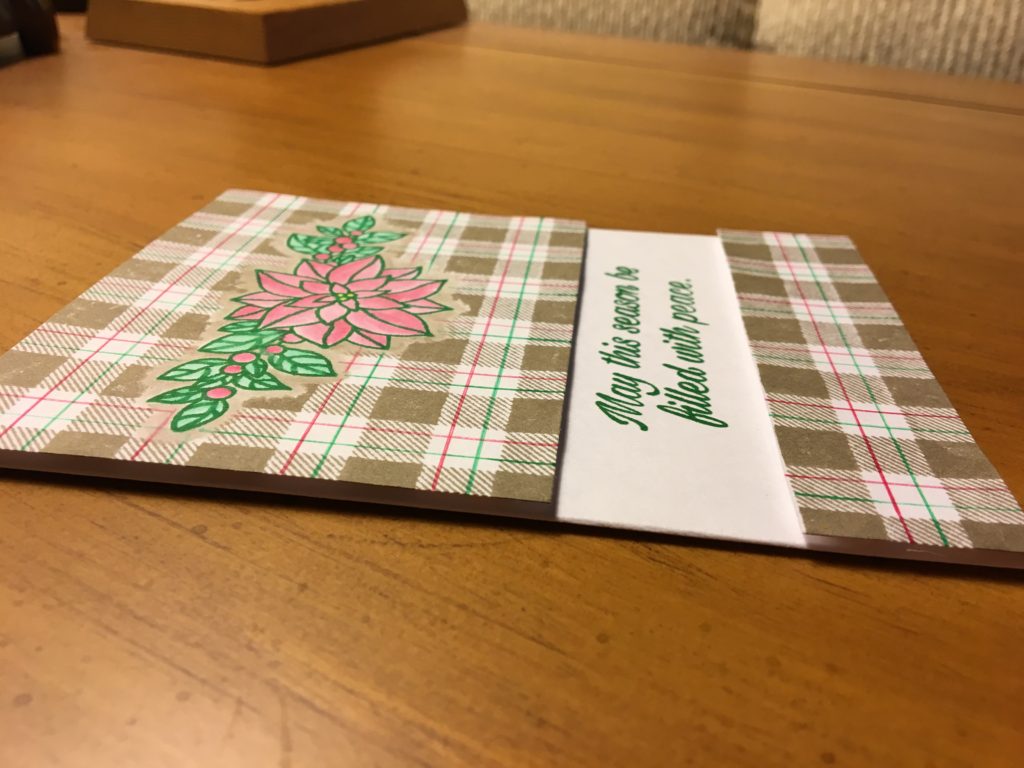
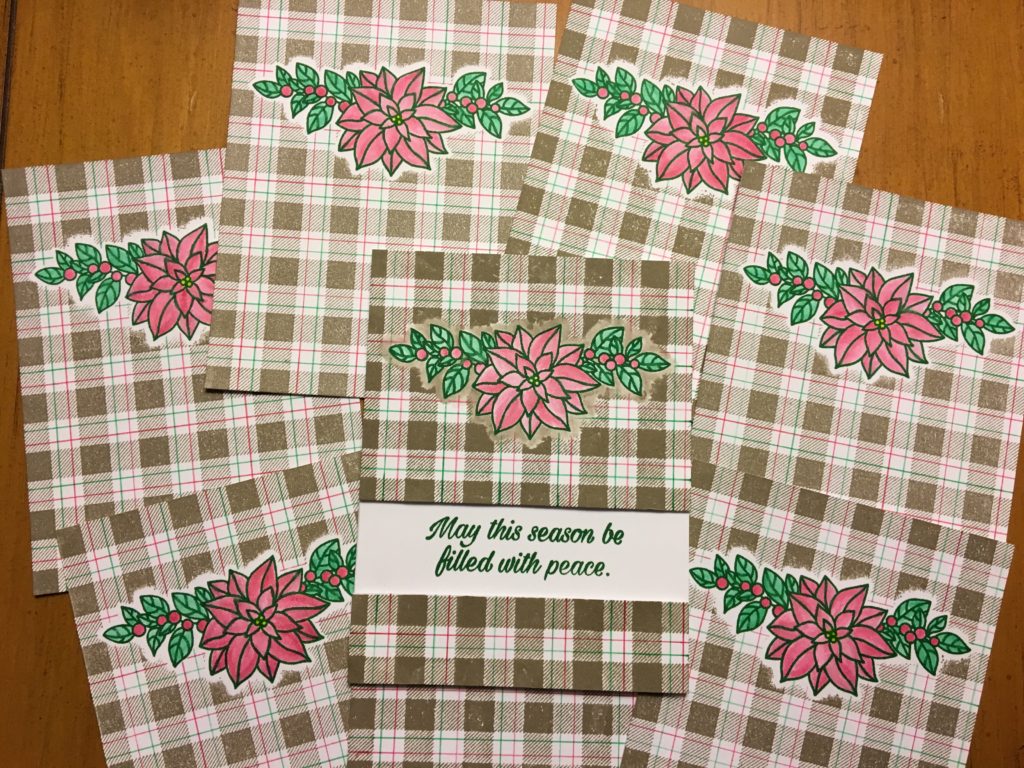
Yesterday afternoon, our monthly Stamp Club members got together and made three festive cards. The card I’m sharing below is the first of the three that I’ll post. We had a great time making the plaid pattern with the Buffalo Check background stamp and masking the beautiful poinsettia image from the Peaceful Poinsettia stamp set.
Masking is one of my favorite techniques since it can make a one layer card look multi-dimensional. This card was especially fun with the amazing plaid background.
Here are the steps that we used to create the card.
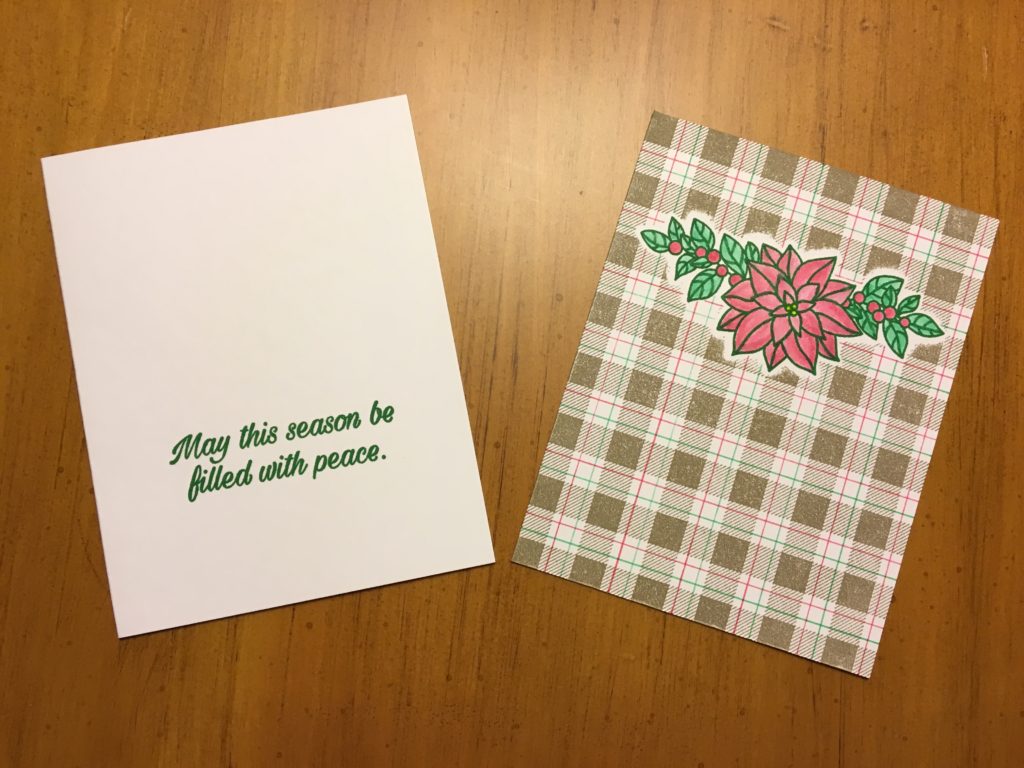
- The card base is Whisper White card stock cut to 5 1/2″ x 8 1/2″, scored at 4 1/4″ on the 8 1/2″ side.
- The card front is Whisper White card stock cut to 4 1/4″ x 5 1/2″.
- The first step is to stamp the poinsettia image from the Peaceful Poinsettia stamp set onto the card front with Call Me Clover ink. Position the image as pictured.
- Next, use the poinsettia outline die from the Detailed Poinsettia Thinlits Dies set to cut a mask to put over the stamped image. The die fits perfectly around the stamped image. I suggest cutting the mask from copy paper or a post-it note. These types of paper are very thin and will give you good results for masking. Use a two-way glue pen to add some glue that will dry to just be tacky. You’ll then be able to use the die cut paper like a post-it note over the stamped image.
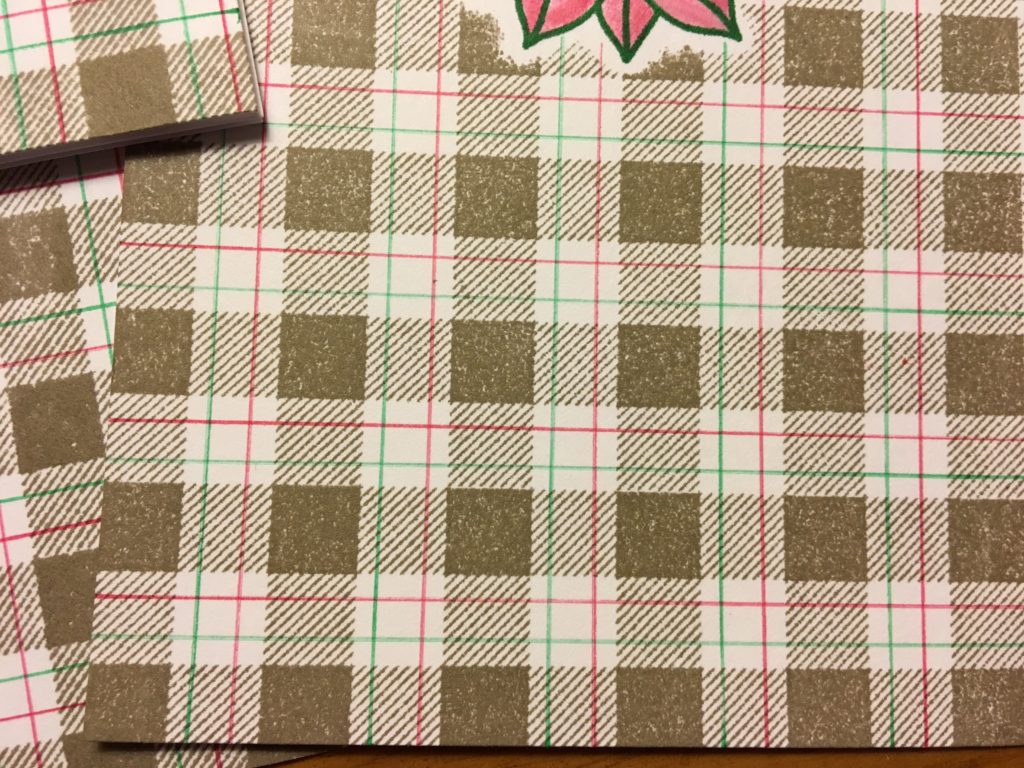
- The next step is to stamp the Buffalo Check image over the entire card front. In other words, you want to stamp the Buffalo Check image over the masked stamped poinsettia image. To do this, put a glue dot on each corner on the back of the card front piece. Put a piece of paper on the base of your Stamparatus. Lay the card front onto the base. The glue dots will hold the paper in place. Position the Buffalo Check on your Stamparatus plate to ensure the stamped image will cover the entire card front. Use the amazing new Gray Granite ink to stamp the Buffalo Check background stamp. You may need to add extra pressure when you stamp to make sure the checks are stamped well around the masked image.
- Now, it’s time to add the additional colored lines to get the plaid pattern. Grab your Call Me Clover and Lovely Lipstick Stampin’ Write Markers and an acrylic ruler. Draw lines with the smaller end of the markers to add color. Use the picture as a guide.
- When you’re happy with the results, take the card front off the piece of paper. Carefully take of the mask over the poinsettia stamped image.
- Use a Blender Pen to color the poinsettia image with the following In-Colors: Call Me Clover, Lovely Lipstick, and Pineapple Punch. I used a stamping block as my palette and scribbled a little color from my Stampin’ Write Markers onto the block. Then, I picked up the color from the block with my Blender Pen.
- After you’ve colored the poinsettia image, you can fill in the white space around the image with Gray Granite ink again using your Blender Pen. I found adding the Gray Granite ink around the image added a nice touch to the design.
- Stamp the “May this season be filled with peace.” sentiment from the Peaceful Poinsettia stamp set onto the card base. Use Call Me Clover ink to stamp the sentiment. Use the picture for placement of the sentiment.
- To finish the card, you will cut the card front as pictured to allow the sentiment on the card base to be seen between the two card front pieces. Use your ruler to decide where to cut the card front. Use dimensionals to add the two card front pieces to the base.
I hope you will use this design to either CASE this card or to make another card using your choice of stamps and colors. There are endless possibilities!
Below, the main products that I used to make this card are shown. Click on any picture and you’ll go to my on-line store. Enjoy!
Happy stamping!
Laurie
|
|
||
|
|
||
|
|
|
|
|
|
