You may have seen turnabout stamps that are available from some stamp companies. They are really amazing! Here is how they work – A piece of paper is place in a stamp positioner. A multi-image stamp is placed on the plate, inked, and stamped onto the paper. The paper is then turned, and the same multi-image stamp is stamped again with a different color. The paper is turned yet again, and the same multi-image stamp is stamped with a third color. This process is repeated until the full image is stamped in several colors.
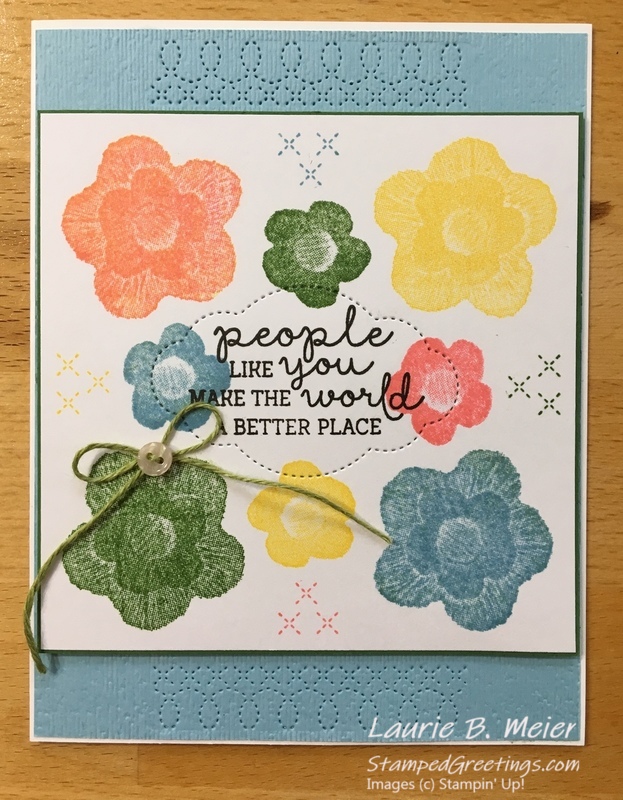
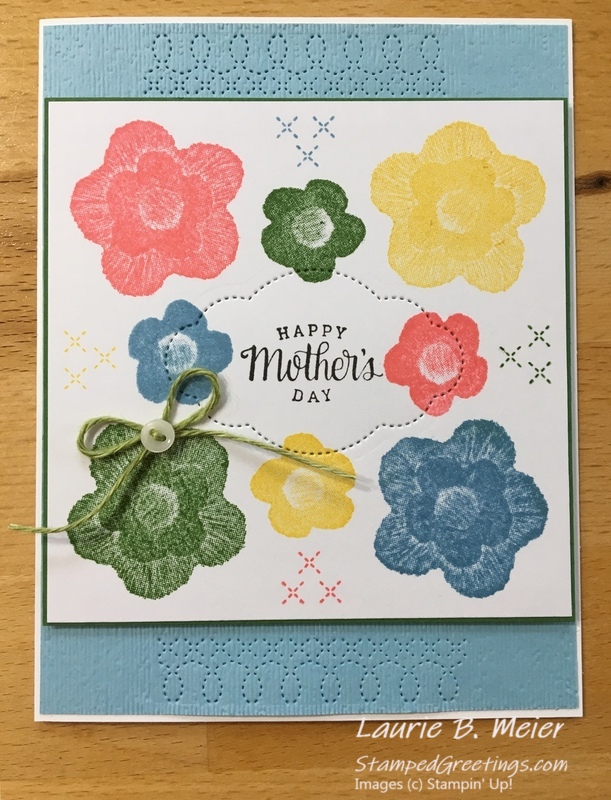
I decided to create my own turnabout design with some of the images in the Needle & Thread stamp set. Below are a few examples of the cards I created.
To recreate these cards, follow the steps below:
- Cut a piece of Whisper White card stock to 4″ x 4″. Put that card stock piece into the corner of your Stamparatus.
- Place the large and small five-petal flowers from the Needle & Thread stamp set on your Stamparatus plate as shown in the design. Hint: Choose one of the four colors to focus on to put the stamps on your Stamparatus plate.
- Add the three cross-stitched stamp to the plate, as shown on the example cards.
- Before you make your card, test the “turnaround” pattern with black ink.
- Ink the stamps, and stamp the images onto the Whisper White piece. Rotate the Whisper White piece 90 degrees, and restamp the images. Keep stamping until you have stamped four times and have filled-in the pattern. You’ll be able to tell if the stamps are in the right position on the plate if the images don’t overlap. Then, you’ll be ready to stamp the front for the card.
- The final Whisper White 4″ x 4″ piece is stamped with the following four ink colors: Flirty Flamingo, Crushed Curry, Garden Green, and Tranquil Tide.
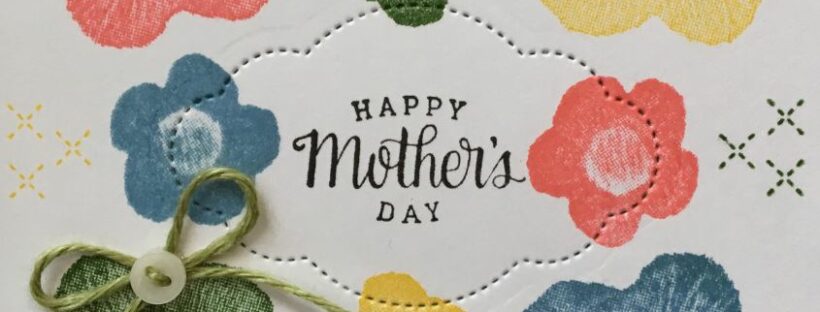
- Stamp your choice of sentiment in the middle of the Whisper White piece. Use your Stamparatus to position the sentiment. In my examples, I used “people like you make the world a better place” stamp from the Needle & Thread stamp set and also “Happy Mother’s Day” from the Tea Together stamp set.
- Use the label dot die from the Needlepoint Elements Framelits Dies to add a great pierced dot outline around your words.
- Finish your card by adding a border behind the Whisper White piece with a piece of Garden Green card stock cut to 4 1/16″ x 4 1/16″.
- Add a piece of Balmy Blue card stock cut 4 1/8″ x 5 3/8″ to the front of the Whisper White card base cut to 5 1/2″ x 8 1/2″, scored at 4 1/4″ on the 8 1/2″ side. I embossed the Balmy Blue piece with the Subtle Dynamic Textured Embossing Folder. Then, I used the long, thin accent dies from the Needlepoint Elements Framelits Dies to add interest on the top and bottom of the Balmy Blue piece, as pictured.
- The final touch is a Needlepoint Nook Mini Button and Old Olive Linen Thread tied into a bow.
There are infinite possibilities with creating your own “turnabout” designs. I really hope you have fun experimenting! Please share your cards!
Below are the main products that I used to create these cards. If you click on any picture, you’ll go directly to my on-line store.
Happy stamping!
Laurie
|
|
||
|
|
|


