Welcome to the NC Demos July Blog Hop! I hope you just hopped over from Ariel Matera’s post and enjoyed it as much as I did! She is such an amazing artist! Thank you so much for stopping by to see my project for this month’s blog hop.
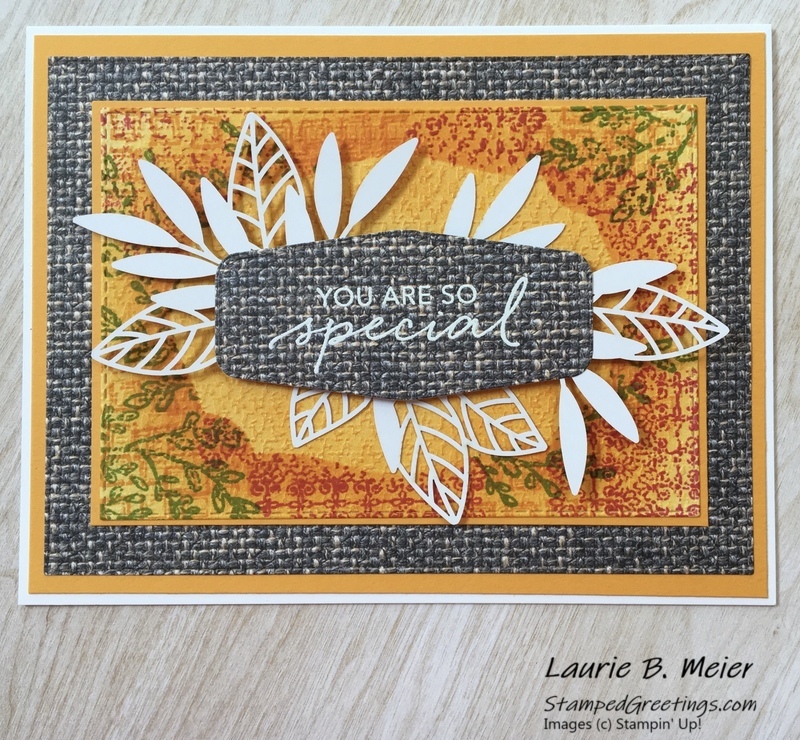
Our theme this month is celebrating summer. When I think of summer, there are so many things that come to my mind, and they all include bright, vivid colors. I decided to use products from one of my favorite new suites – In Good Taste – and add some colors that remind me of summer flowers, being outside, and just having fun. The design is one that I hope you CASE and make cards for many occasions.
Here are some directions and measurements for the card –
- Start with a card base made with Thick Whisper White card stock cut to 5 1/2″ x 8 1/2″, scored at 4 1/4″ on the 8 1/2″ side.
- The next layer is a piece of the gorgeous Mango Melody card stock cut to 4 1/8″ x 5 3/8″. There is also a piece of Mango Melody card stock that frames the focal point. It is measured 3 1/8″ x 4 1/2″.
- The next layer is a piece of the truly beautiful In Good Taste Designer Series Paper (DSP). I used the largest die in the Stitched Rectangles Die collection to cut the DSP piece. This piece is also used for the sentiment 🙂
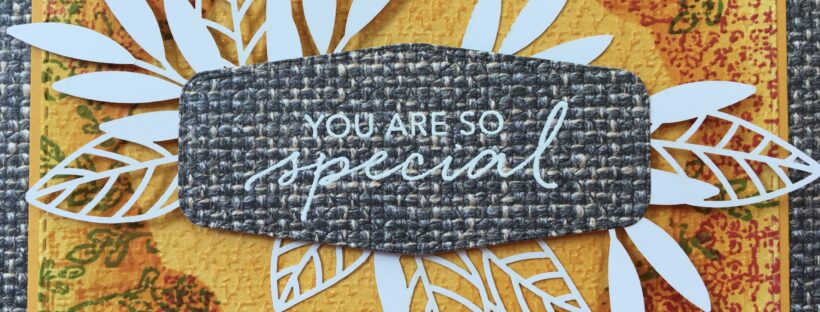
- To create the sentiment, use your Embossing Buddy (retired) or another tool to make sure the DSP piece doesn’t have static electricity built up before you heat emboss. Use Versamark to stamp “You are so special” from the Tasteful Touches stamp set onto the middle of the DSP piece you’ve cut. Liberally cover the stamped sentiment with White Embossing Powder and heat set with a heat gun. Cut the sentiment out by using your choice of dies from the Tasteful Labels die collection. There will be a gaping hole in the middle of the DSP piece that you’ll put behind the focal point, but no-one will ever know 🙂
- Now – it’s time to create the focal point for the card. Start with a piece of Whisper White card stock. This piece will end up being die cut with the third largest die from the Stitched Rectangles Dies collection which means that it can be a scrap piece. Just make sure that the piece is big enough to cut with the die. The die measures about 3″ x 4 1/4″.
- Emboss the Whisper White card stock piece with the Tasteful Textile 3D Embossing Folder. If you don’t have this embossing folder, just trust me on this, you really need it! The embossed texture is amazing!
- Grab your favorite ink blending tool and add a light layer of Mango Melody ink all over the embossed piece. Go pretty light on the ink. You can always add more ink later.
- Next, you’re going to make a mask to put in the middle of the ink blended piece. I used a large Post-It note and one of the dies from the Tasteful Labels die collection. To make the the die cut Post-It note a little more tacky, I added some two-way glue. You can find two-way glue pens in the “big box” stores. After the two-way glue set (it only takes a few minutes), I had a great Post-It note mask for my card. Put the mask in the middle of your ink blended piece.
- Now, you’re going to add a little more Mango Melody ink with your ink blending tool. And, you’re going to focus on the area right by the edges of the mask. Essentially, you’re making sure that you’ll have a clearly defined area that will show off the shape of your mask.
- Leave the mask where it is!!! And, no peeking yet!
- The next step is stamping (with the mask in place)! Get three different stamps and three colors of ink. I used three stamps from the Tasteful Touches stamp set, and I used three ink colors – Mango Melody (for the square shapes stamp), Magenta Madness (for the iron works filigree stamp), and Granny Apple Green (for the foliage stamp). When you stamp onto an embossed surface, you may need to slightly rock your stamp to get the ink to go into the crevices of the embossed area.
- When you’re happy with the stamping, you can take off the mask and see the beautiful results. Trust me you will gasp out loud when you take the mask off 🙂
- Die cut the focal piece with the third largest die in the Stitched Rectangles Die Collection.
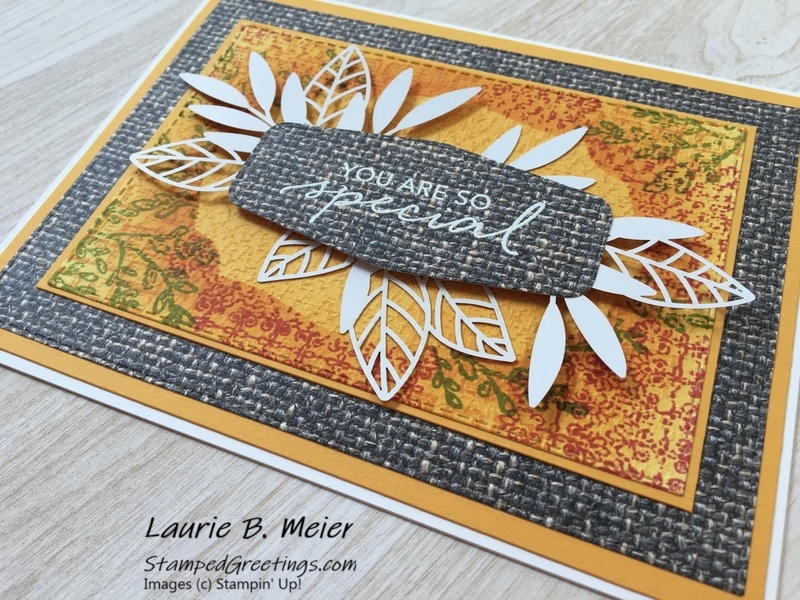
- To put the card together, directly adhere all the layers together until you get to the sentiment. I popped up my sentiment with a few dimensionals.
- Finish the card with your choice of embellishments. I chose to use some of the pieces from the Forever Gold Laser-cut Specialty Paper.
I hope you will use this design to CASE your own cards. Please share them! I would love to see what you make 🙂
Now, hop on over to Sue Root’s post. I know she has an amazing project to share with us! Below you’ll find a list of all the folks who are participating in this month’s blog hop. Be sure to check out everyone’s projects.
NC Demos Blog Hoppers for July!
Jo Anne Hewins
Tina Lesson
Tracie Evans Langley
Toni Campana
Amy Kinler
Ariel Matera
Laurie Meier <— YOU ARE HERE
Sue Root
Nedine DuPree
The main products that I used to make my card are shown below. Click on any picture below and you’ll go to my on-line store.
Happy stamping!
Laurie
|
|
|
|
|
|


Very pretty card
Thanks so much, Tina!
I just love that DSP! Of course the dies are now my go to. Great use of them. Thanks for the share.
Thanks, Amy! I am surprised that my Stitched Rectangles dies haven’t broken yet since I use them so much. They are awesome!
I love your card, Laurie, and the layout is definitely one I will be Case it!
Thanks, Toni! It’s a fun design to switch up for any occasion!
Great technique. I’ll have to try it. Love the summery colors!
Thanks, Jo Anne! It was fun to use some bright colors in the design!
Laurie, what a beautiful card! You card is so cheerful in a very elegant way.. What a great idea to mask the center and I love that you stamped your greeting on the DSP! Thanks for sharing!
Thanks, Tracie! I’m definitely having fun with different kinds of ink blending lately 🙂
This card is everything! I love the textures and the colors!
Nedine – Thank you so much!!! The card was a lot of fun to make 🙂