Welcome to the January NC Demos Blog Hop!! I hope you just hopped over from Nedine’s post, and I’m sure you agree she had an amazing project to share. Thank you so much for stopping by my post!
This month, we are focused on celebrating good times as SU!’s Sale-a-Bration (SAB) is going on through the end of March. This is my absolute favorite time of the SU! year since we can all qualify for FREE SAB products. If you haven’t seen the SAB brochure, click on the picture below to see the amazing products that are offered.
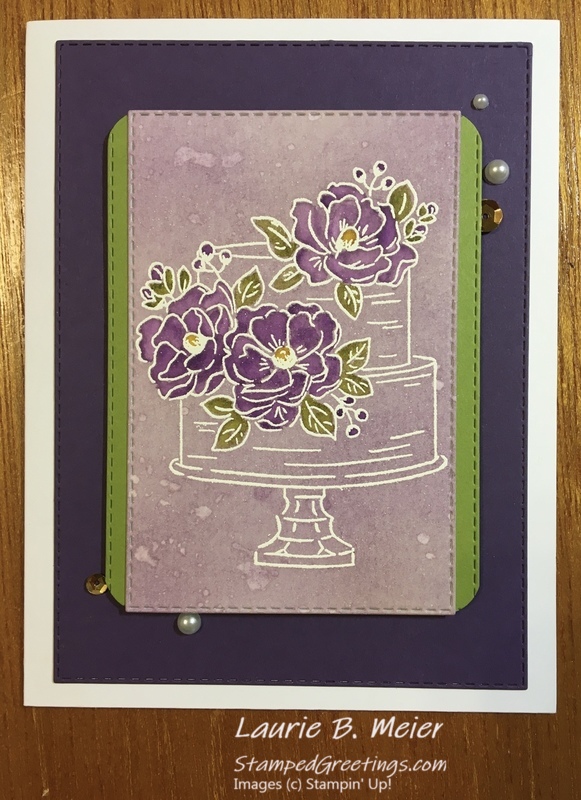
My favorite SAB stamp set (so far 🙂 ) is the beautiful Happy Birthday to You set that is featured on page 8 of the brochure. It is FREE with a $50 purchase!!! Below, you’ll see the card that I am sharing this month. The primary technique is an easy emboss resist.
This card design is perfect for many celebrations – birthdays, anniversaries, weddings, Mother’s Day, thank you, hello, and many more. Simply change the greeting that is stamped on the inside of the card.
Here are the steps that I used to create the card.
- Start with a piece of Watercolor paper. Prep the smoother side for heat embossing by gently rubbing the Embossing Buddy over the surface.
- Use Versamark to stamp the cake image from the Happy Birthday to You set on to the center of the Watercolor paper.
- Grab a piece of copy paper or scrap paper, hold the stamped Watercolor paper over the copy/scrap paper. Liberally sprinkle (okay – just pour!) Clear Stampin’ Emboss Powder over the stamped cake image. Versamark is a great “ink” to use for heat embossing. The excess powder will fall onto the copy/scrap paper. Use the copy/scrap paper to funnel the excess powder back into the container.
- Heat set the embossing powder. You can tell if all the powder has been melted by holding the Watercolor paper under a light and tilting the paper to make sure all parts of the image look melted.
- Next, get your Stampin’ Sponge (or your favorite color blending tool, and your Highland Heather ink pad. Sponge on the color over the embossed image. Continue adding color until you have the desired intensity.
- At this point, I like to add a few drops of water to add some texture to the background. This step is completely optional. If you do want to add the drops, get your Aqua Painter and fill the barrel about half way with water. Squeeze the barrel until you feel water on the brush. To create the water drop look, hold the Aqua Painter about 6″ over the colored Watercolor paper, bend the brush bristles towards you, then let the bristles go. This will result in some water drops landing on the Watercolor paper. You can blot the water drops with a paper towel or let them dry. If you’re impatient to allow them to dry, use your heat gun to speed the process along. If the water drops effect looks too white, simply add more color over the area with your sponge and Highland Heather ink.
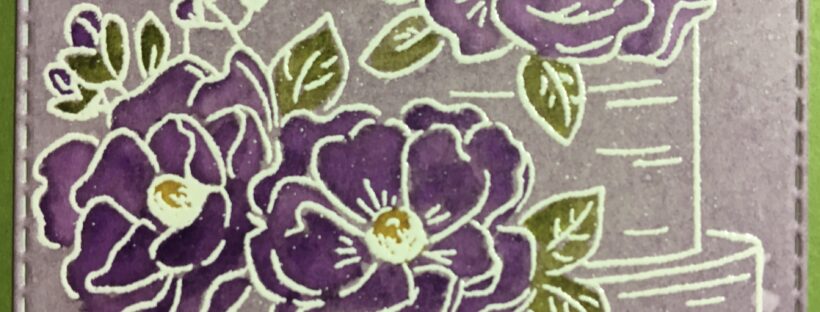
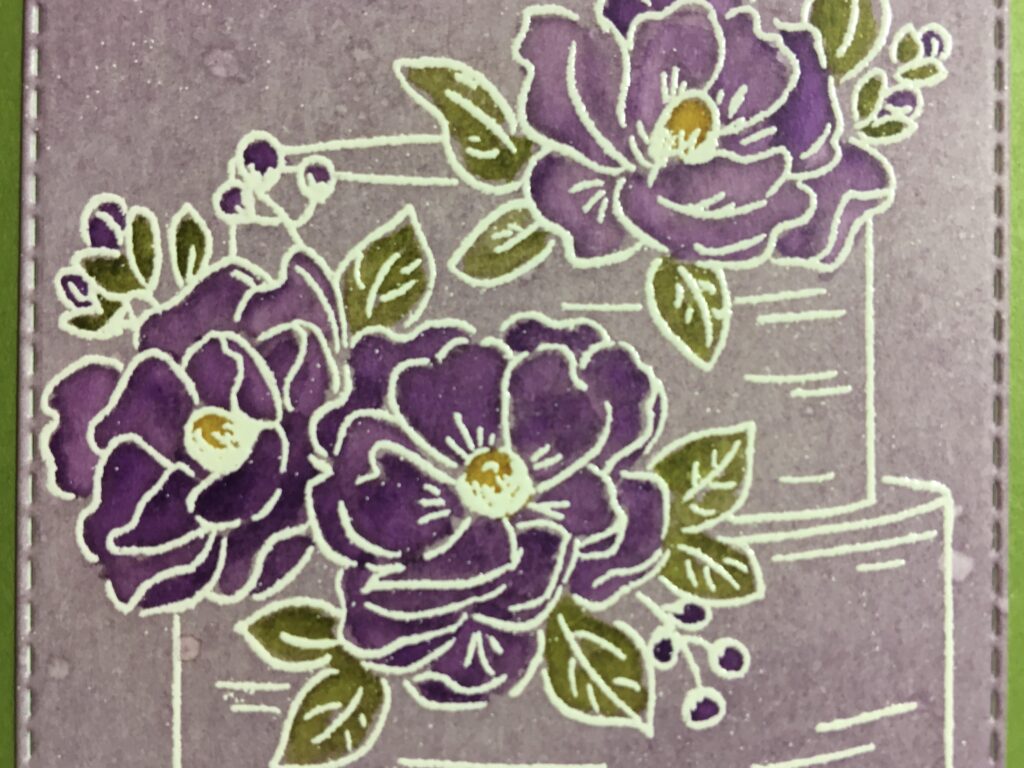
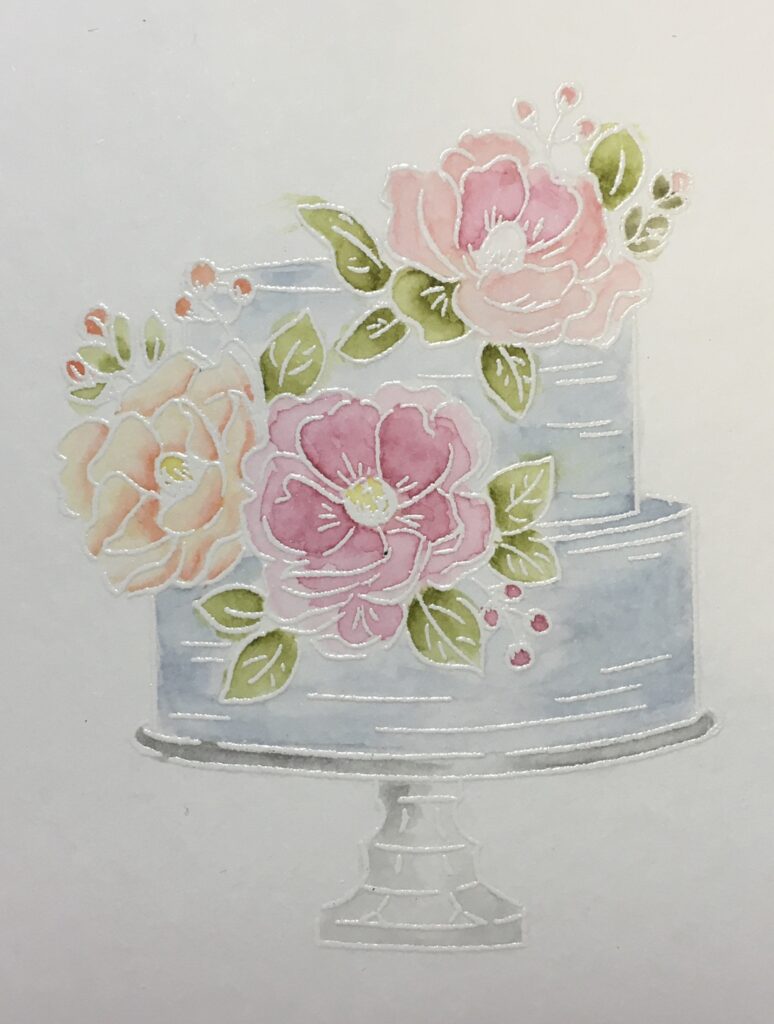
- Confession – I LOVE coloring! As a child, I don’t remember that I really liked coloring… but, as an adult, I find the coloring process incredibly relaxing and very fun 🙂 Notice that I only colored the flowers and leaves on the card front.
- The color is added using an Aqua Painter. Get one of your stamping blocks and these ink pads – Highland Heather, Blackberry Bliss, Old Olive, and Crushed Curry. “Stamp” some of each color onto your block. You may want to put one color in each corner. To color the image, gently squeeze a little water into the brush of your Aqua Painter and pick up just a little ink from the block. Fill in the petal, leaves, and middle of the flower with the appropriate colors. It is really fun to add both Highland Heather and Blackberry Bliss to the flowers and blend the colors together. When you spread the color inside a petal, for example, use just a little bit of water to help move the color where you want it to go.
- When you’re done “painting” with one color, simply brush off the excess ink onto a scrap piece of Watercolor paper, cardboard, or a paper towel.
- Great tip – Don’t feel rushed about finishing your coloring. If the “stamped” colors on the stamping block dry, no issue. The inks will be reactivated with the Aqua Painter. I have left the “stamped” blocks, literally, for days and have come back and finished a project.
- To finish the card, die cut the colored cake image with your choice of dies from the Stitched Rectangle Dies collection.
- Use the same die to cut a piece of Old Olive cardstock. Cut the die cut piece in half, round the corners, and adhere the pieces underneath the cake image piece, as shown.
- Create a card base from Thick Whisper White cardstock. Add a die cut piece of Blackberry Bliss cardstock. I used the largest die from the Stitched Rectangle Dies collection for this piece. Adhere the Blackberry Bliss piece directly to the card front.
- Use dimensionals to add the cake focal point piece to the middle of the card.
- Finish the card by adding a little “bling”. The sequins that I used were extra pieces from a recent Paper Pumpkin kit.
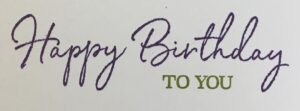
- If you want, add a sentiment to the inside of the card. I used Blackberry Bliss and Old Olive to add “Happy Birthday” and “to you” to my card. These stamps are also included in the Happy Birthday to You stamp set.
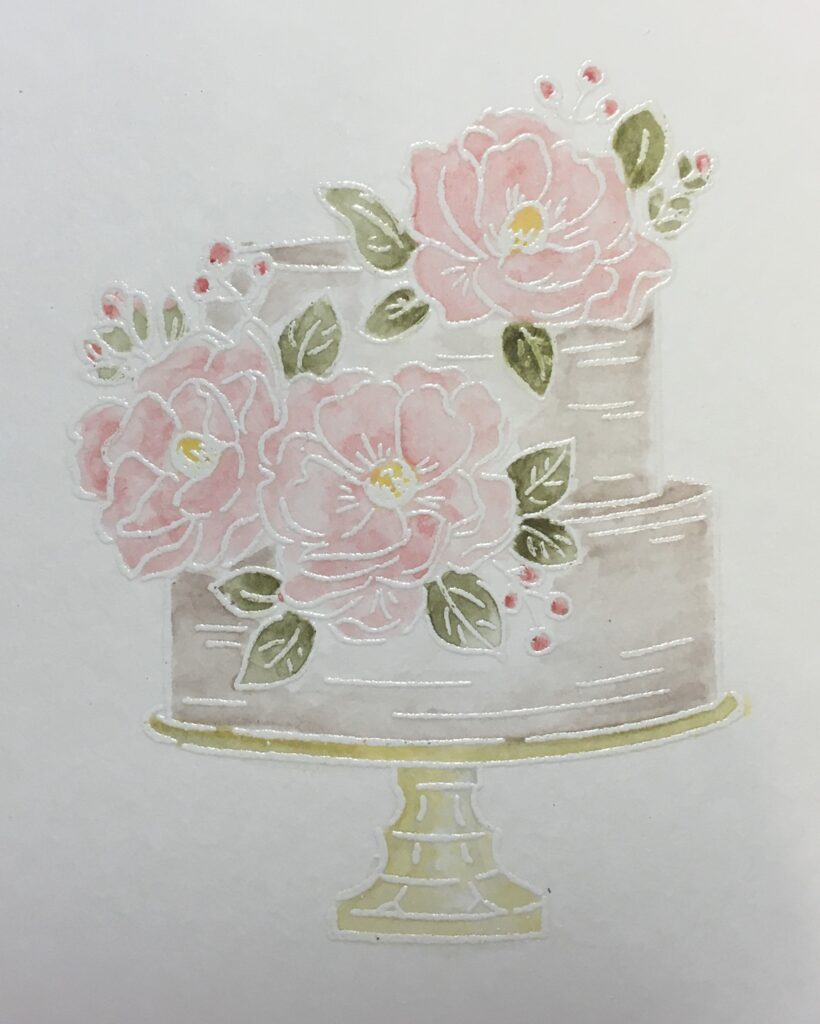
Here are a few additional examples of the cake image colored with an Aqua Painter using the technique I explained above. The only difference is that I did not blend any color over the embossed cake image before I started coloring. I’m going to use these pieces on a few cards that I will be sharing with you.
Now, please hop on over to Ariel’s post. I know she has an amazing project to share with you. You can also check all the posts from this month’s NC Blog Hoppers by checking out the links below.
January Blog Hoppers
Toni Campana
Jo Anne Hewins
Tina Lesson
Amy Kinler
Tracie Evans Langley
Frances Wagner
Sharon Maranich
Nedine DuPree
Laurie Meier <– YOU ARE HERE
Ariel Matera
The main products that I used to create my card are pictured below. Click on any of them, and you’ll go to my on-line store.
I look forward to seeing the projects that you create with the Happy Birthday to You stamp set!
Happy stamping!
Laurie
|
|
||
|
|
||
|
|
||
|
|
|
|
|
|
|
|
|
|





Love the card
Thanks so much, Tina!
Your coloring is perfect! I can see that you take the time to actually stay in the lines (hahaha) Beautiful colors on your card, too. I love those samples at the end, such soft colors. I can’ t wait to see what you do with those!
Thank you so much, Ariel! The embossing definitely helped me stay in the lines when I was coloring :). This stamp set is just too perfect for coloring!
I love the colored cake with the embossing. All of the samples are perfect! Such beautiful coloring! It was good to meet you.
Jo Anne – thank you so much. It was so good to meet you at the quarterly! I hope you continue to feel better. Take great care of yourself. See you at the next NC Demos event!
Wow, Laurie! What a beautiful card! Your coloring technique is amazing! Thank you for sharing!
Thanks so much, Tracie! It was great meeting you at the quarterly. Hope to see you at the next event. Thanks for everything you do for the monthly blog hops!!
Love the detailed instructions! Never thought of coloring the whole piece of paper and leaving the cake the same color. Thanks!
Thank you, Gale! I love playing around with coloring to get different ideas. And, who doesn’t love a purple cake, right ?!?!?
Laurie, I love your birthday card and the explicit directions! I am patiently waiting for my Birthday stamp set to be delivered today!!! And now SU is adding dies to be used on this set! Can’t wait to get them either – maybe next month!
Thank you, Sharon! The dies for the set are awesome! You are going to love the set. It is a little too much fun 🙂