Fall weather has FINALLY arrived in our part of North Carolina. This past Saturday was absolutely glorious. I even wore a sweatshirt outside and wasn’t too warm 🙂 And, to top things off, we left the windows open in our bedroom over night. That’s the true sign that fall has arrived! I certainly hope your weather is comfortable as well.
To celebrate the FINAL change of the season here, I decided to make a one layer card with the gorgeous Rooted in Nature stamp set and a few other stamps. If you’re like me, do you feel that sometimes you just ignore the Annual Catalog when the other, smaller catalogs are out? Don’t get me wrong – I love the new Holiday Catalog — but, I wanted to use some products from the Annual Catalog for this card. Take a look below.
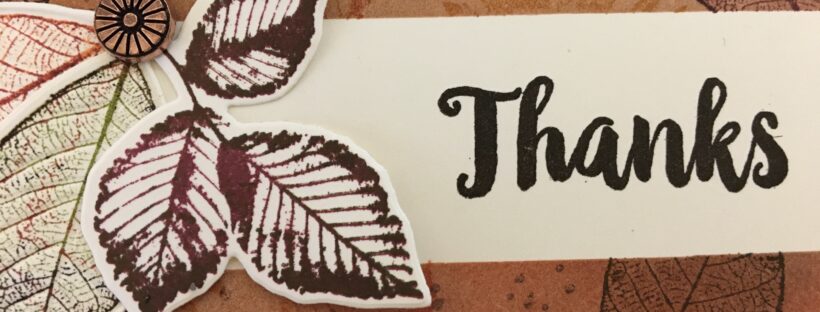
Doesn’t this card make you feel as if you have walked into a beautiful wooded area with colorful trees and cool temperatures?! I really love creating one layer cards. There are a few steps to follow which I will literally “show” you in the pictures and descriptions below.
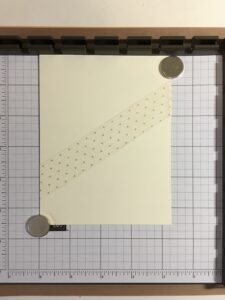
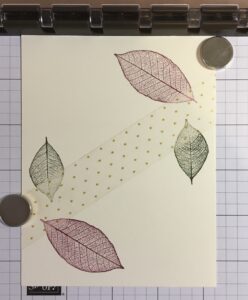
First – Use 1″ washi tape to mask the front of your Very Vanilla card. Be sure to get a lot of the tack of the adhesive side of the tape before you lay it onto your card. You can do that easily by putting the tape onto the back of your hand and then taking it off.
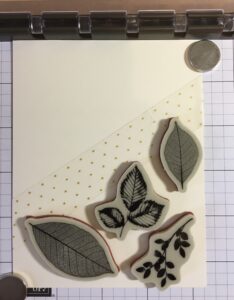
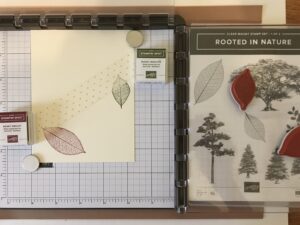
Next – Get out your Stamparatus and figure out where you might want to put the stamps for your design. I chose the leaves from the really amazing Rooted in Nature stamp set. The images are very realistic and work together incredibly well.
Now – Stamp two of the leaves onto the card front. You can see the colors that I used from the ink names. BTW – I LOVE the stamp spots that we get in our Paper Pumpkin kits. I use them all the time.
Next – Turn your card over and stamp the other side of the washi tape. Also – Notice that the stamps are placed so some of the image will look like it is behind the washi tape.
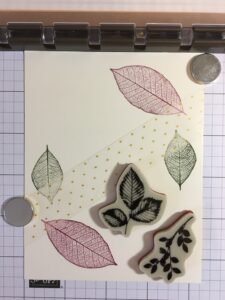
After you’ve completed this step, get the remaining two stamps that you haven’t used and put them on the card where you would like to stamp the images.
Now – Use the second plate on your Stamparatus to setup the newest stamps and stamp them with two additional colors. You can probably see that I added a little highlighting color to a few of the leaves. To do this, after you have stamped the image initially, get a slightly darker ink and put a little of that ink on the outside of the image on your stamp. Restamp your image to see the additional color.
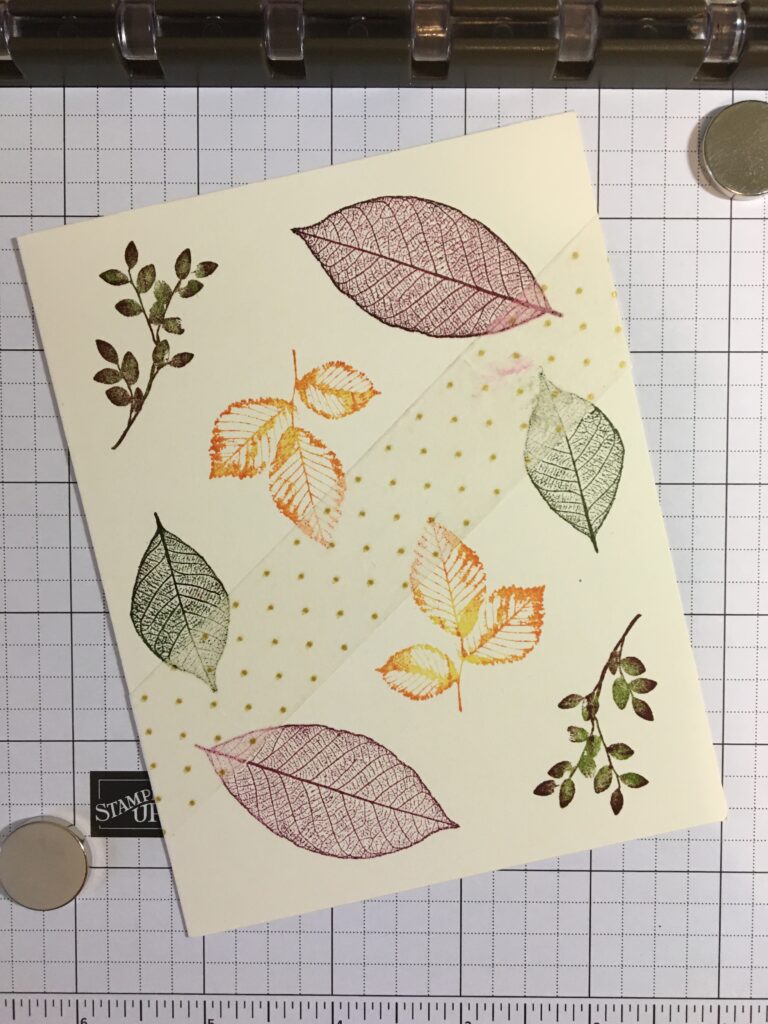
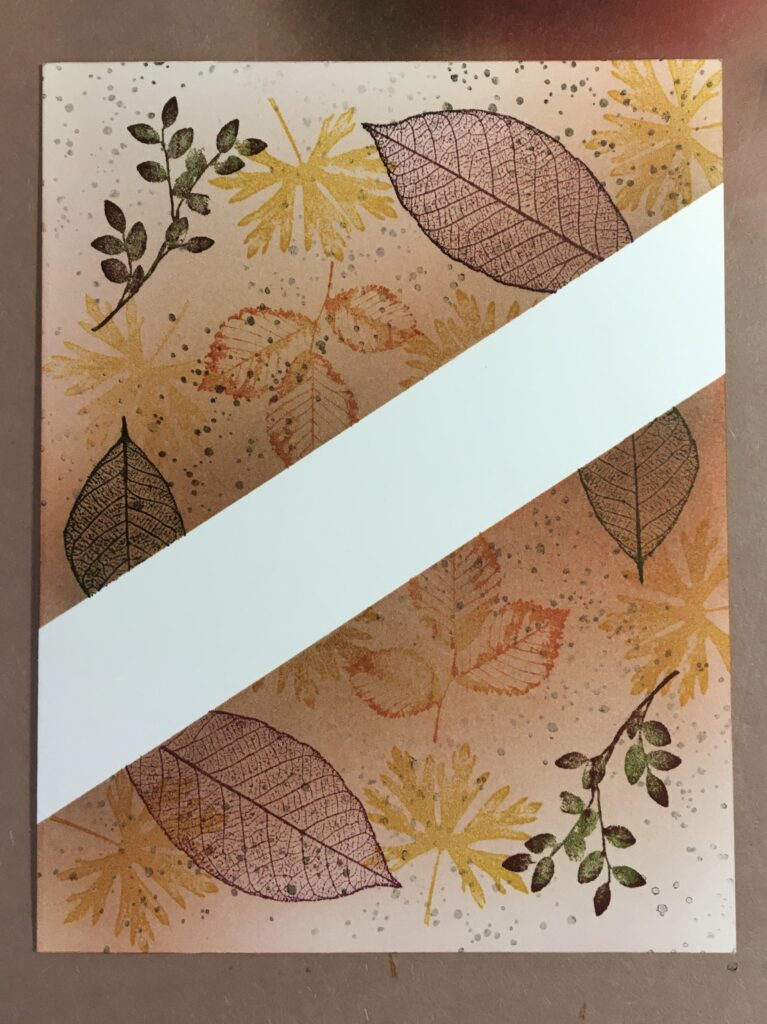
Here is what my card looked like when I got the stamping in the Stamparatus done.
Before you take the washi tape off, there are a few more steps to take.
I decided to fill in some of the blank space with another leaf stamp from the set. I used Crushed Curry to stamp this image. I also used the “grungy” stamp from the Waterfront stamp set and Early Espresso ink to add some dots to the card. You can see that the dots are done if varying intensities of ink.
You will also want to add some ink blending to your card before taking the washi tape off. I love using brushes to do blending of the inks. I used three ink colors to get the effect you see. First – I blended Soft Suede to much of the card. Next – I used Cajun Craze to add a little more depth and kept this color closer to the washi tape, leaving a lot of the Soft Suede alone. Last – I used a little Early Espresso ink just beside the washi tape to give the “blank” Very Vanilla stripe as crisp as possible.
Now, when you take off the washi tape, this is what you’ll see — really amazing!
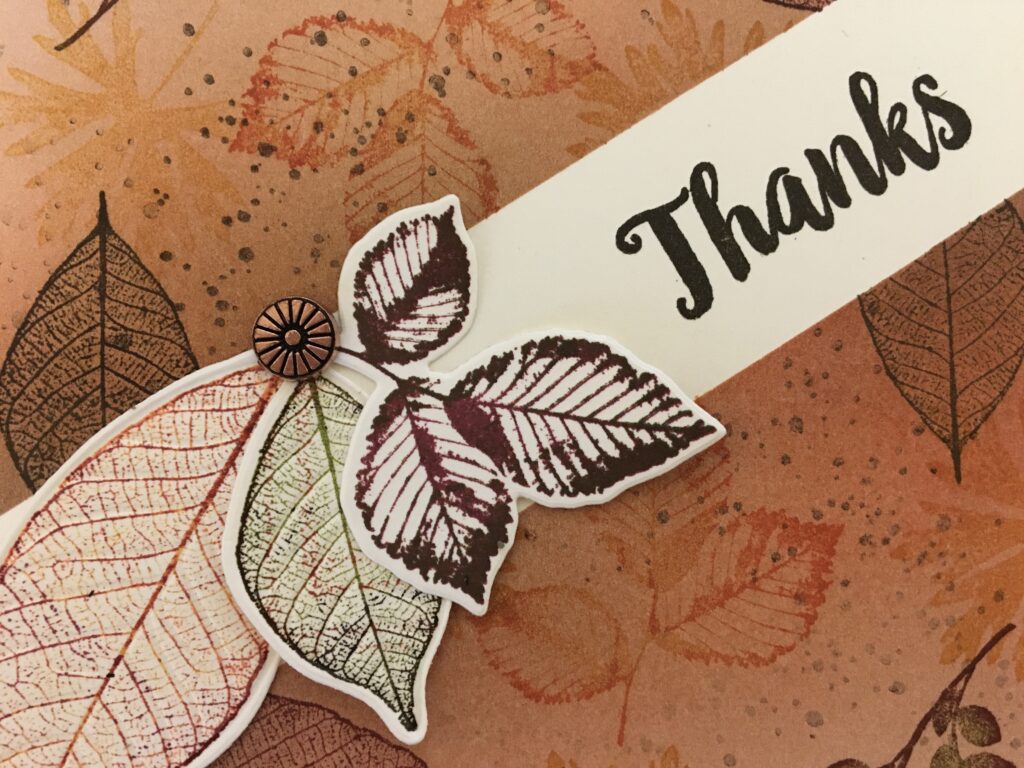
The final touches for the card include:
- Stamping “Thanks” with Early Espresso ink in the Very Vanilla stripe. This stamp comes from the A Big Thank You stamp set.
- Stamping a few leaves from the Rooted in Nature stamp set onto Very Vanilla card stock, die cutting them with the Nature’s Roots die collection, then adhering the die cut pieces together.
- Adding a gorgeous accent from the Designer Elements collection.
And, there you have it! Isn’t this card just gorgeous? There is so much dimension on a single layer card! You will just love the effect.
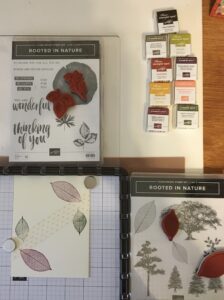
Pictured below are the main products that I used to make the card. If you click on any picture, you’ll go directly to my on-line store. I really hope you try this technique. I would love to see your cards,
Happy stamping,
Laurie
|
|
||
|
|
|
|
|
|
||
