Don’t you love finding out about new ways to use the supplies that you already have? I know I certainly do! Today, I would like to share a wonderful and quick way to make card bases with one pass of some of your dies. You just need to keep a few tips in mind when you cut your bases.
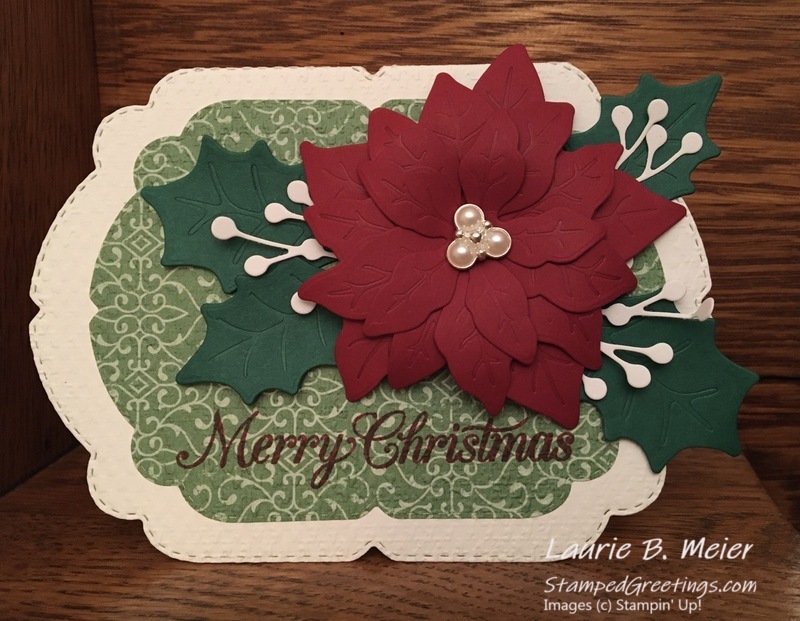
First, let me show you the card. Then, I’ll go through the steps I used to create the card
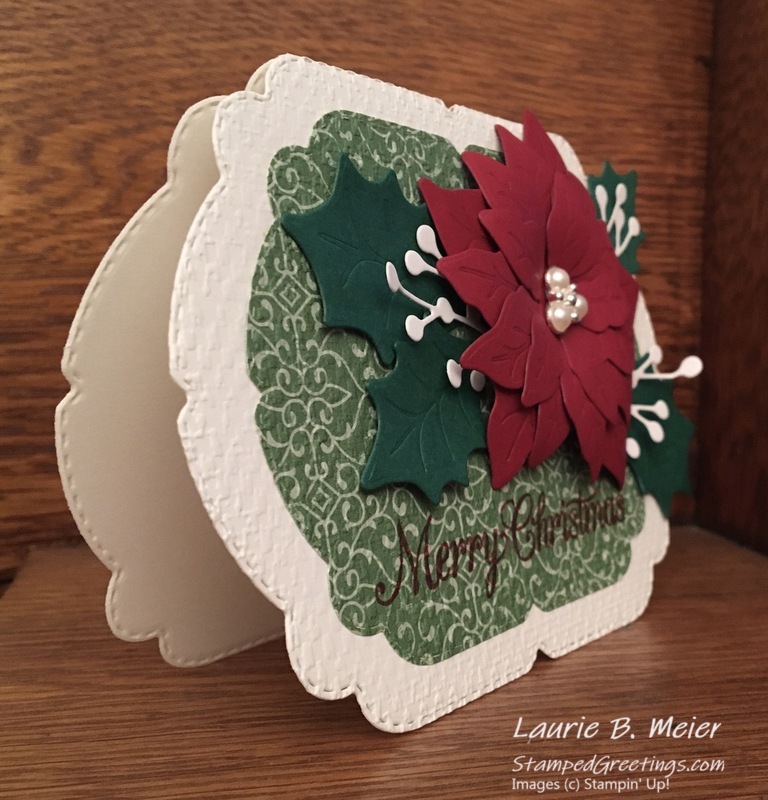
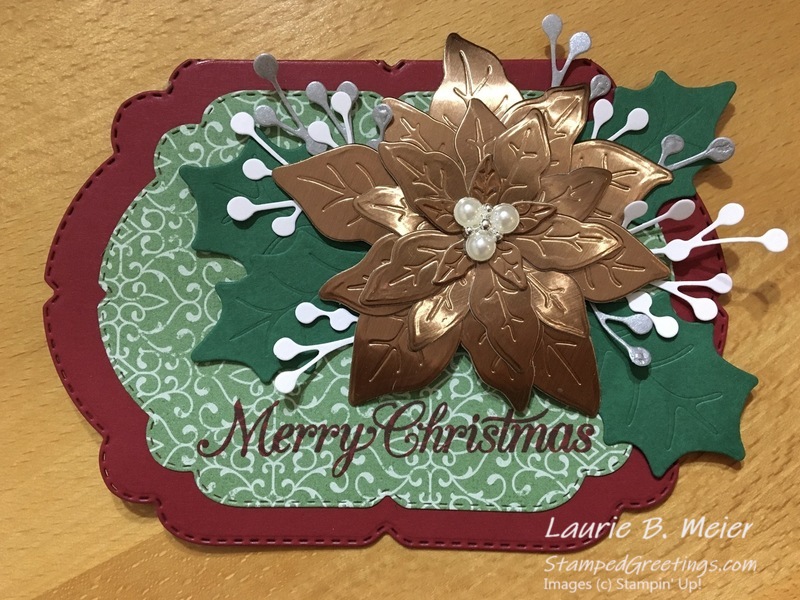
The card base was cut with one die, and the die was positioned so that it did not cut through the fold on the card base. The result is a pretty shape for your card that is accented by beautiful designer series paper and a poinsettia focal point.
Here are the steps that I used to create this card. Hopefully, a combination of words and pictures will help explain the process.
- First, I made a standard A2 size card base from Thick Whisper White card stock. The card base size is 8 1/2″ x 5 1/2″, scored at 4 1/4″ on the 8 1/2″ side.
- To cut my card base, I used the second largest die from the amazing Celebration Labels Dies. These dies are so versatile and fun to use. This is the perfect type of die to use for this technique. If you don’t have these dies (although they would be a great addition to your stash :)), take a look through the dies that you have. You need dies that have a flat bottom edge that will allow the finished card base to stand on its own. You should also chose dies that have a clean edge for cutting. This die works perfectly.
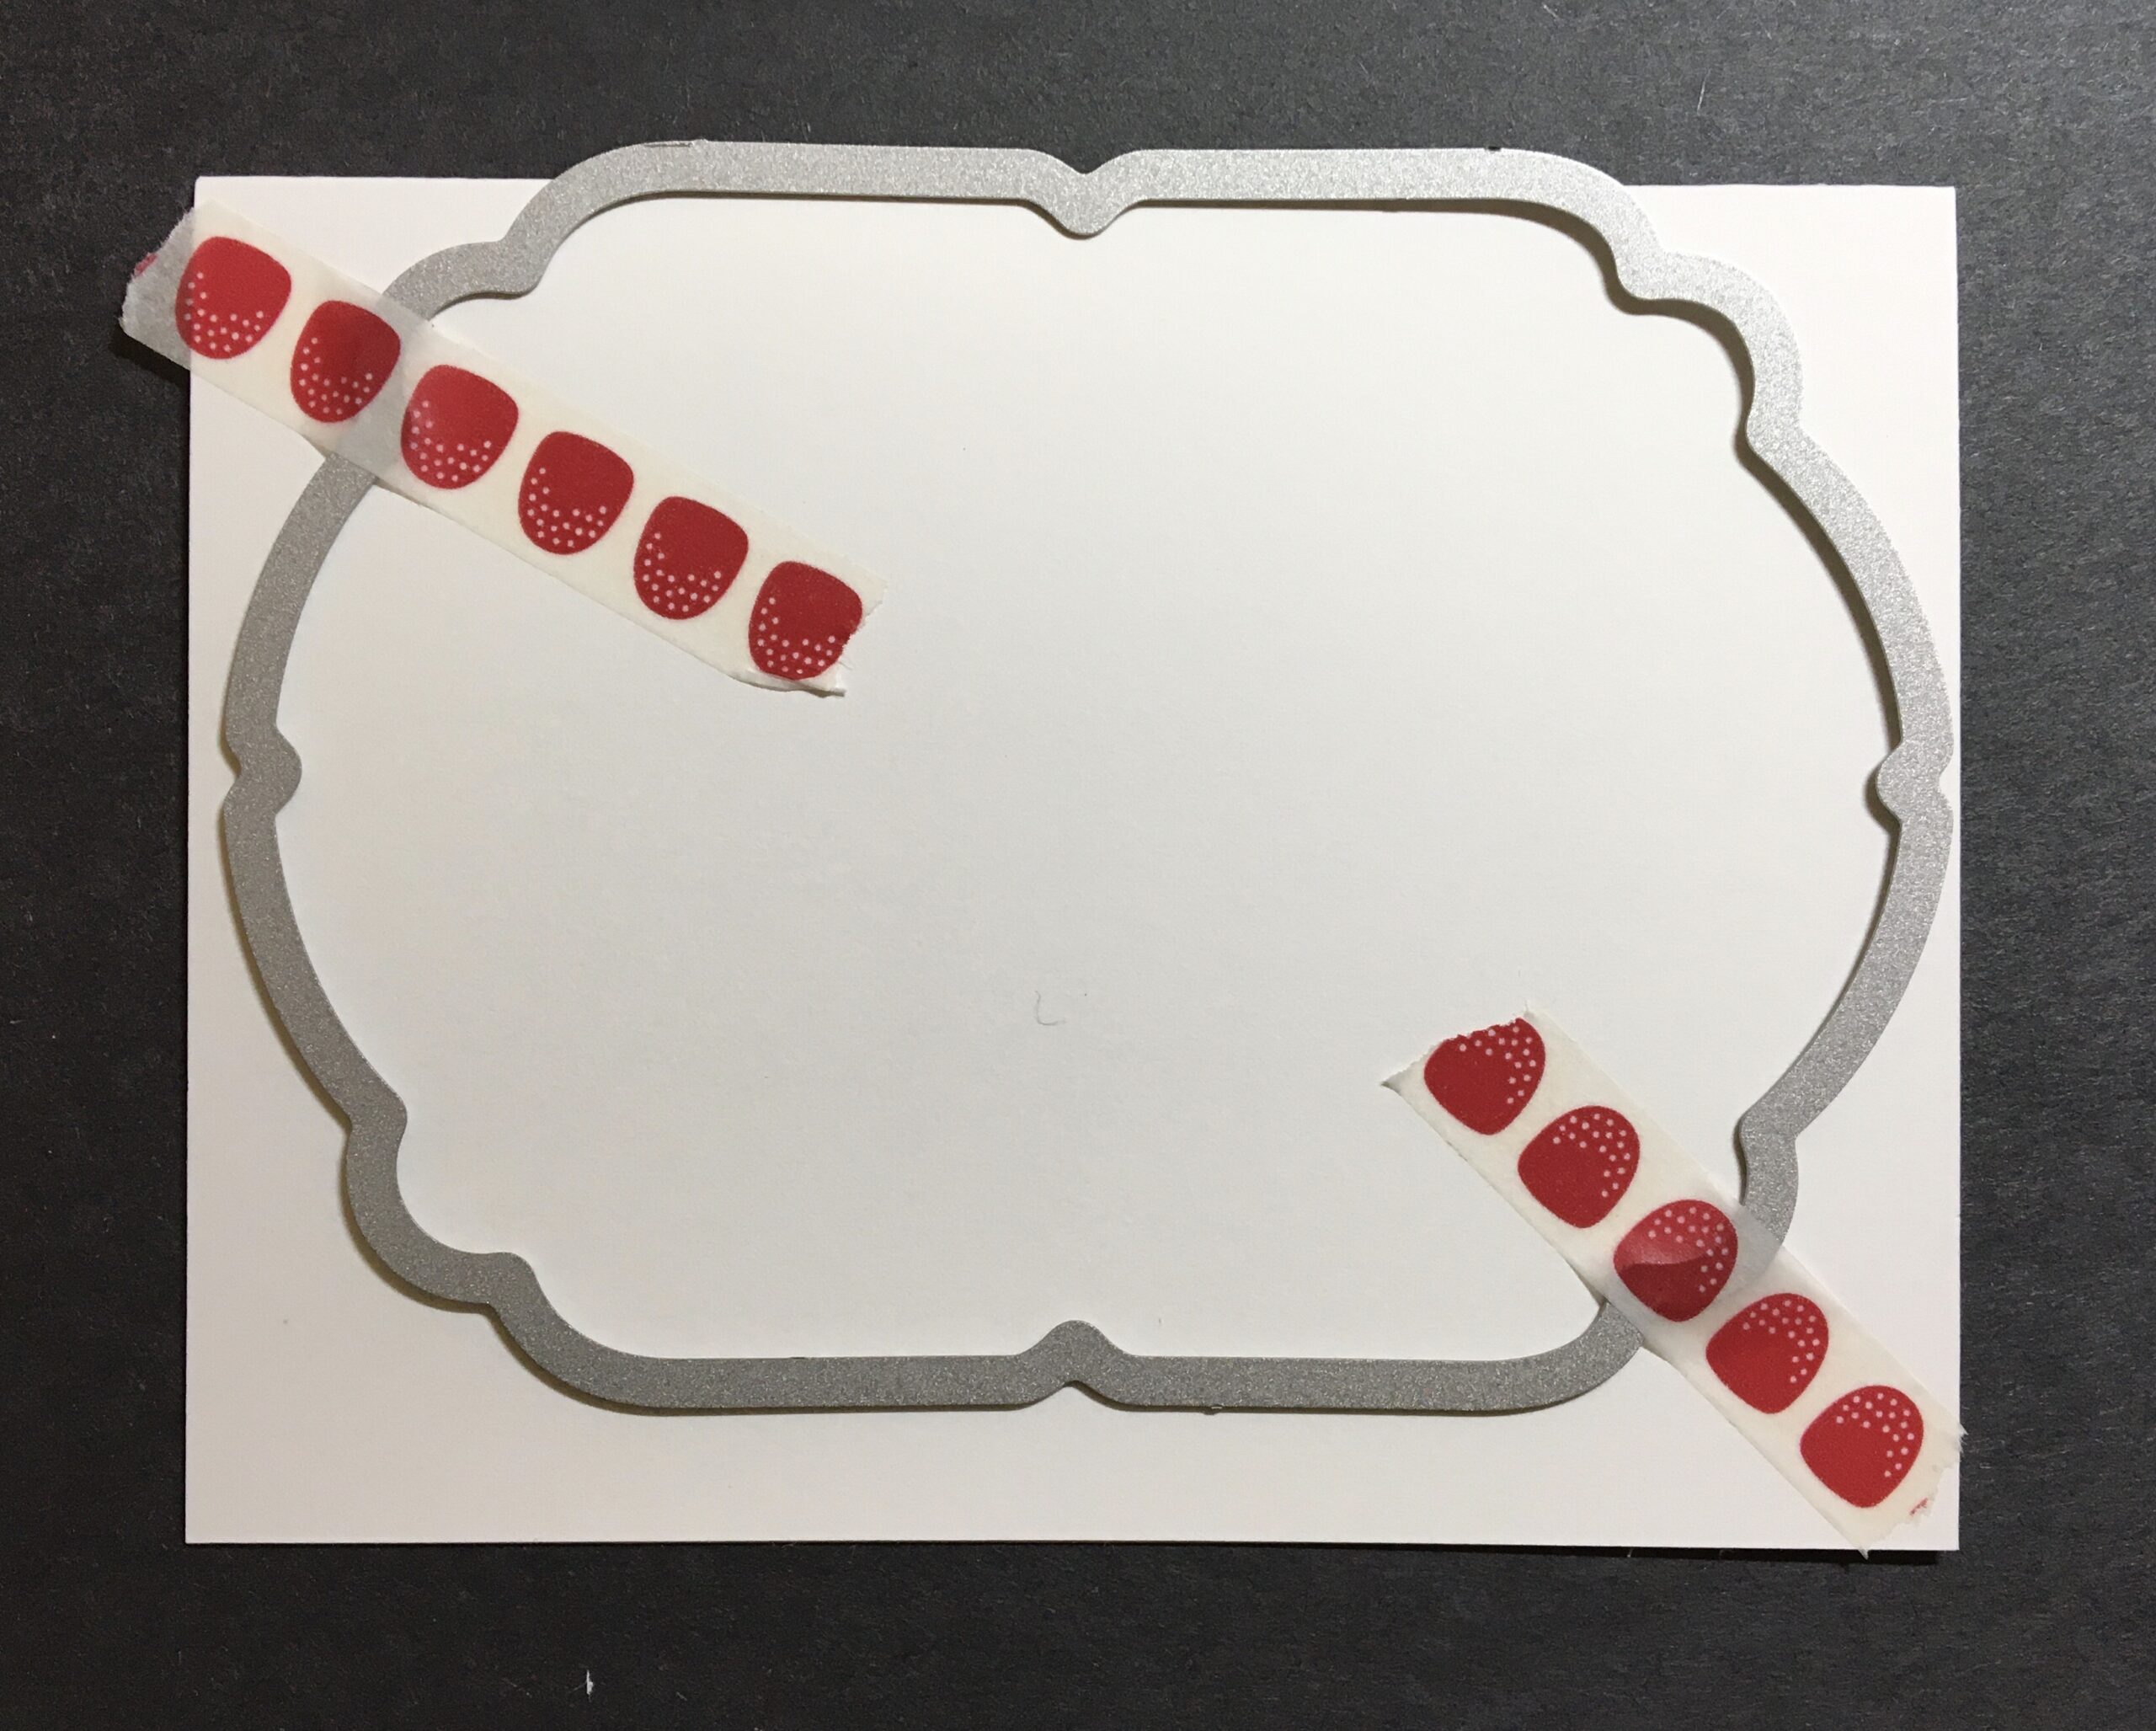
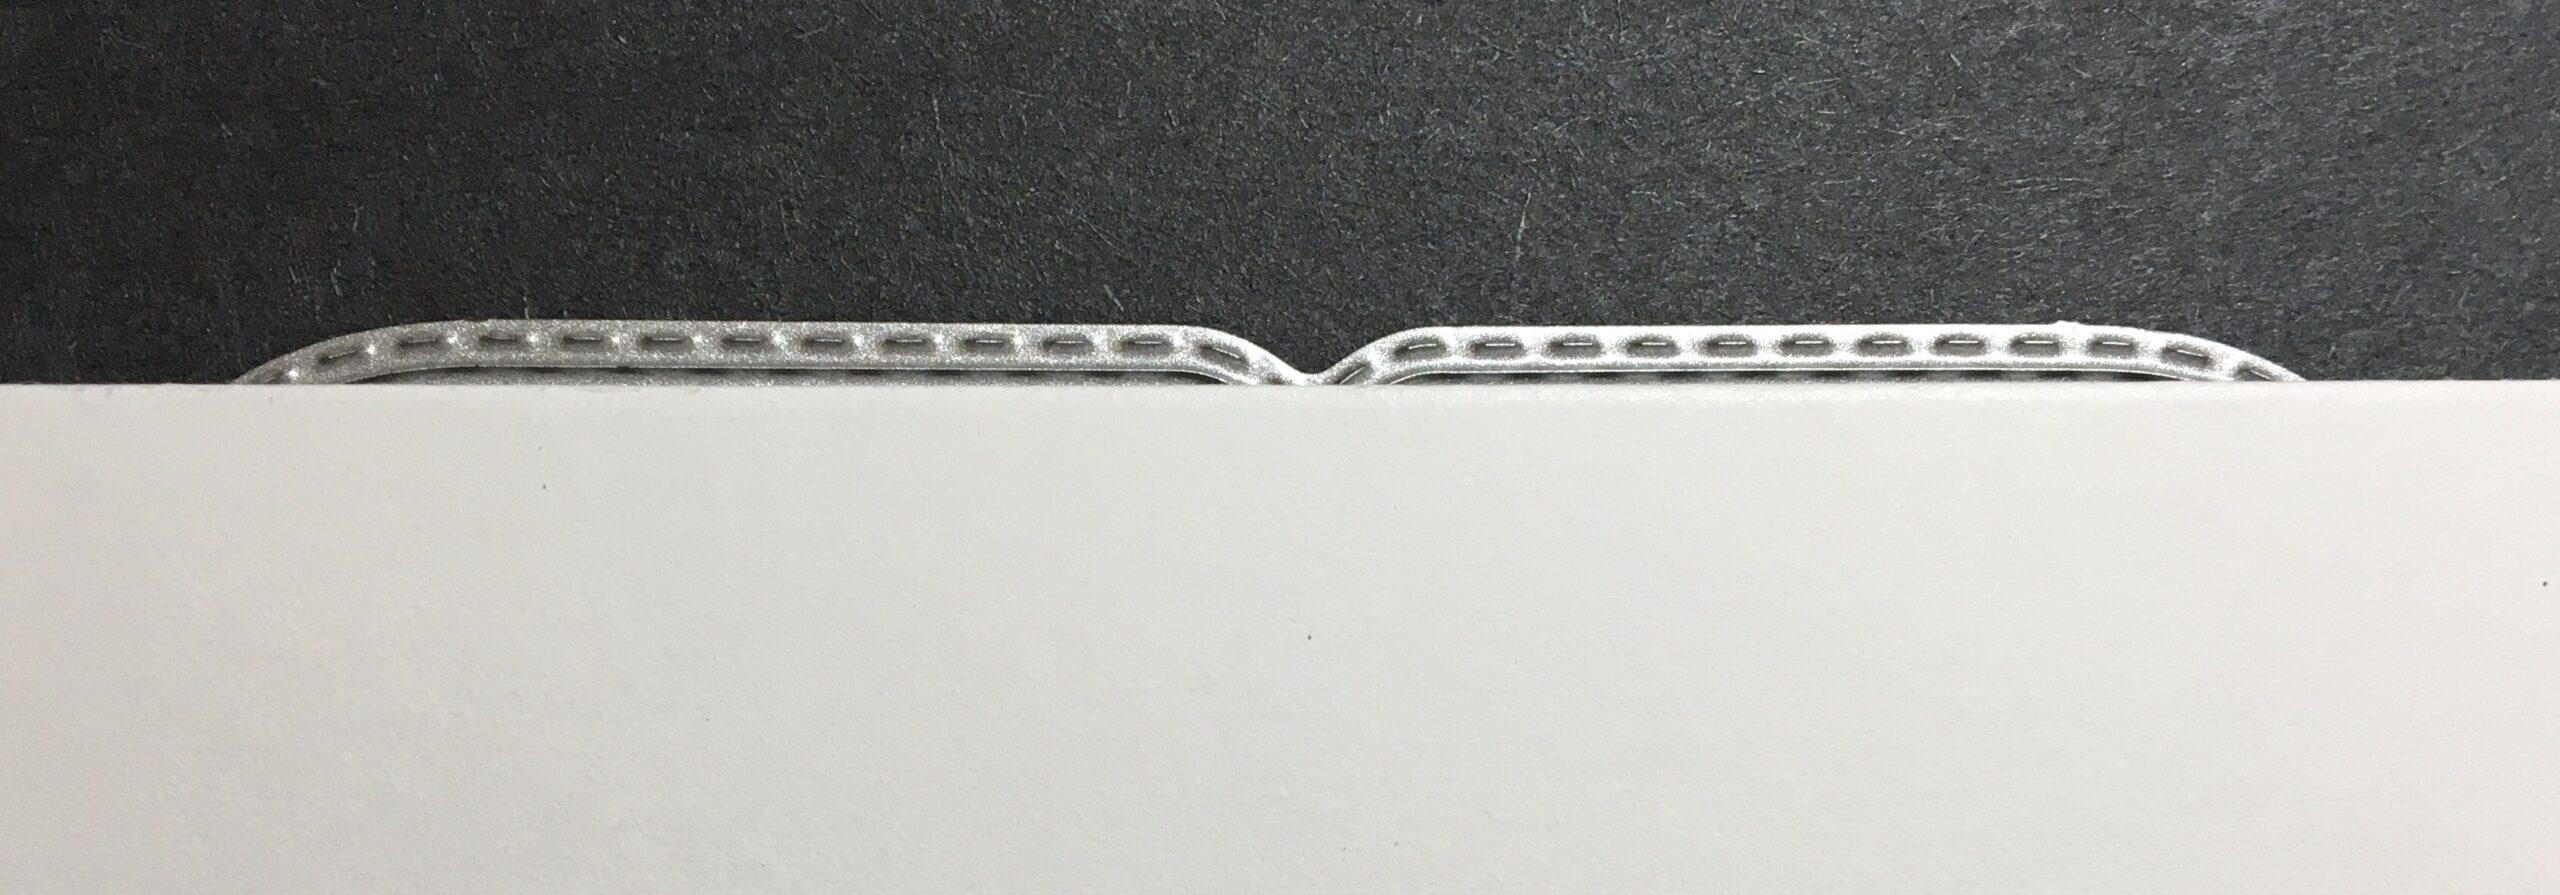
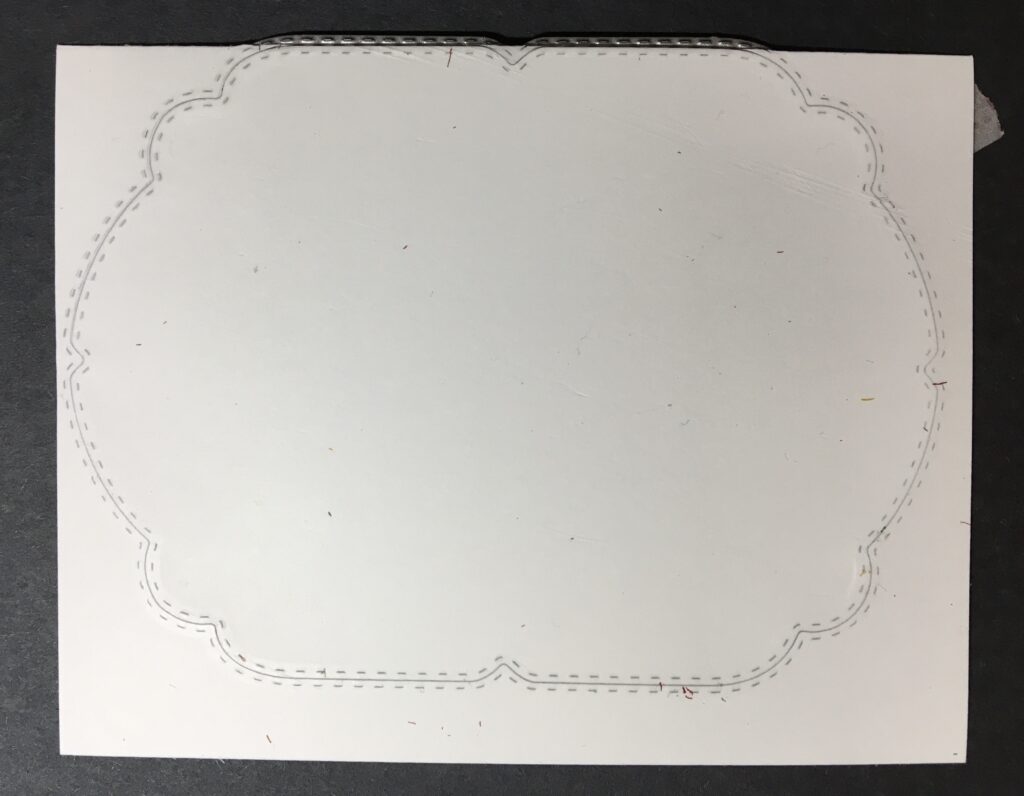
- I used washi tape to put the die onto the card base and made sure that the flat cutting blade was, literally, just over the edge of the fold of my A2 card. In other words, I don’t want to cut the fold. Take a look at the two pictures below.
- View from the front. Fold at the top.
- View from the back. Cutting blade just above the fold.
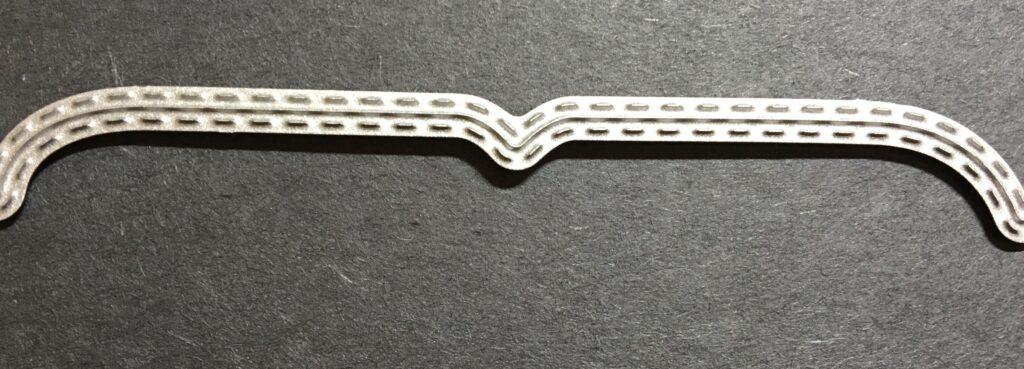
- I ran this card base with the die attached through my die cut machine a few times. Remember, you have two layers of Thick Whisper White card stock that you’re dealing with. Be patient as you cut this piece. To get a more even cut, I usually flip the cutting plates over a few times when I run the card base and die through my machine. You’ll be able to see when the cuts have been made around the die by checking it visually. Look below for an example.
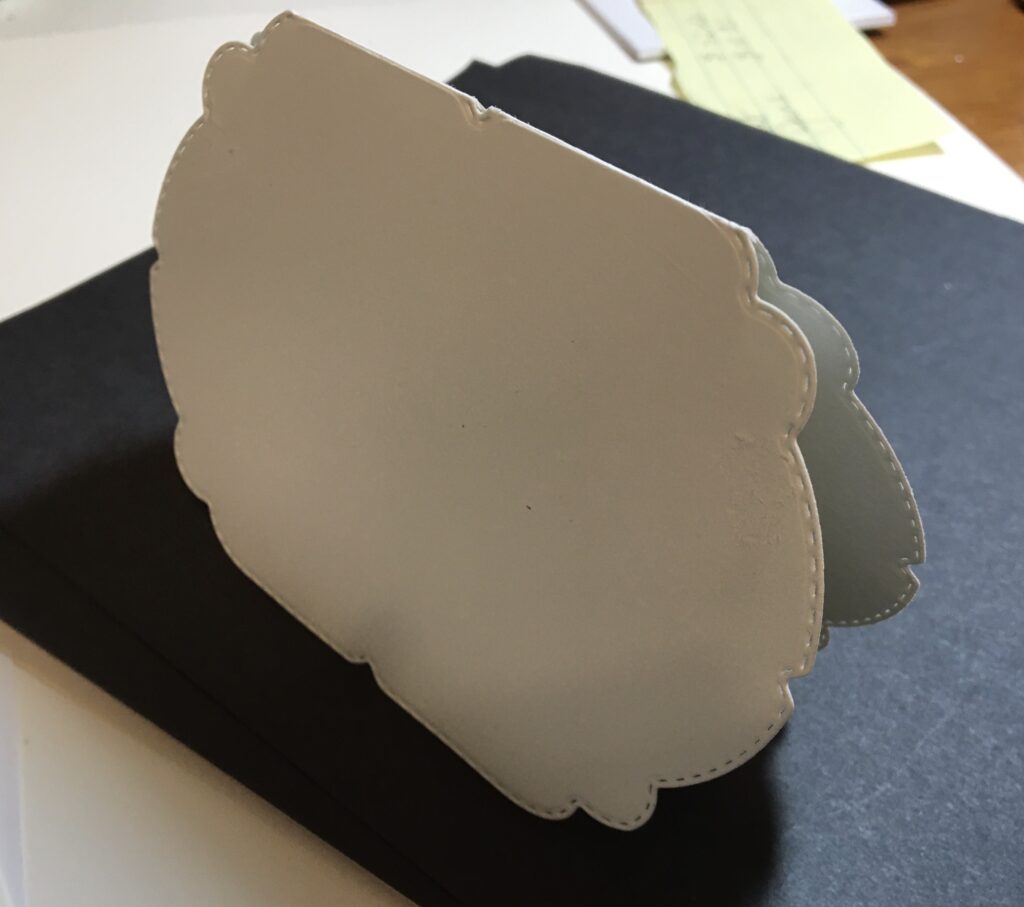
- Now, I have my cut die card base.
- To decorate my card, I choice a piece of Designer Series Paper (DSP) from the gorgeous Poinsettia Place DSP collection. I cut the piece using the third largest die from the Celebrations Labels Dies. The Merry Christmas stamp that I used for my sentiment is from the Poinsettia Petals stamp set. It is stamped in Cherry Cobbler ink.
- After I adhered the stamped DSP piece to the card base, I embossed the front of the card (card base and DSP piece) with the beautiful Tasteful Textile 3D embossing folder.
- The focal point for the front of the card is a multi-layered poinsettia. It is made from Cherry Cobbler card stock for the petals, Shaded Spruce card stock for the leaves, and Whisper White card stock for the extra foliage. All the pieces for the poinsettia are cut with the Poinsettia Dies, which are an absolute must-have for your stash. They are incredible since they die cut and emboss!
- The centerpiece for the poinsettia is a gorgeous Beaded Pearl.
- The poinsettia petals, leaves, and foliage are attached to the card base with adhesive glue and dimensionals. The Beaded Pearl is attached with a dimensional.
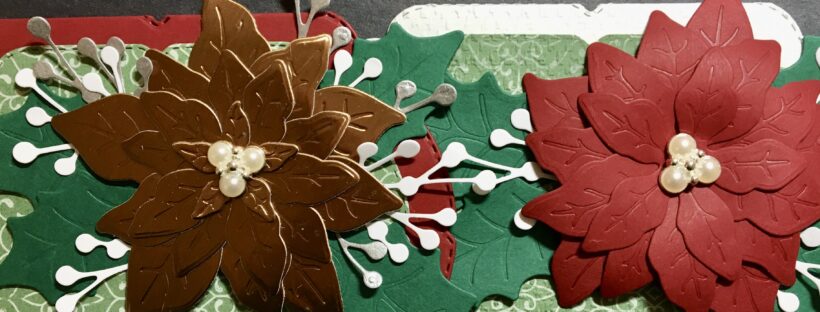
Pictured below is another version of this card. The differences between the two cards include a Cherry Cobbler card base rather than a Thick Whisper White card base and the poinsettia petals die cut from Brushed Metallic card stock rather than Cherry Cobbler card stock.
I hope you enjoy looking through your die stash to find dies that will work with this technique. Don’t be afraid to experiment with your dies to see what card bases you can create. It’s wonderful to be able to stretch our supplies.
Below you’ll see the main products that I used to create these cards. If you click on any picture, you’ll go directly to my online store.
Happy stamping!
Laurie
|
|
|
|
|
|
||
|
|
||
|
|
||
|
|
|
