Welcome to the NC Demos June Blog Hop! This month, we are showcasing our favorite products from the new Stampin’ Up! annual catalog. If you haven’t seen the catalog yet, click here to go to the on-line version. It truly is amazing.
You have probably just come from Tracie Evans Langley’s post. I’m sure you agree that she is a very talented stamper and artist. Thank you for stopping by my post. I hope you are inspired by my project.
One of my favorite product suites is the Color Theory Suite. It includes stamps, card stock, ribbon, embellishments, designer series paper, and a card pack that work together beautifully. The colors that are featured in the Color Theory Suite are bold, bright, and great for all seasons.
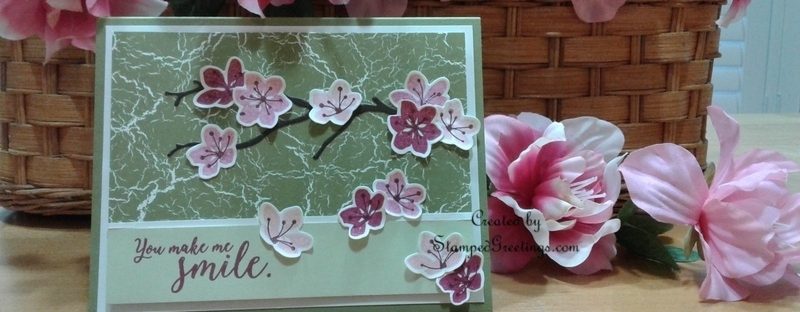
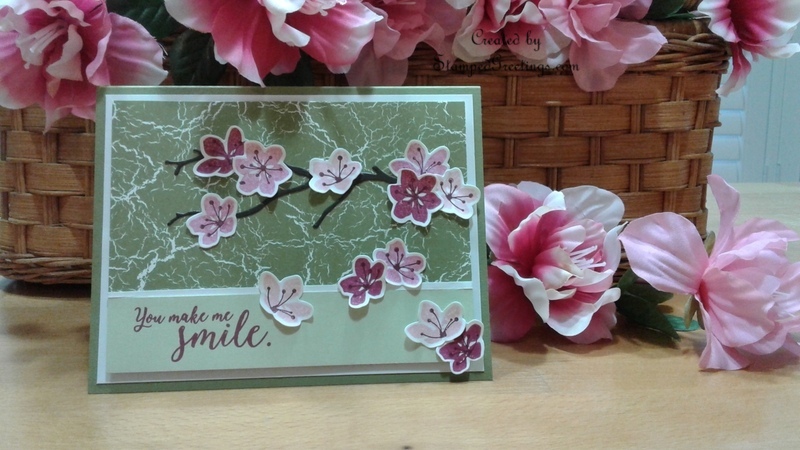
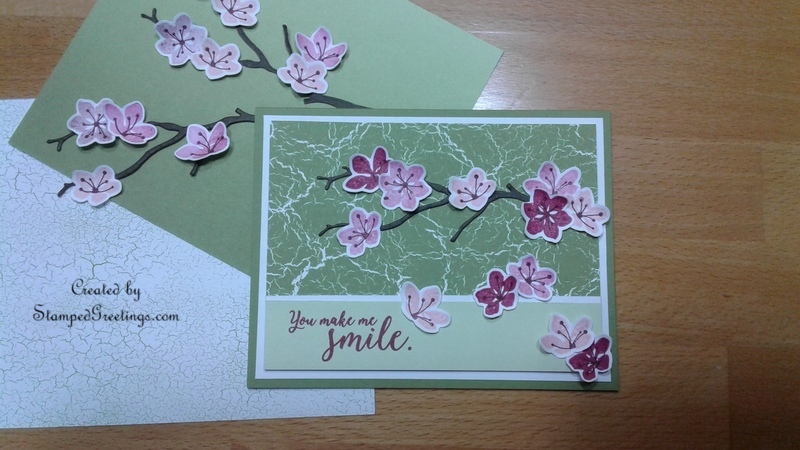
The card I would like to share with you this month, pictured below, features many of the Color Theory Suite products and colors.
If you would like to CASE the card (and I hope you do!), here are the steps to follow.
- Use the Old Olive cardstock from the Color Theory Cardstock Pack for the card base. Cut the Old Olive piece to 8 1/2″ x 5 1/2″, scored at 4 1/4″ on the long side.
- Cut a piece of Whisper White cardstock to 4″ x 5 1/4″. Adhere the Whisper White cardstock to the card base.
- For the main piece of the card, use your choice of paper from the Color Theory Designer Series Paper Stack. There are several wonderful patterns to choose from. Don’t blame me if you can’t settle on one pattern and decide that you need to make two or three cards! Cut the DSP to 3″ x 5″.
- Save the extra piece of DSP for the sentiment. Cut it to 1″ x 5″. Turn the piece over to the opposite side to stamp the sentiment, as pictured. The “You make me smile” stamp is from the Colorful Seasons stamp set. It is an absolutely amazing stamp set with great sentiments and very unique designs. I used the new Berry Burst In-color ink to stamp the sentiment.
- Now, the real magic and fun begin! Die cut the tree branch using the Seasonal Layers Thinlits Dies and Early Espresso cardstock. Adhere the die cut tree branch to the DSP using a Fine Glue Pen.
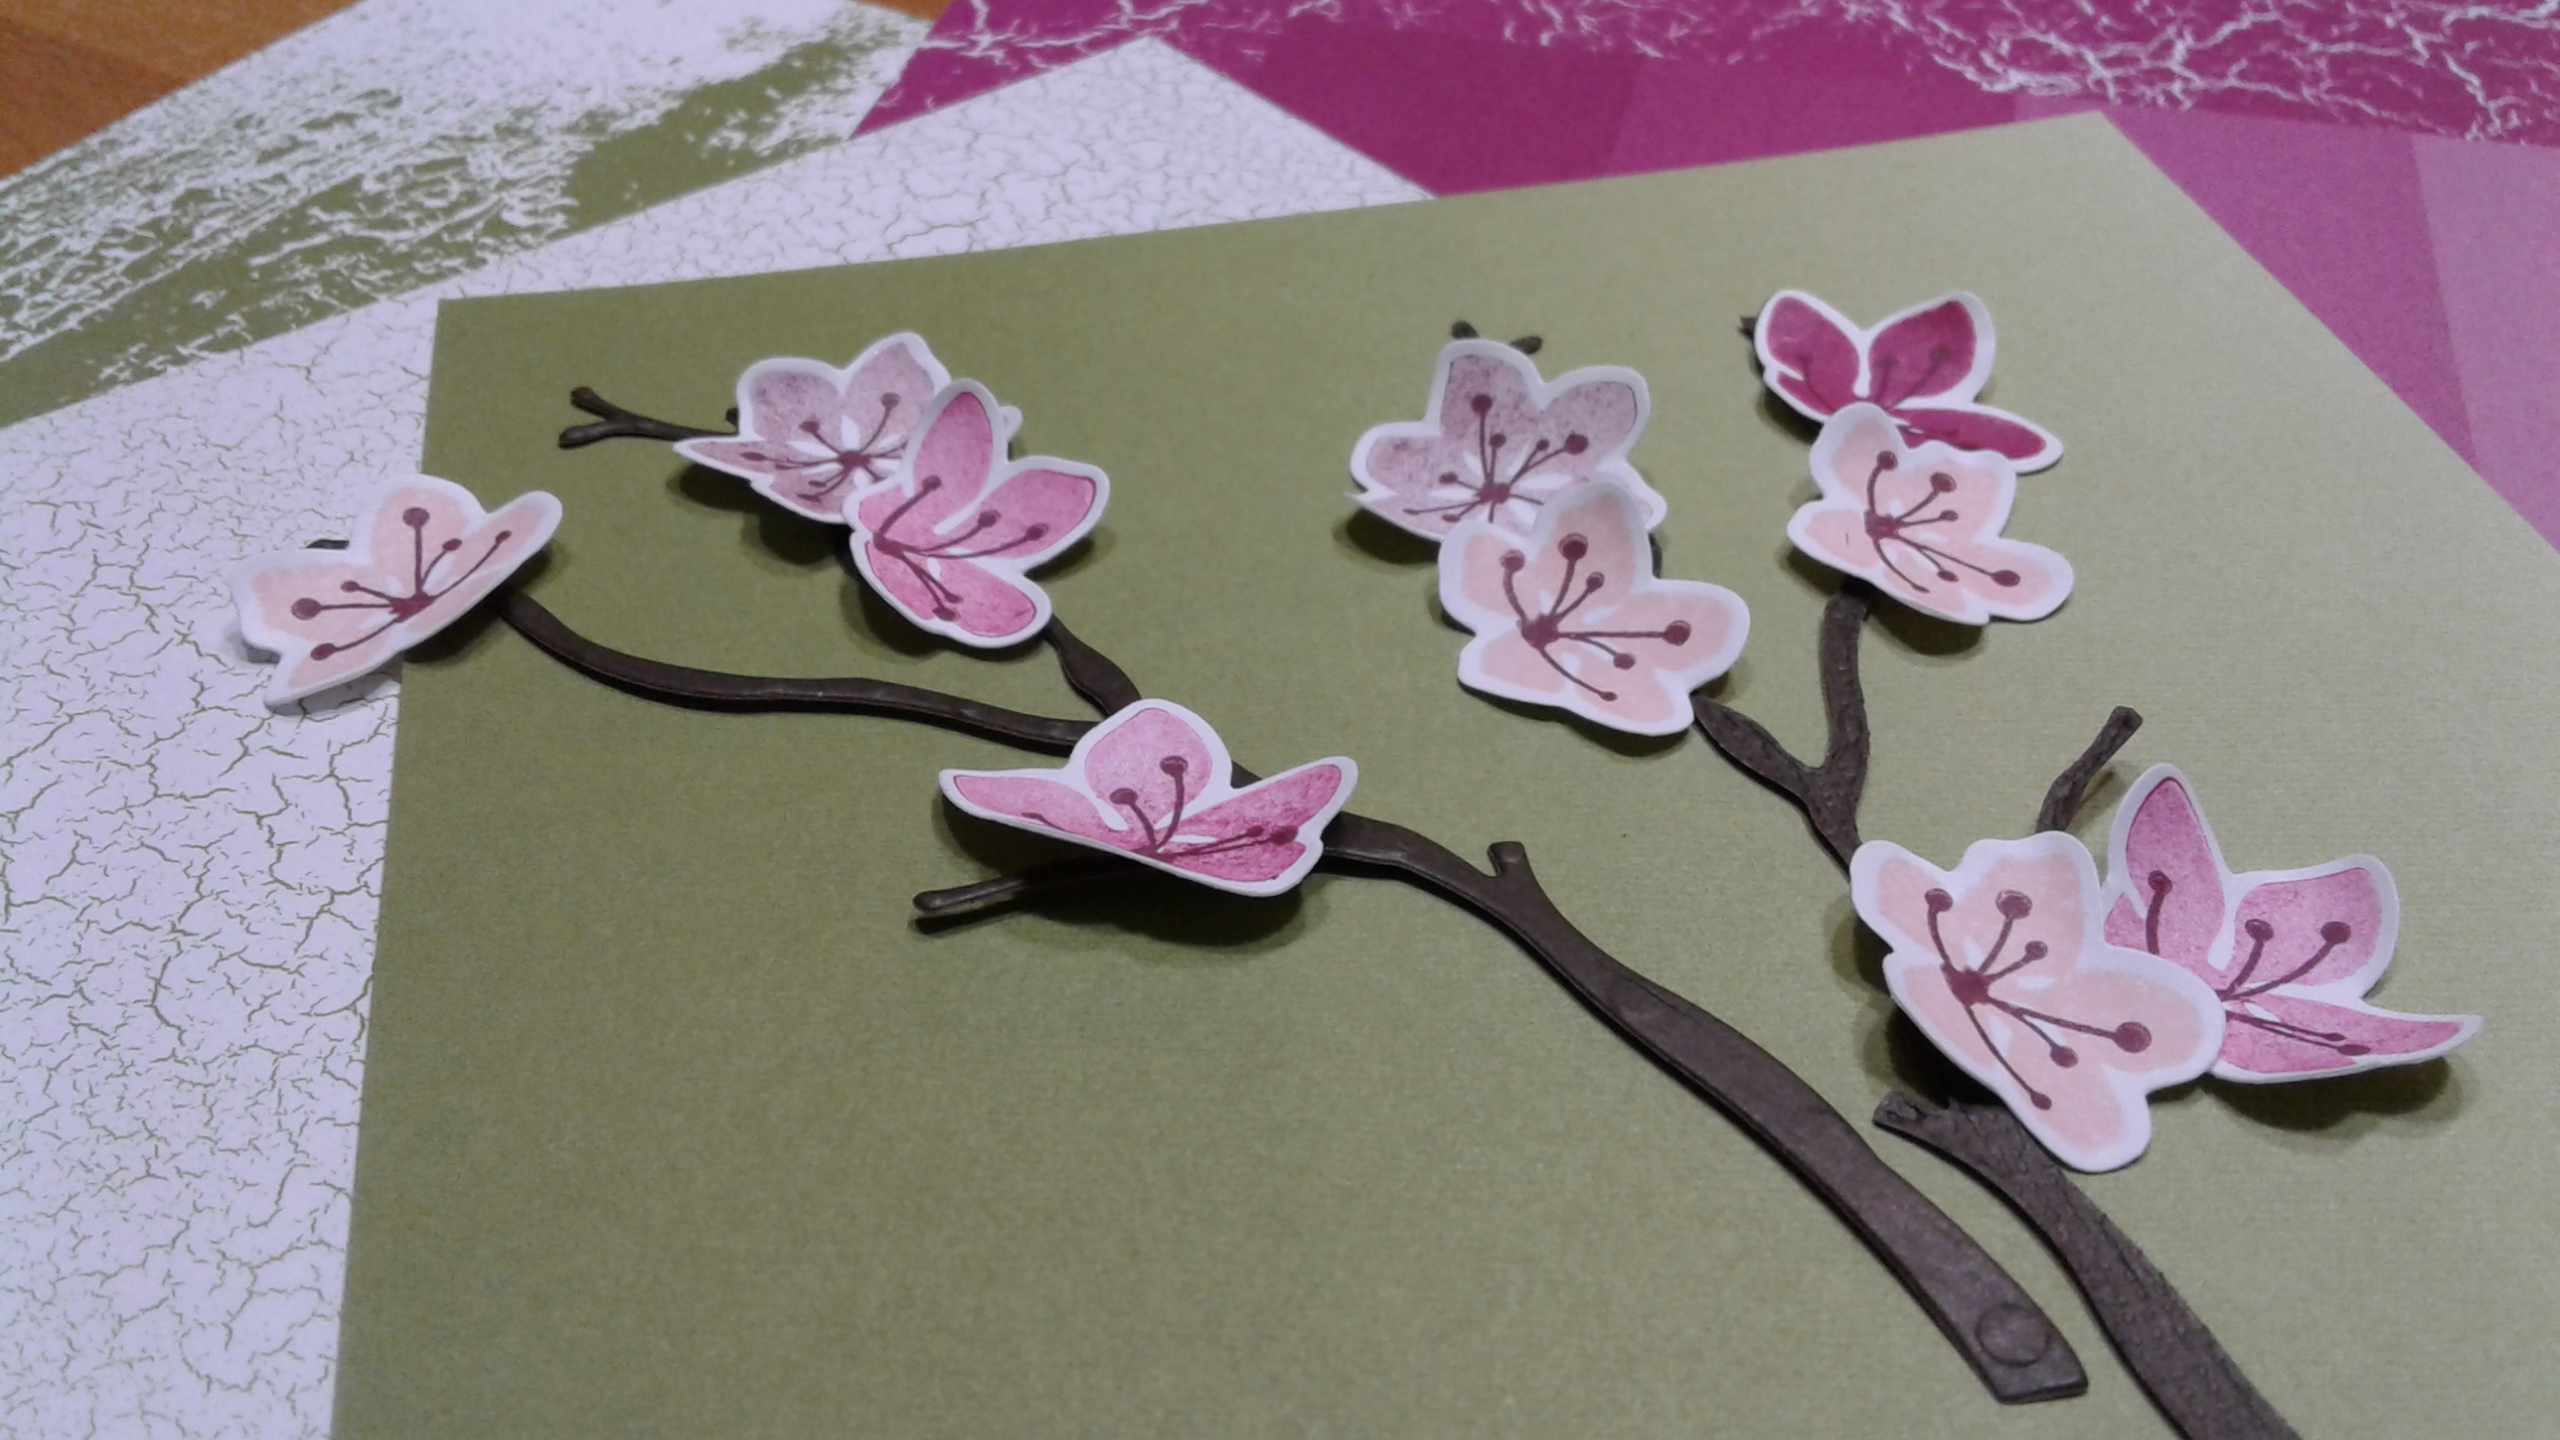
- Stamp the three different flower images from the Colorful Seasons stamp set in each of the three new In-Colors – Berry Burst, Fresh Fig, and Powder Pink. Experiment stamping with full ink intensity or by stamping off before stamping the flower. Use the three flower center images from the same stamp set and full intensity Fresh Fig ink to finish the flowers, as pictured.
- There are three flower dies in the Seasonal Layers Thinlits Dies. They work beautifully to die cut the stamped flower images.
- Use a Bone Folder to add shape and dimension to the flowers, as pictured below.
- The card is finished by adhering the DSP stamped with the sentiment to the larger piece of DSP. I added a very thin piece of Whisper White cardstock between the two DSP pieces to act as a border. Adhere the flowers as you would like. I like to have some of the flowers appear that they have fallen from the branch. Attach the finished card front to the Whisper White piece with dimensionals.
- Smile at your work of art!
The main products that I used to create this month’s card are pictured below. If you click on any picture, you’ll go to my on-line store. Also shown below are the participants in this month’s blog hop. Please be sure to continue to Lisa Tedder’s post.
Happy stamping!
Laurie
|
|
||
|
|
||
|
|
|
|
|
|
Participants in this month’s NC Demos Blog Hop:


