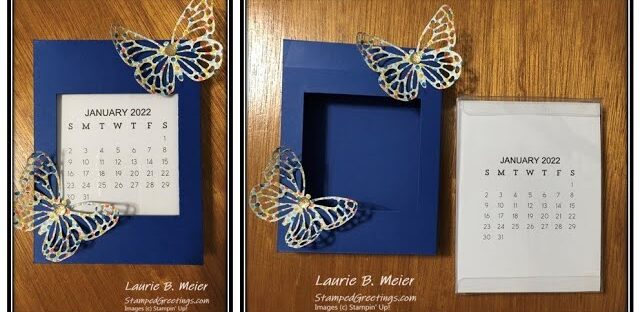
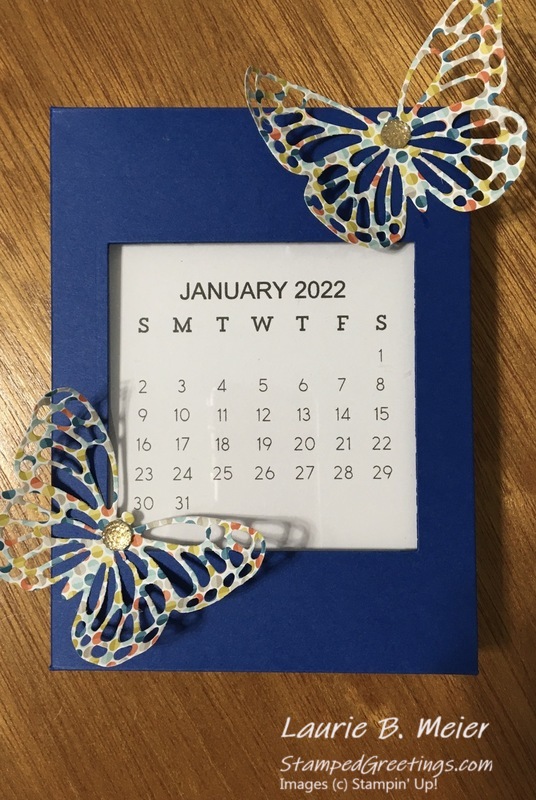
If you’re like me and you love calendars, I have the perfect project for you! Get out one of your Stampin’ Up! acetate boxes and a piece of card stock. Add the free 2022 PDF calendar offered by Concord and 9th. And, you are all set to make a great calendar for yourself or as gifts for family and friends. Check out the pictures below –
Step-by-step instructions are given in the video that is linked below.
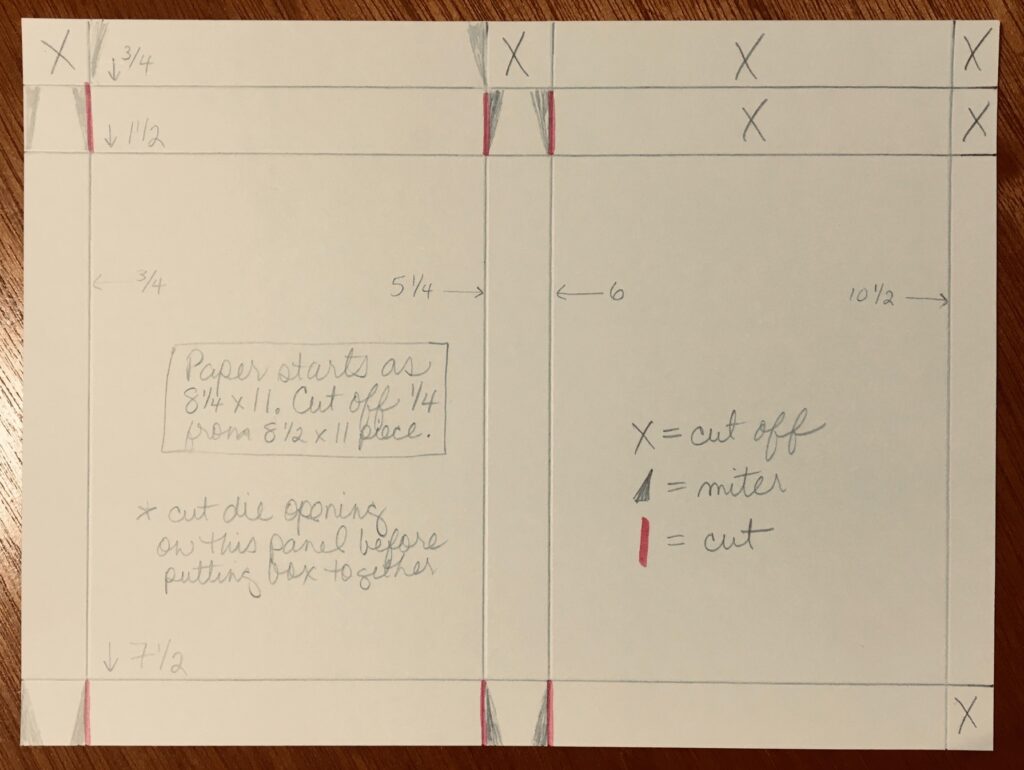
If you would like to print a copy of the template for the outer box, take a look at the picture below. Click on it and make a copy! Remember – The piece is 8 1/4″ x 11″ to start. If you’re using a piece of standard 8 1/2″ x 11″, all you need to do is take 1/4″ off the 8 1/2″ side!
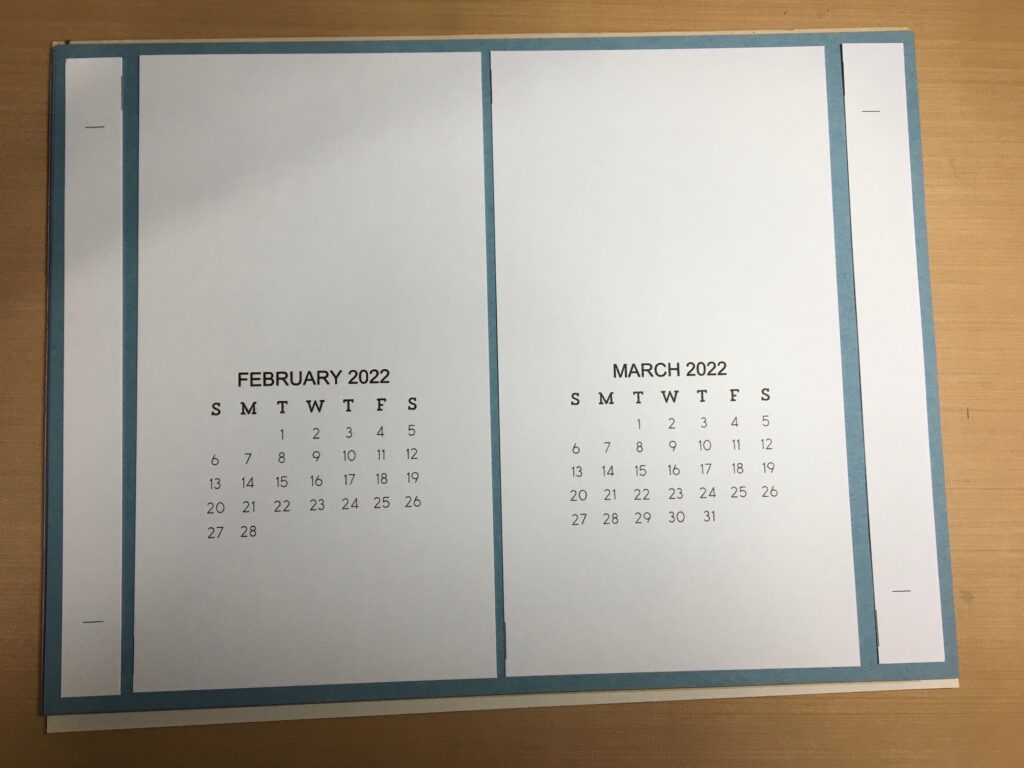
And, if you want a visual for the way to cut your calendar to fit the pieces into the acetate box, here you go. Reminder – I added the months and year to my calendar by editing the PDF.
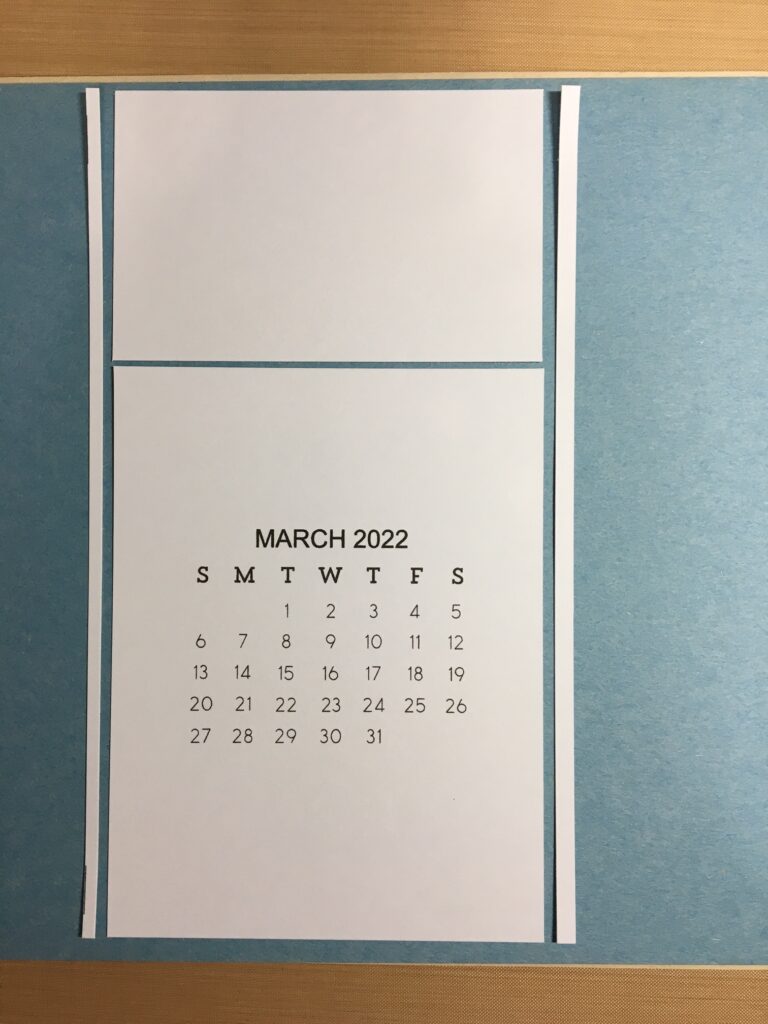
Step 1 – Cut at the vertical black marks on the sides and in the middle. This is the result:
Step 2 – Take one of the months that you’ve cut as shown above. I’m using March for the example pictured below. You’re going to cut off 1/8” from one side of the piece. Then, you’re going to trim the piece to get it to 4 3/8” in width. Essentially, you’re cutting off another ~1/8” on the other side. The last step is to cut the piece that has the month to be 5 ¾” high. Cut from the top. Here is the result:
I hope you enjoy making boxed calendars. As I’ve confessed to my Stamp Club, I truly need an intervention when it comes to these calendars. They are so fun and addictive that I cannot stop making them.
If you need the acetate boxes, please click on the picture below. You’ll go directly to my online store. You can also stock up on color card stock and many other pretty embellishments while you’re there!
Happy stamping!
Laurie
|
|
