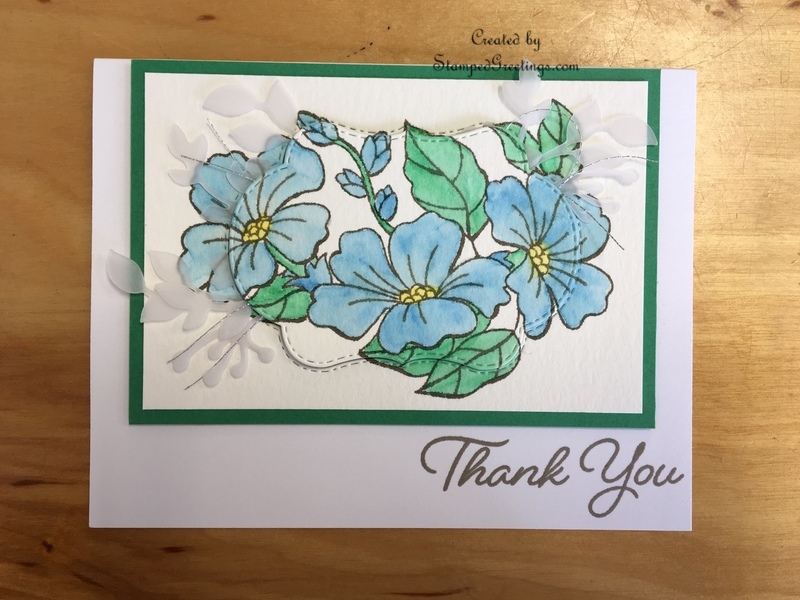
As I mentioned in a recent post, during the month of August you have the opportunity to purchase amazing products from the Color Your Season suite. I’d like to highlight one of my favorite stamps from the Blended Seasons stamp set and a fun, colorful twist in the card featured in this post.
As you can see, the Blended Seasons stamp set is incredibly versatile and can be used for several occasions. Below are highlights of the steps used to create this card.
- Cut a piece of Watercolor Paper to 3″ x 4 1/2″.
- Stamp the flower image from the Blended Seasons stamp set onto the Watercolor Paper with Gray Granite ink.
- Grab one of your clear blocks to use as a palette to watercolor your flowers. I recommend the Size D block for your palette. Also, make sure you have your Aqua Painter ready to use.
- Choose the colors that you’ll use from the 2018-2020 In Color Stampin’ Write Markers. Scribble some of your chosen colors onto the block.
- Use washi tape or painter’s tape to lightly tack the Watercolor Paper to a piece of cardboard. I use the cardboard piece that comes in the monthly Paper Pumpkin kits for this!
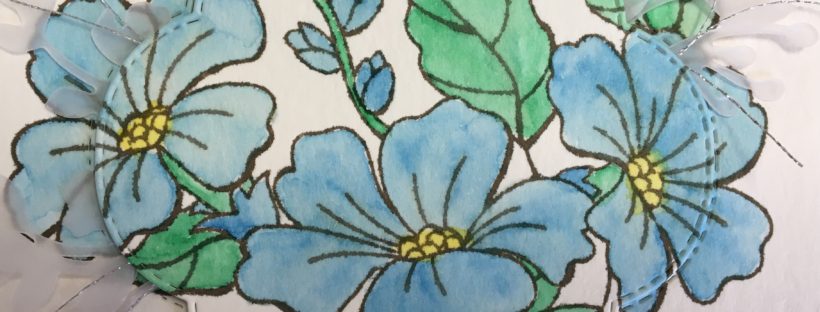
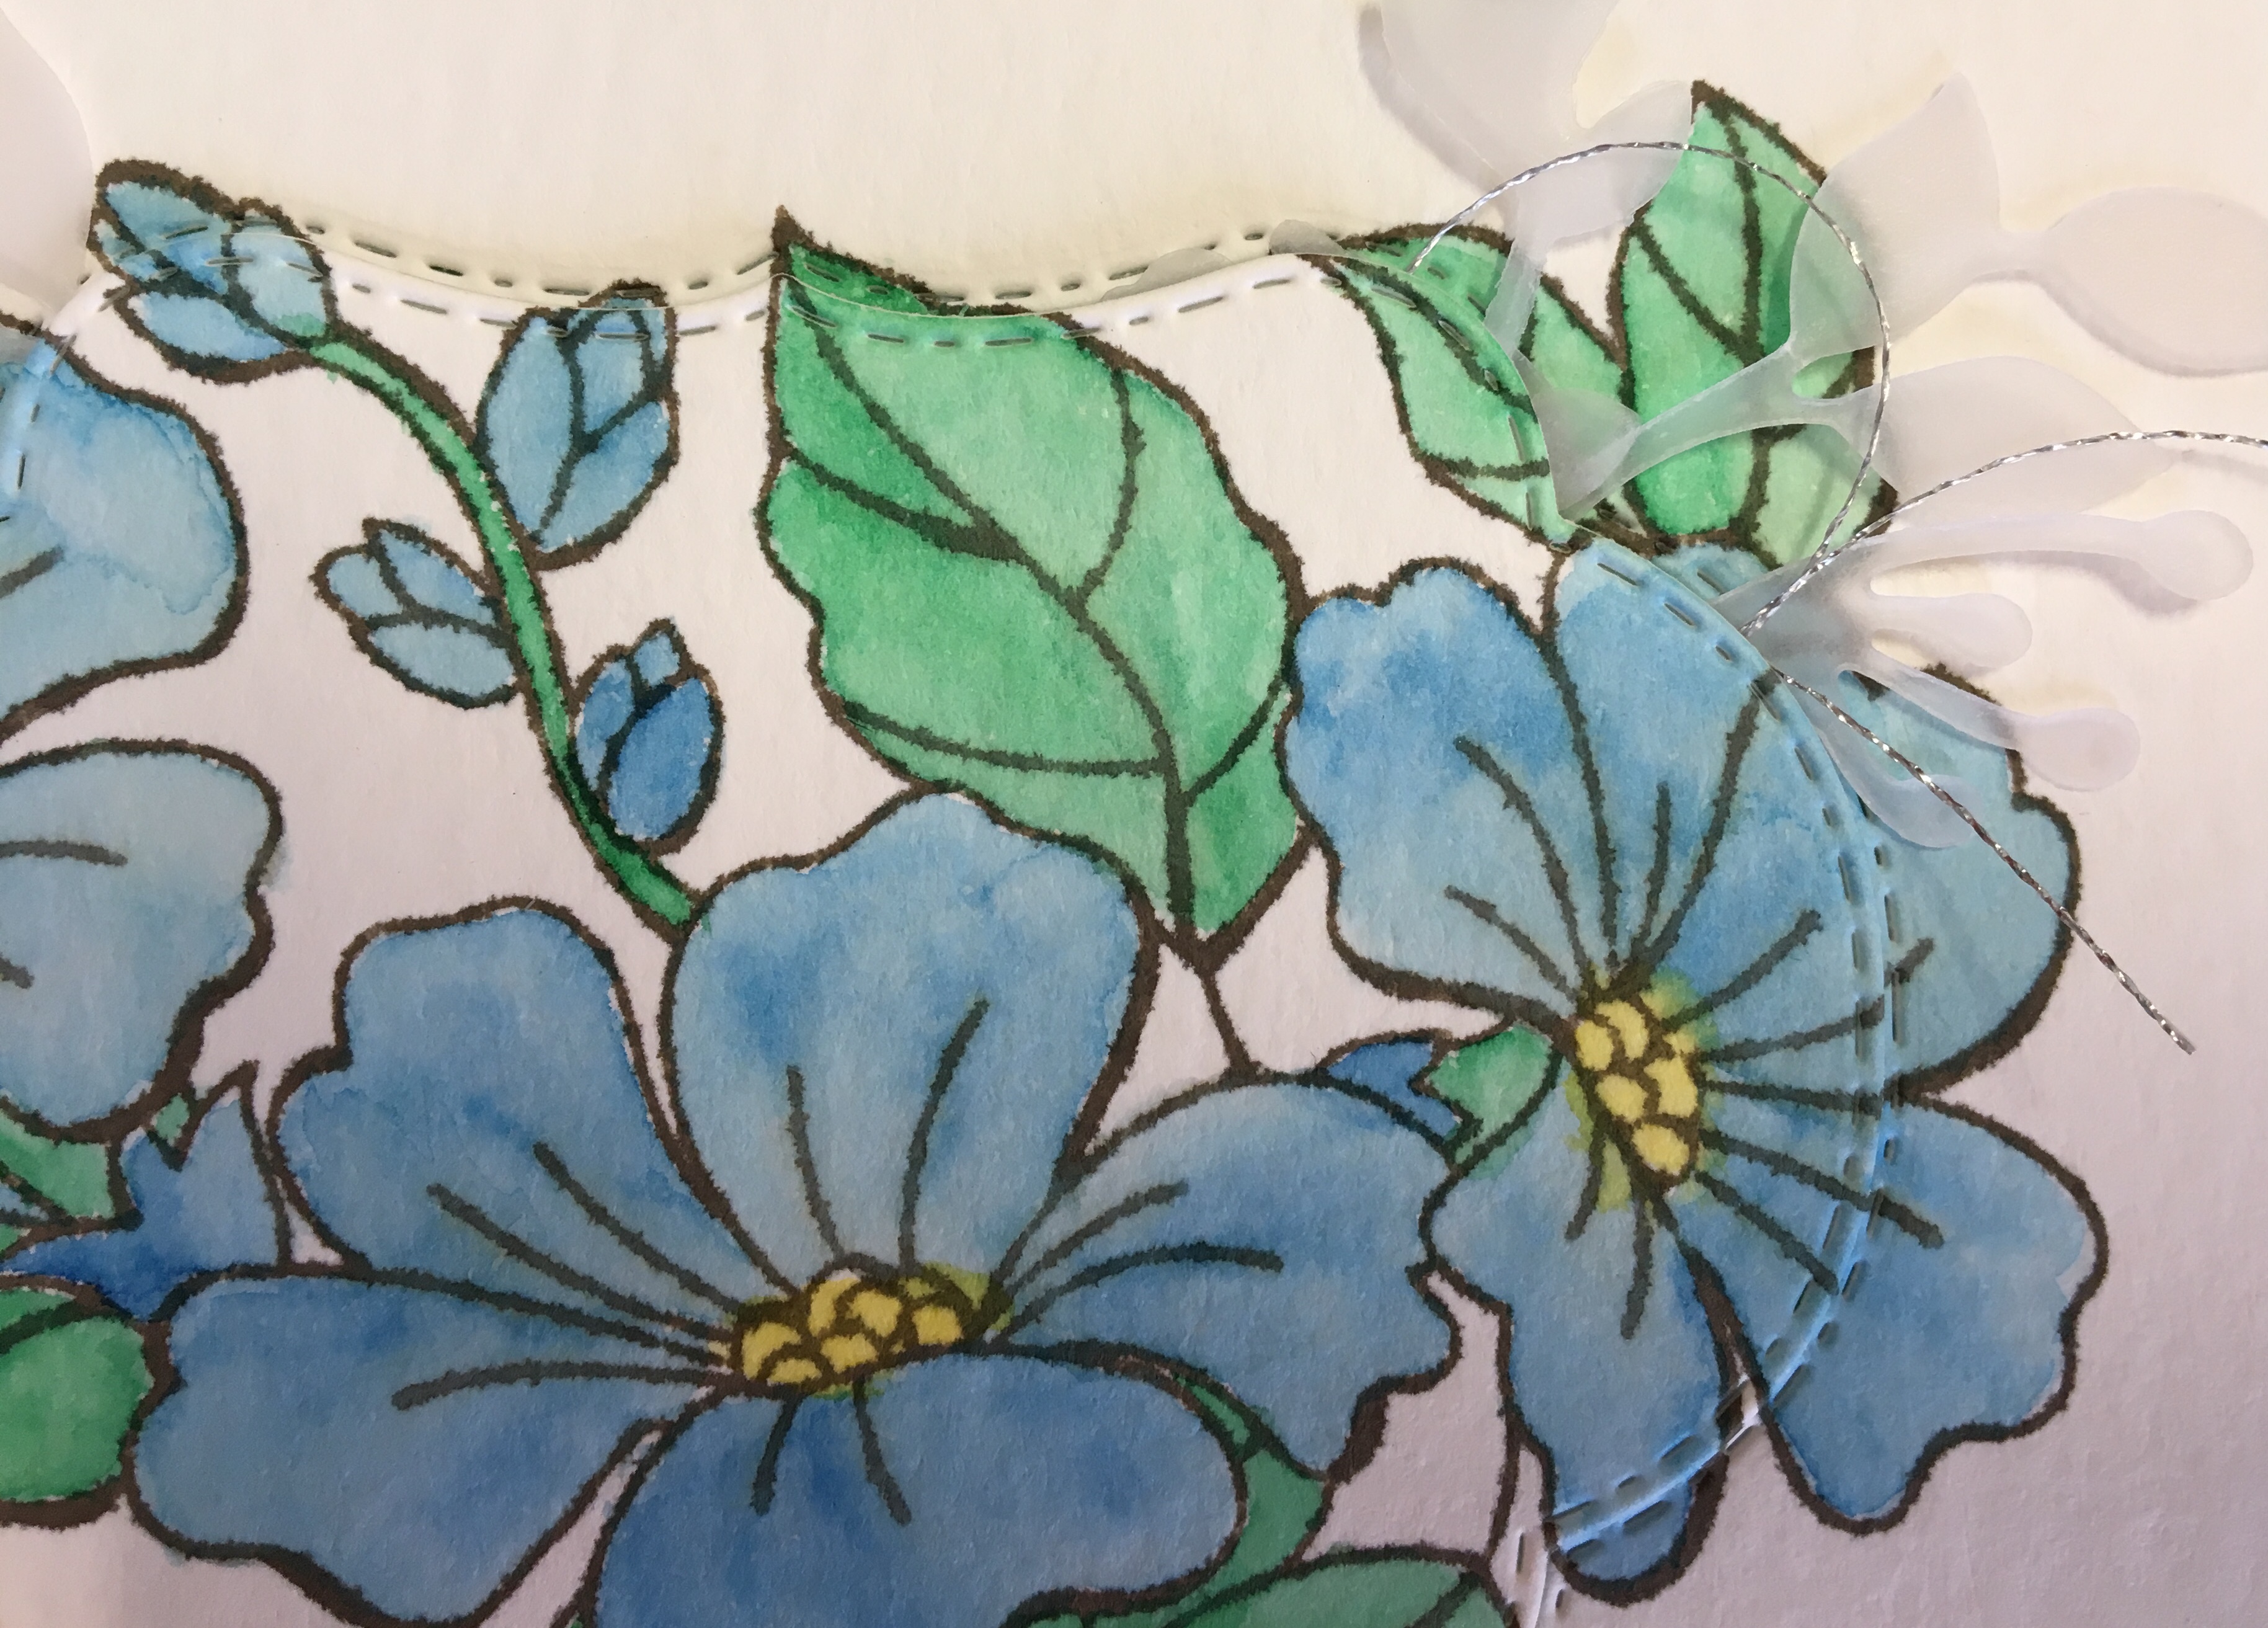
- Use the Aqua Painter to take color from the palette and add to the stamped image. You’ll notice that I used the Blueberry Bushel for the flowers; Call Me Clover for the stems and leaves; and Pineapple Punch for the flower centers.
- Tip: Don’t get the brush on your Aqua Painter too saturated when you’re painting. If there is too much water on your brush, get some of the water off by swirling the brush on the edge of the cardboard.
- Another tip: When you’re ready to change colors when you’re painting, simply swirl your brush on the edge of the cardboard to get rid of the ink.
- When the image is dry, take the watercolored image off the board. Be careful when you’re taking off the washi tape or painter’s tape not to tear the Watercolor Paper.
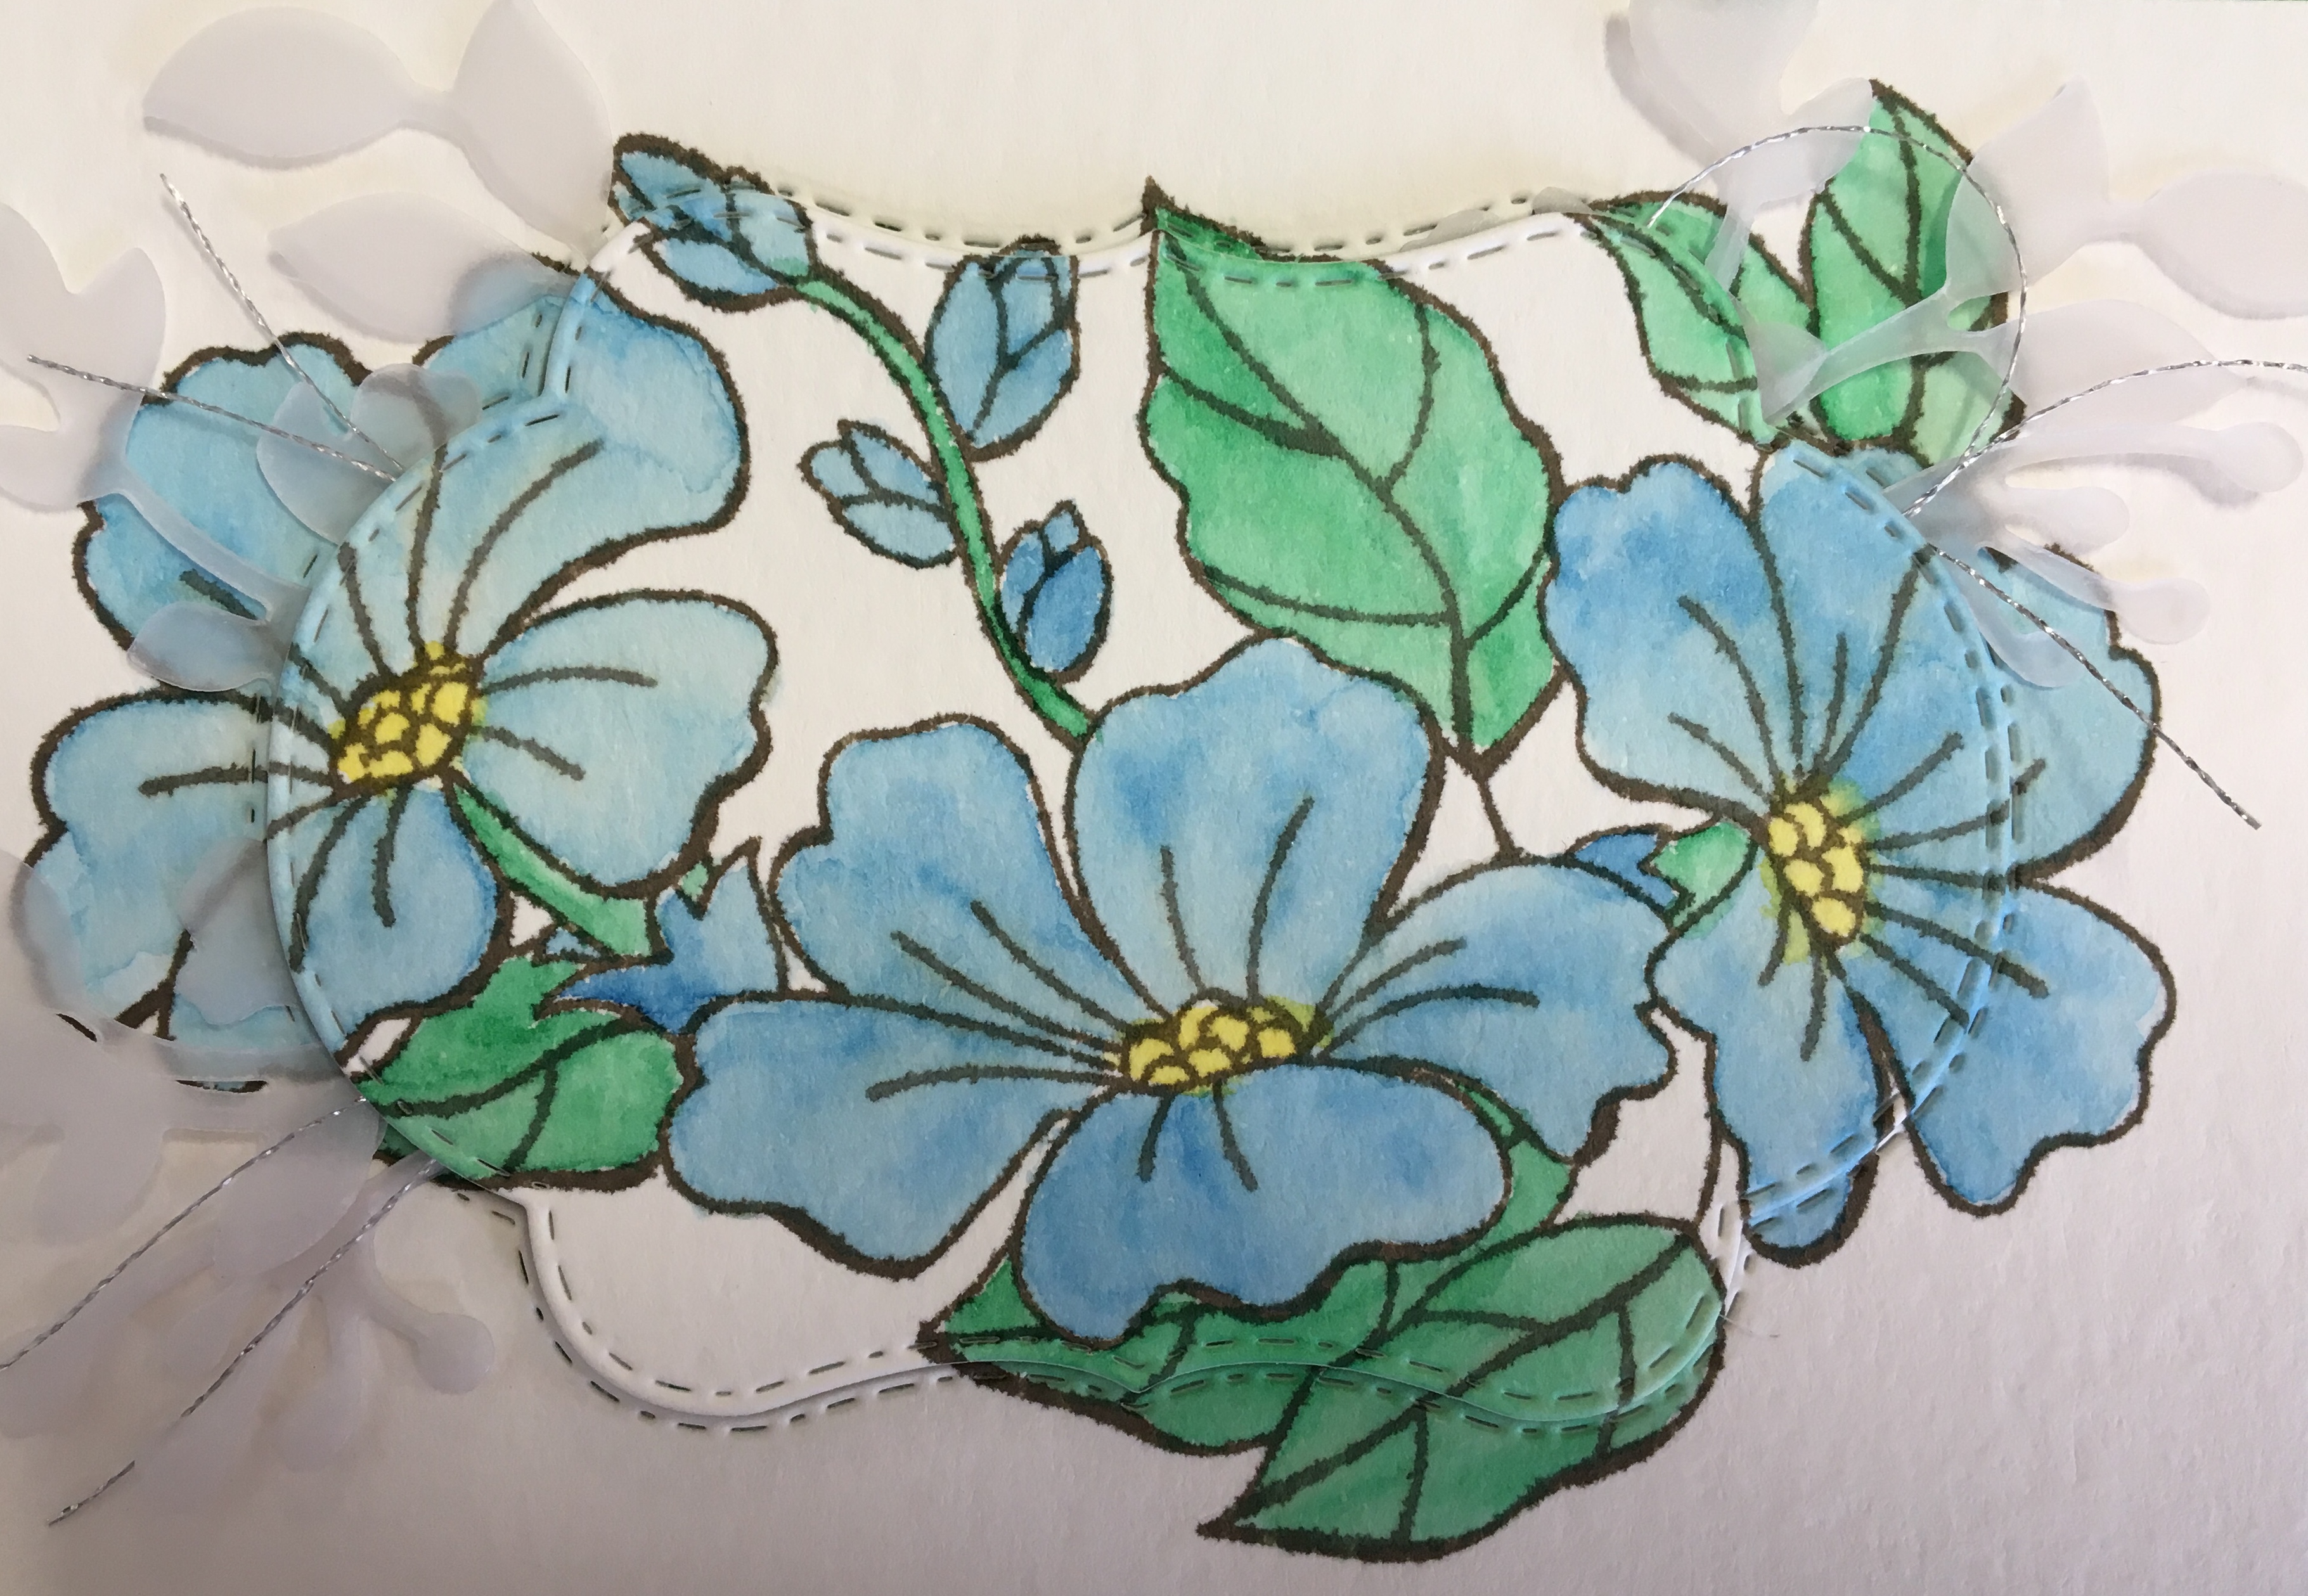
- Use the smallest frame from the Stitched Seasons framelits set to cut out the middle of the watercolored image, as pictured.
- Cut a piece of Call Me Clover card stock to 3 1/4″ x 4 3/4″.
- Adhere the outside piece of the watercolored image in the center of the Call Me Clover card stock piece.
- Use Gray Granite ink to stamp “Thank You” from the Blended Seasons stamp set in the bottom right corner of a Whisper White card base. The card base is cut to 5 1/2″ x 8 1/2″, scored at 4 1/4″ on the 8 1/2″ side. Use the picture as a reference.
- Adhere the Call Me Clover card stock piece to the card base, as pictured.
- Use the leaf and berry framelit from the Stitched Seasons framelits set to cut pieces from Vellum. Adhere some of these pieces inside the cut out of the outside piece of the watercolored image. I used tape to tack them down. These pieces will be seen outside the borders of the cut out middle of the watercolor image. You can also add a few pieces of silver thread to the middle.
- Occasionally, check to see how the pieces will look around the middle piece. When you’re happy with the results, use dimensionals to adhere the middle cut piece to the center of the card. Again, use the picture as a reference.
You can easily change the sentiment on this layout to celebrate many occasions. Anniversary, birthday, congratulations, wedding, bridal showers, sympathy, and get well cards are just a few that come to mind.
Below, you’ll find pictures of the main products that I used in making this card. If you click on any picture, you’ll go directly to my on-line store.
Happy stamping,
Laurie
|
|
|
|
|
|
||
|
|
|
|
|
|
|
|
|
|


