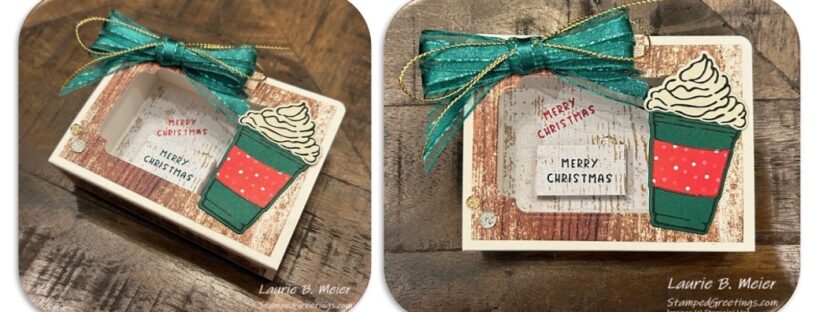
Welcome to NC Demos November Blog Hop! This month’s theme is “It’s a gift!”. What a perfect way for all of us to share projects that showcase beautiful gifts that can be made for the holidays and other occasions. After all, there are really no limits to what can be made with stamps, ink, dies, and paper.
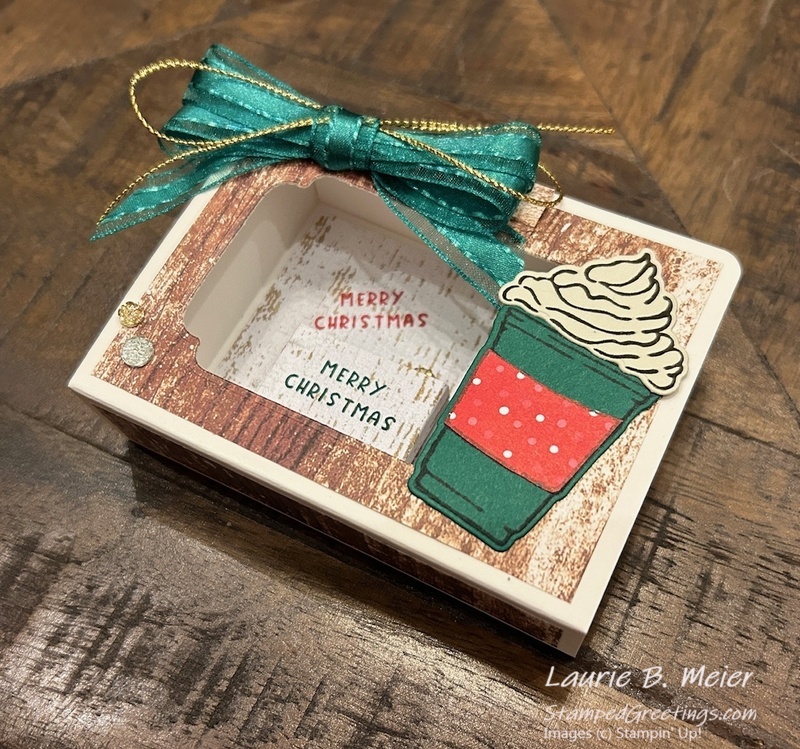
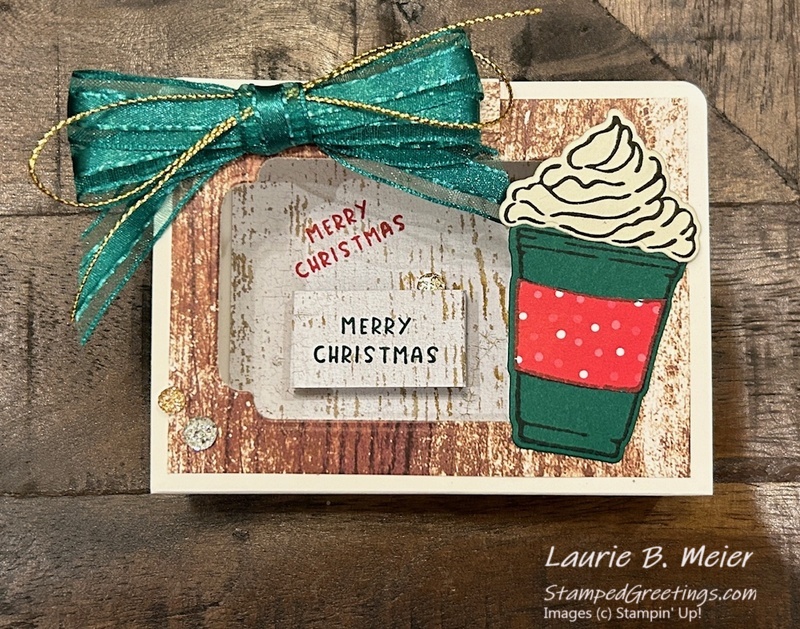
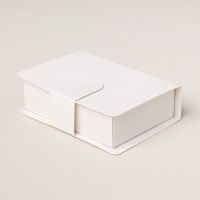
I hope you just came from seeing Toni’s post. What an amazing project, as usual! Thank you so much for stopping by to see my project this month. It’s a little out of my comfort zone since I don’t make too many 3D projects. But, I have been very intrigued by the cute Book Treat Boxes that are in the current mini catalog. After looking at some ideas on social media, I decided to use a Book Treat Box to create a fun ornament/shadow box for Christmas.
These boxes would make perfect gifts for your friends, family, co-workers, and other folks on your list. You could easily attach a small envelope to the back to hold a gift card to even turn it into a present.
The project comes together pretty quickly and doesn’t include too many supplies. The best way for me to “show” you how to make this ornament is to really show you! Please take a few minutes to check out the video that is linked below. I have also included basic instructions after the video link.
Basic instructions to make the Book Treat Box Ornament/Shadow Box – Note that the video (linked above) has several tips and tricks to use to make the project.
- Burnish the score lines on the outer piece of the Book Treat Box. Cut off 1″ of the tab.
- Use a piece of 6 1/4″ x 3 3/4″ DSP to create three pieces to add to the outer box piece –
- Two pieces measuring 2 3/4″ x 3 3/4″
- One piece measuring 3/4″ x 3 3/4″
- Attach the pieces to the top of the outer box piece. The two larger pieces get adhered on opposite ends, and the smaller piece gets adhered in the middle.
- On the opposite side from the tab, die cut the shape of your choice. Die cut from where you adhered one of the larger pieces of DSP. Save the die cut for another project, perhaps a gift tag!
- Burnish the score lines for the inner box piece of the Book Treat Box. Assemble the box and adhere it to the outer box piece.
- Use a piece of 3 1/4″ x 2 1/2″ DSP to decorate the inside of your box. You may want to feature the opposite side of the DSP that you used to decorate the outer box piece.
- If you would like, stamp an image on the DSP before you attach it to the inside of your box.
- You can also create a second layer of the stamped image by creating a small box inside your box. Use a second piece of DSP to create the small box. Your dimensions may not be the same as mine, depending on the size of your sentiment. I used a piece of DSP measuring 3 1/2″ x 3/4″. Adhere the small box to the inside of your piece.
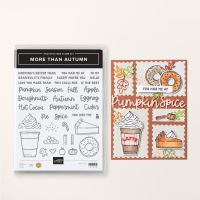
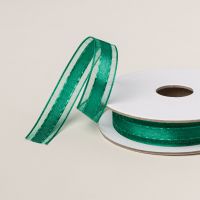
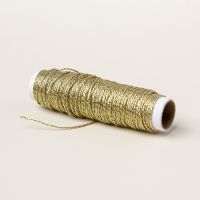
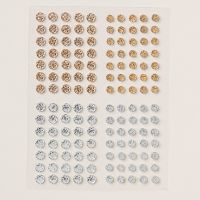
- Decorate the outside of your ornament/shadow box as you would like. You’ll notice that I used some really fun stamps and dies from the More Than Autumn bundle to create a bright holiday theme. Add your choice of bling – ribbon, thread, embellishments – whatever you would like.
I really hope that you will give this project a try! It’s quite a lot of fun and can be used for just about any occasion.
Please be sure to continue through our blog hop by checking out Kelly’s post. I know she has a fabulous project to share with us. Also, take a look below at the list of this month’s blog hoppers to make sure you have seen all of our posts!
November NC Demos Blog Hoppers –
Tina Lesson
Jo Anne Hewins
Toni Campana
Laurie Meier <— YOU ARE HERE
Kelly Taranto
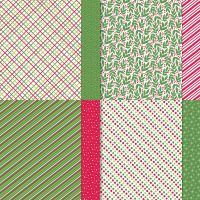
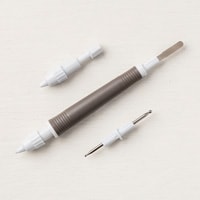
Below are the main products that I used to make my project. Simply click on any picture, and you’ll go directly to my online store.
I hope you and your families have an absolutely wonderful Thanksgiving!
Inky hugs,
Laurie
|
|
||
|
|
||
|
|
|
|
|
|
||
|
|
|
|
|
|
|
|
|
|
|
|
|
|
|
