Before I became completed addicted to stamping, I did a lot of stenciling! My husband and I lived just north of Houston, Texas at that time, and a very well known stencil artist offered classes. A good friend of mine and I took several of her classes and really enjoyed stenciling.
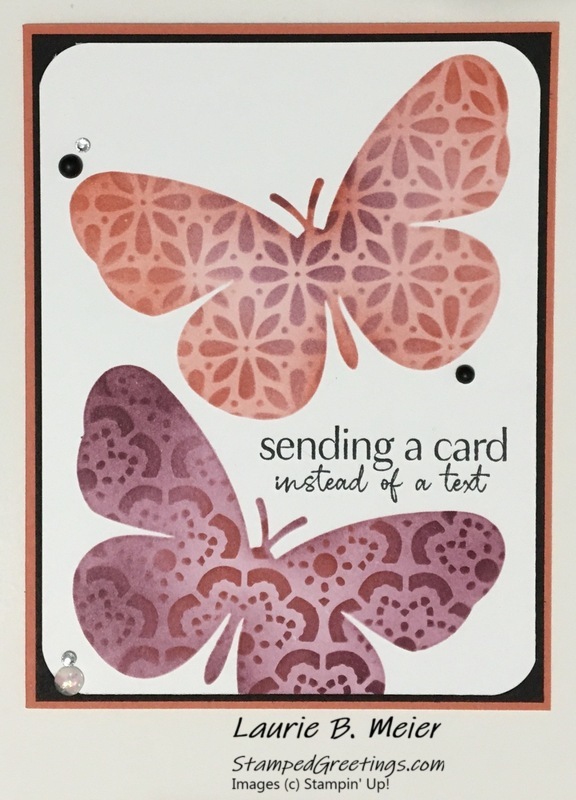
When I saw the new Butterflies and Flowers Layering Decorative Masks, I knew they were destined for my collection! Then, I saw a very inspiring post from Kylie Bertucci, and I just had to make the card that is shown below!
The sentiment that I used is from the new Flowing Flowers stamp set. It seemed just perfect for the card!
WARNING – This technique is very addictive and extremely fun to use!!
One of the really awesome things about this type of project is that you don’t need a lot of supplies to make it! Here are the dimensions for the paper that I used for the card –
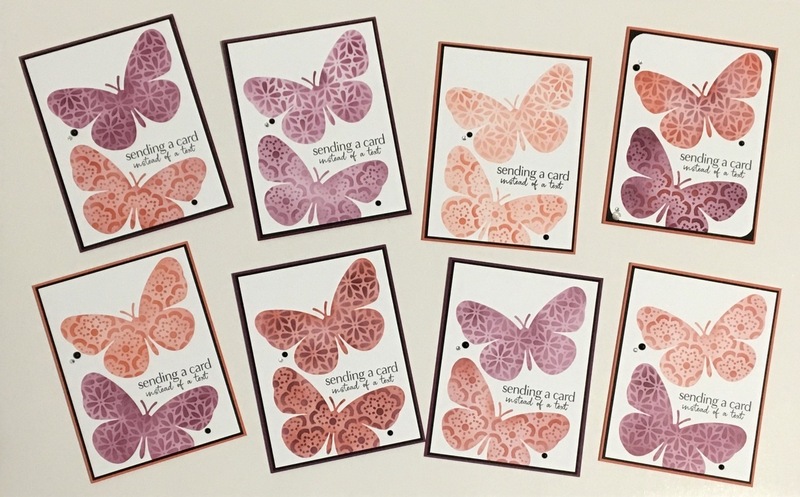
- The card base is a piece of Calypso Coral card stock cut to 8 1/2″ x 5 1/2″ and scored at 4 1/4″ on the 8 1/2″ side. In the picture at the bottom of this post, you’ll see several more cards that I made with this layout. Some of them have Rich Razzleberry card stock as the card base.
- The frame behind the focal point is a piece of Basic Black card stock cut to 4 1/8″ x 5 3/8″.
- The focal point starts as a piece of Basic White card stock cut to 4″ x 5 1/4″.
You will definitely want to grab some Post-it Notes or washi tape to make this project! Take a look at the video that is linked below to see the steps involved. You’re going to love it!
You can tell by the many cards pictured below that I got slightly carried away with this design. It’s just fun, quick, and gives you beautiful results. I really hope that you’ll try it!
The main products that I used to make the cards are shown below. If you click on any picture, you’ll go directly to my online store!
Inky hugs,
Laurie
|
|
|
|
|
|
|
|
|
|
88888888888888888888


