The last few months have definitely been challenging for all of us. We’ve had to make many changes to adjust to this “new (hopefully, not too long) normal”. I feel incredibly fortunate to be able to de-stress by simply playing with paper, ink, stamps, dies, and a little imagination. When I add in the absolutely amazing ideas that we can all find on different social media platforms, I really feel inspired. And, challenged to make cards that are different than my typical style. I’m having a great time stretching outside my comfort zone.
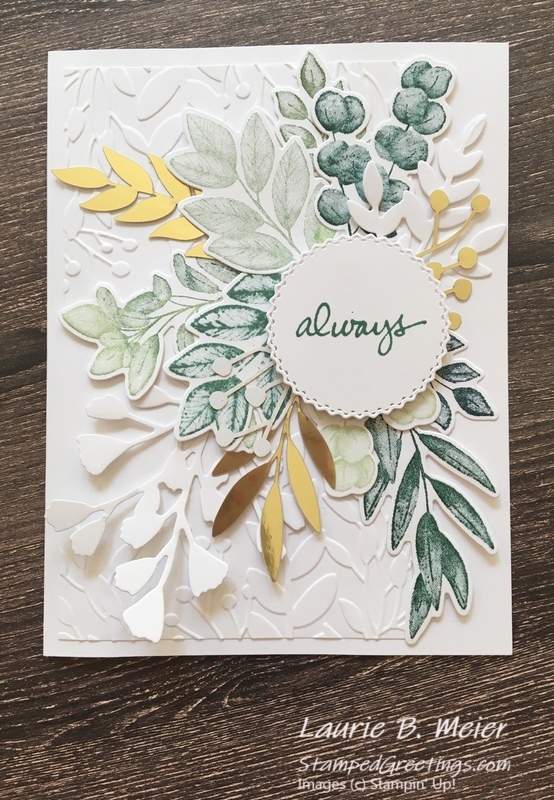
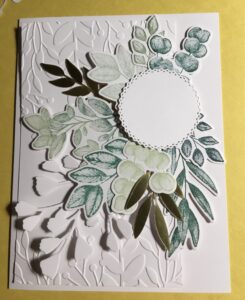
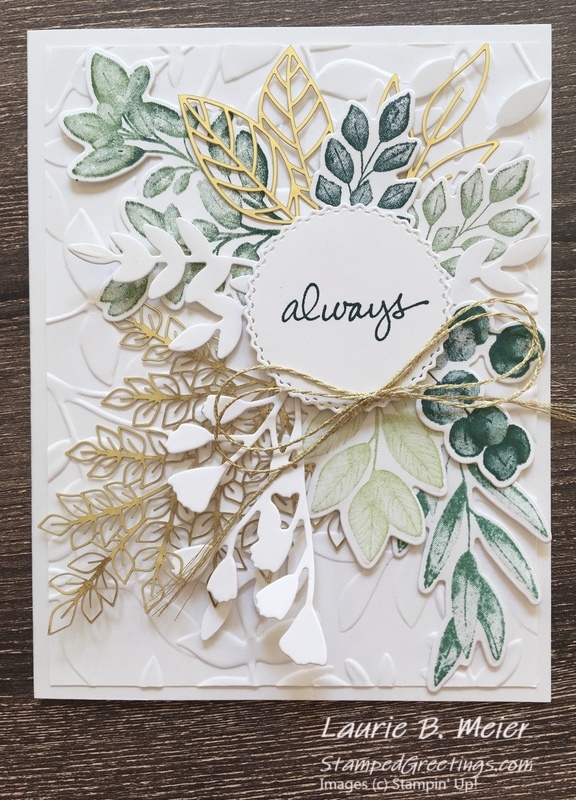
The card that is pictured below is definitely one that fits the description of a different type of card than I usually make. Just like so many, I lost time looking at many beautiful designs on Pinterest that featured products from the Forever Greenery suite. The card below was inspired by many different projects that I saw.
This card is just way too much fun to make. Once you get started, you will make another and another and another….
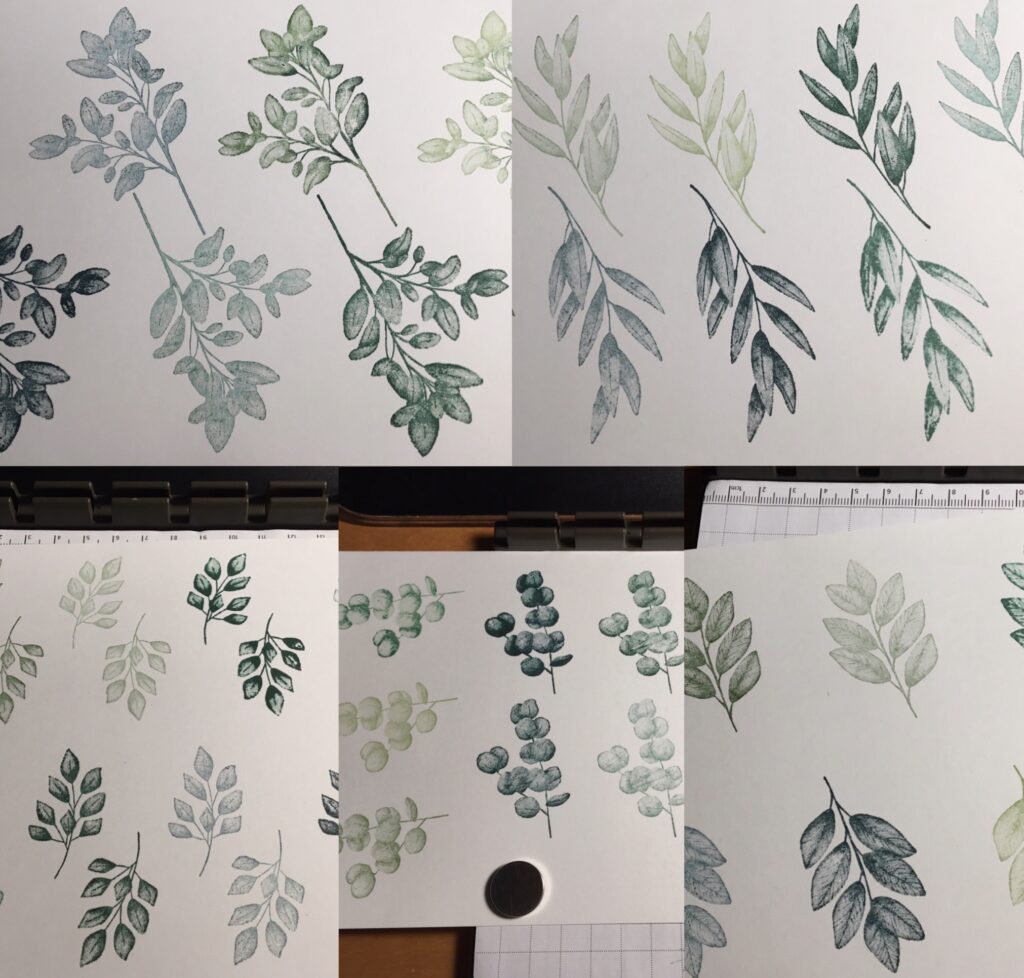
- Start by stamping the six stamp images from the Forever Fern stamp set that have corresponding dies in the Forever Flourishing Dies collection. Use different inks that are featured in the Forever Greenery Suite to stamp. Take a look at the pages of stamped images that I did with Garden Green, Pear Pizzazz, Just Jade, Pretty Peacock, and Shaded Spruce inks.
- I had fun using first and second generation inks on the images and, occasionally, adding multiple colors of ink to the same image.
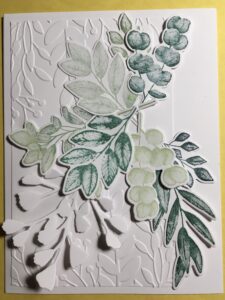
- After you have stamped your images, grab the corresponding dies from the Forever Flourishing Dies collection, and die cut the images. This may seem like a lot of prep, but you’ll be happy that you have many foliage pieces to use on different cards.
- Get your card base together and the embossed piece that will go directly onto the card base. I used Whisper White card stock for my card base. It is cut to an A2 size – 5 1/2″ x 8 1/2″, scored at 4 1/4″. The embossed piece is also Whisper White card stock that is embossed with one of the embossing folders from the Greenery Embossing Folders pair. I cut the embossed piece to only show the area that had the texture from the embossing folder. It is adhered directly to the card base.
- Now, comes the fun! Get the die cut foliage pieces that you have made and some of the gorgeous gold pieces from the Forever Gold Laser-cut Specialty Paper. Place the pieces onto the front of your card, and have fun figuring out where you want the pieces to be in your design.
- You may want to decide the shape of the die cut that you’ll use for your sentiment at this point. You don’t need to stamp your sentiment; however, if you have an example of the die that you’re going to use, you can figure out how much of your design it will cover when you add it later.
- When you’re happy with the layout of your die cut foliage pieces and the gold specialty paper pieces, I suggest that you snap a picture of the layout with your phone. Then, you’ll have a reference when you reconstruct the design.
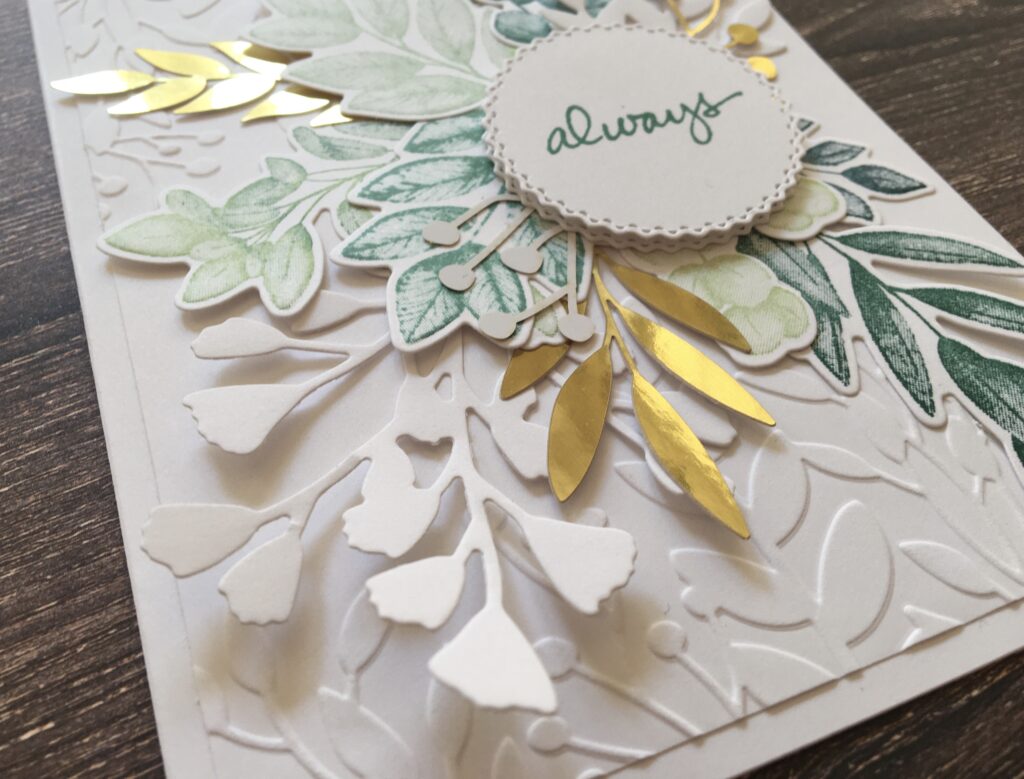
- Grab your favorite adhesive. I like Multipurpose Liquid Glue for this kind of project. Adhere the die cut foliage pieces where you want them to be on your card. You don’t need to use a lot of adhesive to get them to stay in place. In fact, I only adhered the “stems” of my pieces and allowed the other parts of the foliage to remain unglued. I like the natural, layered look that is a result.
- After your foliage is completed, stamp and die cut your sentiment. I used the gorgeous Just Jade ink to stamp “always” from the Lovely You stamp set. I die cut the sentiment with the larger of the two circle dies from the Tasteful Labels Dies collection.
- It’s a little hard to see this in the picture… To hide where the “stems” are glued to the card front, I adhered a die cut (without a sentiment) directly over that busy area. Then, I added a few dimensionals to the die cut piece and put the die cut with the sentiment directly on top.
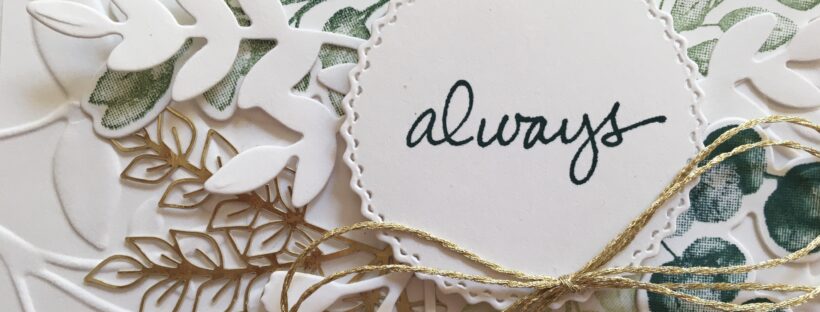
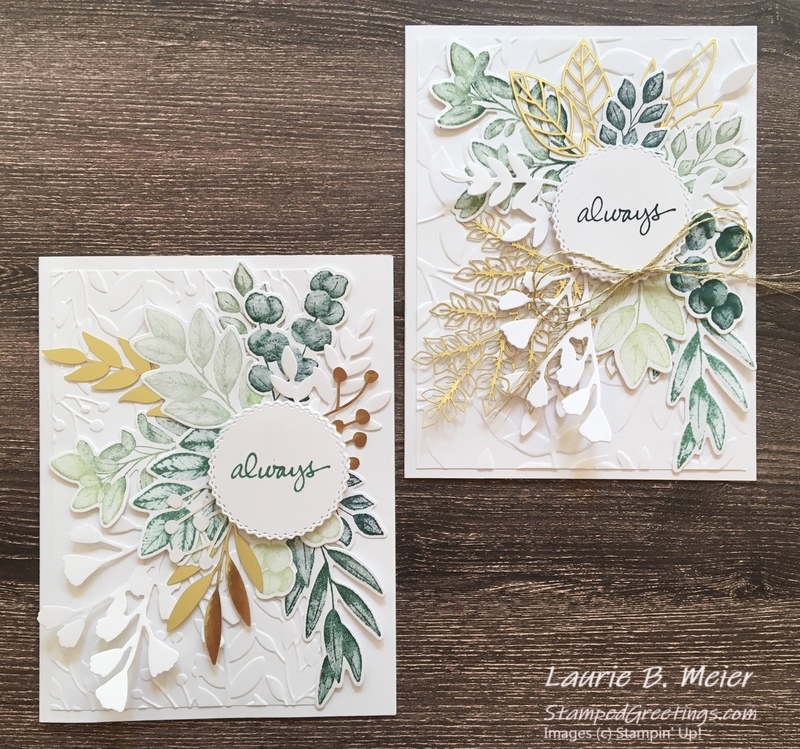
- A second (I told you that you’re just going to want to make more and more and more…) card is shown below. The basic differences include larger gold images from the Forever Gold Laser-cut Specialty Paper and a double bow using the gold trim from the Forever Greenery Trim Combo Pack. I also used the beautiful Pretty Peacock ink to stamp the sentiment.
- Honestly, I don’t know which card I prefer. I guess I’ll just need to make another card to break the tie!!!
You will love making this card design. And, I would love to see what you make.
Below are the main products that I used to make these cards. If you click on any picture, you’ll go directly to my on-line store.
Happy stamping!
Laurie
|
|
|
|
|
|
|
|
|
|
||
|
|
||
|
|
|
