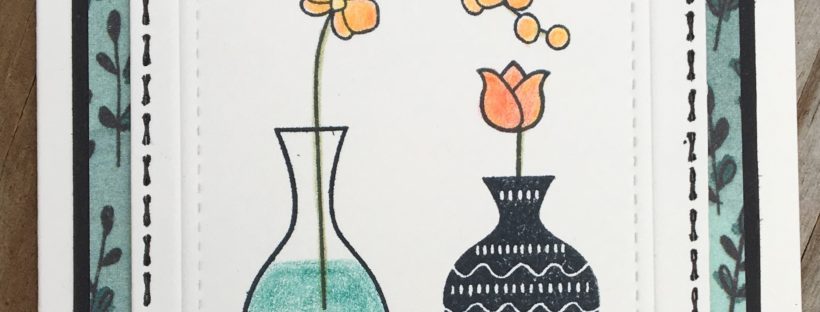
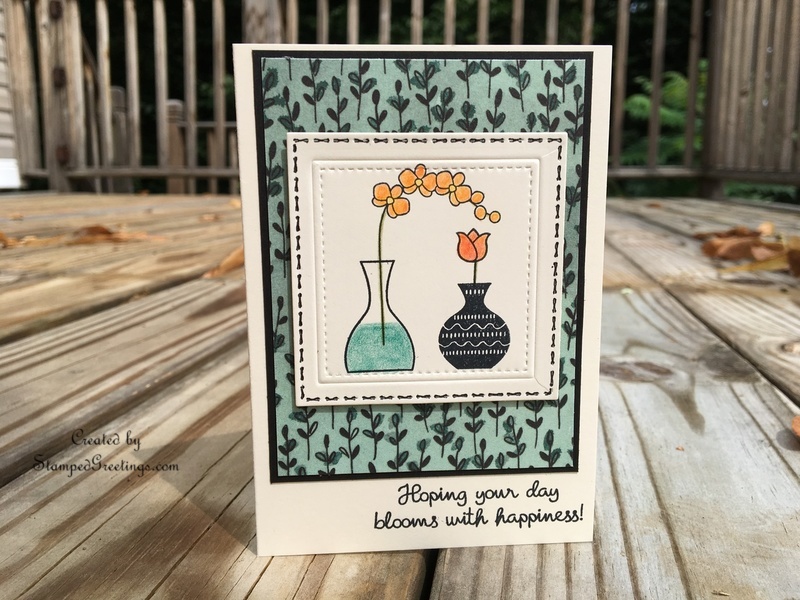
At our recent Stamp Club, we had a great time (as usual) making cards using the Varied Vases bundle. The stamp set and punch are so much fun to use and create eye catching cards. Take a look at one of the cards we made.
There are so many different colors, textures, and layers to look at in this card. And, the great thing is that it is pretty quick and straight-forward to make.
Here is the quick “recipe” for this card:
- Grab a Very Vanilla Note Card to use as the card base. I have quite a few Note Cards on hand. they are perfect for a quick card
- Next, use the “Hoping your day blooms with happiness!” stamp from the Varied Vases stamp set and Tuxedo Black Memento ink to add the sentiment to the bottom right corner of the card front.
- Cut a piece of Basic Black card stock to 3 1/8″ x 4 1/8″. This will be the frame for the focal point of the card.
- Cut a piece of your choice of DSP to 3″ x 4″. If the DSP has a pattern, make sure you cut the paper in the correct orientation. Meaning – Make sure that your pattern is cut in a portrait view. I used the Share What You Love DSP for the pictured note card.
- Adhere the DSP to the center of the cut piece of Basic Black card stock. Then, adhere the Basic Black card stock piece to the front of the note card, as pictured.
- Now, it’s time to work on the focal point. Grab a piece of scrap Very Vanilla card stock. Make sure it is as least 3″ x 3″. Stamp the vases, flowers, and stem as pictured above. Hint: I used my amazing Stamparatus and put the stamps on two plates to get perfect placement of the images.
- Use your choice of colors from the Watercolor Pencils to color the flowers and to add water to the open stamped vase.
- Cut your images with the largest square framelit from the Stitched Shapes framelits collection. I have used these collection so many times. I’m actually surprised that the framelits aren’t worn out!
- To get the embossed stitched impression around the vases, I used the Big Shot Embossing Mats. These mats will open up possibilities for your stamping stash. Just think – You will be able to use any die or framelit that you have to create an embossed impression! Follow the directions on the Embossing Mats package to get the impression.
- Here is the sandwich recipe from the bottom to top – Big Shot Platform (without the thin die adapter), framelit (edges facing up!), paper, blue silicone mat from the Embossing Mat set, and last the white impressions pad. Run the sandwich through your Big Shot. You may be surprised that you won’t feel a lot of pressure as the sandwich passes through. You’ll be amazed at the results.
- Finish the card by adding faux stitching around the larger stitched image. I used my Basic Black Stampin’ Write Marker. Use dimensionals to add the focal image to the card front, as pictured.
Warning – You will quickly become addicted to the results you’ll get using the Embossing Mats!
I hope you enjoy making this design. Make sure to stash it into your growing portfolio. You’ll be able to use the layout to make cards for many occasions.
Below are pictures of the main products that I used to make the Varied Vases Note Card. Click on any picture, and you’ll go to my on-line store.
Happy stamping!
Laurie
|
|
|
|
|
|
|
|
|
|
|
|
|
|
|


One thought on “Varied Vases Note Card”
Comments are closed.