Welcome to the November NC Demos Blog Hop! This month, we are sharing some of our favorite holiday projects. If you just came from Jo Anne Hewins’ post, I’m sure you’ll agree that her project is simply amazing (as always!).
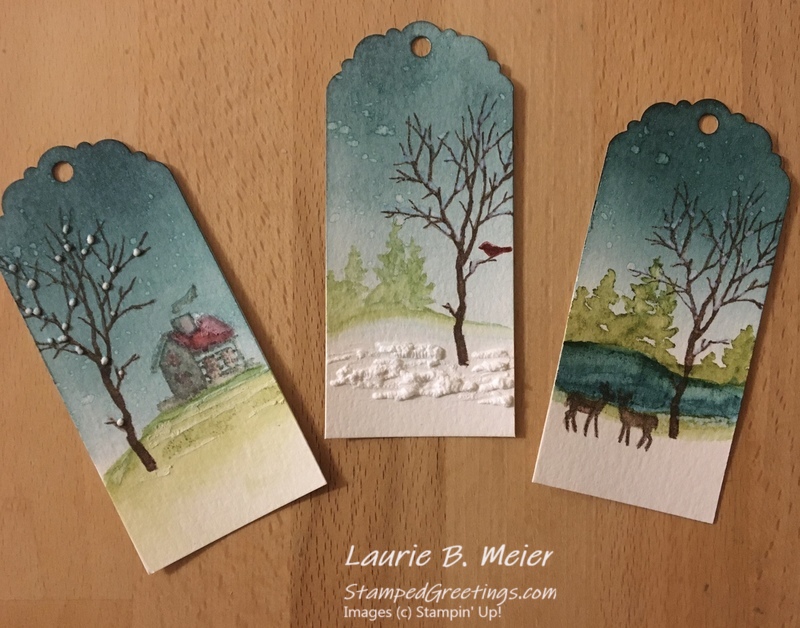
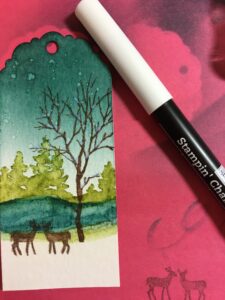
Thank you so much for stopping by to see my post for this month. I have decided to focus on some beautiful holiday tags made with the gorgeous Snow Front stamp set from the Holiday Catalog. My inspiration for this project came from Linda Dalke, a very talented demonstrator in Australia. When you have a few minutes, be sure to check out her video.
Take a look at the tags that are shown below –
Here are some pictures and tips to use when you are making these tags. Note: The pictures and words will describe steps to make the third tag shown. You can follow the same basic steps and techniques to create the other pictured tags and your own designs. Hover over any picture shown below, and you’ll see the step number that the picture represents!
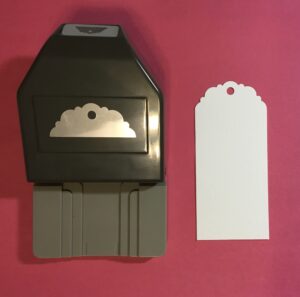
- Step 1: Cut a piece of watercolor paper to just under 2″ wide by any length that you would like for your tag. I cut the ones pictured above to 4 1/2″ long. Use the Delightful Tag Topper to punch out the scalloped tag end.
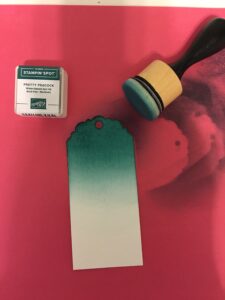
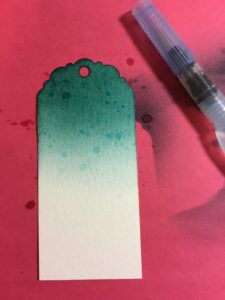
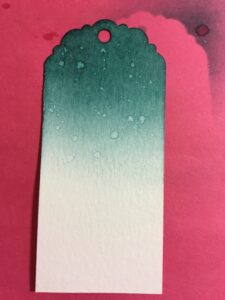
- Step 2: Use your favorite blending tool and the absolutely stunning Pretty Peacock ink to add the background sky color to the tag. You want to create an ombre look by putting more pressure and more ink at the top of your tag.
- Step 3: Use your Aqua Painter to splatter a few random drops of water on to your tag.
- Step 4: Heat set with your heat gun.
- Step 1
- Step 2
- Step 3
- Step 4
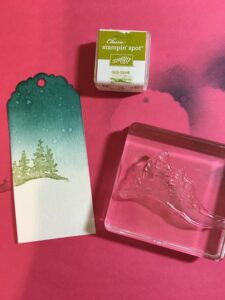
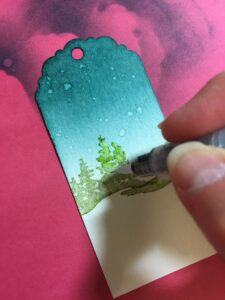
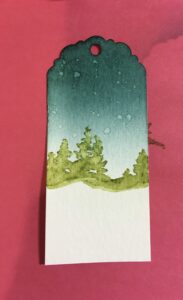
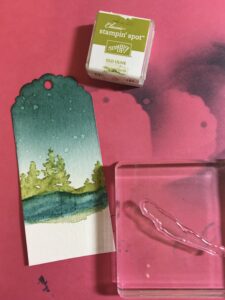
- Step 5: Grab your Snow Front stamp set and begin to add the distant trees to your tag. You will use Old Olive ink and the stamp that includes the hill and group of trees for your image. Stamp once toward the left of your tag. Then, reink the image and stamp on the right of your tag.
- Step 6: Use your Aqua Painter to blend the Old Olive ink and give your trees a little more definition. You’ll notice that the color will become lighter but more vibrant as you are adding water. Add water sparingly until you get used to the technique.
- Step 7: Heat set the tree design with your heat gun.
- Step 5a
- Step 5b
- Step 6
- Step 7
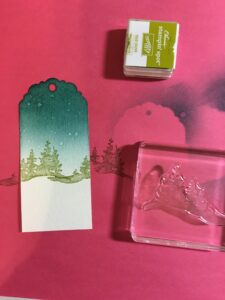
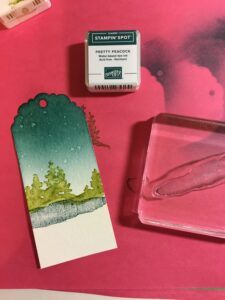
- Step 8: Add the pond in front of the trees by using one of the long, irregular shaped stamps in the Snow Front stamp set. Stamp the image with Pretty Peacock ink, as shown below.
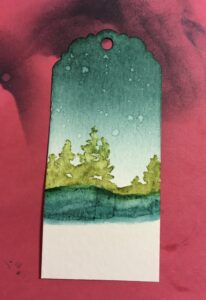
- Step 9: Use your Aqua Painter to blend the Pretty Peacock ink. Heat set with your heat gun.
- Step 10: Add more foreground to your design using the same stamp that you used for the pond. Turn the stamp over to get a different shape in your design, and use Old Olive ink for stamping. As in previous steps, use your Aqua Painter to blend the ink and your heat gun to set the ink.
- Step 8
- Step 9
- Step 10
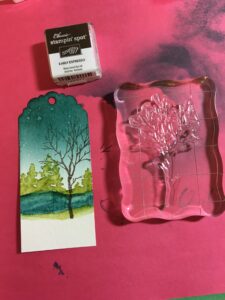
- Step 11: The large, bare tree is the next piece to add to the image. This is added by stamping the largest tree stamp from the Snow Front stamp set using Early Espresso ink.
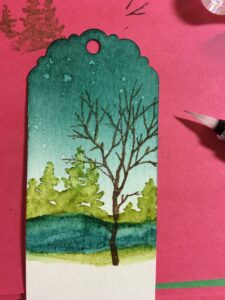
- Step 12: When you blend the Early Espresso ink on the tree with your Aqua Painter, be sure to use only the tip of the Aqua Painter. There are thin branches that don’t need much water to make their image better defined. Heat set the tree with your heat gun.
- Step 11
- Step 12
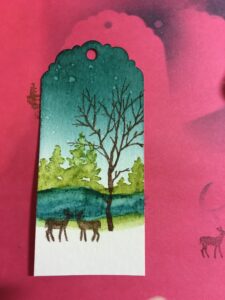
- Step 13: Add deer to the foreground by stamping the image, again from the Snow Front stamp set, using Early Espresso ink. Blend the image using just a little water from your Aqua Painter. You may find that you need to stamp the image again. When you are happy with the deer image, heat set with your heat gun.
- Step 14: Finish your tag by using a Chalk Marker (or white gel pen) to add the hint of snow on the branches of the bare tree.
- Step 13
- Step 14
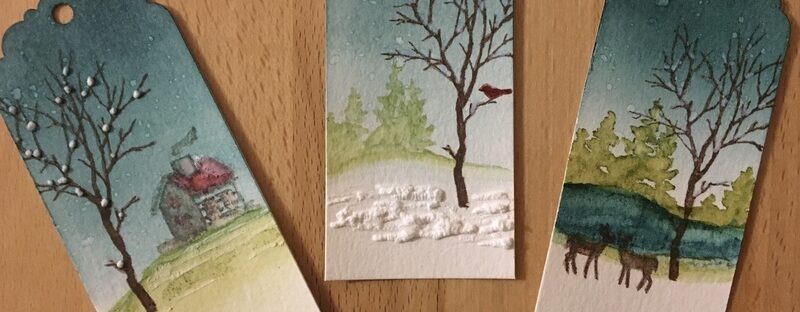
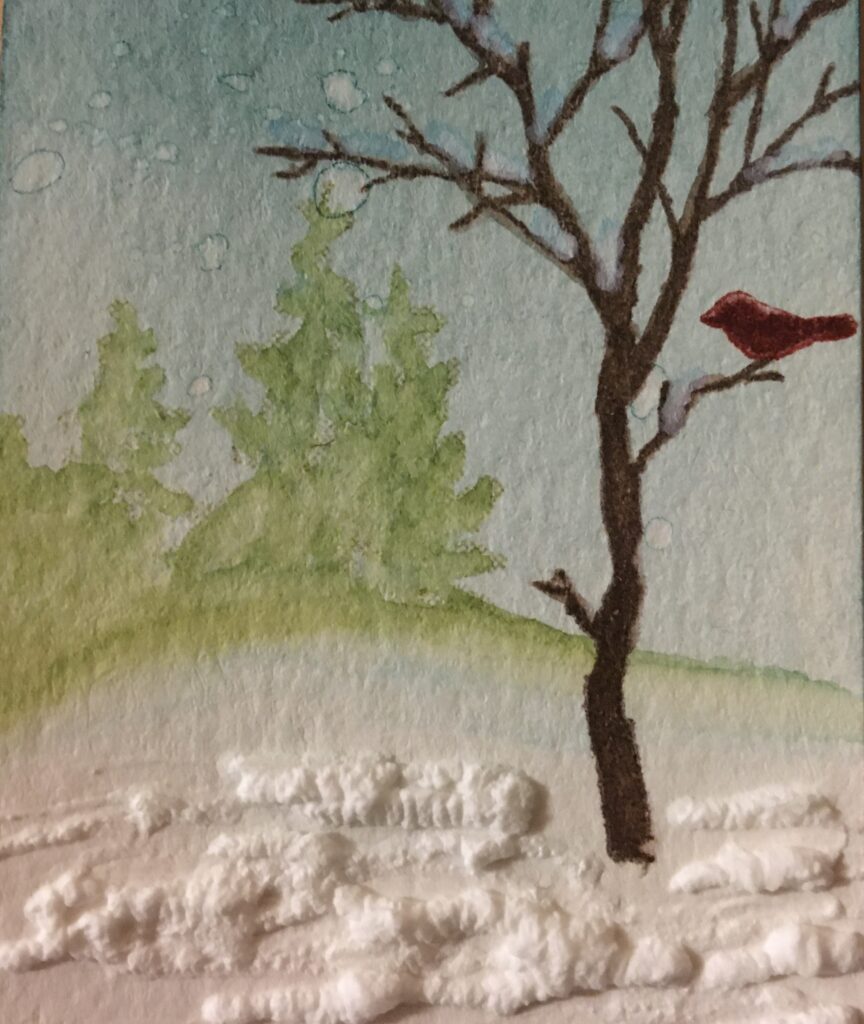
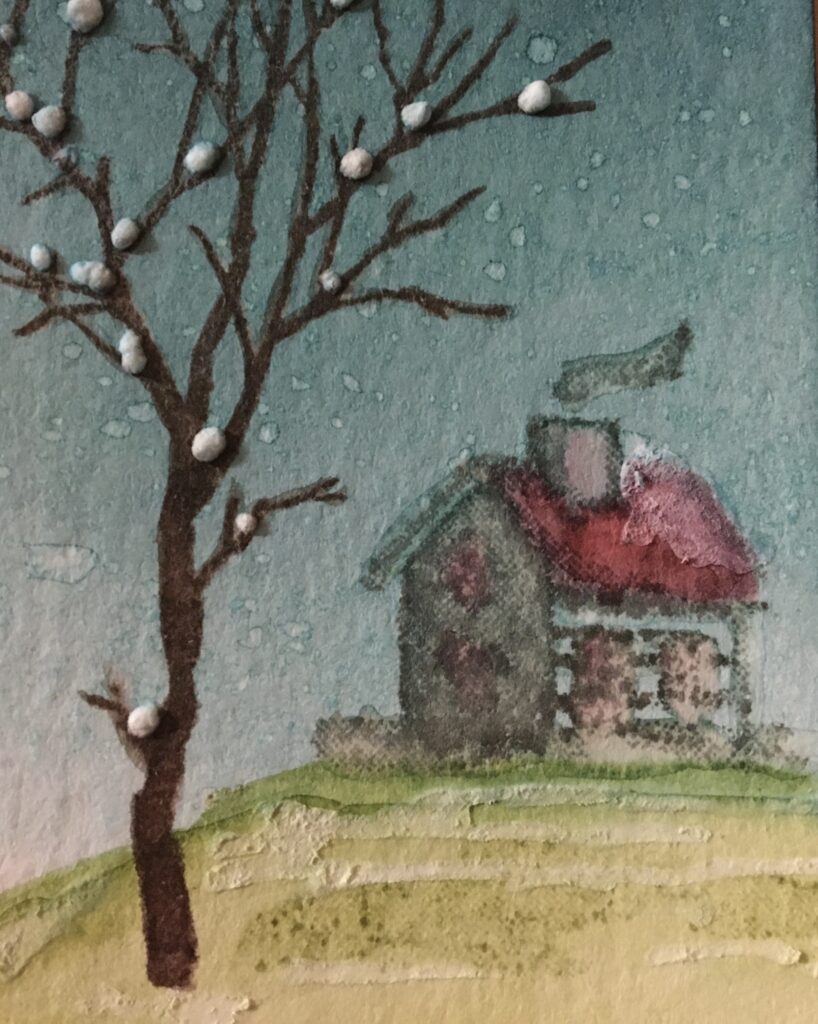
There are so many variations that you can design with the basic steps detailed above. Here are a few close-up pictures of the other tags that I showed at the beginning of this post.
- Snowfall Accents Puff Paint on the ground by the tree!
I really hope you’ll give this technique a try. When you do, please be sure to share your projects!
Now, please be sure to hop over to Toni Campana’s post. I know she has an amazing project to share.
Below are the participants in this month’s NC Demos Blog Hop.
Jo Anne Hewins
Laurie Meier <– YOU ARE HERE
Toni Campana
The main products that I have used to create the Snow Front tags are shown below. If you click on any picture, you’ll go directly to my on-line store.
Happy stamping!
Laurie
|
|
|
|
|
|
||
|
|
|
|
|
|
