My dad was in the Air Force, and our family moved around quite a bit. It was a great adventure moving around the country and living in France and England. It was also very special when we were able to spend time with family in the States. I vividly remember my Grandmother and Granddaddy Wright’s house in Gruver, Texas. It was a very modest home filled with an enormous amount of love and memories. It is also the place where my Grandmother Wright showed me how to needlepoint, embroider, hook a rug, smock a pillow, and crochet. From those wonderful moments with her, my love for crafting started.
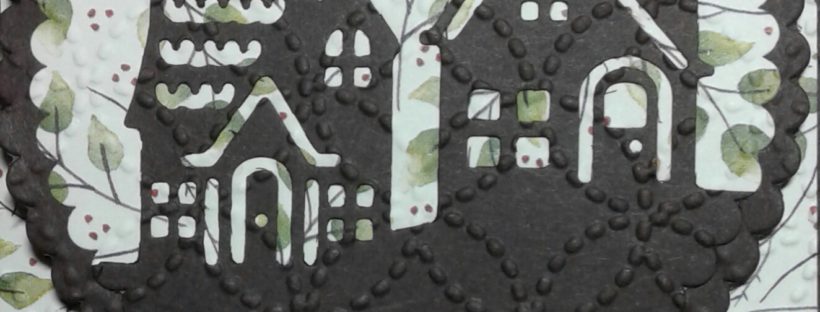
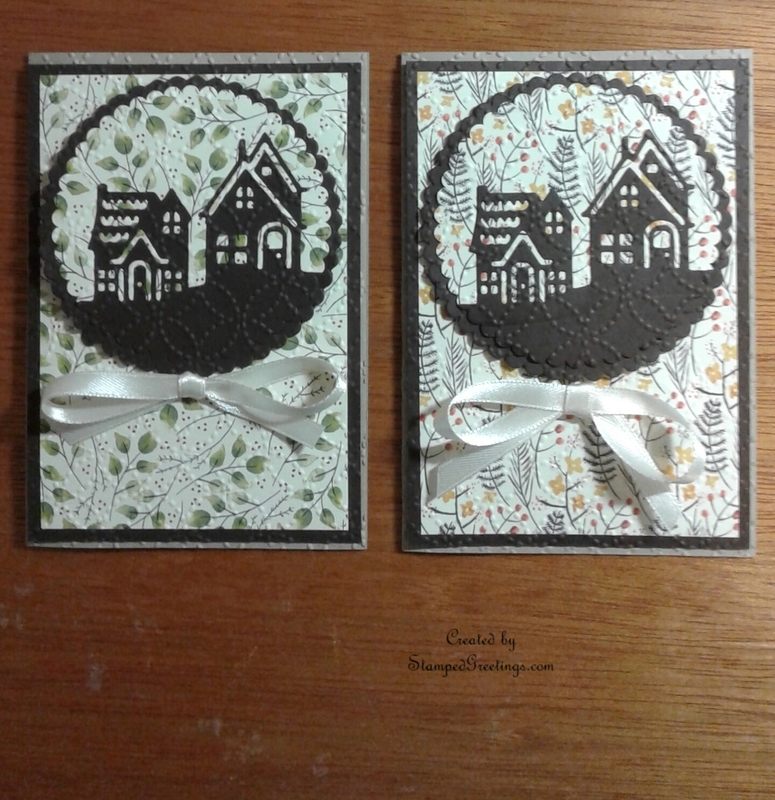
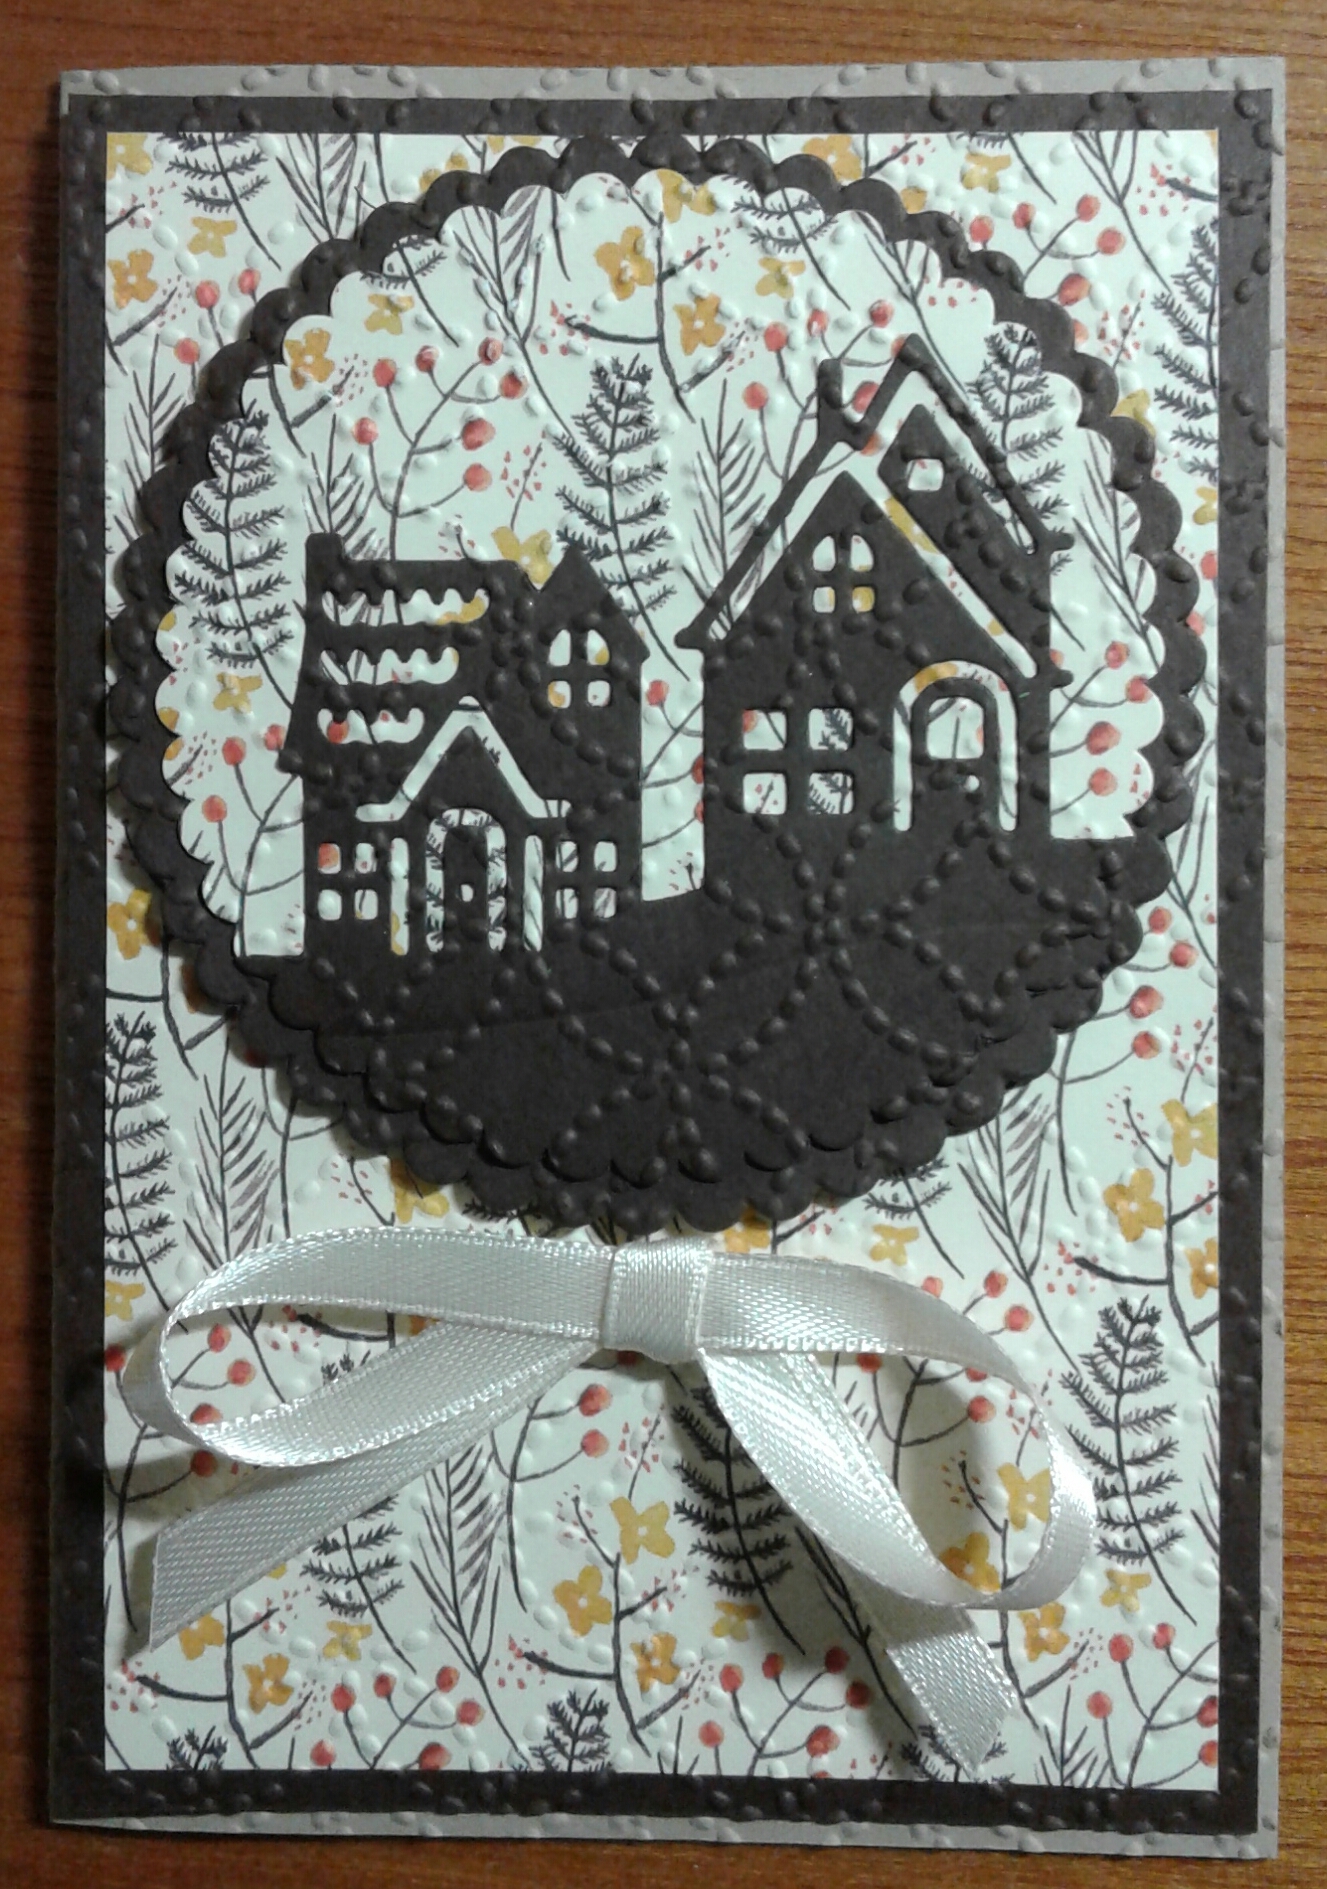
The cards pictured below remind me of her. They aren’t fancy, but they have so much warmth and character. The Quilt Top Textured Embossing Folder from the Quilted Christmas suite is one of the keys to the cards. The other is your favorite Designer Series Paper (DSP). I chose pieces from the gorgeous Painted Autumn DSP collection. [By the way, if you didn’t know already, Stampin’ Up! has a special this month for DSP. Buy three packages of selected DSP collections, and get one free!! Click here for more details.]
The directions for the card are pretty straight forward:
- Cut a piece of Crumb Cake cardstock to 7″ x 5″, score at 3 1/2″ on the 7″ side. [Or – You could use a retired Crumb Cake notecard.]
- Choose your favorite piece of DSP and cut two pieces. One 4 5/8″ x 3 1/8″ and one 3 1/2″ x 3 1/2″.
- Choose your favorite color of cardstock that will work well with the DSP that you have chosen. In the pictured cards, I chose Early Espresson, one of my absolute favorite brown colors. Cut two pieces of your chosen color of cardstock. One 3 1/2″ x 3 1/2″ and one 4 7/8″ x 3 3/8″.
- Grab one of your favorite edgelit or framelit dies, and cut a design to put in the middle of the round quilted piece. The Hometown Greetings Edgelits Dies added the touch that I wanted. Make sure you cut the die in the same cardstock color as the pieces you chose in #3 above.
- You are now ready to use the Quilt Top Textured Impressions Embossing Folder to add the stitched quilting textures to the card pieces.
- First emboss the front Crumb Cake piece of the card base.
- Adhere the larger DSP piece from #2 above to the larger piece of cardstock in #3 above. Run the glued pieces through the Big Shot in the embossing folder.
- Use the Layering Circles Framelits collection to die cut the focal point of the card. There are two sets of scalloped circles in the set. The largest die from each scalloped set are used to cut the center pieces. Take these two dies from the set. The smaller is used in #9 below. The larger is used in #10 below.
- Adhere the die design from #4 above to the smaller piece of DSP from #2 above. Die cut the pasted pieces with the smaller scalloped framelit. Then, run the glued pieces through the Big Shot in the embossing folder.
- Use the larger scalloped framelit to die cut the larger cardstock piece from #3 above. Emboss this piece with the embossing folder. Adhere the glued scalloped piece from #9 to the top of the scalloped piece you just die cut in this step.
- You can now assemble the card.
- Glue the piece from #7 above to the card base.
- Add dimensionals to the back of the completed center scalloped piece, and adhere the scalloped piece to the front of the card, as pictured.
- Add a bow or other embellishment to the bottom, if desired.
- Notice: Intentionally, there is no stamping involved in this card. You can very easily add any sentiment to the inside of the card to customize the card. Or, leave it blank and use it as a notecard.
When you see this card, I think you’ll agree that it has a true warmth. It feels like a quilt that can be sent for any occasion.
Please use this basic design to make it your own. Use your favorite DSP and framelit design for your card. I would love to see what you come up with!
Happy stamping!
Laurie
|
|
|


