Do you ever panic because you don’t have a birthday card ready to get in the mail? And, you REALLY need to send the card? I’ve been in that situation far too many times. One of my New Year’s resolutions is to keep a stash of finished birthday cards and make sure I mail the cards early!
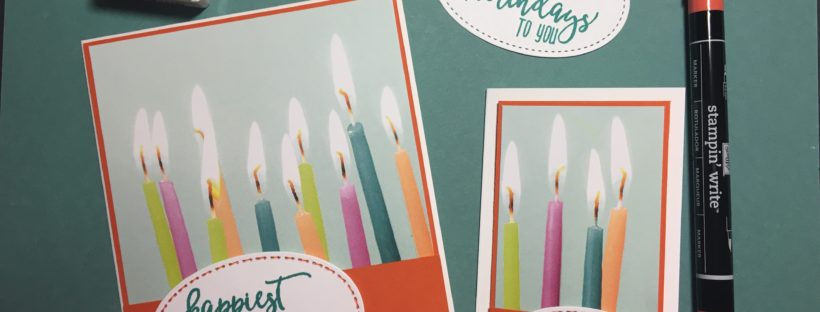
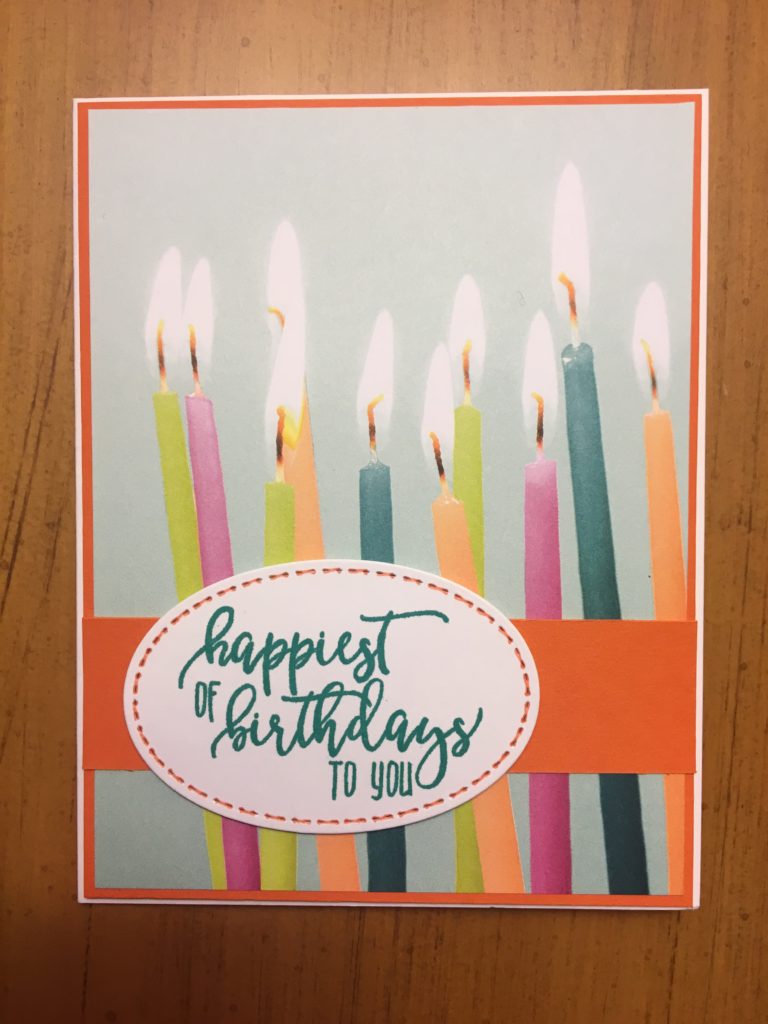
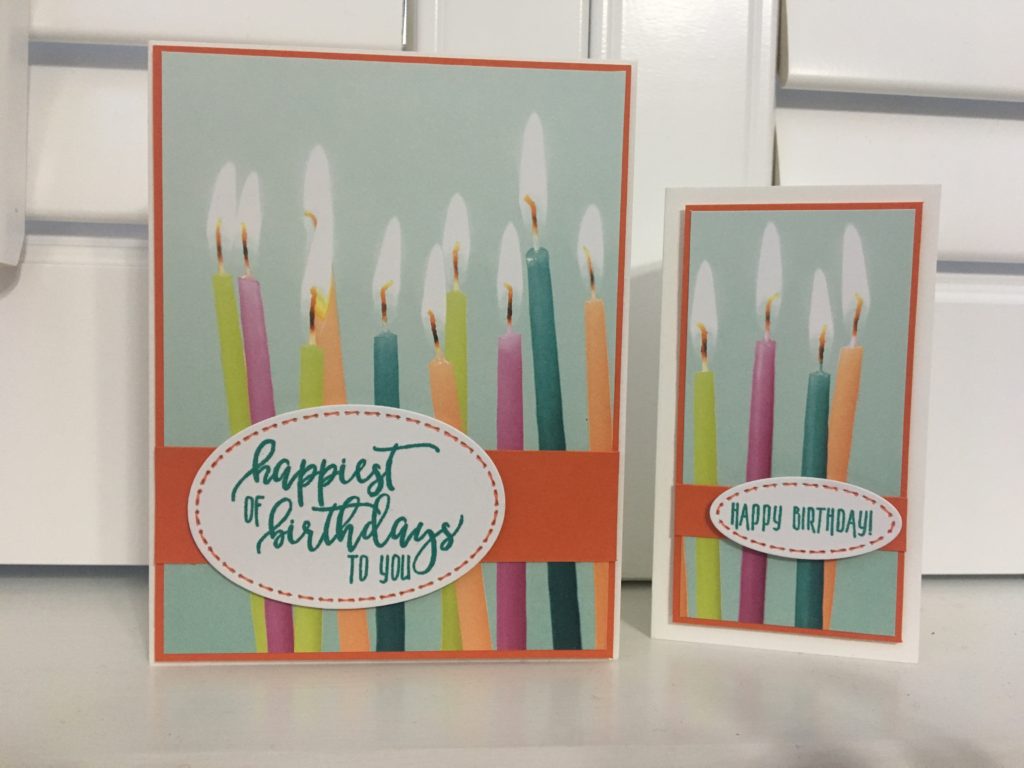
I have really enjoyed experimenting with the Picture Perfect Party Suite from the new Occasions Catalog. My birthday card stash is already growing! Pictured below are two of the cards that I made using products from this suite.
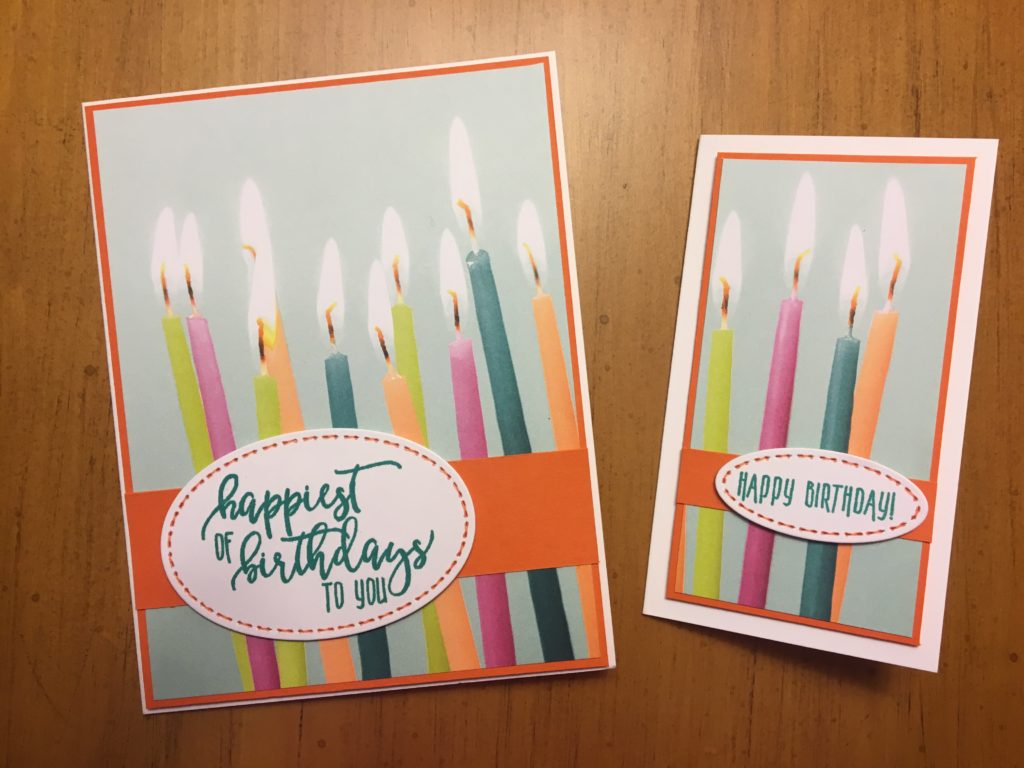 The Picture Perfect Party Designer Series Paper (DSP) is fabulous. There are twelve double-sized designs in the pack. One side of each design is a photograph that feature products and colors in the suite. They are incredible. The other side of each design is a great pattern that includes great coordinating colors.
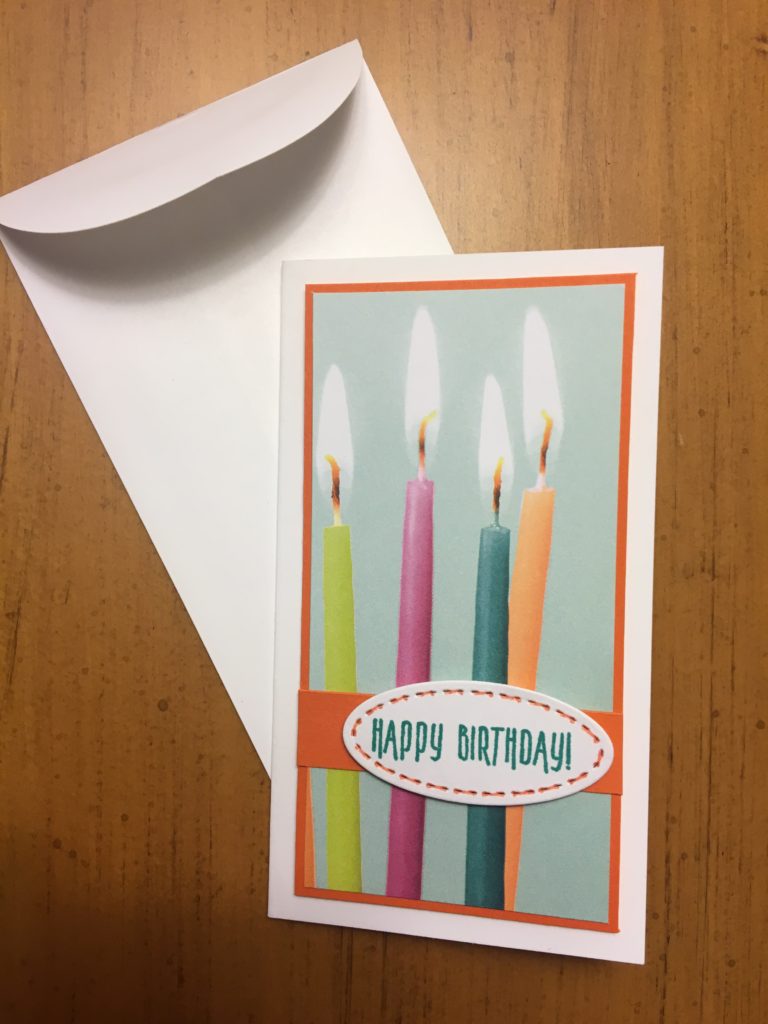
The two cards pictured above were made with one piece of the 6″ x 6″ Picture Perfect Party DSP. One card is a traditional A2 card (4 1/4″ x 5 1/2″). The other card was made with one of the new Whisper White Narrow Note Cards. I love being frugal with Designer Series Paper.
Here are the instructions for the cards:
- The larger card has a Thick Whisper White cardstock base cut to 5 1/2″ x 8 1/2″, scored at 4 1/4″ on the longer side.
- The frame is a piece of Pumpkin Pie cardstock cut to 4 1/8″ x 5 3/8″.
- When you cut the DSP, you’re going to cut the DSP for both cards. The larger card has a DSP piece measuring 4″ x 5 1/4″. The smaller card has a DSP piece measuring 2″ x 4″. For these cards, I cut the lit candle piece so that the left side of the paper (cut initially at 4″ x 6″) was for the larger card. The remaining 2″ x 6″ piece was for the smaller card. Then, I trimmed the pieces to the heights I needed.
- Adhere the DSP to the Pumpkin Pie frame piece.
- Cut a piece of Pumpkin Pie cardstock to 1″ x 4 1/8″. Adhere this piece on top of the DSP, as pictured.
- Use dimensionals to adhere the layered Pumpkin Pie piece to the front of the card.
- Stamp “happiest of birthdays to you” from the Picture Perfect Birthday stamp set onto a piece of Whisper White cardstock using Bermuda Bay ink. Die cut the sentiment with the second smallest oval die from the Stitched Shapes Framelits dies.
- Finish the die cut piece by adding faux stitching to the edge. The faux stitching is made with a Pumpkin Pie Stampin’ Write marker.
- Use dimensionals to adhere the sentiment piece to the front of the card, as pictured.
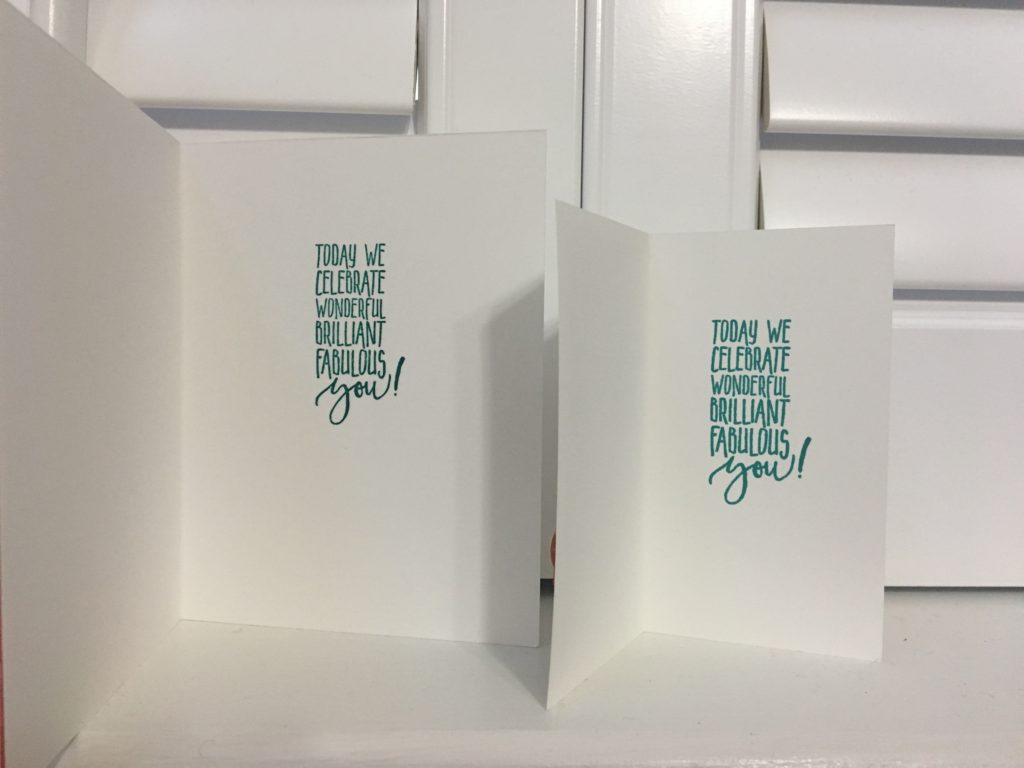
- To finish the card, stamp “today we celebrate wonderful brilliant fabulous you!” inside the card using Bermuda Bay ink.
The smaller card is made with a new Whisper White Narrow Note Card. All steps for the larger card are the same except for those listed below:
- The Pumpkin Pie cardstock frame is cut to 2 1/8″ x 4 1/8″.
- The Pumpkin Pie cardstock piece put over the DSP is cut to 1/2″ x 2 1/8″.
- For the sentiment, stamp “happy birthday” from the Picture Perfect Birthday stamp set onto a piece of Whisper White cardstock using Bermuda Bay ink. Die cut the sentiment with the smallest oval from the Stitched Shapes Framelits dies.
I’ll be sharing more ideas for great cards using products from the Picture Perfect Party Suite. Please check back to see them.
Below are the main products that I used to make the cards from this post. If you click on any picture, you’ll go to my on-line store.
Happy stamping,
Laurie
|
|
||
|
|
|
