We’ll folks, if good old Punxsutawney Phil is right, we’re going to have six more weeks of winter. I’ll be honest – I’m ready for warmer weather! But, if we are going to have more winter, I guess I’ll just hunker down and keep making awesome birthday cards with the Picture Perfect Party suite.
Over the last week or so, I have shared birthday cards that feature the amazing Picture Perfect Party Designer Series Paper. If you missed those cards, please check here. Also, I posted a fun birthday card using the new Whisper White Narrow Note Cards and Envelopes and the Picture Perfect Birthday stamp set.
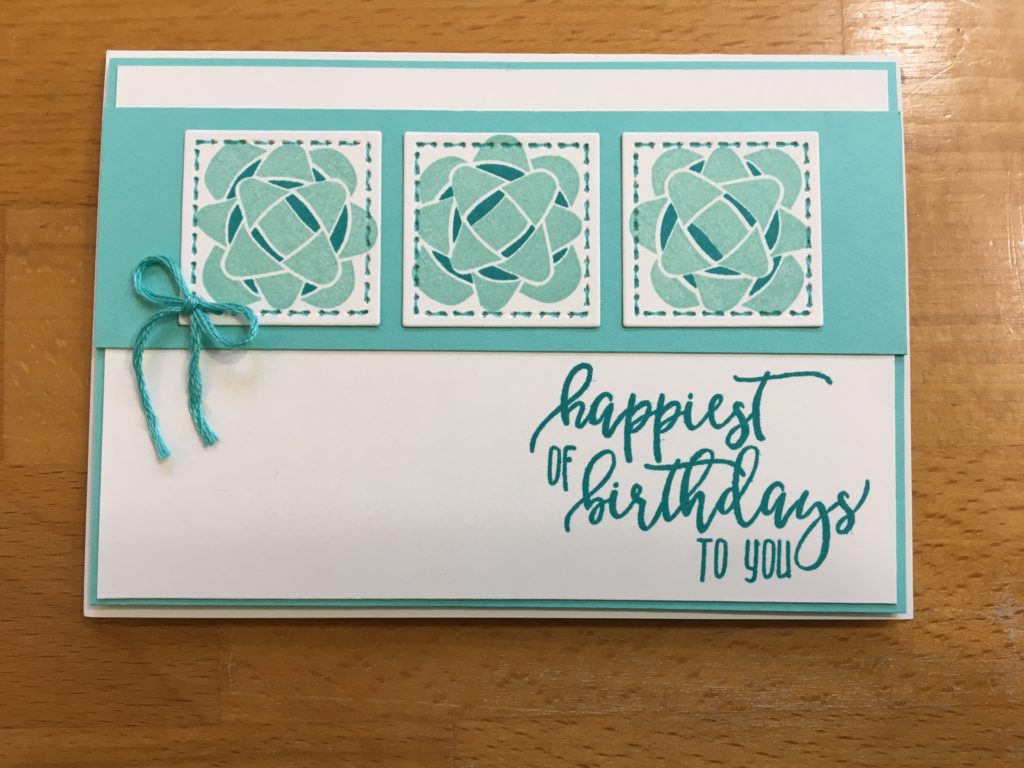
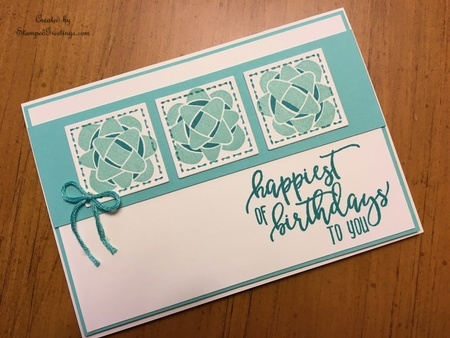
Today, my card is made with a Very Vanilla Note Card and the Picture Perfect Birthday stamp set. I don’t make a lot of cards that are fairly monochromatic, but the blue colors just worked really well together. Here is my card –
Note cards are a great size to use to send a card in the mail or to use as a card with a special gift. The cardstock is very substantial, and there are twenty cards and envelopes in a package. They are a great deal and very useful to have on hand.
Okay – enough about note cards! Let’s chat a little about how to make this card.
- Cut a piece of Bermuda Bay cardstock to 3 3/8″ x 4 7/8″.
- Cut a piece of Thick Very Vanilla cardstock to 3 1/4″ x 4 3/4″.
- Use Bermuda Bay ink to stamp “happiest of birthdays to you” in the bottom right corner of the Very Vanilla piece. The stamp is from the Picture Perfect Birthday stamp set.
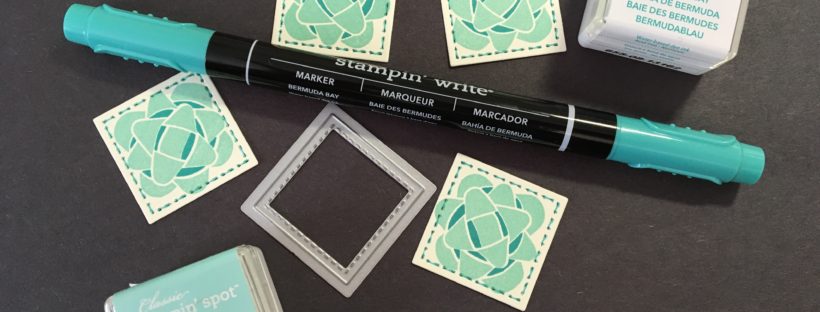
- On a separate piece of Thick Very Vanilla cardstock, cut to at least 3″ x 5″, stamp your bows. The larger bow stamp is stamped with Pool Party ink. The smaller bow stamp that fills in the background ribbon is stamped with Bermuda Bay ink. Both stamps are from the Picture Perfect Birthday stamp set.
- Use the smallest square die from the Stitched Shapes Framelits to die cut the stamped bows.
- Add “faux stitching” around the die cut squares with the smaller end of a Bermuda Bay Stampin’ Write Marker.
- Cut a piece of Bermuda Bay cardstock to 1 1/2″ x 5 1/4″. Adhere the die cut bows to this piece, as pictured.
- To assemble the card,
- Adhere the Very Vanilla piece with the stamped “happiest of birthdays to you” to the larger piece of Bermuda Bay cardstock.
- Adhere the smaller piece of Bermuda Bay cardstock with the die cut bows to the Very Vanilla piece. The Bermuda Bay piece will be longer than needed. Trim the sides to align with the front of the card.
- Adhere the entire card front to the Very Vanilla note card with dimensionals.
- The bow on my card is made with embroidery floss. I found a color that was really close to Bermuda Bay. It seemed a little whimsical to add thread to the corner of one of the die cut squares to finish the card.
There are so many ways that you could make this card. Change the design to include different colors, various sentiments, and different shapes for the dies. The possibilities are endless.
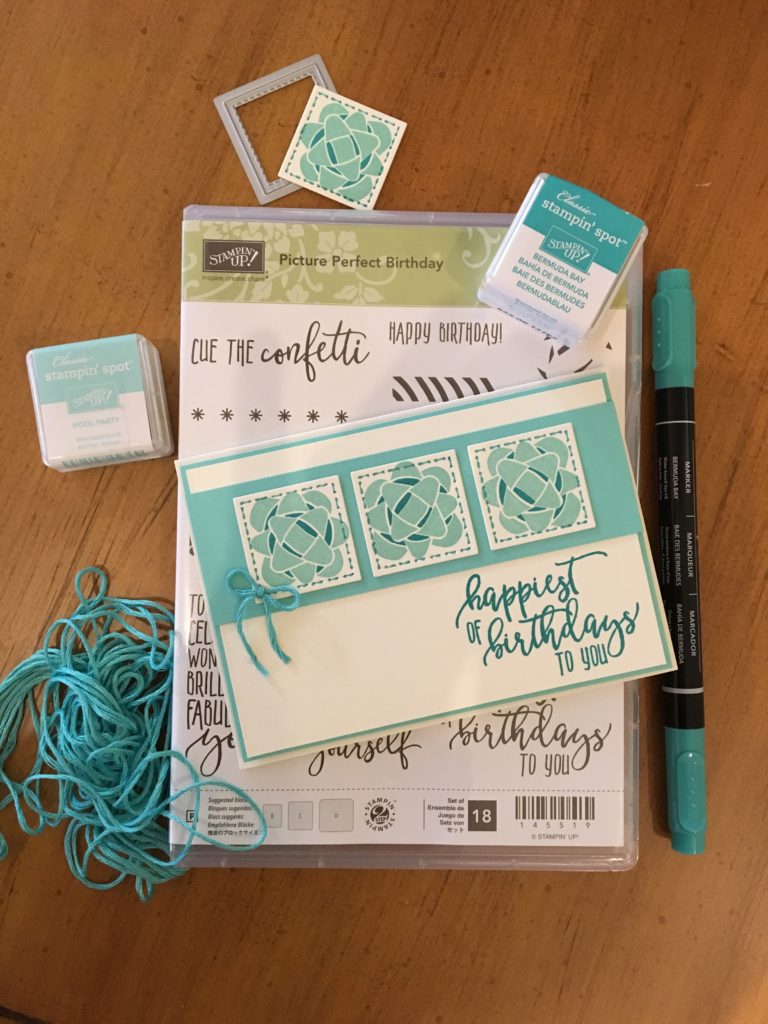
Below are the main products that I used to make this card. If you click on any picture, you’ll go to my on-line store.
I would love to see the cards that you’ll create based on some of the ideas that I’ve shared with you today.
Happy stamping!
Laurie
|
|
||
|
|
|
