If you’re like me, you may have a little trouble (sometimes 🙂 ) designing masculine birthday cards. The Birthday Wit stamp set may be the answer for you. I have had a great time using the set and will share three designs with you. Birthday Wit is fun, fresh, and a sassy stamp set! If you like the set and don’t have it in your collection, don’t delay — Birthday Wit is going to retire at the end of May. 🙁
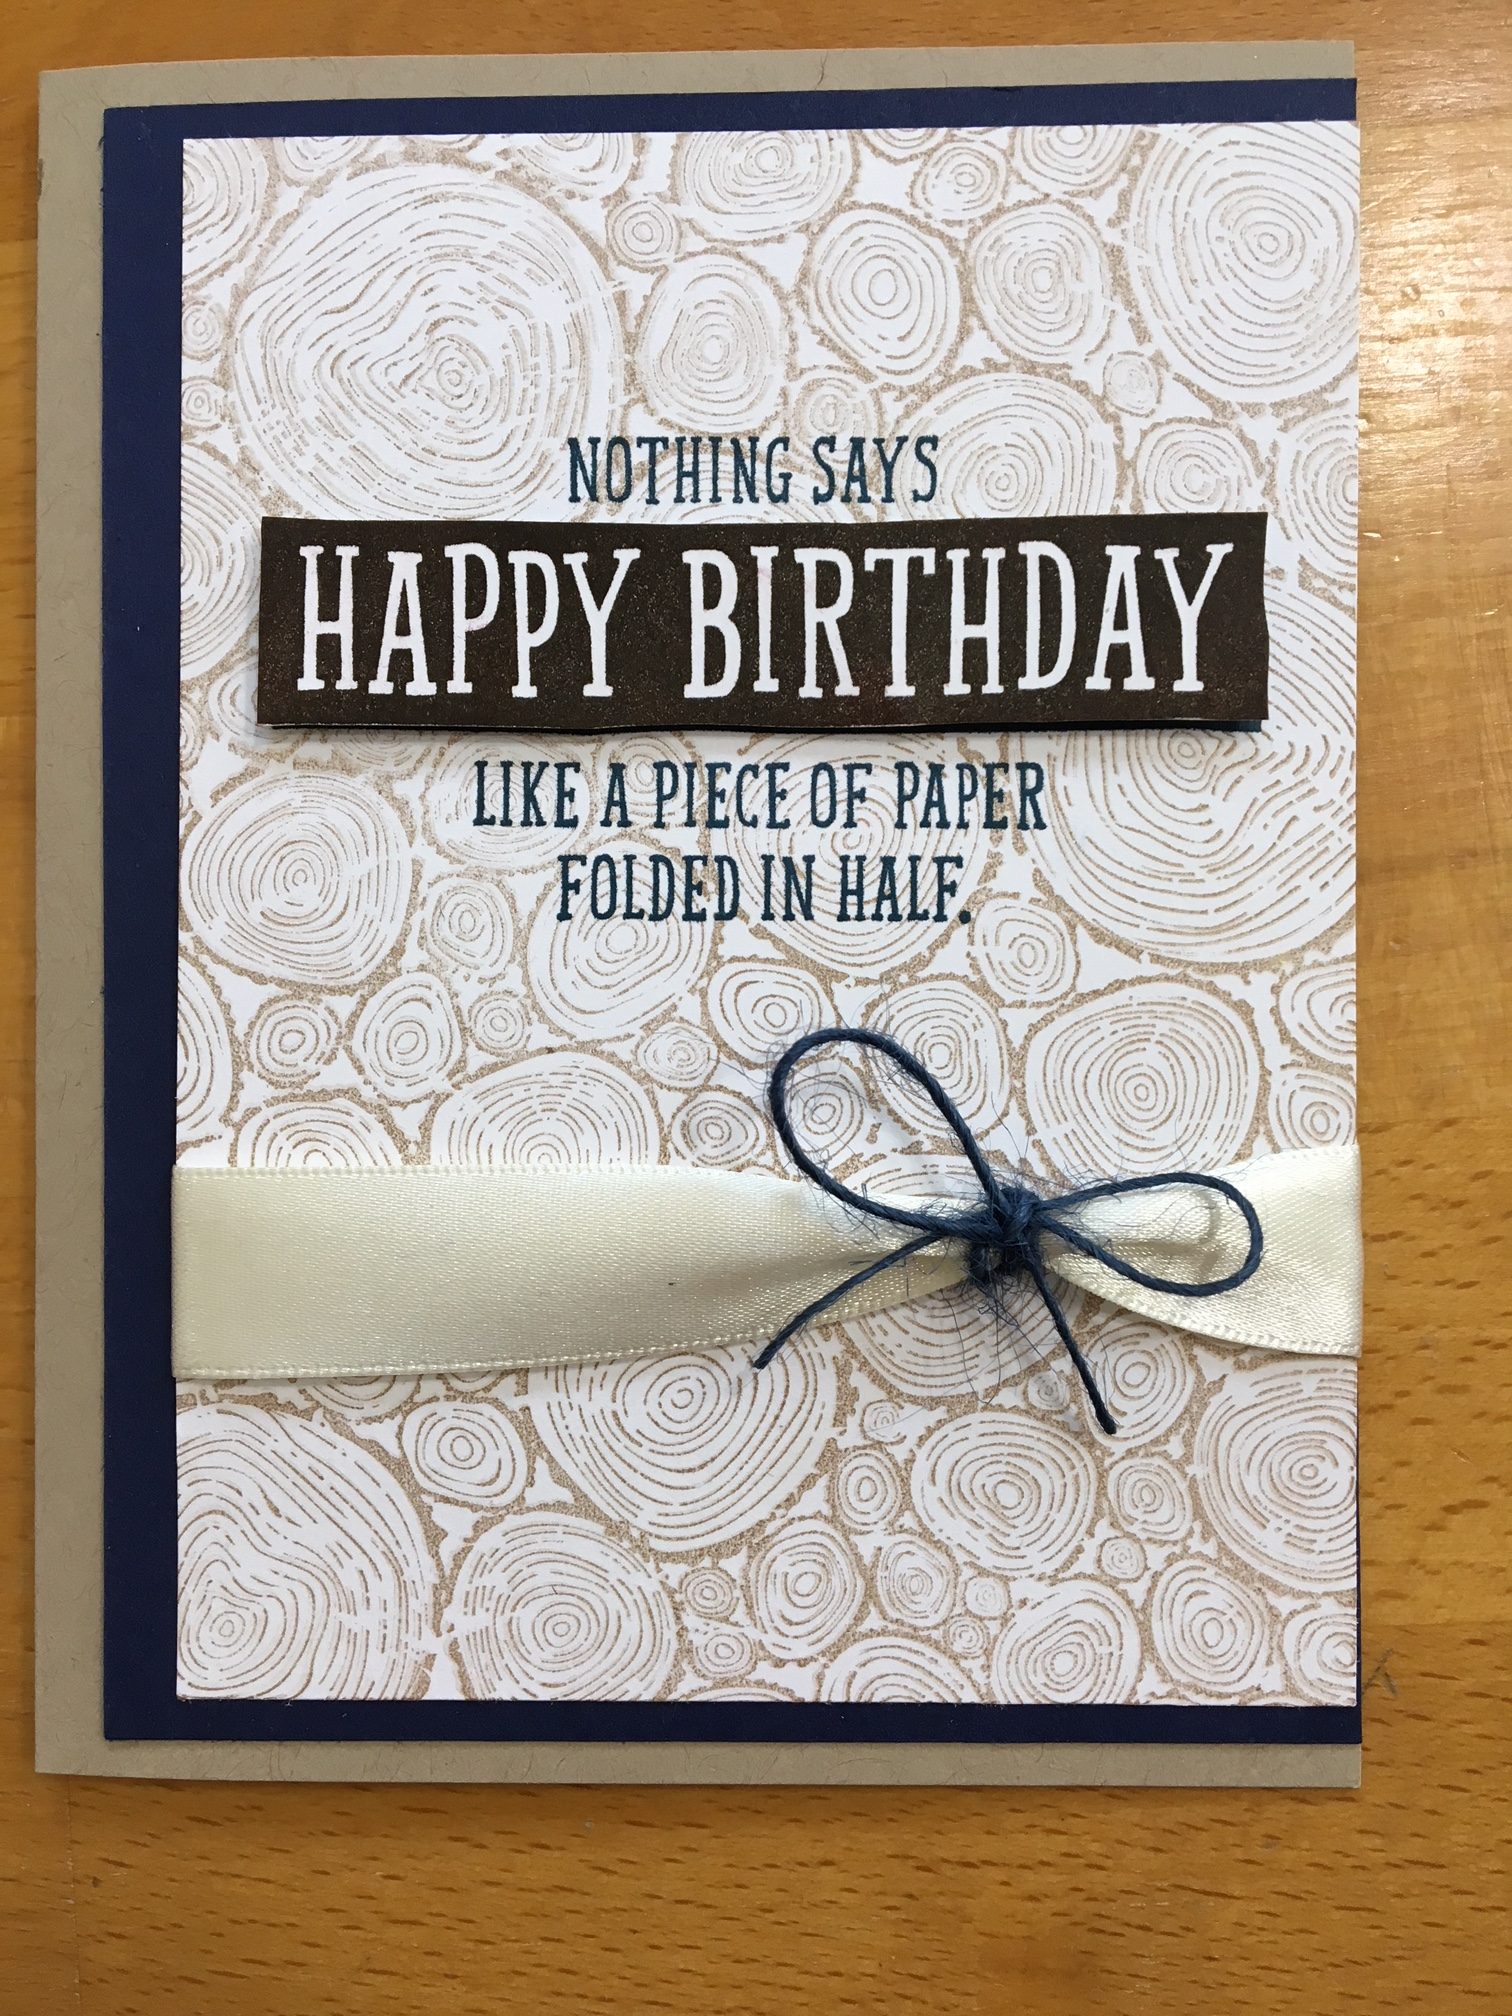
Below are two pictures of the first of three projects that I’ll share. The picture of the front of the card showcases the stamp that caught my attention when I first saw the stamp set in the catalog. Doesn’t the sentiment just make you smile? The colors and background were designed specifically for a masculine card. The inside design is very fun and easy to make especially with the soon-to-be-available Stamparatus!
The main colors for this card work together so well! Take a look –
Here are the steps for the front of the card:
- The base of the card is a piece of Crumb Cake card stock cut 5 1/2″ x 8 1/2″, scored at 4 1/4″ on the 8 1/2″ side.
- A piece of Night of Navy card stock is cut to 4″ x 5 1/4″ and used to frame the focal piece.
- The base for the focal piece is Whisper White card stock cut to 3 3/4″ x 5″. The base is stamped with the Tree Rings background stamp using Crumb Cake ink. In one of my next posts, I’ll share some tips on how I stamped the background on the front and inside of the card.
- After the Tree Rings are stamped, the main sentiment from the Birthday Wit stamp set is stamped on the focal piece with Night of Navy ink.
- The sentiment is stamped one more time on a scratch piece of Whisper White card stock using Early Espresso ink. The “Happy Birthday” banner from this piece is fussy cut and placed over the initial stamped sentiment using dimensionals. The banner really pops with this technique!
- The Night of Navy frame is adhered to the card base as pictured.
- A piece of Vanilla satin ribbon (from my retired ribbon stash – sorry!) is attached with the each end wrapped around the card. I pinched the ribbon in half and tied a piece of blue twine onto the ribbon before I attached the second end. After the ribbon is attached (and tape will work just fine), the focal piece is attached to the Night of Navy frame as pictured.
Here are the steps for the inside of the card:
- Mask the left side of the card with a piece of scrap paper to make sure you don’t stamp any part of the Tree Rings backgroup stamp image on to the left side.
- Use Crumb Cake ink to stamp the Tree Rings background stamp onto the right side. I’ll share more tips on how to do this in one of my next posts.
- Stamp “Happy Birthday” from the Birthday Wit stamp set three times, as pictured, using Night of Navy ink. If you are using a Stamparatus to do this, set up the first (highest) “Happy Birthday” as close to the top of the card as you can. Move the plate two notches to stamp the second “Happy Birthday”. Move the plate again two notches to stamp the third and final “Happy Birthday”.
There are so many ways you could this design to make it your own! Use different colors. Add another background instead of the Tree Rings. Just have fun with it!
Check back for the second design that I’ll share using the fun Birthday Wit stamp set. In the meantime, you can click on any picture below to go to my on-line store. REMEMBER – The Birthday Wit stamp set is on the retiring list!
Happy stamping!
Laurie
|
|
|
|
|
|
|
|


One thought on “Birthday Wit – Quick Masculine Birthday Card”
Comments are closed.